
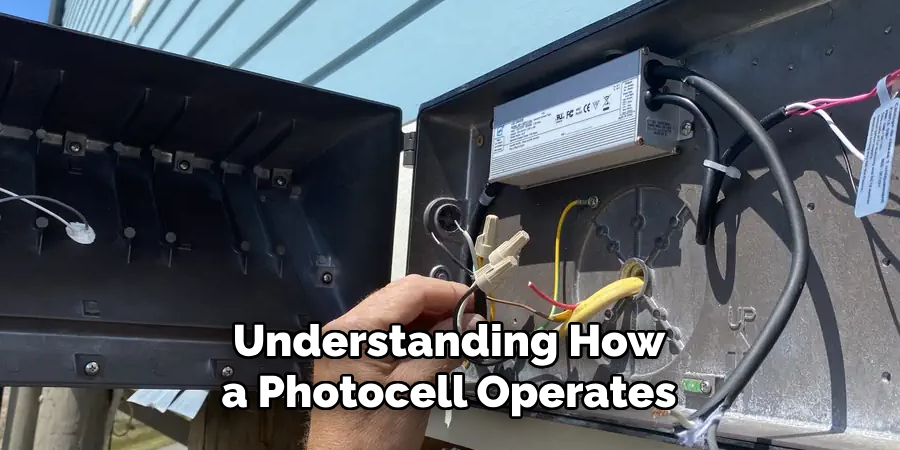
A photocell, also known as a photoresistor or light-dependent resistor (LDR), is a simple yet essential component widely used in electronic applications. It is designed to detect light levels and convert them into an electrical signal, making it indispensable in devices like automatic lighting systems and light-sensitive detectors. Understanding how to make a photocell can help you explore the fundamentals of light-based sensors and enhance your knowledge of basic electronics.

What is a Photocell?
A photocell is a type of resistor whose resistance varies depending on the intensity of light that falls on its surface. It operates on the principle of photoconductivity, where the conductivity of certain materials increases when exposed to light. Typically made from semiconductor materials like cadmium sulfide, a photocell is highly sensitive to visible light and other forms of electromagnetic radiation. Its primary function is to sense light levels and provide a corresponding electrical output, making it an integral part of many electronic systems, such as light meters, streetlights, and security alarms.
Understanding the Basics of a Photocell
A photocell, also known as a photoresistor or light-dependent resistor (LDR), is a simple but effective component that responds to changes in light intensity. At its core, the resistance of the photocell decreases as the intensity of the incident light increases, enabling it to translate light into an electrical signal. This behavior is influenced by the material composition of the photocell, typically cadmium-based semiconductors, which exhibit photoconductivity. The ease of use, low cost, and reliability of photocells make them suitable for a wide range of applications, including automatic lighting controls, light-sensing devices, and even solar trackers. Understanding how a photocell operates provides a foundation for exploring more complex light-sensitive technologies.
10 Methods How to Make a Photocell
1. Understand the Principle of Photocells
Before attempting to make a photocell, it is essential to comprehend the science behind how it works. A photocell, also known as a photoresistor or light-dependent resistor (LDR), changes its resistance based on the amount of light it receives. When light falls on its surface, the resistance decreases, allowing more current to pass through. In darkness, the resistance increases, blocking current flow. This property makes photocells incredibly useful in devices such as night lamps, solar-powered systems, and light-sensitive alarms. Understanding this foundational principle prepares you to construct a functioning device rather than just assembling components blindly.
2. Gather All Necessary Materials and Tools
To create a basic homemade photocell, you will need a few key components: cadmium sulfide (CdS) powder, copper or glass substrate, conductive wires, transparent epoxy or resin, a soldering iron, and a multimeter. You may also need a UV light source if you plan to do more advanced layer curing. A clean and well-organized workspace is critical, as even small particles can interfere with the sensitivity of your photocell. The proper tools make your work smoother, safer, and more precise, setting a strong foundation for success.
3. Choose the Right Substrate Material
Selecting the right substrate is crucial for making a functional photocell. Copper is commonly used due to its excellent conductivity, but glass can also be a suitable alternative if you’re aiming for transparency or flexibility. Clean the surface thoroughly with isopropyl alcohol to remove any dirt, oil, or oxidation. This cleaning process ensures that the cadmium sulfide will adhere properly and that there is a good electrical connection. A clean and stable base contributes to the longevity and efficiency of the photocell.
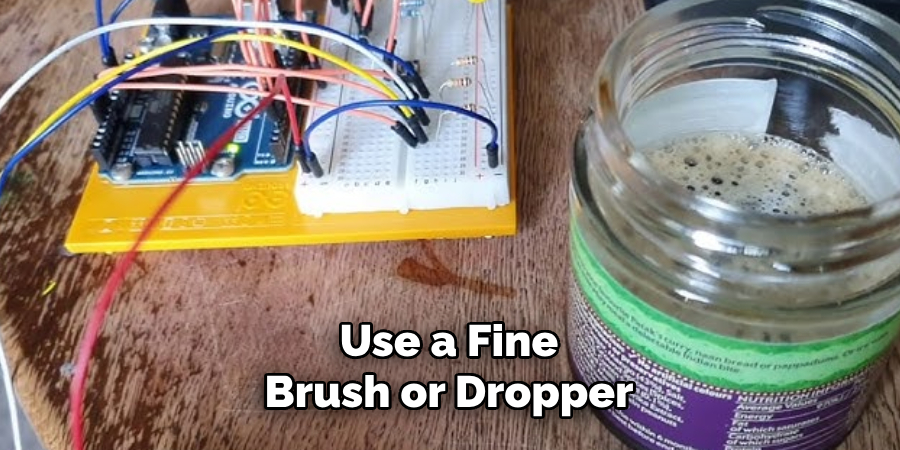
4. Prepare the Cadmium Sulfide Coating
Cadmium sulfide is a light-sensitive semiconductor that forms the heart of your photocell. You can purchase CdS in powder form or as a suspension. If you’re working with powder, mix it with a binder like polyvinyl alcohol (PVA) or a light epoxy to form a paste. Spread a thin, even layer of this paste onto the substrate. Use a fine brush or dropper for accuracy. The thickness of this layer directly influences sensitivity and response time, so apply with care. Allow the coating to dry partially before proceeding to the next stage.
5. Apply Electrodes to the Coated Surface
To allow electrical current to pass through the CdS layer, you need to apply electrodes. Silver conductive ink or copper wire can be used for this purpose. Paint or place two parallel lines on the CdS surface, ensuring they do not touch. These lines serve as the positive and negative terminals. Attach fine wires to each electrode using solder or conductive glue. Ensure solid contact without burning or damaging the CdS layer. This step transforms the coated layer into an operational electronic component capable of reacting to light.
6. Encapsulate the Photocell for Protection
Exposure to humidity, air, or physical contact can degrade the sensitive CdS material. To preserve its functionality, it’s essential to encapsulate the device using a transparent resin or epoxy. Gently pour a thin layer over the entire surface, ensuring it does not disturb the electrodes. Allow it to cure fully, either at room temperature or under UV light depending on the resin type. A properly sealed photocell will remain functional for years and will be less susceptible to damage from environmental elements.
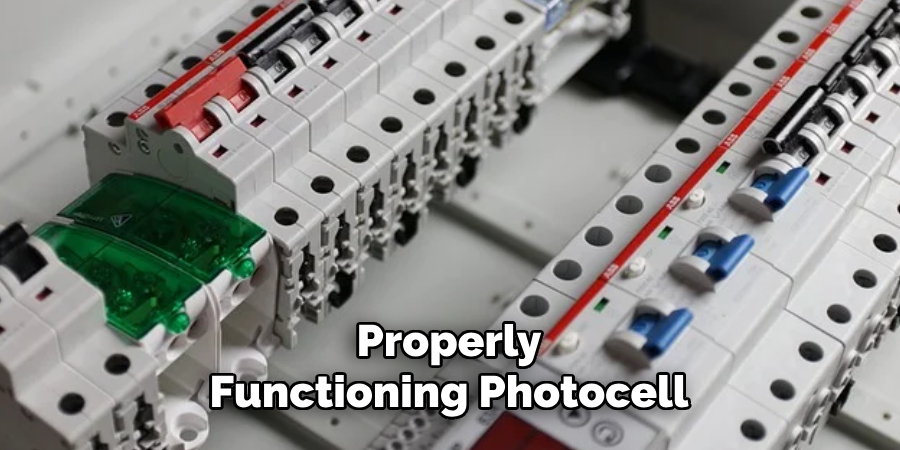
7. Connect the Photocell to a Testing Circuit
Now that the photocell is assembled and protected, you can test its functionality by wiring it into a simple circuit. Connect it in series with a resistor and a power source, such as a 9V battery. Then, measure the voltage drop across the photocell using a multimeter. Shine a light on the cell and observe how the resistance changes. A properly functioning photocell will show decreased resistance when exposed to light and increased resistance in darkness. This test confirms whether your fabrication was successful.
8. Calibrate the Photocell for Specific Applications
Depending on how you intend to use the photocell, you may want to calibrate it. This involves determining the exact resistance values at different light intensities and choosing matching resistors or other components to work in tandem with it. For instance, in a light-sensitive switch, you might want the circuit to activate at dusk and deactivate at dawn. Using a lux meter, you can test the cell’s response to specific light levels and tweak your circuit for accurate triggering. Calibration ensures the photocell performs reliably in real-world conditions.
9. Incorporate the Photocell into a Functional Project
Once you’ve tested and calibrated your photocell, integrate it into a practical project. You can use it to control garden lights, build a solar tracker, or create an automatic window shade. Connect it to a transistor or relay to control higher-power devices. Ensure the photocell is positioned where it can receive unobstructed light and is not exposed to water or debris. This application step is where theory meets practice and allows you to see the real-world usefulness of your homemade sensor.
10. Troubleshoot and Improve Design as Needed
No homemade electronic project is complete without a bit of troubleshooting. If your photocell doesn’t respond to light changes, check your connections, verify the integrity of the CdS layer, and inspect the electrodes for breaks or corrosion. Sometimes, simply adjusting the thickness of the coating or refining the encapsulation can drastically improve performance. Keep notes on what changes you make and the results they yield. This iterative process not only improves your current project but sharpens your skills for future builds.
Maintenance and Upkeep
Proper maintenance of your photocell ensures longevity and consistent performance. Begin by regularly inspecting the device for signs of wear, such as faded coatings, loose connections, or corrosion on the terminals. Clean the surface gently with a soft cloth to remove dust or debris that may interfere with its functionality. If the photocell is exposed to harsh environmental conditions, consider adding a protective covering or using weatherproof materials to shield it. Periodically test the photocell using a multimeter to confirm that it still responds accurately to changes in light. Keeping a maintenance log can help you track performance trends and identify potential issues before they become significant problems. With consistent care, your photocell can remain reliable for years to come.
Safety Considerations
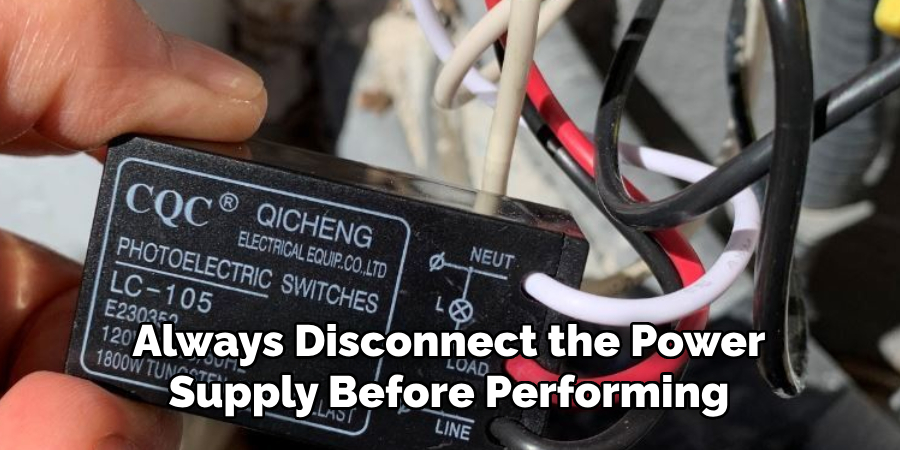
When working with photocells, it is important to prioritize safety to prevent injuries or equipment damage. Always disconnect the power supply before performing any maintenance or installation tasks to avoid electrical shocks. Use insulated tools and wear appropriate protective gear, such as gloves and safety goggles, when handling electrical components. Ensure that all wiring is correctly insulated and securely connected to prevent short circuits or exposure to live wires. Additionally, follow the manufacturer’s guidelines and local electrical codes during installation. Taking these precautions will help ensure a safe and secure setup for your photocell system.
Conclusion
Making a photocell at home is an engaging blend of chemistry, electronics, and precision craftsmanship. By understanding how the device works and following each method step-by-step—from preparing the substrate to testing the final product—you gain hands-on experience in sensor design. Whether you’re creating it for a science project, DIY electronics, or curiosity, building your own photocell opens the door to a deeper understanding of light-sensitive technology. Thanks for reading our blog post on how to make a photocell! We hope you found it helpful and informative.