
Are you tired of carrying around multiple keys for all your doors? A skeleton key may be just what you need. Skeleton keys are specialized keys that can open multiple locks, making them a convenient and unique addition to your keychain.

How to make a skeleton key can be both a fascinating and rewarding process. Skeleton keys are designed to open multiple locks that share similar mechanisms, making them a versatile tool or a unique collectible. While modern locks hed the traditional systems that skeleton keys work with, crafting one can still be an enjoyable project for enthusiaave largely replacsts, locksmiths, or hobbyists.
This guide will walk you through the basic steps and essential tools needed to create your own skeleton key, while emphasizing the importance of using the key responsibly and ethically.
What Are the Benefits of Crafting Your Skeleton Key?
Crafting your own skeleton key can be a fun and rewarding experience, with several potential benefits.
First and foremost, crafting a skeleton key allows you to have a better understanding of the inner workings of traditional lock mechanisms. It requires not only knowledge but also skill and precision in manipulating small pieces to create a functional key. This can be a great learning opportunity for those interested in locksmithing or engineering.
Furthermore, creating your skeleton key gives you the ability to open various locks that share similar mechanisms, making it a versatile tool to have on hand. This can come in handy if you ever find yourself locked out of a room or building with an old-style lock, or if you want to impress your friends with a party trick.
What Will You Need?
To create your skeleton key, you will need a few basic tools and materials. These include:
- A piece of metal, such as a paperclip or bobby pin
- Pliers
- A file or sandpaper
- Optional: a small vice grip for holding the key blank in place while filing
It’s important to note that the type of metal and thickness will depend on the lock you are trying to open. Thicker locks may require sturdier metals, while smaller locks may only need thinner materials.
8 Easy Steps on How to Make a Skeleton Key
Step 1: Assess the Lock
Start by closely examining the lock you want to open. Identify the type of lock it is, such as a warded lock, pin tumbler lock, or another type, as this will determine the design and complexity of the skeleton key you are making. Look for keyhole dimensions, internal mechanisms, and any visible components that might provide insight into how the lock functions.
Test the lock using an existing key to understand how it interacts with the lock’s mechanical parts. This assessment will help you determine the shape and size of the key blank you’ll need to create, allowing you to develop a clearer strategy for filing the skeleton key to fit. Take your time during this step, as a thorough understanding of the lock is essential for crafting an effective key.
Step 2: Gather a Key Blank
Choose a key blank that closely matches the lock you are working with. Key blanks come in various shapes, sizes, and profiles, and selecting the right one is critical to the key-making process. If the lock is standard or commonly used, identifying a compatible key blank should be straightforward.

However, for antique or specialized locks, you may need to search for rare or custom blanks. Scrutinize the keyway of the lock and compare it with the grooves and shoulders of potential key blanks to ensure the best fit. Additionally, working with a high-quality key blank can make cutting and filing more precise and durable, minimizing the risk of breakage or misalignment during the shaping process.
Step 3: Insert the Key Blank
Once you have identified the appropriate key blank, carefully insert it into the lock’s keyway. Ensure the blank slides in smoothly and fully seat themselves in the lock; any resistance or improper alignment could indicate an issue with compatibility or fit. It’s essential to handle this step with precision, as forcing the key blank into the lock can potentially damage both the blank and the lock’s internal components.
If the blank does not fit perfectly, recheck the keyway configuration and consider whether slight adjustments or selecting a different key blank might be necessary. A properly inserted blank should feel stable and ready for the next stage of the key-making process. Take time to observe the way it aligns with the lock’s mechanism, as this will play a crucial role in shaping the blank accurately.
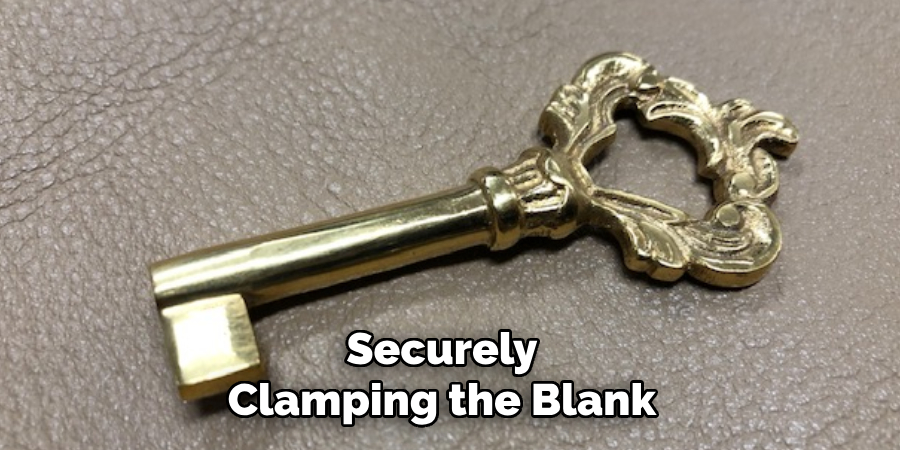
Step 4: File the Key Blank
Filing the key blank is a critical step that requires precision and attention to detail. Begin by securely clamping the blank in a vise or holding it in a tool designed to maintain stability during filing. Use a high-quality, properly maintained file that matches the type of metal your blank is made of.
Start filing gently, following the specific cuts or notches dictated by the lock’s pin configuration or the template you are copying. It’s essential to file evenly and consistently, as uneven filing can result in a poorly functioning key that may damage the lock over time.
Periodically check the blank against the lock as you file, making sure that each cut aligns perfectly with the lock’s internal mechanism. Patience is key in this stage—rushing the process can lead to errors that are difficult to correct later. Clean the blank of any metal shavings or debris as you work to ensure a smooth surface and to prevent obstructions from interfering with the lock testing.
Step 5: Test for Fit
Insert the newly filed key into the lock gently and attempt to turn it. Pay close attention to how the key moves within the lock—does it slide in and out freely? Is there any resistance or sticking? If the key does not turn or feels obstructed, remove it and inspect the cuts closely.
Look for uneven edges, rough spots, or areas that may need further fine-tuning. It’s essential to file in small increments rather than making drastic changes, as removing too much material could render the key useless. Retest the key frequently as you make adjustments to ensure the best fit possible. Testing is not only about functionality but also about ensuring the longevity of both the key and lock components by minimizing unnecessary stress on the mechanism.
Step 6: Mark Key Cuts
To properly mark the key cuts, you will need a steady hand and precise attention to detail. Start by inserting the key blank into the lock and gently turning it to identify the pressure points of the key pins. Use a pencil, marker, or other marking tool to create clear, visible guide marks on the key blank where material needs to be removed.
These marks will correspond to the depths and positions of the pins in the lock, acting as a blueprint for your cuts. Be sure to take your time with this process, as incorrect markings can lead to cutting errors, rendering the key ineffective. It’s helpful to double-check the alignment of your marks against the lock pins or use a template for accuracy if available.
Step 7: Make Adjustments
Once the initial cuts have been made on the key blank, it’s essential to test the key in the lock to determine whether any adjustments are required. Insert the key gently into the lock and attempt to turn it. If the lock does not engage smoothly or if the key fails to turn, it’s an indication that further refinements are needed. Begin by inspecting the cut sections of the key, ensuring that each groove aligns perfectly with the corresponding lock pins.
Sometimes, slight imperfections in the cuts, such as uneven depths or rough edges, can hinder the key’s functionality. Use a small file to make incremental adjustments, carefully shaving off excess material or smoothing jagged edges.

Step 8: Test the Key
Once you have made the necessary adjustments to the key, it’s time to test it out. Insert the key into the lock and turn it slowly, checking for any resistance or difficulty as you turn. If everything seems smooth and easy, your key is now ready to use!
However, if you still have issues with the key not turning properly or getting stuck in the lock, continue tweaking and testing until you get a satisfactory result. It may take several rounds of adjustments before achieving the perfect fit, but don’t give up!
By following these steps and being patient, you can create a perfectly functioning duplicate key that will save you time and money in the long run.
Conclusion
Creating a skeleton key requires precision, patience, and attention to detail. By understanding the intricacies of the lock, carefully shaping the key, and testing it methodically, you can craft a functional skeleton key that meets your needs.
With the right tools and a step-by-step approach, this process can be both rewarding and cost-effective. Always prioritize safety and take your time to ensure a proper fit, as persistence and accuracy are key to success.
Hopefully, the article on how to make a skeleton key has given you a better understanding of the process and inspired you to try it out for yourself.