Temporary doors serve a crucial role in providing quick and adaptable solutions for a variety of needs. They prove beneficial during renovations, offering a temporary barrier while permanent structures are being redesigned. They also act as an efficient stopgap measure for broken doors, maintaining security and privacy without the wait for a full repair.

For spaces that do not warrant permanent installations, temporary doors offer a flexible option to secure entryways. Among their greatest advantages are ease of installation and removal, cost-effectiveness, and customization potential, making them suitable for any space. This article aims to deliver a comprehensive guide on how to make a temporary door using minimal materials and straightforward methods.
Whether you need to enhance privacy, protect against adverse weather, or secure an area, this step-by-step guide will equip you with the knowledge to install a temporary door effectively and seamlessly.
Types of Temporary Doors
Temporary doors come in various styles, each suited to specific needs and applications. Here are four common types, along with their characteristics and ideal use cases:
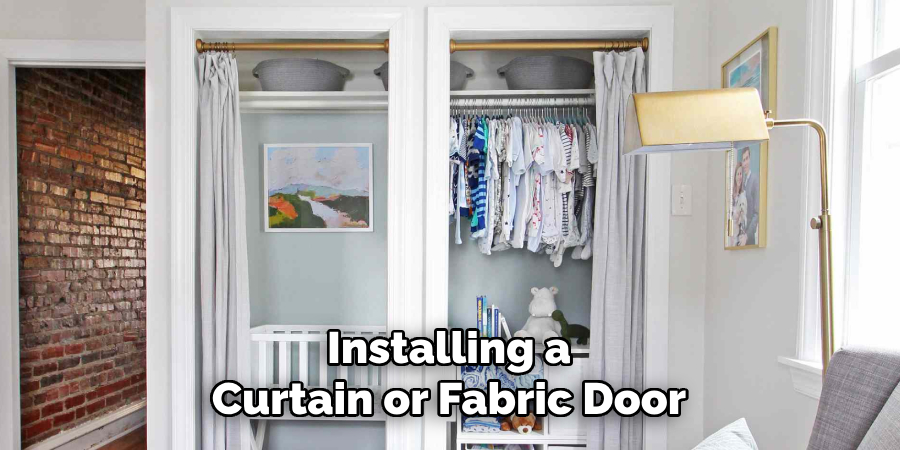
- Curtain or Fabric Door: This option is simple, lightweight, and easy to install using a tension rod or hooks. It is best suited for indoor use in low-traffic areas where privacy or a visual barrier is required. Fabric doors are cost-effective and offer a range of decorative possibilities with different colors and patterns available.
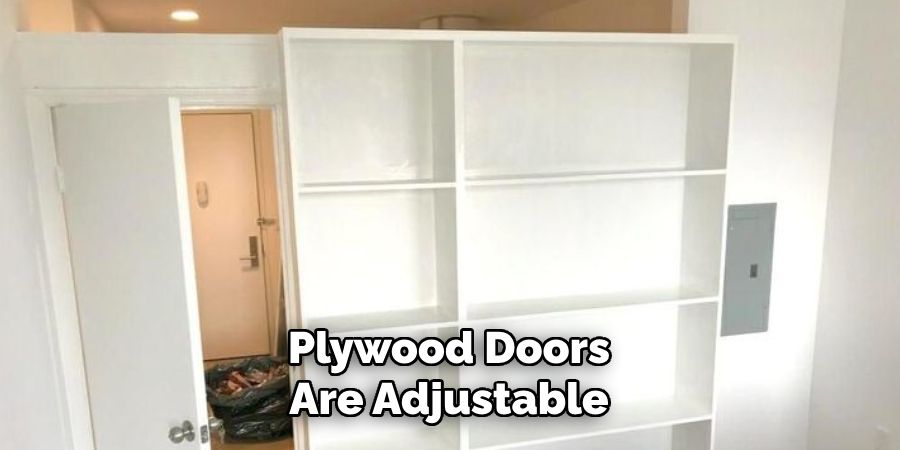
- Plywood or Panel Door: These doors offer greater sturdiness and security than fabric doors, making them ideal for outdoor use or high-traffic areas. They can be cut to fit any doorframe and further reinforced for extra stability. Plywood doors are adjustable and can be painted or stained to complement existing decor or exterior aesthetics.
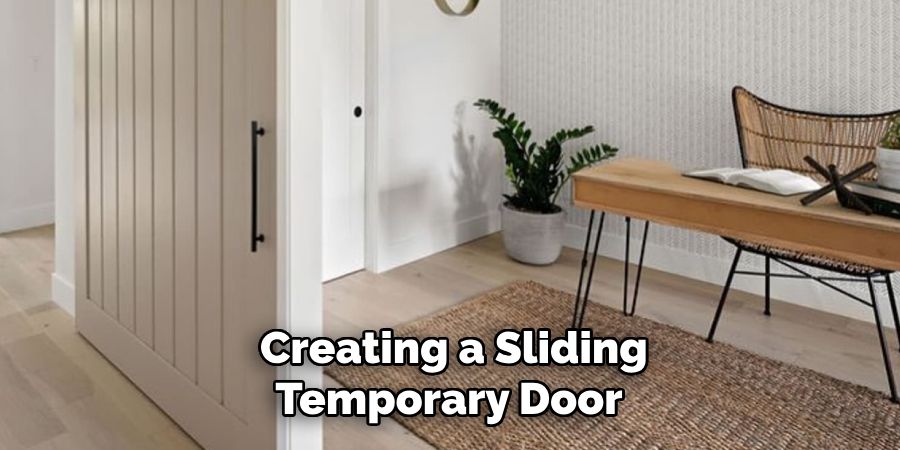
- Sliding Temporary Door: Mounted on tracks or a DIY rail, sliding temporary doors allow for easy opening and closing. They are particularly suitable for flexible spaces, such as garage or shed entrances. The sliding mechanism can save space and provide a seamless transition between areas.
- Plastic Sheeting or Tarp Door: This quick and waterproof option is typically used on construction sites or during renovations. Secured with tape or staples, plastic sheeting, or tarp doors offer a temporary weather barrier. While not the most aesthetically pleasing, they effectively protect against the elements and are easy to put up and take down.

Materials and Tools Needed
Materials:
- For a Curtain Door:
- Curtain or fabric
- Tension rods or hooks
- For a Plywood Door:
- Plywood sheets (or a lightweight panel)
- Hinges
- Door latch
- Screws
- For a Sliding Door:
- Wood panels
- Track or rail system
- Sliding hardware kit
- For a Plastic Door:
- Plastic sheeting or tarp
- Staples
- Tape
Tools:
- Measuring tape
- Power drill or screwdriver
- Hand saw (if cutting wood)
- Staple gun (for plastic sheeting or fabric)
- Screws and anchors
Each type of temporary door demands specific materials tailored to its function and design preferences. Having the right combination of tools ensures a smooth installation process, enabling the creation of a secure and efficient temporary door solution.
Measuring and Preparing the Door Frame
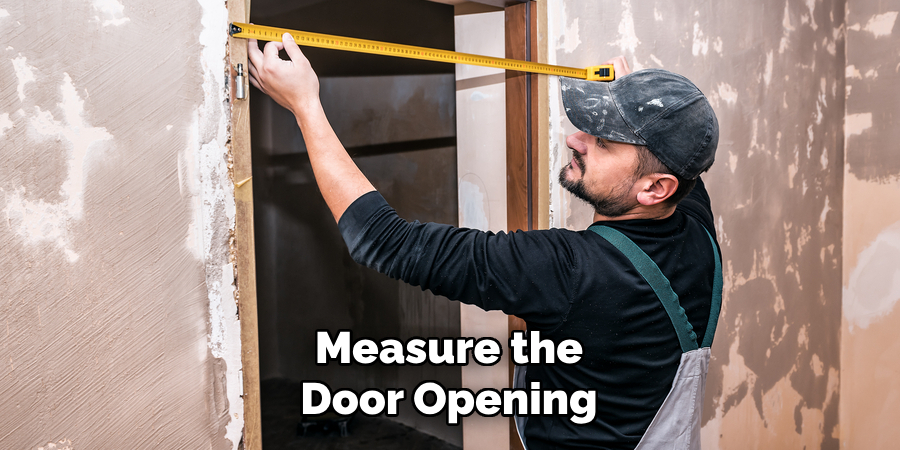
Step 1: Measure the Door Opening
Using a measuring tape, carefully measure the height and width of the door opening. It is important to be precise to ensure the temporary door fits properly. Add an extra inch to both the height and the width measurements to guarantee full coverage. This ensures that the temporary door will effectively block the entryway without leaving gaps, providing the desired level of privacy, security, or weather protection.

Step 2: Prepare the Frame
Before installation, thoroughly clean the doorframe area, removing any dust or debris hindering the setup process. Inspect the doorframe for any obstacles, such as uneven walls, protruding fixtures, or damaged areas, that could interfere with the installation of the temporary door. Address any issues you find to ensure a smooth, stable fit for the temporary door.
Step 3: Select the Right Temporary Door Type
When choosing the type of temporary door, consider the environment and the space’s specific needs. Decide whether the primary concern is security, privacy, or ease of use. For example, a curtain door might be best for visual barriers, while a plywood door offers more security. Sliding doors provide flexibility, and plastic sheeting is ideal for quick, economical solutions in construction zones. The selection process will guide the choice of materials and tools required for effective installation.
How to Make a Temporary Door: Step-by-Step Guide
A. Installing a Curtain or Fabric Door
Step 1: Choose a Durable Fabric
Select a heavy-duty curtain or fabric that is sturdy enough to provide privacy and block light, ensuring it complements the aesthetic of the surrounding area.
Step 2: Install the Tension Rod
Extend the tension rod to fit snugly inside the doorframe. Place it at the top of the frame, ensuring it’s secure enough to withstand frequent use and maintain tension.
Step 3: Hang the Fabric
Attach curtain hooks to the fabric or directly slide the fabric onto the tension rod, ensuring it falls evenly. Make sure the fabric extends down to cover the entire doorway, providing effective coverage.
Step 4: Secure the Bottom
To prevent the curtain from moving too much, consider using Velcro strips or small hooks to anchor the bottom corners of the fabric to the sides of the doorframe, enhancing stability and security.

B. Building a Temporary Plywood Door
Step 1: Cut the Plywood
Measure and cut the plywood or panel to fit the doorframe’s dimensions, leaving about 1/2 inch clearance on each side for easy movement and adjustment.
Step 2: Attach Hinges
Fasten two or three hinges to one side of the plywood panel, spaced evenly along the edge, ensuring they are aligned properly to support the door’s weight.
Step 3: Mount the Door
Use screws to attach the hinges to the doorframe, checking alignment to ensure the door swings open and closes smoothly without obstruction.
Step 4: Add a Latch
Install a simple latch or hook on the opposite side of the hinges to keep the door securely closed when needed, providing additional privacy and security.
C. Creating a Sliding Temporary Door
Step 1: Install the Rail System
Mount a rail or track system above the door opening, ensuring it is level and capable of supporting the weight of the door. This setup should allow the door to slide effortlessly.
Step 2: Attach Sliding Hardware to the Door
Fasten sliding hardware to the top of the plywood or panel door, ensuring alignment with the rail for a fluid glide. Double-check hardware attachment to prevent future disengagement.
Step 3: Hang the Door
Lift the door and carefully slide the hardware into the track, testing the door gently to ensure it opens and closes smoothly, providing a practical and space-efficient solution.

Weatherproofing and Insulating a Temporary Door
Ensuring your temporary door can withstand various weather conditions is key to maintaining a comfortable indoor environment.
Sealing the Edges for Draft Protection:
Begin by applying foam weatherstripping or adhesive seals along the edges of the door. This simple yet effective measure blocks drafts, dust, and insects from penetrating the gaps, enhancing the space’s overall insulation.
Insulating with Heavy Fabric or Tarp:
If you’re using a curtain or fabric door, opt for thicker materials or layer multiple fabrics to improve insulation. This added thickness helps retain warmth in cooler climates and keeps the area cooler during warm weather.
Adding Plastic Sheeting for Outdoor Doors:
Affix plastic sheeting to the exterior of temporary plywood or sliding doors exposed to the elements. Use staples or tape to secure the sheeting, thereby creating a durable waterproof barrier against rain and wind.
Using a Door Sweep or Threshold Seal:
Lastly, install a door sweep along the bottom edge of the door to further guard against drafts or moisture sneaking in from underneath. This comprehensive approach to weatherproofing ensures that temporary doors deliver maximum comfort and protection, no matter the weather.
Removing and Storing Your Temporary Door
Uninstalling the Door
For fabric or curtain doors, simply remove the tension rod or unhook the fabric. For plywood or sliding doors, carefully unscrew the hinges or lift the door off the track, ensuring all parts are safely detached without causing any damage.
Storing Materials for Future Use
Store fabric or curtains in a dry area to prevent mold or mildew, ensuring they remain in good condition. Keep all hardware, rails, and other materials organized in a labeled box or container, facilitating easy reinstallation when needed.
Cleaning and Reusing Materials
Thoroughly clean any dirt or debris from fabrics, wood, or plastic sheeting prior to storage. Conduct a careful inspection for any damage and promptly replace any worn or defective components before the next use, ensuring materials are ready for future projects.
Conclusion
In creating different types of temporary doors, such as fabric, plywood, and sliding options, key steps involve selecting appropriate materials, installing reliable hardware, weatherproofing, and finally ensuring safety. Whether it’s attaching a tension rod for a fabric door or securely fastening the hardware on a plywood model, each method has its own critical steps that must be adhered to for optimal functionality.
Temporary doors prove to be a versatile solution due to their ability to provide privacy, weather protection, and enhanced security quickly and cost-effectively. They offer remarkable customization and ease of installation, catering to a broad range of needs without permanent commitments.
Ultimately, knowing how to make a temporary door empowers individuals to adapt their spaces quickly and efficiently, whether for a home renovation, seasonal adjustments, or temporary security enhancements, showcasing their practicality and flexibility.
About
Safety Fic is a distinguished figure in the world of Diy design, with a decade of expertise creating innovative and sustainable Diy solutions. His professional focus lies in merging traditional craftsmanship with modern manufacturing techniques, fostering designs that are both practical and environmentally conscious. As the author of diy, Safety Fic delves into the art and science of Safety Fic-making, inspiring artisans and industry professionals alike.
Education RMIT University
(Melbourne, Australia) Associate Degree in Design (Safety Fic) Focus on sustainable design, industry-driven projects, and practical craftsmanship. Gained hands-on experience with traditional and digital manufacturing tools, such as CAD and CNC software.
Nottingham Trent University
(United Kingdom) Bachelor’s in diyfastly.com and Product Design (Honors) Specialized in product design with a focus on blending creativity with production techniques. Participated in industry projects, working with companies like John Lewis and Vitsoe to gain real-world insights.
Publications and Impact
In diy, Safety Fic his insights on indoor design processes, materials, and strategies for efficient production. His writing bridges the gap between artisan knowledge and modern industry needs, making it a must-read for both budding designers and seasoned professionals.
