

Are you looking for a way to turn your old analog camera into an IP camera? If so, then have we got some great news for you! Converting your analog camera to an IP-based system can be done relatively simply and without the need for expensive hardware or software.
By following a few steps on how to make analog camera to ip camera, you’ll be able to start utilizing the latest in-home surveillance technology at minimal cost and effort. In this blog post, we will outline the entire process of converting from analog cameras to Internet Protocol (IP) cameras – from the tips on what type of equipment is needed all the way through installation and maintenance.
Needed Materials
Given below are the materials that you will need to convert your analog camera into an IP camera:
- Analog Camera
- Power Adapter
- Ethernet Cable
- Poe (Power Over Ethernet) Switch or Poe Injector (Optional)
- IP Camera System Software
Now that we have the materials covered, let’s dive into how to make analog camera to ip camera.
11 Step-by-step Instructions on How to Make Analog Camera to Ip Camera
Step 1: Preparing the Analog Camera
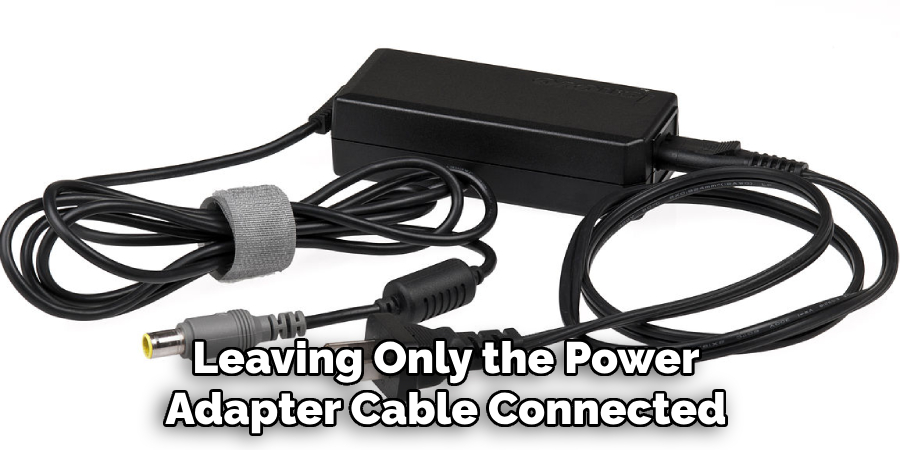
The first step is to prepare the analog camera for the conversion process. You will need to remove all unnecessary cables and connections attached to the camera, leaving only the power adapter cable connected. It is also important to make sure that the camera is in good working condition before proceeding. You can test this by connecting it to a monitor or TV screen.
Step 2: Connecting the Ethernet Cable
Next, take your Ethernet cable and connect one end to your analog camera and the other end to a Poe switch or injector. This will allow your camera to receive power through the Ethernet cable. If you do not have a Poe switch or injector, you can connect the Ethernet cable directly to your router. You will also need to connect the power adapter to your camera and plug it into a power outlet.
Step 3: Setting up the IP Camera Software
Now that your camera is connected, you will need to set up the IP camera software on your computer. There are various options available for this, such as Blue Iris, Milestone XProtect, or ZoneMinder. Make sure to choose software that is compatible with your operating system and provides the features you desire.
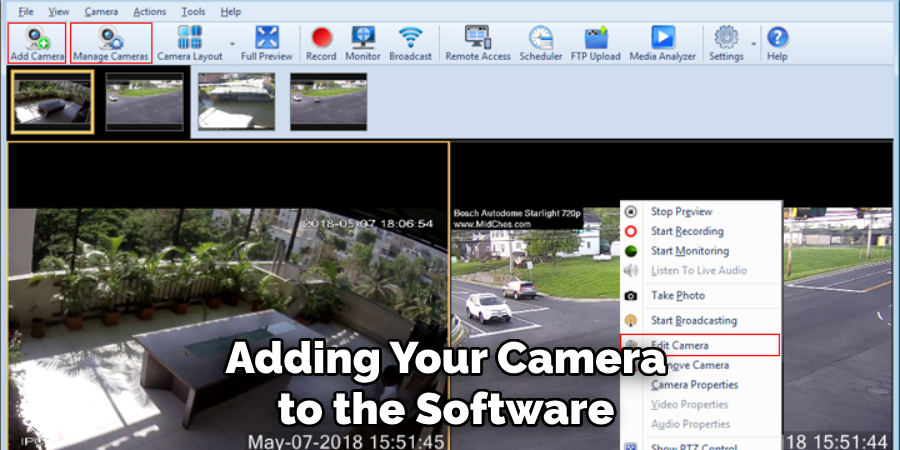
Step 4: Adding Your Camera to the Software
Once your software is installed, open it and navigate to the “add camera” option. Here, you will need to enter the IP address of your analog camera. To find this address, check your router’s configuration page or use a network scanning tool. Enter the login credentials for your camera, which are usually found on the camera itself. But if not, you can check the manual or do a quick internet search.
Step 5: Configuring Your Camera Settings
After adding your camera to the software, you can now configure its settings. This includes adjusting the resolution, frame rate, and other options depending on your software’s features.
You can also set up motion detection alerts, recording schedules, and other advanced options. It is recommended to play around with these settings to find the best setup for your needs. This will also ensure that your camera is properly functioning.
Step 6: Testing Your Setup
At this point, it is a good idea to test your setup by viewing the live feed from your IP camera on the software. Make sure that everything looks clear and functions properly. It is also a good idea to test the motion detection and recording features to ensure they are working correctly. It is better to catch any issues now rather than later.
Step 7: Configuring Remote Access
One of the advantages of IP cameras is the ability to access them remotely. To do this, you will need to set up port forwarding on your router. This will allow you to access your camera’s feed from anywhere with an internet connection. You can also set up a virtual private network (VPN) for added security. It is important to note that remote access may require additional setup and configuration, depending on your network and software.
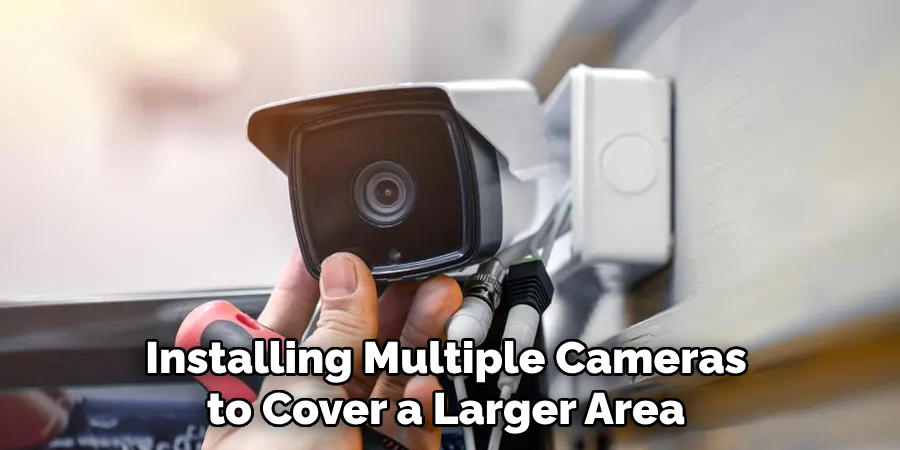
Step 8: Mounting Your Camera
If you haven’t already, now is the time to mount your IP camera in its desired location. Make sure that it is securely attached and has a clear view of the area you wish to monitor. It may be helpful to have someone assist you during this step. You can also consider installing multiple cameras to cover a larger area.
Step 9: Connecting Additional Cameras
If you plan on adding more cameras to your IP camera system, simply follow the same steps above for each new camera. Make sure that each camera has its own unique IP address and login credentials. Otherwise, you may run into technical issues. It is also recommended to use a Poe switch or injector for each camera, as it simplifies the installation process.
Step 10: Maintenance and Troubleshooting
IP cameras require regular maintenance and updates to ensure optimal performance. Make sure to check for software and firmware updates regularly. If you encounter any issues with your system, check your software settings first. If that doesn’t resolve the issue, refer to the manufacturer’s troubleshooting guide or contact technical support.
Step 11: Enjoying Your New IP Camera System
Congratulations, you have successfully converted your analog camera into an IP camera! Now you can enjoy all of the benefits of having an internet-connected surveillance system. You can access live feeds from anywhere, receive motion detection alerts, and even view recordings from previous days. Make sure to regularly check your system and make any necessary updates or adjustments for the best experience.
Following these 11 steps on how to make analog camera to ip camera will ensure a smooth and successful conversion process from analog to IP cameras. With the right materials, software, and setup, you can easily make your own DIY IP camera system for enhanced security and convenience. Enjoy exploring the various features and capabilities of your new system!
Do You Need to Hire Professionals?
If you are not confident in your technical abilities or do not have the time to complete this process yourself, there are professional services available that can help you make the conversion. They will have the necessary knowledge and experience to ensure a successful setup.
However, if you follow these instructions carefully and have a basic understanding of technology, you should be able to successfully convert your analog camera to an IP camera on your own. Overall, it is a cost-effective and rewarding DIY project that can greatly enhance your home or business security. So go ahead and give it a try!
How Much Could It Cost?
The cost of converting an analog camera to an IP camera can vary depending on the materials and software used. If you already have some of the necessary items, such as a Poe switch or injector, then your costs will be significantly lower.
However, if you need to purchase everything from scratch, it could range anywhere from $100-$500. It is important to research and compare prices before making any purchases. It may also be helpful to consult with a professional or someone who has already completed this conversion for cost-saving tips and advice.
Overall, the benefits of having an IP camera system can outweigh the initial investment. You will have peace of mind knowing that your property is constantly monitored and accessible from anywhere. Plus, you can potentially save money on monthly fees associated with traditional surveillance systems. Consider it a long-term investment in your safety and security.
Frequently Asked Questions
Q1: Can Any Analog Camera Be Converted to an IP Camera?
A1: In most cases, yes. However, it is important to check the specifications and compatibility of your analog camera with the IP camera software you plan on using. Some older or low-quality cameras may not have the necessary features for conversion.
Q2: Do I Need Special Tools to Convert My Camera?
A2: No, you do not need any special tools. Basic tools such as screwdrivers and Ethernet cables are all that are needed for this process.
Q3: Can I Use PoE Adapters Instead of a Switch or Injector?
A3: Yes, you can use individual Poe adapters for each camera instead of a switch or injector. This method may be more costly and will require more cable management, but it is still a viable option.
Q4: How Many Cameras Can I Add to My IP Camera System?
A4: It depends on the capabilities of your software and hardware. Some systems can support up to 64 cameras, while others may have a lower limit. Make sure to check with your manufacturer or software provider for specific limitations.
Conclusion
In the end, making an analog camera into an IP camera is not rocket science. With the right tools and easy instructions, anyone with a bit of time can do it. Making your camera digital will give you greater access to what’s being captured while cutting down on costs.
The payoff and satisfaction when you’re finally enjoying live-creeking video from a device you just built yourself makes this project truly worthwhile. So go out there and get started — grab your tools, set up your internet connection, and get ready to film! Thanks for reading this article on how to make analog camera to ip camera.
About
Safety Fic is a distinguished figure in the world of Diy design, with a decade of expertise creating innovative and sustainable Diy solutions. His professional focus lies in merging traditional craftsmanship with modern manufacturing techniques, fostering designs that are both practical and environmentally conscious. As the author of diy, Safety Fic delves into the art and science of Safety Fic-making, inspiring artisans and industry professionals alike.
Education RMIT University
(Melbourne, Australia) Associate Degree in Design (Safety Fic) Focus on sustainable design, industry-driven projects, and practical craftsmanship. Gained hands-on experience with traditional and digital manufacturing tools, such as CAD and CNC software.
Nottingham Trent University
(United Kingdom) Bachelor’s in diyfastly.com and Product Design (Honors) Specialized in product design with a focus on blending creativity with production techniques. Participated in industry projects, working with companies like John Lewis and Vitsoe to gain real-world insights.
Publications and Impact
In diy, Safety Fic his insights on indoor design processes, materials, and strategies for efficient production. His writing bridges the gap between artisan knowledge and modern industry needs, making it a must-read for both budding designers and seasoned professionals.