

Are you looking to keep your home or office always secure and monitored without having to constantly check and adjust its settings? With Blink security cameras, it’s easier than ever. With just a few simple steps, even the most novice of users can set up their camera to record all the time—preserving precious memories, detecting unwanted trespassers, or keeping an eye out for mischievous pets!
In this blog post on how to make blink camera record all the time, we’ll explore why you might want to have your Blink camera recording all the time and what setting adjustments are necessary in order for you to optimize your system. If peace of mind is what you’re after when it comes to home surveillance then read on; let’s get started!
Things to Consider Before You Start
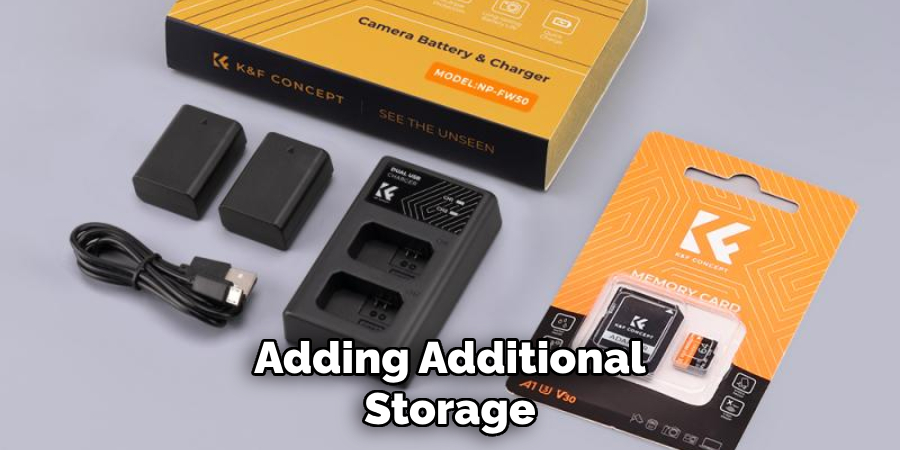
Before we delve into the technical settings, it’s important to consider a few things about your home and environment. First, do you have enough storage space to record footage all the time? Blink cameras come equipped with internal storage, but if you want to save footage for long periods of time or have several cameras set up, it may be worth investing in additional storage.
Additionally, keep in mind that constant recording will drain your camera’s battery more quickly, so make sure you have a power source nearby or invest in backup batteries.
Needed Tools and Materials
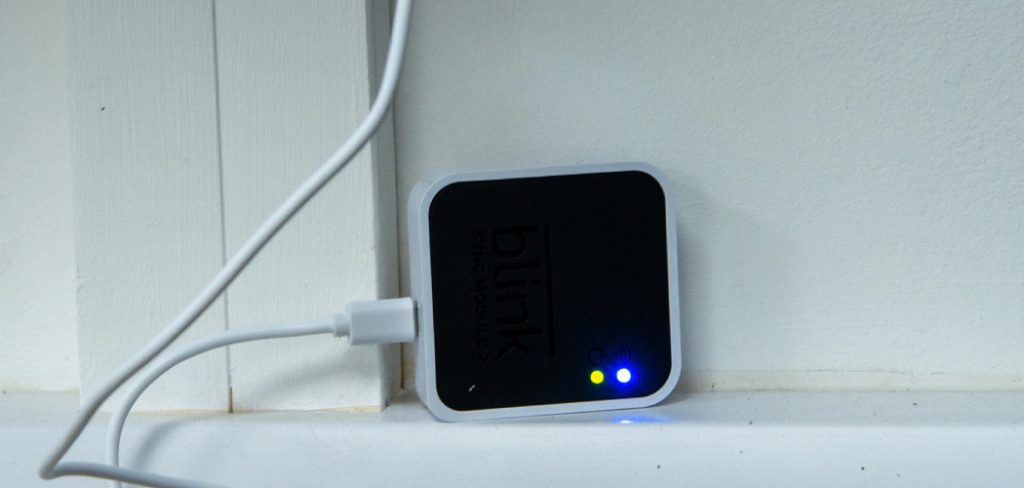
- A Compatible Blink Camera (Indoor or Outdoor)
- The Latest Version of the Blink App
- An Active Wi-Fi Connection
- Adequate Storage Space on Your Device or a Blink Sync Module With Attached USB Storage
- A Power Source (Optional)
If you have all of these items, then we’re ready to get started with the steps on how to make your Blink camera record all the time!
10 Step-by-step Guidelines on How to Make Blink Camera Record All the Time
Step 1: Adjust Your Motion Sensor Sensitivity
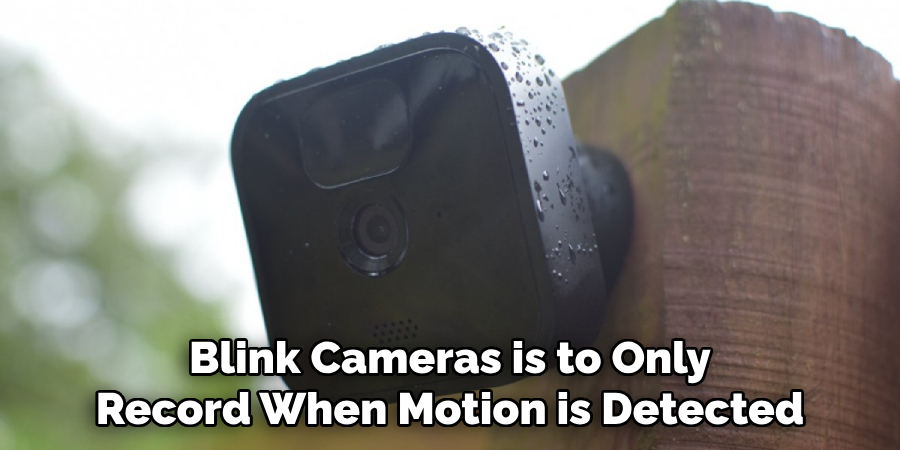
The default setting for Blink cameras is to only record when motion is detected. In order to change this, you’ll need to adjust the sensitivity settings on your camera through the Blink app.
This will allow your camera to continuously record without relying solely on motion detection. It’s important to note that the higher the sensitivity, the more battery life and storage space will be used. You can find this setting under the Camera Settings in the app.
Step 2: Set Your Recording Length
Now that your camera is set to record constantly, you’ll need to adjust how long each recording will last. You can set this time on a scale of 5 seconds up to 60 seconds for each recording. Keep in mind that shorter recordings may save battery life and storage space but may not capture enough footage. But, longer recordings may capture too much footage and require more storage space.
Step 3: Enable Auto-arming
Enabling auto-arming will allow your camera to automatically turn on and record when you arm the system. This is useful if you want to have continuous recording at certain times of the day or night.
Although this setting may use more battery and storage, it can give you peace of mind knowing that your camera is always recording at designated times. But, it’s important to remember that this setting only works if your camera is connected to a power source.
Step 4: Adjust Night Vision Settings
If you want to record footage all the time, it’s important to make sure your camera has clear night vision. In the Blink app, you can adjust the IR illuminator settings to optimize your camera’s night vision capabilities.

You can also consider adding additional lighting near your camera for better visibility. But be careful not to create too much glare, as this may affect the quality of your recordings. It’s best to test different lighting options before settling on a final setup.
Step 5: Set Up a Schedule for Recording
In addition to auto-arming, you can also set up a schedule for when you want your camera to record. This allows for more control over when and how often recordings are captured.
You can choose specific days and times or set up recurring schedules. It’s important to keep in mind the storage space and battery life when setting up a schedule. This feature can also be useful if you want your camera to record during certain events or when you are away from home.
Step 6: Add Additional Cameras
If you have multiple Blink cameras, you can follow the same steps for each camera to have them all record constantly. This allows for comprehensive coverage of your home or office.
But keep in mind that this may use more battery and storage, so make sure you have enough resources available. You can also adjust the recording length and sensitivity settings for each individual camera depending on its placement and purpose.
Step 7: Consider the Placement of Your Camera
When setting up your camera for constant recording, make sure to place it in an optimal position. Choose a spot that gives you the best coverage and visibility, without any obstructions or distractions.
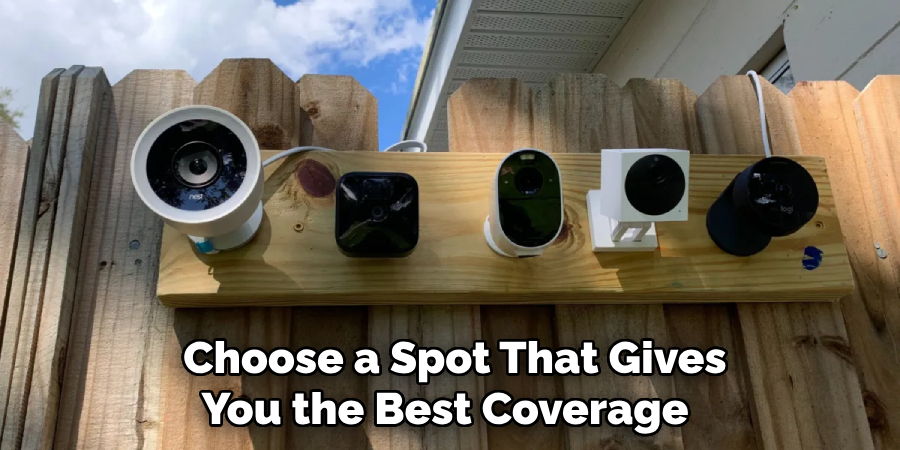
Also, consider the range of motion detection and adjust the sensitivity settings accordingly. It’s also a good idea to test out the placement and settings before finalizing them.
Step 8: Test Your Settings
After adjusting all the necessary settings, it’s important to test them out and make sure your camera is recording as desired. You can trigger recordings by walking in front of the camera or manually pressing the record button on your Blink app. It’s also a good idea to check your storage space and battery life at regular intervals to make sure everything is functioning properly.
Step 9: Monitor Battery Life and Storage Space
With constant recording, it’s important to keep an eye on your battery life and storage space. You may need to replace batteries or free up storage space from time to time, depending on your settings and usage. It’s also important to regularly check your Blink app for any alerts or notifications regarding low battery or full storage.
Step 10: Make Necessary Adjustments
If you find that your battery life or storage space is being depleted too quickly, you may need to make adjustments to your settings. Consider lowering the sensitivity, shortening the recording length, or adding additional storage. It’s important to find a balance between constant recording and efficient use of resources. Always monitor and adjust your settings as needed to ensure effective and continuous recording.
Following these 10 steps on how to make blink camera record all the time, you can easily make your Blink camera record all the time. With proper settings and regular maintenance, you can have comprehensive coverage of your space and peace of mind knowing that your camera is always recording.
Whether for security purposes or just to keep an eye on things, constant recording with a Blink camera is a great tool for any home or office. So, follow these guidelines and enjoy the benefits of having your Blink camera record all the time!
Frequently Asked Questions
Q1. Will Constant Recording Drain My Camera’s Battery?
A1. Constant recording may use more of your camera’s battery compared to just relying on motion detection. However, with proper settings and regular monitoring, you can optimize your battery usage and extend its life.
Q2. How Much Storage Space Will I Need for Constant Recording?
A2. The amount o and type of storage needed will depend on your settings and usage. It’s recommended to have at least 1GB of available storage space for every camera in use.
Q3. Can I Still Use Motion Detection While Using Constant Recording?
A3. Yes, you can still enable motion detection while using constant recording. This allows for a more comprehensive approach to monitoring your space. However, keep in mind that this may use more battery and storage resources.
Q4. Can I Access My Recorded Footage Anytime?
A4. Yes, you can access your recorded footage anytime through the Blink app or by installing it from the cloud storage. Keep in mind that you may need to free up storage space if you have a large amount of recordings.
Conclusion
Despite all the challenges you might face, if you carefully follow these steps on how to make blink camera record all the time, you’ll be able to make your Blink Camera record all the time. And if you discover that changing the settings simply isn’t enough and that your camera still isn’t working as expected, try being patient and consistent as you troubleshoot the issue.
Don’t forget that with a bit of commitment and dedication, anything is possible! So take a deep breath, have faith in yourself–and in your ability to find sound solutions–and don’t give up until you’ve made your Blink Camera record all the time. Good luck on this journey!