

Are you looking for an easy way to keep an eye on your property using a Vivint camera? Do you need the ability to record continuously and remotely access video footage? Do you need help determining how best to use your camera’s features and settings? Look no further!

In this blog post, we will explain everything you need to know about setting up your Vivint camera so that it can instantly begin recording in a continuous loop. With our step-by-step instructions, you’ll be able to take full advantage of all the great features of this top-of-the-line security system.
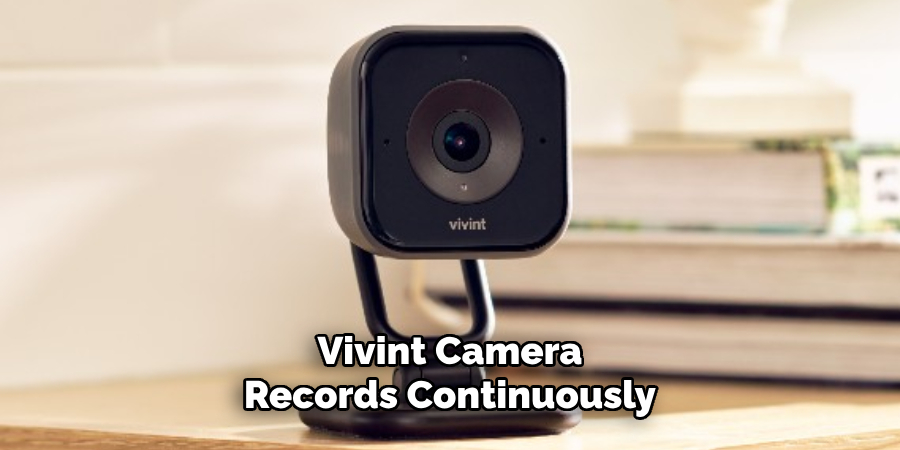
So read on to learn more about how to make vivint camera record continuously, and start making sure that your home is always protected with the help of Vivint!
What Will You Need?
To get started, you will need the following:
- A Vivint camera
- A Vivint Smart Home control panel
- Active service plan with video monitoring feature (+$5/month)
- Robust and reliable Wi-Fi connection
Once these requirements are fulfilled, you are ready to begin setting up your camera for continuous recording!
10 Easy Steps on How to Make Vivint Camera Record Continuously
Step 1: Install Your Camera
The first step to getting your Vivint camera up and running is to install it correctly. Follow the installation instructions provided by Vivint for a quick and hassle-free setup process. Once successfully installed, make sure that the LED light on the front of your camera is solid green, indicating that it is ready to connect.
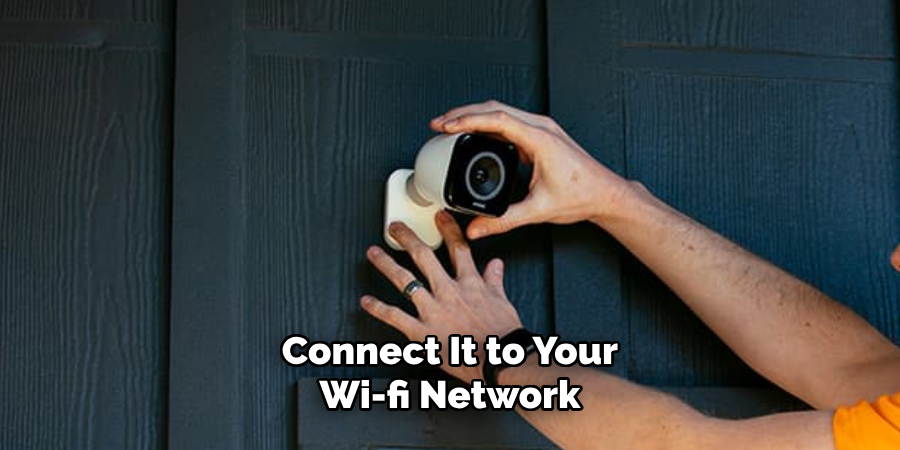
Step 2: Connect Your Camera to Your Wi-Fi Network
Now that your camera is in place, it’s time to connect it to your Wi-Fi network. Using your Vivint Smart Home control panel, navigate to the “Settings” menu and select “Wi-Fi”. Choose your home network from the list of available networks and enter the password when prompted.
Step 3: Register Your Camera with Vivint Smart Home App
Once the camera is connected to your Wi-Fi, it’s time to register it with the Vivint Smart Home app. Open the app on your smartphone, tap on the menu button located on the top left of the screen, and then select ‘Devices.’ Choose ‘Add Device,’ then select ‘Camera.’ Follow the instructions on the screen to add your Vivint camera to the app successfully.
Step 4: Configure Continuous Recording Settings
To set up continuous recording, return to the Vivint Smart Home app on your smartphone. From the menu, navigate to ‘Devices’ and select your camera. You’ll find an option named ‘Recording Schedule’. Tap it, and you will be directed to a new screen.
Here, you can set your camera to record continuously by choosing the ’24/7 Continuous recording’ option. Confirm your selection, and from this point onward, your camera will record continuously, storing the footage in your associated Vivint cloud storage account.
Step 5: Monitor Your Recordings
After finishing the setup, you can start monitoring the continuous recordings of your Vivint camera. To do this, navigate to the ‘Devices’ page on your Vivint Smart Home app. Select your camera and then select the ‘Timeline’ feature.
This will show you all of your camera’s recordings, sorted by date and time. You can easily scroll through your recordings, watch them in real-time, or review past footage as needed. With Vivint, keeping an eye on your property has never been easier!
Step 6: Save Important Recordings
As your Vivint camera records continuously, it’s essential to know how to save crucial clips you may need for future reference. In the Vivint Smart Home app, under the ‘Timeline’ feature, you can review your recorded video footage.
If you see a clip you wish to save, simply select the video and click on the ‘Save’ icon. The clip will then be Installed to your device’s storage. With this feature, you can easily keep and manage essential video clips.
Step 7: Manage Your Storage
As your Vivint camera continually records, it’s essential to manage your storage effectively to prevent it from filling up. To do this, navigate to the ‘Storage’ section in your Vivint Smart Home app. Here, you can view the amount of storage currently in use and the total available storage.
If your storage is nearing capacity, consider deleting unimportant footage or saving important footage to another device to clear up some space. This process will ensure your camera can continue to record without interruption.
Step 8: Set Up Alerts
Another useful feature of your Vivint camera is the ability to set up alerts. This feature can notify you on your smartphone when the camera detects any motion or noteworthy events. To do this, go to the ‘Devices’ section in your Vivint Smart Home app and select your camera.
Then, navigate to ‘Alerts’ and choose the type of alerts you want. You can decide to get notified about all motion events or only those that occur during specific hours. By enabling alerts, you ensure that you can promptly respond to any potential security threats.
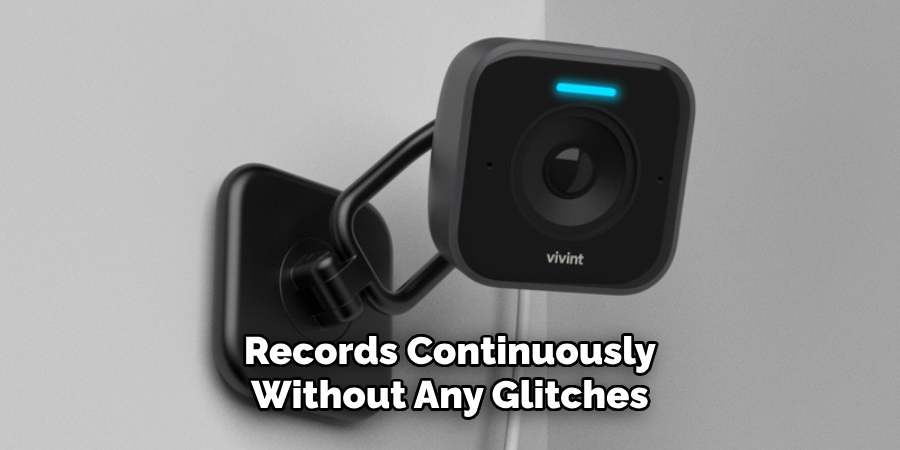
Step 9: Regularly Update Your Camera
To ensure that your Vivint camera functions optimally and records continuously without any glitches, it’s essential to keep it updated with the latest firmware and software updates. Vivint frequently releases updates to improve the performance and security of their cameras.
To update your device, go to the ‘Devices’ section in your Vivint Smart Home app, select your camera, and navigate to ‘Device Settings’. If an update is available, an ‘Update’ button will appear. Click on it to start the update process. It’s recommended to perform this step periodically to ensure your camera is always up-to-date.
Step 10: Troubleshooting
If your Vivint camera stops recording continuously, there are a few troubleshooting steps you can take. First, ensure your Wi-Fi connection is strong and stable, as a weak or interrupted signal may affect the camera’s ability to record. Next, check for updates for your camera, as outdated firmware could cause performance issues.
If the problem persists, restart your camera by disconnecting it from the power supply, waiting for a few moments, and then reconnecting it. If none of these steps resolve the issue, contact Vivint’s customer support for further assistance.
By following these steps, you can easily set up your Vivint camera to record continuously and enjoy peace of mind with constant surveillance.
5 Additional Tips and Tricks
- Enable 24/7 Video Recording (CVR): To make your Vivint camera record continuously, you must subscribe to Vivint’s Continuous Video Recording plan. This service allows your camera to keep recording constantly, ensuring that no event is missed.
- Use High-Quality SD Cards: If your camera model supports it, use a high-capacity SD card to store more footage. Be sure to use a reliable brand to avoid data corruption over time.
- Optimize Your Wi-Fi Connection: For seamless recording, ensure your camera is connected to a stable and robust Wi-Fi network. Any disruptions in the network can lead to gaps in the recorded footage.
- Keep Your Camera Firmware Updated: Manufacturers often update firmware to improve performance and add new features. Regularly check for updates to ensure your camera is operating at its best.
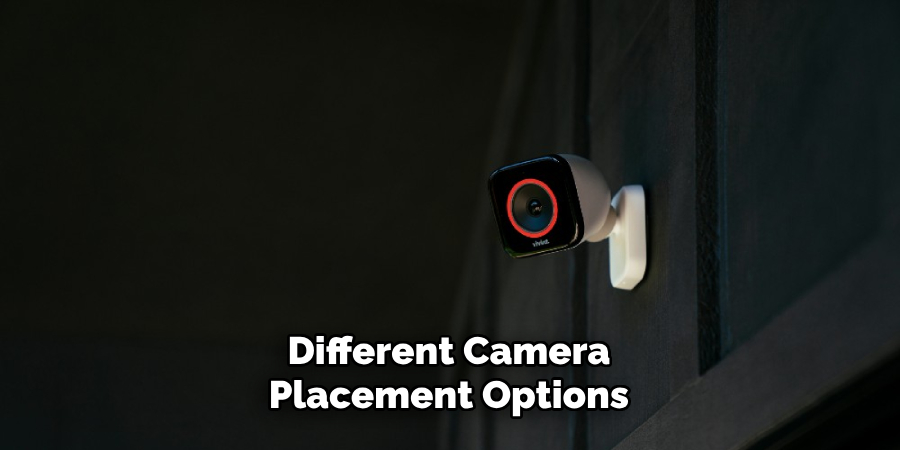
- Try Out Different Camera Placement: Depending on your home’s layout, you may want to experiment with different camera placement options. Try placing the camera at different angles or locations to get better coverage and improve recording quality.
These additional tips will help you make the most out of your Vivint camera and ensure continuous recording.
5 Things You Should Avoid
- Avoiding Regular Maintenance: Not maintaining your Vivint camera can decrease performance over time. Dust, spider webs, or other obstructions can obscure the lens and degrade video quality. Make sure to clean your camera regularly.
- Ignoring Privacy Laws: Always be mindful of privacy laws in your area when installing cameras. In some places, it’s illegal to record areas where people have a reasonable expectation of privacy, like bathrooms or neighbor’s property.
- Forgetting to Change Default Passwords: One common mistake is not changing the default password for your security camera. This can lead to unauthorized access. Always change the default password to something stronger and unique.
- Using Unsecured Wi-Fi Networks: Connecting your camera to an unsecured Wi-Fi network can expose your camera feed to potential hackers. Always use a secured and password-protected Wi-Fi network.
- Not Backing Up Your Footage: If you’re not backing up your footage, you risk losing important recordings due to a faulty SD card or any other technical issue. Consider using a cloud storage solution to back up your footage regularly.
By avoiding these common mistakes, you can ensure the continuous and secure functioning of your Vivint camera. Remember always to prioritize safety and privacy when using any security device in your home.
Can Vivint Be Used Without Monitoring?
Yes, Vivint can be used without monitoring. However, remember that you need professional monitoring to have access to features like alerts or emergency response services. Without monitoring, your camera will still record footage, and you can view it through the mobile app or web portal. You can also use features like two-way talk and remote control of your camera’s settings.
However, in an emergency at your home, you must rely on self-monitoring and contacting the authorities yourself. It’s always recommended to have professional monitoring for added safety and peace of mind.
Additionally, with a monitored security system, any issues or technical problems can be quickly addressed by trained professionals instead of troubleshooting independently.
Conclusion
After understanding how to make Vivint camera record continuously, you’ll have complete peace of mind knowing that your house and belongings are safe. You can sit back, relax,, and check back in on your islands of tranquility without worrying about taking manual actions!
Imagine being able to reach out into the world with a single click and turn the motion detection feature on and off. This awesome ability allows you to protect what is valuable while allowing for conveniences we all appreciate.
Hopefully, this guide has helped you make the most out of your Vivint camera and provided some valuable tips to ensure continuous recording. Remember to always prioritize safety, privacy, and regular maintenance for the best performance of your security camera.
Go ahead and take control of your home’s security needs today with Vivint. Together, we can make the world safer!
About
Safety Fic is a distinguished figure in the world of Diy design, with a decade of expertise creating innovative and sustainable Diy solutions. His professional focus lies in merging traditional craftsmanship with modern manufacturing techniques, fostering designs that are both practical and environmentally conscious. As the author of diy, Safety Fic delves into the art and science of Safety Fic-making, inspiring artisans and industry professionals alike.
Education RMIT University
(Melbourne, Australia) Associate Degree in Design (Safety Fic) Focus on sustainable design, industry-driven projects, and practical craftsmanship. Gained hands-on experience with traditional and digital manufacturing tools, such as CAD and CNC software.
Nottingham Trent University
(United Kingdom) Bachelor’s in diyfastly.com and Product Design (Honors) Specialized in product design with a focus on blending creativity with production techniques. Participated in industry projects, working with companies like John Lewis and Vitsoe to gain real-world insights.
Publications and Impact
In diy, Safety Fic his insights on indoor design processes, materials, and strategies for efficient production. His writing bridges the gap between artisan knowledge and modern industry needs, making it a must-read for both budding designers and seasoned professionals.