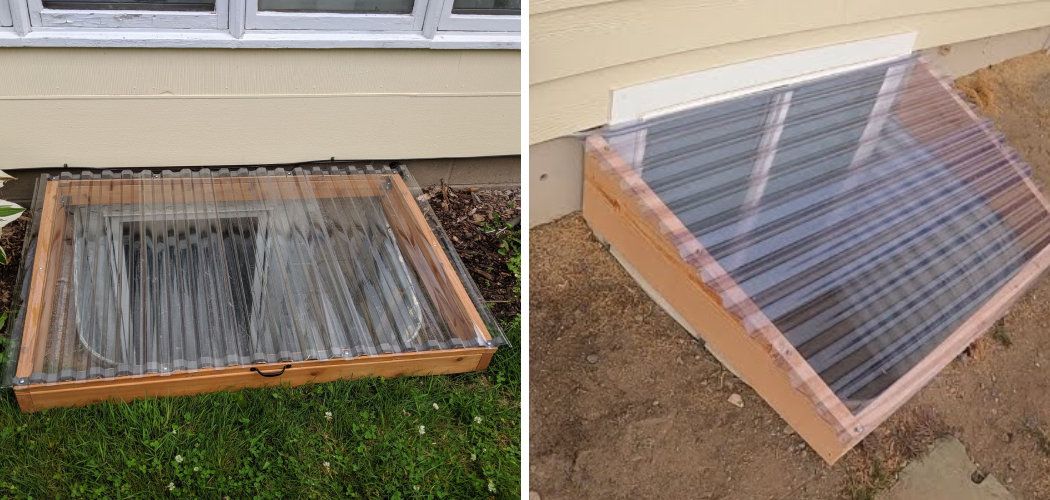
Creating your own window well cover is a practical and cost-effective way to protect your basement window wells from debris, water, and potential intruders. Not only does having a cover keep these unwanted elements at bay, but it also improves the overall safety and efficiency of your home. Whether you’re looking to save money or gain a valuable DIY experience, crafting your window well cover
can be a rewarding project. In this guide, we will walk you through how to make your own window well cover, materials, and tools required to construct a durable and efficient cover tailored to your home’s needs.
What is a Window Well Cover?
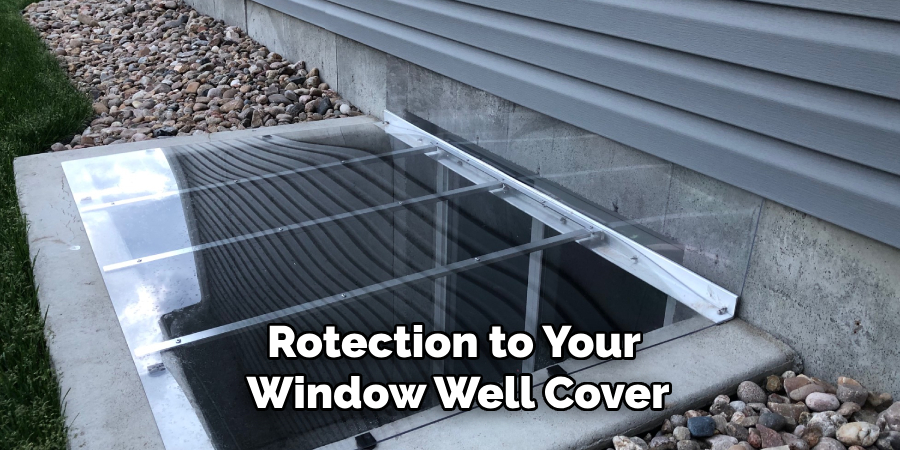
A window well cover is a protective covering designed to fit over the open space of a window well. Typically made from materials such as polycarbonate, metal, or acrylic, these covers serve as a barrier against external elements, preventing debris, leaves, and water from accumulating in the wells. They also enhance home security by deterring animals and potential intruders from accessing
basement windows. Window well covers not only contribute to the longevity and cleanliness of your basement windows but also allow natural light into the basement, maintaining a bright and inviting space while ensuring safety and protection.
10 Methods How to Make Your Own Window Well Cover
1. Measure Your Window Well Accurately
The first and most critical step in making your own window well cover is to take accurate measurements of your window well. A precise fit will ensure that the cover provides optimal protection from debris, water, and other elements while maintaining a neat appearance. Measure the width and length of the window well at its widest points, and also take note of the depth if the well is particularly deep.
If your window well has a rounded or irregular shape, measure the radius or trace the shape on a large piece of paper for a more accurate guide. These measurements will serve as the foundation for designing and cutting your cover, ensuring that it fits snugly and securely.
2. Choose Your Materials
The choice of materials will greatly impact the durability and effectiveness of your window well cover. Common materials include polycarbonate (a durable, clear plastic), metal grates, or wood. Polycarbonate is a popular choice because it’s lightweight, weather-resistant, and allows natural light to filter through the window. Metal grates, often made from steel or aluminum, provide strength and
can support heavier loads, such as snow or foot traffic. Wood may be used for a more rustic look, but it requires proper sealing to withstand outdoor elements. Select materials that match your specific needs, whether it’s allowing light into your basement or providing robust protection from falling debris.
3. Design the Cover
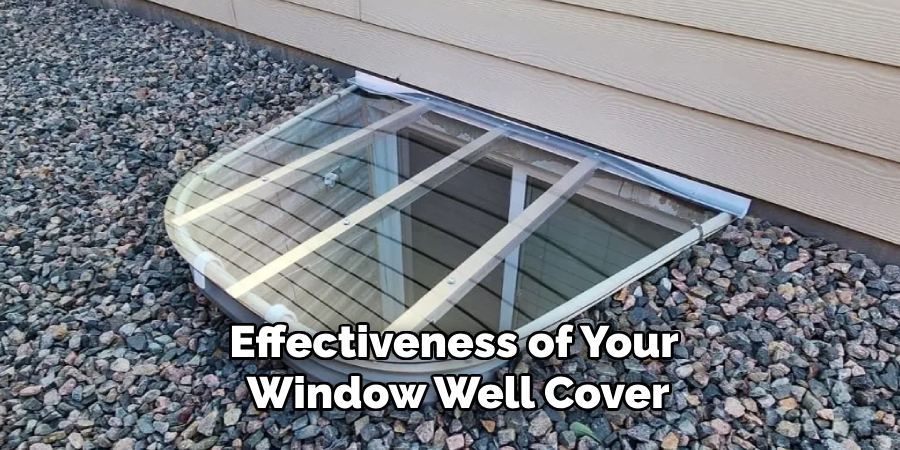
Once you’ve measured the window well and chosen your materials, the next step is to design your window well cover. Depending on your preferences, you can opt for a flat cover, a sloped cover, or a dome-shaped cover. A flat cover is simple to make and install, while a sloped or dome design will allow rainwater to run off more easily, reducing the chance of water pooling near the window. If you’re using
polycarbonate, you may want to design the cover with support braces underneath to provide extra strength. Metal grates can be designed with or without crossbars, depending on how much support you need. A well-thought-out design ensures that your window well cover is both functional and aesthetically pleasing.
4. Cut the Materials to Size
With your design in mind, it’s time to cut the materials to the proper size. If you’re using polycarbonate, you’ll need a fine-toothed saw or a jigsaw with a blade suitable for cutting plastic. Carefully cut the material according to your measurements, using a straight edge or guide to ensure clean cuts. For metal grates, a metal cutting saw or angle grinder will be necessary. When cutting
wood, use a circular saw or a jigsaw, ensuring the edges are smooth to prevent splintering. Take your time and double-check measurements before making any cuts to avoid costly mistakes. Wear appropriate safety gear, such as goggles and gloves, when working with sharp tools and materials.
5. Add Ventilation Holes or Drainage Slots
To prevent water from pooling on top of the window well cover, it’s a good idea to add ventilation holes or drainage slots, especially if your cover is made from solid materials like polycarbonate or wood. Drill several small holes across the surface of the cover or cut narrow slots using a jigsaw. These holes will allow rainwater to drain away while still protecting the well from debris and pests. If you prefer to
prevent any water from entering the window well at all, consider designing the cover with a slope or dome, which will allow water to run off naturally without the need for drainage holes.
6. Reinforce the Cover with Support Braces
To ensure that your window well cover is strong enough to withstand external pressure, particularly if it’s made from a flexible material like polycarbonate, add support braces underneath. These braces can be made from metal, wood, or even plastic and are designed to provide structural integrity. Attach the braces evenly across the underside of the cover, ensuring they run perpendicular to the
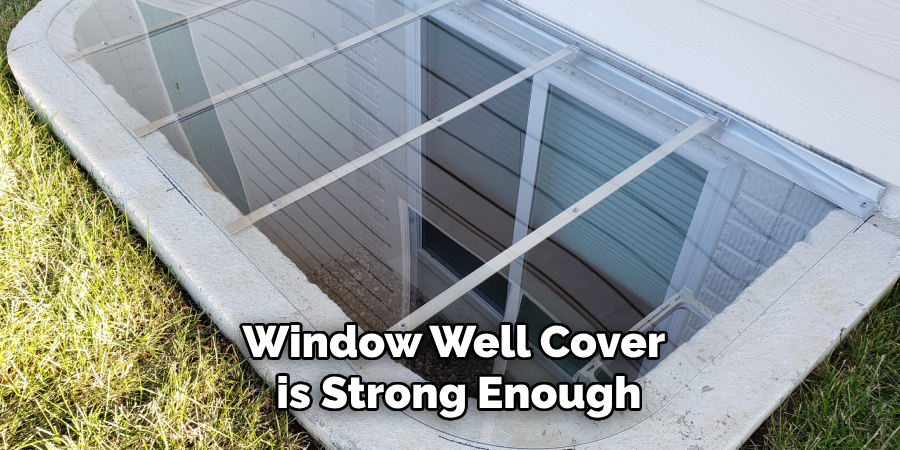
longest side of the cover. If you’re making a sloped or dome-shaped cover, position the braces in a way that maintains the shape and prevents sagging. Reinforcement not only improves durability but also helps the cover resist the weight of snow, leaves, or even people walking on it.
7. Attach a Hinge for Easy Access
If you need to access the window well frequently, consider attaching a hinge to one side of the cover. This will allow you to easily lift the cover without having to remove it completely each time. Choose a weather-resistant hinge made from stainless steel or another rust-proof material. Attach the hinge to the edge of the window well frame using screws, then secure the cover to the hinge. If you’re using
a metal grate, you can also weld the hinge to the frame for added durability. This simple addition will make it much easier to clean out the well, access basement windows, or perform maintenance tasks.
8. Secure the Cover in Place
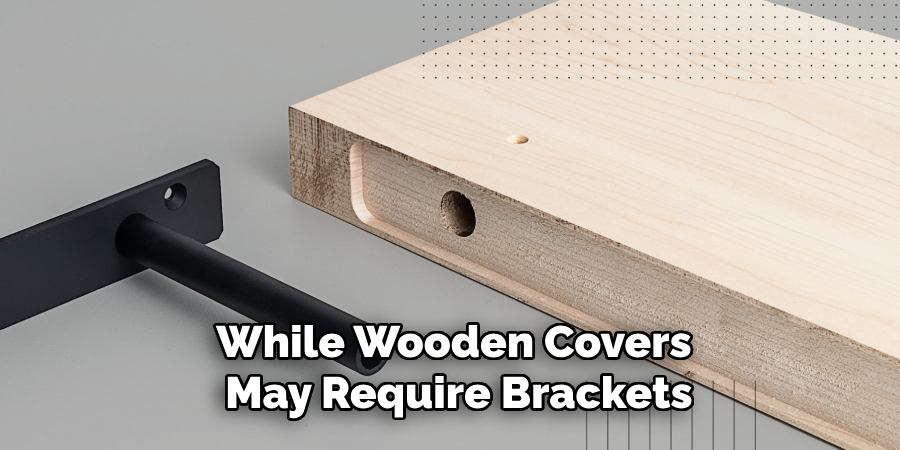
To prevent your window well cover from being displaced by wind, animals, or other external forces, it’s important to secure it properly. Depending on the material, you can use screws, clips, or even weights to keep the cover in place. For polycarbonate covers, drill small holes along the edges and use screws to attach the cover directly to the window well frame. Metal grates can be secured with
clips or fasteners that lock them in place, while wooden covers may require brackets or heavy-duty hooks. Ensure that the securing method allows for easy removal or opening if needed, while still holding the cover firmly in place during storms or high winds.
9. Seal the Edges for Extra Protection
For added protection against water, insects, or debris, consider sealing the edges of your window well cover. Weatherstripping or a silicone-based sealant can be applied along the perimeter where the cover meets the window well frame. This will create a tighter seal, reducing the chance of water leaking into the well during heavy rain. If you’re using a solid material like wood or polycarbonate, sealing the
edges will also help protect the material itself from moisture damage. This step ensures that your window well cover remains effective in all weather conditions, prolonging its lifespan and enhancing its protective qualities.
10. Add a Lock or Latch for Security
For added security, particularly if your window well is located in an area accessible to others, you may want to add a lock or latch to your cover. This is especially important if the window well provides access to a basement or other vulnerable areas of your home. Choose a weatherproof lock or latch mechanism that is easy to operate but strong enough to prevent tampering. Install the lock at
a convenient location, ensuring that it can be accessed from the outside but still provides security against unauthorized entry. This final touch adds both peace of mind and a layer of protection to your window well cover.
Conclusion
Creating a custom window well cover is an effective way to enhance the safety, security, and longevity of your home’s basement windows. By following these detailed steps, you can design a cover that is both functional and visually appealing. Carefully selecting materials, ensuring proper drainage, reinforcing structural integrity, and securing the cover in place are all critical components of
the process. Whether you opt for a simple hinged polycarbonate cover or a robust metal grate, taking the time to craft a well-fitted cover can protect your basement from water damage, debris, and unauthorized entry. Thanks for reading our blog post on how to make your own window well cover! We hope you found it helpful and informative.

