

Accurate measurements are crucial when installing barn door hardware to ensure the door functions correctly and looks aesthetically pleasing. Whether undertaking a new installation or replacing existing doors, precise measurements are necessary to avoid misalignment and operational issues. Inaccurate measurements can lead to gaps, improper sliding, or doors that don’t fully cover the opening, all of which can be frustrating and costly to fix.
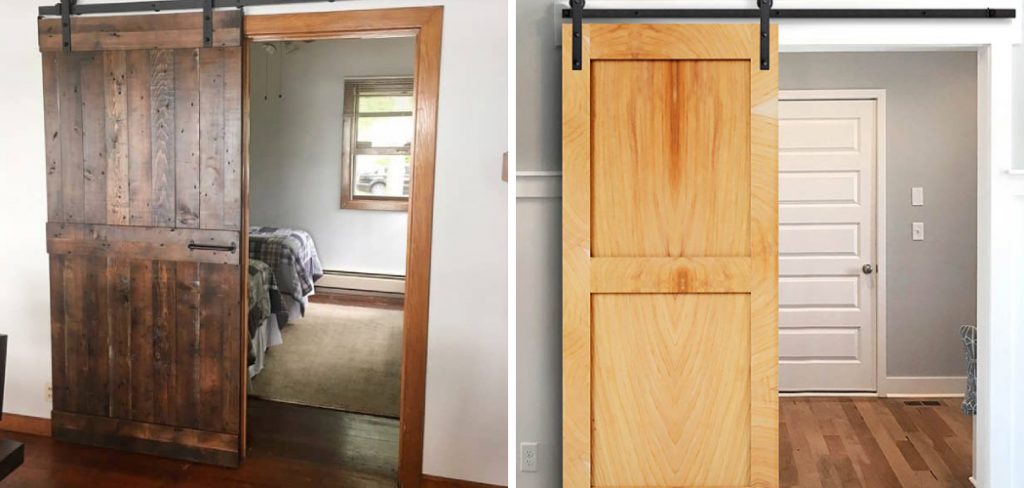
The measurement process involves several key steps: measuring the width and height of the door opening, assessing wall clearance, determining the door size, and calculating the requirements for the hardware.
Mastering how to measure for barn door hardware will set the foundation for a seamless installation, resulting in a smoothly operating and visually appealing barn door. The following sections will guide you through each step of the process in detail, ensuring you achieve the best possible outcome for your project.
Tools Needed for Measuring
To measure accurately for barn door hardware, you’ll need a few essential tools: a measuring tape, a level, a pencil, and a notepad. A measuring tape ensures you obtain precise dimensions of the door opening, while a level helps verify that your lines and surfaces are perfectly horizontal or vertical.
A pencil allows you to mark measurements and reference points clearly, and a notepad is crucial for jotting down all your measurements for easy reference. Having the right tools on hand is vital to achieving accurate measurements and ensuring a smooth and successful installation process.
Measuring the Door Opening
Width of the Door Opening
Follow these steps to accurately measure the width of the door opening for your barn door hardware. First, use a measuring tape to measure the distance from one side of the door opening to the other, ensuring you account for any trim or casing that may be present. This will provide you with the most accurate dimensions for the opening. Measure at three different points: the top, middle, and bottom of the opening, as walls can sometimes be uneven. Record the widest measurement.
Next, consider the width of the door overlap. For a barn door, extra width is essential to completely cover the opening when closed. Typically, an overlap of about 1 to 2 inches on each side is ideal, but this may vary depending on your chosen design. This overlap ensures privacy and enhances the door’s visual appearance. By taking these steps, you can ensure that the new barn door will fit perfectly and operate smoothly.

Height of the Door Opening
Measuring the height of the door opening involves a similar process and equal attention to detail. Start by measuring from the floor to the top of the door opening. Again, take measurements at multiple points – the left, the center, and the right – to account for any imperfections in the floor or ceiling. Record the longest measurement to ensure the door will fit comfortably.
When measuring the height, be sure to allow clearance both at the top for the hardware installation and at the bottom for a floor gap. The floor gap should typically be around ½ inch to accommodate flooring variations and ensure the door glides smoothly without scraping the floor. Additionally, consider sufficient clearance at the top for the track and rollers; this usually means adding an extra 1 to 2 inches above the door height for the hardware. These careful measurements ensure the proper installation and functionality of your barn door.
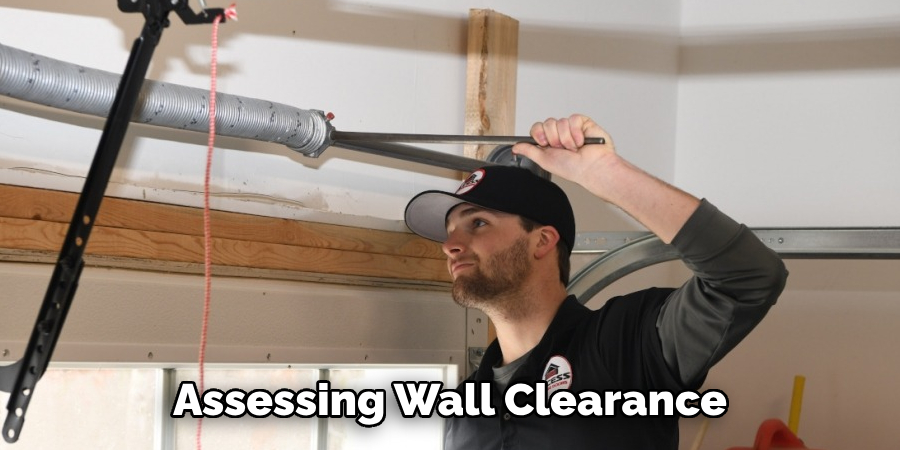
Assessing Clearance
It is crucial to assess the clearance around your door opening to ensure enough wall space for the door to slide open fully. Measure the length of the wall space adjacent to the door opening; this area should be at least equal to the door width plus additional overlap. This allows the door to slide entirely out of the way when open.
Also, carefully check for any potential obstructions, such as light switches, electrical outlets, thermostats, or air vents, that could interfere with the door’s movement or hardware placement. You must plan for their relocation or choose a different installation approach if any obstructions are present. By thoroughly assessing wall clearance and identifying obstacles, you can ensure a smooth installation and operation of your barn door, enhancing both its functionality and aesthetic appeal.
Measuring for the Door Size
Determining Door Width
Determining the ideal width of your barn door is essential to achieving a functional and visually pleasing installation. To start, measure the width of your door opening at three different points—top, middle, and bottom—and take note of any variations. Use the widest measurement for accuracy. For the door to cover the opening completely, you need to add an overlap on each side, typically 1 to 2 inches, to ensure full coverage and privacy. This overlap not only hides the opening when the door is closed but also enhances the door’s visual appeal.
After you have the base width measurement and the desired overlap, sum these values to determine the total door width. For instance, if your door opening is 36 inches wide and you want a 2-inch overlap on each side, the ideal width of your barn door should be 40 inches. By meticulously calculating these dimensions, you ensure that the barn door fits perfectly, functions smoothly, and looks aesthetically balanced.
Determining Door Height
When calculating the height for your barn door, accuracy is key to ensuring that the door functions properly and looks balanced. Begin by measuring the height of your door opening from the floor to the top of the opening at three points—left, center, and right. Use the longest measurement to ensure the door will fit well.

Additionally, factor in a floor gap, typically about ½ inch, to accommodate any variations in flooring and to prevent the door from grazing the floor. Also, leave enough clearance at the top for the track system and rollers, which typically require an extra 1 to 2 inches.
Thus, if your door opening height is 80 inches, with an additional ½ inch for the floor gap and another 1 inch for the track system, your barn door should ideally be around 81½ inches tall. These careful calculations will ensure that your barn door slides effortlessly and enhance the overall appearance of the space.
Door Thickness Considerations
The thickness of your barn door significantly impacts your choice of hardware, as it must be compatible with the track system and rollers you plan to use. Start by measuring the thickness of the door—whether it’s a standard panel or a custom build. Common barn door thicknesses range from 1 to 2 inches; however, variations may occur depending on the material and design.
Ensure that your chosen hardware is compatible with the door’s thickness. For instance, heavier and thicker doors may require more robust track systems and rollers to support the extra weight. Additionally, consider the overall aesthetic and functional requirements; a thicker door might provide better sound insulation and privacy but could also demand more substantial mounting hardware and clearance.
By taking the time to accurately measure and consider the door thickness, you align your door’s dimensions perfectly with the selected hardware, resulting in a seamless and functional installation.
How to Measure for Barn Door Hardware: Measuring for the Hardware
1.Track Length
Calculating the track length needed for your barn door is a critical step to ensure the door opens fully and operates smoothly. The standard formula to determine the appropriate track length is to multiply the width of the door by two. This ensures that when the door is open, it completely clears the opening without obstruction.
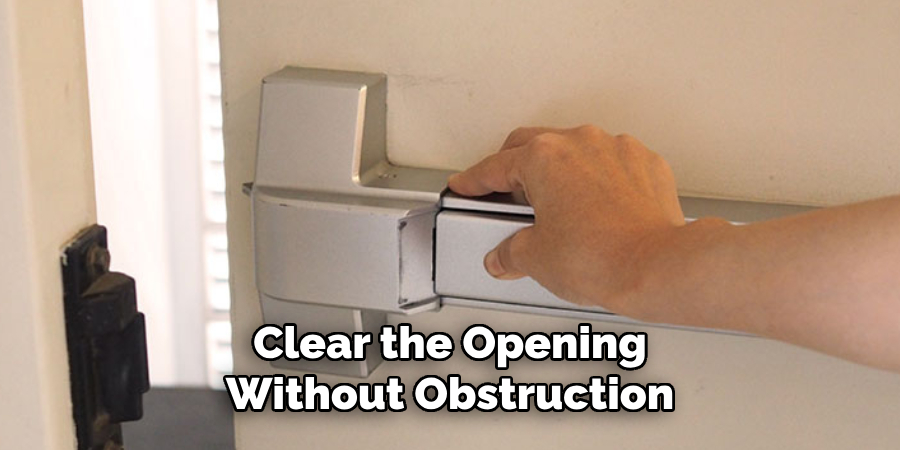
For instance, if your barn door is 40 inches wide, you would need a track that is approximately 80 inches long. This extra length allows the door to slide fully to one side, providing an unobstructed passage through the doorway. Additionally, this calculation ensures that the door will not hit the end stops too early, allowing for smooth and efficient operation.
By carefully measuring and implementing this standard formula, you can confidently select the right track length, contributing to your barn door installation’s seamless functionality and aesthetic appeal.
2.Mounting Height
Determining the correct mounting height for the track above the door opening is paramount for ensuring smooth operation and proper clearance of your barn door. Begin by measuring the height of the door and account for the necessary floor gap and additional height required for the track system.
To mount the track properly, add the door height, floor gap, and the distance needed for the track and rollers. Typically, this means adding 1 to 2 inches above the door height. For example, if your door is 81½ inches tall, including the floor gap and track clearance, mount the track at approximately 82½ to 83½ inches from the floor.
Ensuring the track is mounted at the correct height provides ample clearance for the door to hang and slide smoothly without scraping the floor or ceiling, ensuring functional and aesthetic integration into your space.
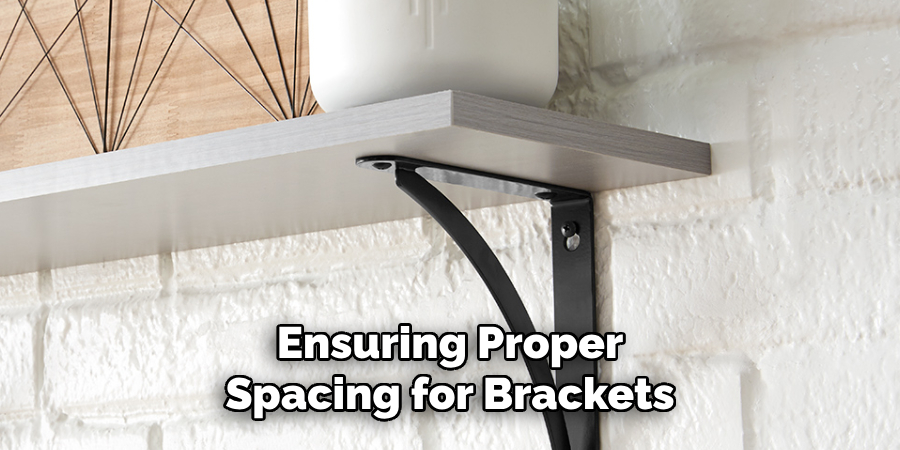
3.Spacing for Brackets and Stops
Accurately spacing the brackets that support the track is crucial for maintaining the strength and stability of your barn door system. Measure and mark the placement of each bracket along the track, ensuring they are evenly spaced. Typically, brackets should be placed at intervals of 16 to 24 inches or in alignment with the wall studs to provide robust support for the entire length of the track.
In addition to bracket placement, installing stops at both ends of the track is equally important. These stops prevent the door from sliding off the ends, protecting the door and ensuring safe operation. Place the stops at the appropriate positions to catch the door just before it reaches the track’s end. This additional step not only safeguards the door but also enhances its overall functionality and user safety.
By ensuring proper spacing for brackets and stops, you enhance both the security and performance of your barn door installation, completing a well-balanced and durable setup.
Conclusion
Accurately measuring barn door hardware is crucial to achieving a seamless and functional installation. Key steps include determining the door height, considering the door thickness, calculating the appropriate track length, and ensuring the correct mounting height and bracket spacing.
The foundational steps are starting with precise measurements of your door opening, factoring in necessary gaps, and selecting compatible hardware based on door thickness. Additionally, careful track length calculation and appropriate mounting height guarantee smooth door operation, while proper bracket and stop placement ensure stability and safety.
Understanding how to measure for barn door hardware is vital for a successful project. By following the outlined process meticulously, you can ensure a perfect fit and effortless functionality for your barn door. Adequate preparation and attention to detail are essential, paving the way for a stylish and efficient addition to your space.
Check it out to Change Batteries in Simplisafe Keypad