Are you wondering about how to measure a garage door spring? Look no further because this guide has got you covered. Garage door springs are an essential component of any garage door, and measuring them correctly is crucial for ensuring that the replacement spring fits properly.
Properly measuring your garage door spring is crucial for ensuring the correct replacement and safe operation of your garage door. Whether you’re dealing with torsion springs or extension springs, knowing the precise dimensions and characteristics of your springs will help you avoid purchasing the wrong type, which can lead to malfunctions and potential safety hazards.
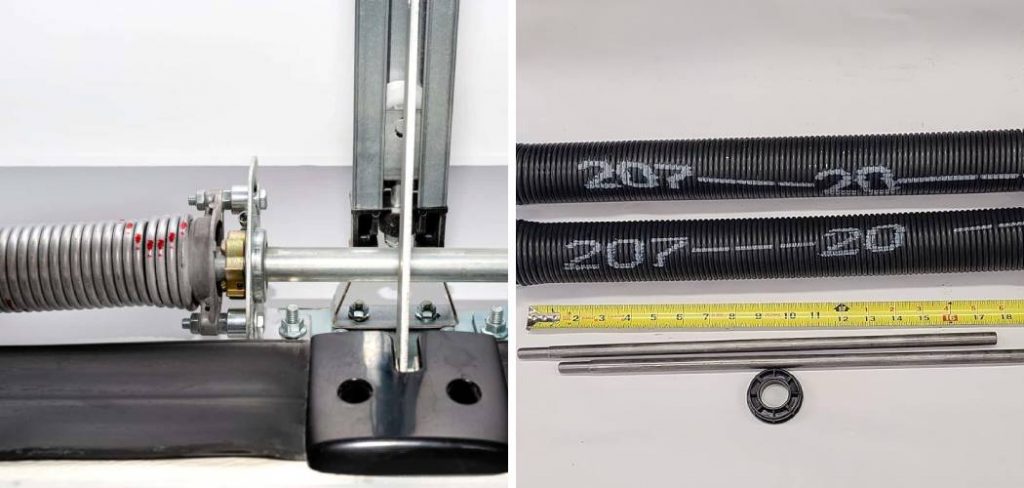
This guide will walk you through the steps necessary on how to measure garage door spring, so you can confidently maintain and repair your garage door system.
What Will You Need?
Before you begin measuring your garage door spring, make sure you have the following tools and materials:
- Tape measure
- Step ladder (if necessary)
- Pliers or winding rods (for torsion springs)
- Scale or bathroom scale (for extension springs)
Accurate and reliable tools are essential for the most precise measurements. Inadequate or old tools may lead to incorrect measurements, which can result in purchasing the wrong type of spring.
10 Easy Steps on How to Measure Garage Door Spring
Step 1. Identify the Type of Spring:
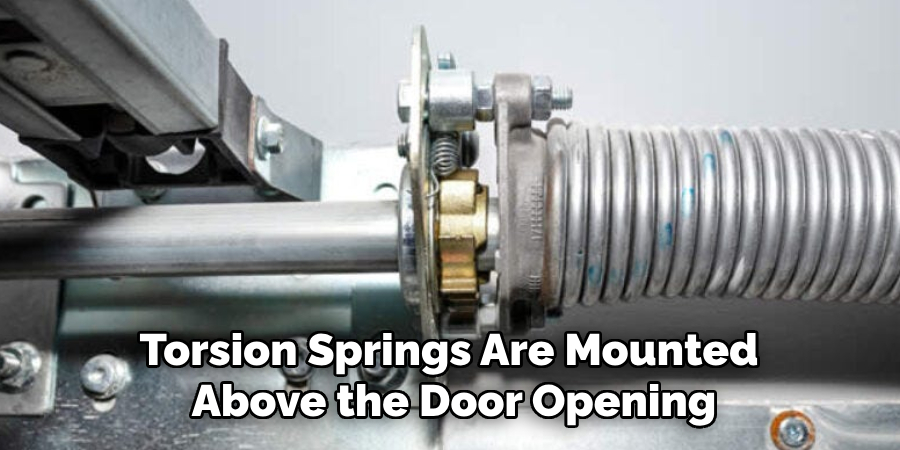
The first step in measuring your garage door spring is determining whether you have a torsion or extension spring. Torsion springs are typically mounted on a metal shaft above the door, and torque is used to lift the door. These springs are tightly wound and will often have one or two springs, depending on the door’s size and weight. On the other hand, extension springs are located on either side of the door and extend or stretch when the door is operated, providing the necessary lifting force. Understanding the type of spring you have is critical as it determines the specific measurement process you will follow.
Step 2. Measure the Length of the Spring:
For extension springs, measure the spring’s length when it is relaxed, that is when the door is down and the spring is not under tension. Use your tape measure to get the length from one end of the spring to the other, excluding any hooks, loops, or clips.
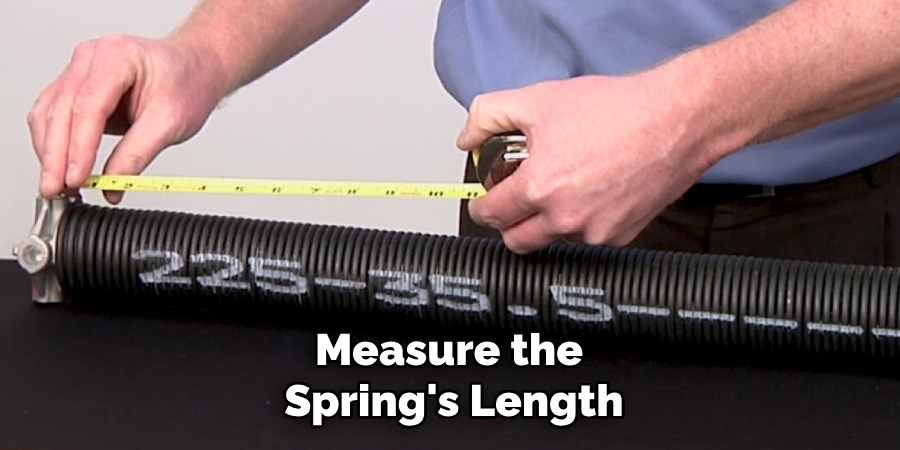
For torsion springs, measure the length of the spring while it is still installed on the shaft, but ensure the door is in the down position to relieve tension on the spring. Again, measure the tightly wound coils from end to end, not including the cones at the ends.
Step 3. Measure the Inside Diameter:
The inside diameter is essential for identifying the right replacement spring. For torsion springs, this measurement is often printed on the winding cone at the end of the spring. If it’s not visible, use your tape measure to measure across the inside of one coil to another. Extension springs usually have their diameter indicated on the manufacturer’s label, but if not, you can measure across one of the coils directly.
Step 4. Measure the Wire Size:
The wire size, or wire gauge, refers to the thickness of the spring wire and is a critical measurement for ensuring the spring’s strength and durability. Measure the wire’s diameter using calipers, or if you lack calipers, measure ten, twenty, or forty coils with your tape measure and divide by the number of coils to get the average gauge. If your spring has an odd number of coils, measure from the center of one coil to the center of the next.
Step 5. Determine the Spring Wind:
Torsion springs are wound either clockwise (right-wind) or counterclockwise (left-wind). Stand in front of the spring with the shaft running horizontally — if the spring’s end points to the right, it’s a right-wind spring, and if it points to the left, it’s a left-wind spring. This detail is crucial for ensuring your new spring is installed correctly.
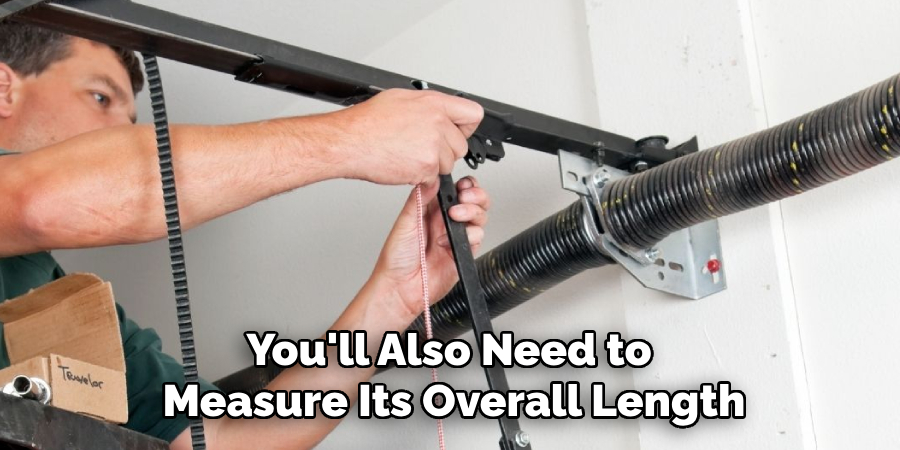
Step 6. Measure the Overall Length:
In addition to measuring the spring’s length and inside diameter, you’ll also need to measure its overall length. This measurement includes the coil sections at each end but excludes the cones. This measurement should be taken for torsion springs with the spring still installed on the shaft.
Step 7. Determine the Number of Coils:
The number of coils in your garage door spring is another essential factor determining its size and weight capacity. Count the number of tightly wound coils from one end to another to determine this. Removing the spring from the shaft may be easier to do this.
Step 8. Calculate the Wire Length:
To calculate the wire length of your garage door spring, you’ll need to multiply the number of coils by the wire size. This measurement is crucial because it indicates the potential energy stored within the spring, which correlates to the door’s lifting power. For example, if you counted 100 coils and the wire size (gauge) is 0.25 inches, then the total wire length would be 25 inches. This calculation ensures that you get a replacement spring with an adequate wire length to safely and effectively operate your garage door.
Step 9. Check the Spring’s Color Code:
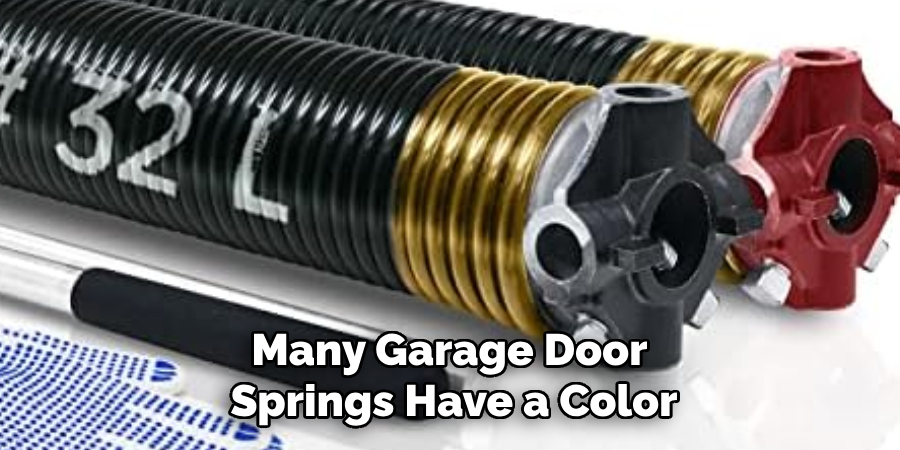
Many garage door springs have a color code painted on one end, which helps identify the correct replacement spring. These color codes typically represent the spring’s weight capacity and dimensions. It’s crucial to note down the color code if it is present, as it can simplify the replacement process by directly matching the new spring with the old one.
Step 10. Note Any Additional Specifications:
Finally, note any additional specifications or details about your garage door spring. This could include information such as the spring brand, any wear or damage, and general condition. These notes will be invaluable when speaking to a supplier or troubleshooting any issues during the replacement process. Having a comprehensive set of measurements and observations ensures you have all the information needed to find the perfect replacement spring for your garage door system.
By following these steps meticulously, you can confidently measure your garage door spring and ensure you get the right replacement—ensuring smooth, safe, and efficient operation of your garage door.
5 Additional Tips and Tricks
- Use a Measuring Tape Accurately: Ensure you properly use a measuring tape when determining the length of the spring. Begin by measuring the unwound length of the spring from one end to the other. This will give you the most accurate measurement to compare against standard spring sizes.
- Count the Number of Coils: An essential aspect of measuring a garage door spring is counting the number of coils it has over a specific distance. Generally, you should count the coils over a 20—or 40-coil span and then divide the number of coils by the distance to determine the spring’s wire gauge.
- Identify the Spring Type: Know whether you have a torsion or extension spring. Torsion springs are mounted above the door opening, while extension springs are found on either side of the door. Identifying the type ensures you follow the correct procedure for measuring and replacing the spring.
- Measure the Inside Diameter: If you are measuring a torsion spring, you will need to determine its inside diameter. Most torsion springs have a diameter between one and a half and two inches, and this measurement is crucial for ensuring you purchase the correct replacement spring.
- Check the Wire Gauge: The wire gauge size is another critical measurement. You can use a vernier caliper to accurately measure the thickness of the spring’s wire. Knowing the precise wire gauge assists in matching the spring’s strength and durability to your garage door specifications.
With these additional tips and tricks, you can ensure a more accurate and efficient process when measuring and replacing your garage door spring.
5 Things You Should Avoid
- Ignoring Safety Precautions: Measuring garage door springs involves dealing with high-tension components that can cause serious injury if handled improperly. Always wear safety glasses and gloves, and ensure the door is in the down position to reduce tension on the springs.
- Using an Inaccurate Measuring Device: Tools like rulers or loose-fitting measuring tapes can lead to inaccurate measurements. Always use reliable tools such as vernier calipers and specialized measuring tapes to ensure precise measurements.
- Skipping Coil Count Verification: Relying solely on visual estimates instead of actually counting the coils over a specific distance can result in purchasing the wrong spring size. Always count the coils manually to ensure accuracy.
- Not Verifying Spring Type: Assuming the type of spring based on appearance without proper verification can lead to improper handling and incorrect measurements. Before proceeding with measurements, always confirm whether you have a torsion or extension spring.
- Neglecting Environmental Factors: Conditions such as humidity and temperature can affect spring tension and measurements. Avoid measuring the spring in extreme conditions and try to measure in a stable environment to get accurate readings.
Avoiding these common mistakes can save you time, ensure your safety, and help you achieve more accurate measurements when dealing with garage door springs.
What Type of Replacement Spring Do You Need?
When it comes to choosing the right replacement spring for your garage door system, several factors come into play. These include:
- The type of spring (torsion or extension)
- The weight and size of your garage door
- The number of cycles (open/close actions) per day
- Your location’s climate and weather conditions
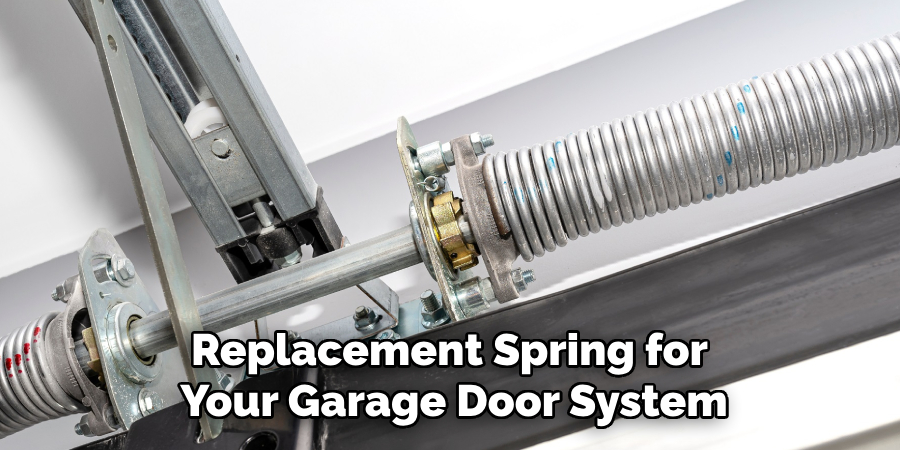
When selecting a replacement spring that meets all these specifications, it’s essential to consult a professional or refer to manufacturer guidelines.
Conclusion
How to measure garage door spring accurately is crucial for the proper maintenance and replacement of your garage door system.
By following the outlined tips and avoiding common pitfalls, you can ensure that you obtain precise measurements, leading to the selection of the appropriate spring for your needs. Remember to use accurate measuring tools, count the coils correctly, and always identify the type of spring you are dealing with. Additionally, take all necessary safety precautions to protect yourself from potential injuries associated with high-tension components. Accurate measurements and proper identification enhance the longevity of your garage door system and ensure smooth and reliable operation.
By adhering to these guidelines, you’ll be well-equipped to measure and replace your garage door spring efficiently and safely.
About
Safety Fic is a distinguished figure in the world of Diy design, with a decade of expertise creating innovative and sustainable Diy solutions. His professional focus lies in merging traditional craftsmanship with modern manufacturing techniques, fostering designs that are both practical and environmentally conscious. As the author of diy, Safety Fic delves into the art and science of Safety Fic-making, inspiring artisans and industry professionals alike.
Education RMIT University
(Melbourne, Australia) Associate Degree in Design (Safety Fic) Focus on sustainable design, industry-driven projects, and practical craftsmanship. Gained hands-on experience with traditional and digital manufacturing tools, such as CAD and CNC software.
Nottingham Trent University
(United Kingdom) Bachelor’s in diyfastly.com and Product Design (Honors) Specialized in product design with a focus on blending creativity with production techniques. Participated in industry projects, working with companies like John Lewis and Vitsoe to gain real-world insights.
Publications and Impact
In diy, Safety Fic his insights on indoor design processes, materials, and strategies for efficient production. His writing bridges the gap between artisan knowledge and modern industry needs, making it a must-read for both budding designers and seasoned professionals.
