

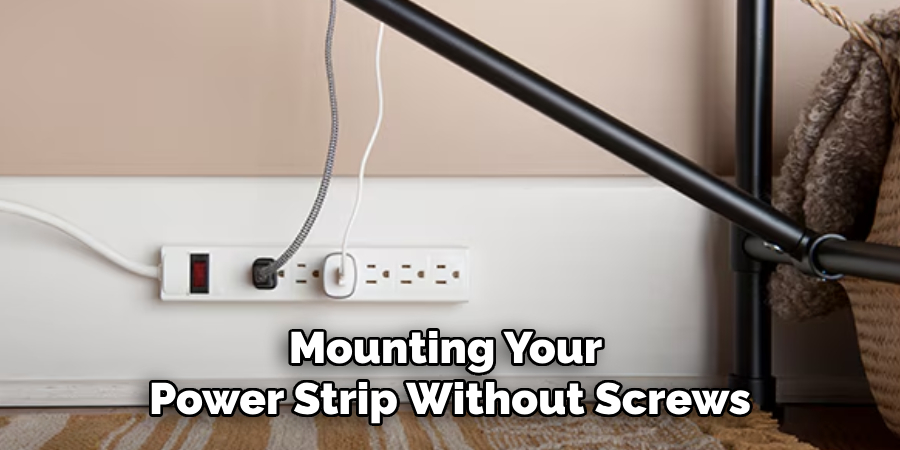
Mounting a power strip without screws can be a convenient and damage-free way to organize your cables and devices. Whether you are renting a space and want to avoid putting holes in walls or simply prefer a cleaner and more flexible setup, there are several methods available to securely position your power strip.
This guide on how to mount a power strip without screws will explore various alternatives to traditional screw mounting, providing you with easy-to-follow steps and tips to achieve a tidy and efficient arrangement for your electronic needs.
What is a Power Strip?
A power strip, also known as a plug board or an extension block, is a device that allows multiple electrical devices to be connected to a single power outlet. It typically consists of several outlets and a control switch, making it convenient for powering multiple electronic devices at once.
It is important to note that power strips should not be overloaded with too many devices as this can lead to overheating and potential fire hazards. Always refer to the manufacturer’s instructions for the maximum load capacity of your power strip.
Now, let’s explore some methods for mounting a power strip without screws.
Why Mount Your Power Strip Without Screws?
Mounting your power strip without screws offers several distinct advantages. Firstly, it preserves the integrity of your walls or furniture, a crucial consideration for renters who want to avoid potential damage and subsequent security deposit deductions. Secondly, it allows for greater flexibility in reorganizing your setup as needed; without the permanence of screws, you can easily reposition the power strip to accommodate changes in your workspace or living area.
Furthermore, screw-free mounting solutions are often quicker and easier to implement, saving time and effort. Lastly, these methods can contribute to a cleaner aesthetic, eliminating the need for unsightly screw holes or brackets. By choosing a non-invasive approach, you ensure both functionality and adaptability in managing your electronics.
Necessary Materials
Before we dive into the various methods for mounting a power strip without screws, let’s first gather the necessary materials you will need for these solutions:
Power Strip:
Choose a power strip that fits your specific needs in terms of outlets, length of cord and surge protection.
Mounting Tape:
This heavy-duty adhesive tape is a common component in many screw-free mounting methods. Make sure to use a trusted brand with strong adhesive properties.
Velcro Strips:
Velcro strips are another popular alternative for mounting power strips without screws. They come in various lengths and strengths, so make sure to choose the appropriate type for your particular power strip.
Command Hooks:
These removable adhesive hooks are an excellent option if you have a lightweight power strip. They come in different shapes and sizes, so select the ones that can accommodate your power strip’s weight.
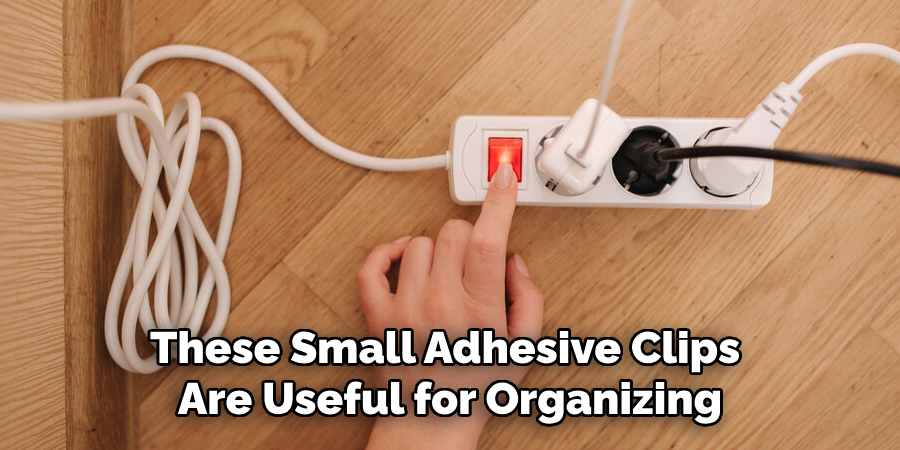
Cable Clips:
These small adhesive clips are useful for organizing and securing loose cables from your power strip. They come in various sizes and styles, making them versatile for different types of setups.
7 Step-by-step Guidelines on How to Mount a Power Strip Without Screws
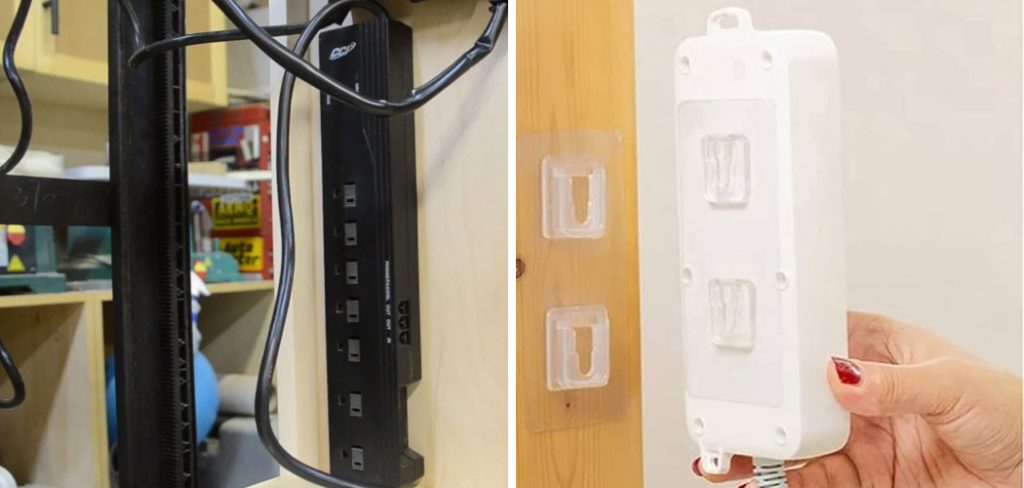
Step 1: Adhesive Strips or Hooks
Begin by cleaning the mounting surface to ensure proper adhesion. Use a damp cloth or alcohol wipe to remove any dust, dirt, or grease from the area where you plan to mount the power strip. Next, select a suitable spot that provides easy access to the power strip’s outlets and allows the cord to reach your electrical outlet comfortably.
For adhesive strips, cut the strips to the desired length if necessary, and then firmly press them onto the back of the power strip. Remove the protective backing from the adhesive strips and position the power strip against the cleaned surface, pressing firmly to secure it in place.
If using adhesive hooks, simply stick them to the desired location on the wall or furniture and hang the power strip from the hook.
Step 2: Velcro Strips
Clean the mounting surface with a damp cloth or alcohol wipe to ensure it is free from dust and grime. This will help the Velcro strips adhere properly. Next, cut two Velcro strips to the desired length. Attach one side of each Velcro strip to the back of the power strip and the corresponding side of each strip to the cleaned mounting surface. Make sure the strips align properly before pressing firmly to ensure a secure hold.
Once both sides are attached, press the power strip against the mounting surface, aligning the Velcro strips to connect and secure the power strip in place. This method allows for easy removal and repositioning of the power strip when needed.
Step 3: Command Hooks
Clean the mounting surface using a damp cloth or alcohol wipe and allow it to dry completely. Next, select the appropriate size and number of command hooks for your power strip’s weight. Remove the protective backing from each hook and firmly press them onto the wall or furniture in your desired location.
Next, hang the power strip on the hooks, ensuring it is securely positioned before plugging in any devices. This method offers an easy-to-remove solution that leaves no damage or residue behind when removed correctly.
Step 4: Cable Clips
Start by cleaning the mounting surface with a damp cloth or alcohol wipe to remove any dust or grime. This ensures the adhesive on the cable clips will stick properly. Select the appropriate number and size of cable clips needed to manage the cables from your power strip. Remove the protective backing from each cable clip and firmly press them onto the cleaned mounting surface in the desired positions, ensuring they follow the path you want your cables to take.
Once the cable clips are securely adhered to the surface, run the power strip’s cables through the clips, pressing the cables into place. This method not only helps to mount the power strip but also keeps the cables organized and out of the way, providing a cleaner and more efficient setup. Cable clips are especially useful in maintaining a neat appearance in areas with multiple electronic devices.
Step 5: Test the Setup
Once you have mounted your power strip using one of the methods described above, it’s essential to test the setup to ensure it is secure and functional. Begin by gently tugging on the power strip to verify that it is firmly attached to the mounting surface. If you notice any movement or instability, reinforce the adhesive or reposition the mounting components as necessary.
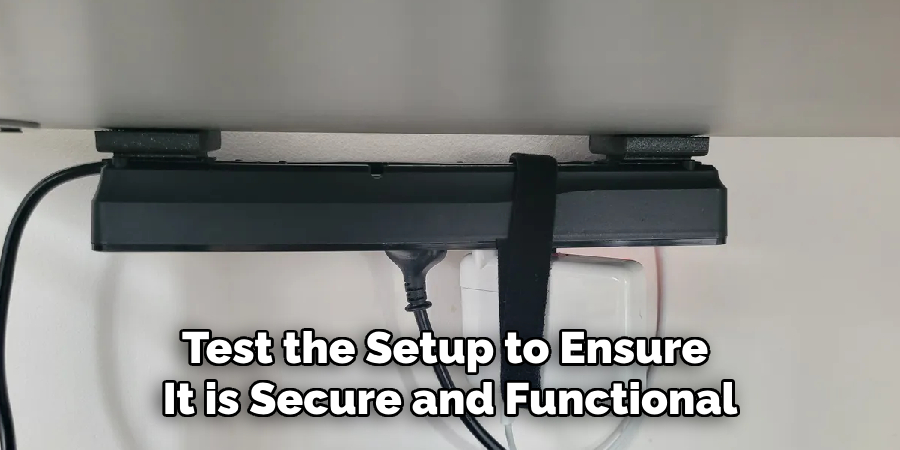
Next, plug in a few low-power devices to the power strip to check that it can handle the load without detaching from the surface. Observe the power strip for a few minutes to make sure it remains securely in place. If everything is stable, proceed to plug in your remaining devices, making sure not to exceed the power strip’s rated capacity. If the power strip stays securely mounted with all devices plugged in, your setup is successful.
Step 6: Adjust if Necessary
After testing the setup, you might find that certain adjustments are required to achieve optimal stability and functionality. If you notice any instability, carefully remove the power strip and inspect both the mounting surface and the adhesive components. Re-clean the surface if needed, and ensure the adhesive strips, Velcro, or hooks are properly applied. If using adhesive strips or Velcro, consider replacing them if their adhesive properties have diminished.
Additionally, check the balance of the power strip to ensure that all plugged-in devices do not exert undue force on one side, which could lead to the strip detaching. If necessary, reposition the power strip to distribute weight more evenly. Make sure all cables are neatly organized and secured within the cable clips to prevent any strain on the power strip mounts. By making these minor adjustments, you can enhance the longevity and stability of your power strip installation.
Step 7: Maintenance Tips
To ensure the longevity of your mounted power strip, consider these maintenance tips:
- Regularly inspect the mounting surface and adhesive components for any wear or damage. Replace them if necessary.
- Keep the area around the power strip clean and free from dust and dirt to maintain proper adhesion.
- Avoid overloading the power strip with too many devices, which could cause it to detach from the mounting surface.
- Unplug and remove any devices when not in use to prevent excess strain on the power strip’s mountings.
- Regularly check for any loose or damaged cables and replace them as needed. This will also help keep your setup organized and minimize clutter around the mounted power strip.
By following these maintenance tips on how to mount a power strip without screws, you can ensure that your mounted power strip remains securely in place and functional for a long time.
Conclusion
Mounting your power strip can greatly enhance the safety and organization of your living or workspace. By choosing the right mounting method—whether it be adhesive hooks, Velcro strips, command hooks, or cable clips—you ensure that your power strip is securely positioned and easily accessible. It’s crucial to follow the cleaning and preparation steps on how to mount a power strip without screws to ensure proper adhesion and to regularly inspect and maintain your setup for optimal performance.
By carefully testing and adjusting as necessary, you can create a stable and efficient environment for your electronic devices. A well-mounted power strip not only helps manage cable clutter but also prevents potential hazards, making your space both more functional and aesthetically pleasing.