
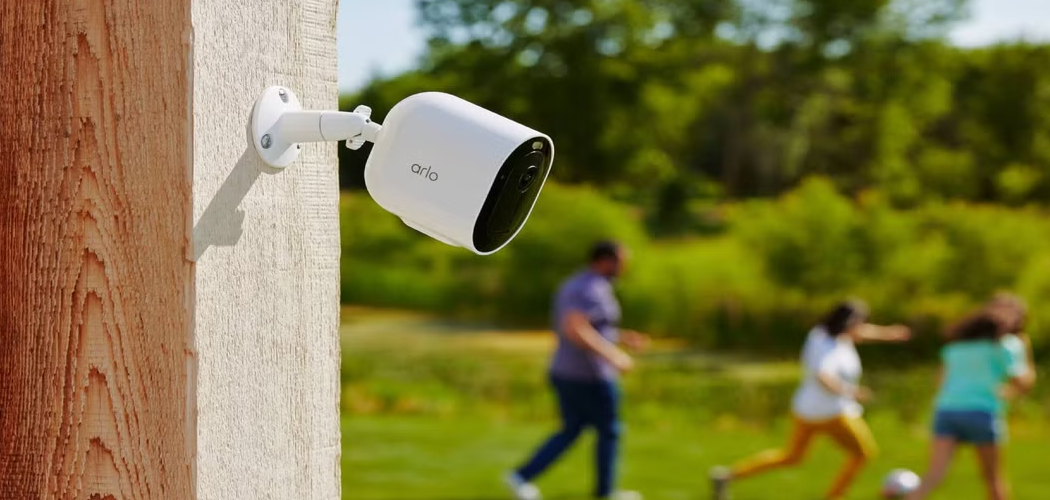
Knowing how to mount Arlo camera outside can transform your outdoor security system, providing greater coverage and peace of mind. Arlo cameras are designed for ease of use and high-quality surveillance, making them the preferred choice for many homeowners. Whether you’re dealing with a large property or looking to secure your front door, proper outdoor installation ensures optimal performance and long-term durability.

Installing an Arlo camera outside may seem challenging for first-timers, but with the right guidance, it’s a manageable DIY project. From choosing the best location to setting up the perfect camera angle, every detail matters to guarantee accurate motion detection and reliable video quality. This guide will walk you through the entire process, step-by-step, so you can confidently secure your home or property while protecting your investment in outdoor security.
Why Properly Mounting an Arlo Camera Outside Matters
Securing your Arlo camera outside improves both its functionality and durability over time. Outdoor mounting allows for broader coverage, such as monitoring driveways, patios, backyards, or entry points. Proper placement ensures the camera captures important areas of interest while avoiding common obstructions like walls, tree branches, or excessive light exposure.
Mounting your Arlo camera outside according to best practices also ensures it can withstand outdoor conditions. These cameras are designed with weatherproofing to resist rain, heat, and cold climates. However, installation plays a crucial role in preserving these qualities. A poorly mounted camera may be vulnerable to damage or fail to perform optimally during harsh weather.
Additionally, a well-thought-out installation guarantees dependable connectivity to your home’s Wi-Fi network. This ensures smooth real-time monitoring, motion alerts, and continuous recording functionalities work without interference. Taking the time to mount your Arlo camera outside properly is essential not only for your security but also for maximizing the lifespan and performance of your device.
Step-by-Step Guide: How to Mount Arlo Camera Outside
Step 1: Choose the Right Location
Selecting the correct location for your Arlo camera is fundamental to achieving effective security coverage. Start by identifying high-risk areas, such as entrances, garage doors, or windows that require monitoring. Consider the camera’s field of view and ensure that no structures or landscaping elements obstruct its vision.
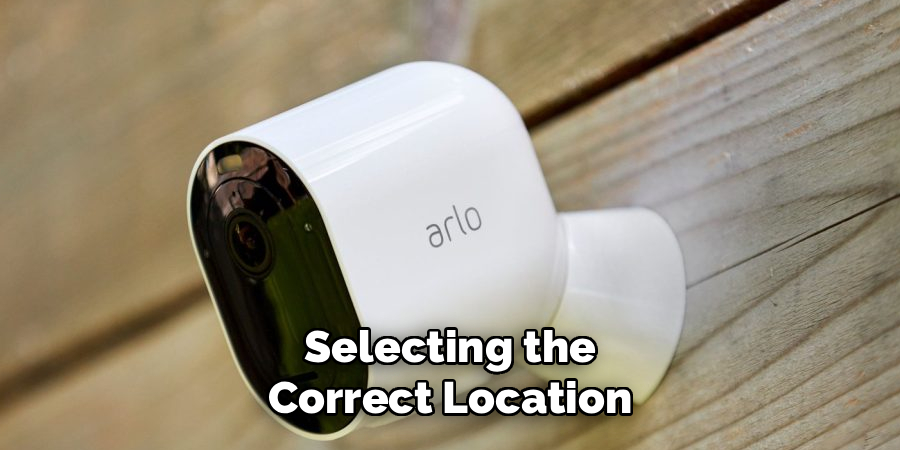
Pay attention to environmental factors as well. The chosen spot should protect the camera from excessive direct sunlight, which can affect video clarity, or locations where heavy rain may interfere with functionality. Opting for an elevated viewpoint not only deters intruders but also provides a wider surveillance range. Ensuring that the installation site has strong Wi-Fi connectivity further guarantees a seamless security experience.
Step 2: Check Wi-Fi Signal Strength
Before mounting your Arlo camera outside, confirm that the chosen location has reliable and stable Wi-Fi coverage. Use the Arlo app to test the signal strength directly where you plan to install the camera. A weak connection could result in laggy video feeds, delayed motion alerts, or interrupted recordings.
If the signal strength is insufficient, consider using a Wi-Fi extender or repositioning your router closer to the targeted area. Strong Wi-Fi connectivity is crucial for maintaining consistent performance, whether you’re monitoring the feed in real time or reviewing footage later. Addressing connectivity issues before installation prevents complications once the camera is mounted.
Step 3: Assemble the Mounting Bracket
Arlo cameras come with dedicated mounting brackets designed for outdoor use. Begin by unboxing the bracket and confirming that all necessary parts are included. Assemble the components according to the manufacturer’s instructions, ensuring the bracket fits securely.
If your installation involves unique surfaces like bricks or wood, you may need specific hardware such as anchors or screws compatible with that material. The mounting bracket should have firm contact with its surface to prevent vibration, ensuring the camera remains stable despite outdoor conditions like wind or accidental bumps.
Step 4: Plan the Camera Angle
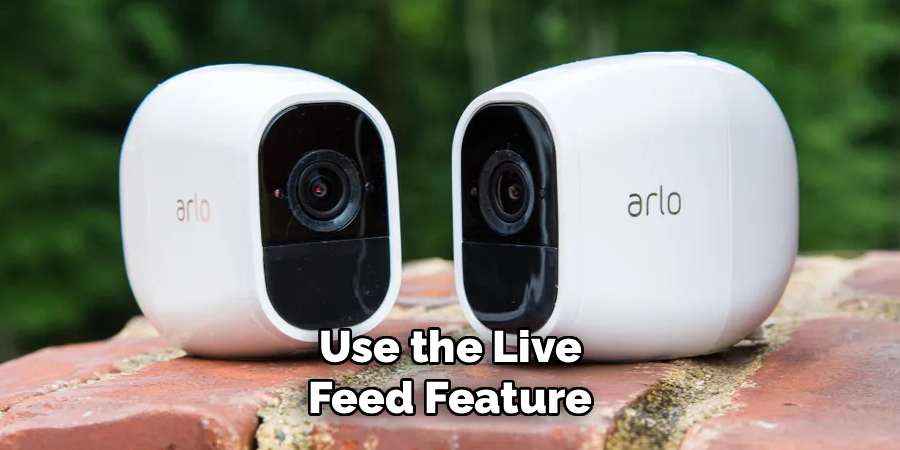
Once the mounting bracket is ready, position it to determine the best angle for the camera. Use the live feed feature in the Arlo app and have someone hold the camera in place temporarily while you fine-tune the view. Correct angling ensures the camera captures essential areas such as entrances or driveways while minimizing blind spots.
Keep in mind that tilting the camera slightly downward focuses its attention on movement closer to ground level, where most activity occurs. Avoid pointing the camera directly at light sources like streetlights, as this can result in glare or reduced visibility during nighttime recording. Proper planning of the camera angle improves functionality and adds clarity to your surveillance footage.
Step 5: Attach the Mounting Bracket to the Surface
With the angle finalized, attach the mounting bracket securely to the chosen surface. If you’re mounting the camera on wood, a simple screw application may suffice. For concrete or masonry walls, use wall anchors to provide additional stability.
Ensure all screws and bolts are tightened evenly to stabilize the bracket and prevent it from shifting over time. Uneven mounting can cause the camera to tilt or vibrate, affecting the quality of the video feed. Confirm the bracket’s security by giving it a gentle tug to test its strength before proceeding to the next step.
Step 6: Install the Arlo Camera onto the Bracket
Once the bracket is securely mounted, it’s time to attach the Arlo camera. Slide or clip the camera into the bracket according to the device’s design, ensuring a snug, stable fit. The camera should remain firm in position even when adjusted for angling.
Use your app’s live feed feature again to verify that the field of view aligns with your surveillance needs. Make subtle adjustments as necessary to capture the right angle and ensure all key areas fall within the frame. A properly mounted camera contributes to both aesthetic appeal and functional reliability.
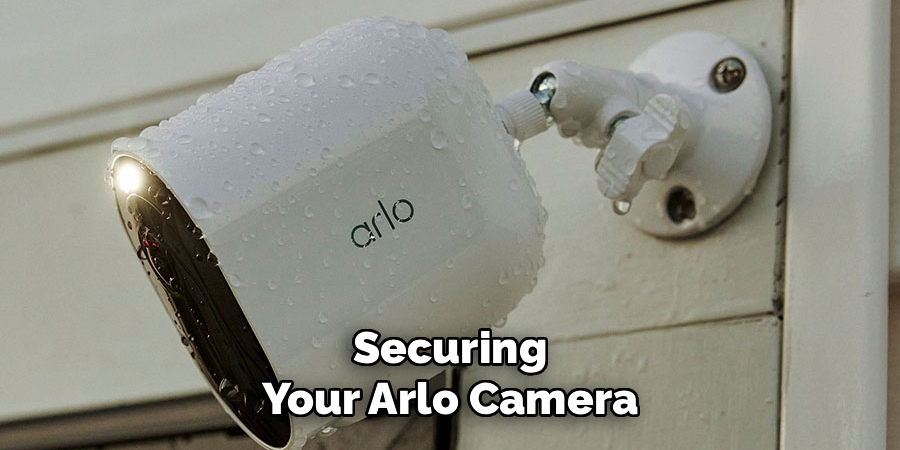
Step 7: Protect the Camera with Weatherproofing
Arlo cameras are equipped to handle outdoor conditions, but adding extra weatherproofing measures enhances their durability. Consider using silicone sleeves or covers that shield the camera from rain, snow, and intense sunlight. This added layer of protection ensures the camera’s delicate components remain unaffected by fluctuating weather.
Additionally, inspect the camera lens regularly for dirt or water droplets that may obscure visibility. Keeping the device clean and protected contributes to consistent performance and reduces the need for maintenance. Appropriately weatherproofing your Arlo camera safeguards your investment while maintaining high-quality footage throughout the year.
Step 8: Test the Setup
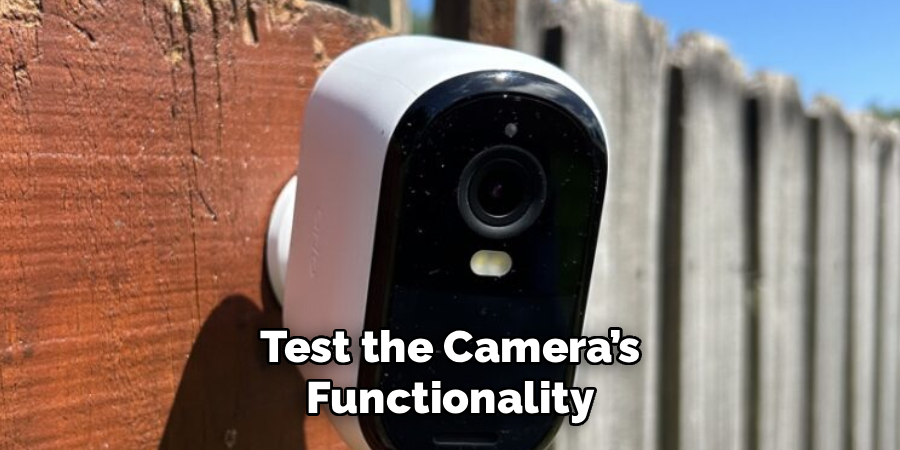
After installation, test the camera’s functionality to make sure everything works as expected. Check the video feed for sharpness and clarity, and trigger the motion detection to confirm proper sensitivity settings. Use the Arlo app to verify that alerts and recordings are being generated without errors.
Monitor the camera during different times of the day to assess its performance in varying lighting conditions. If issues arise, such as glare, shadows, or lost signals, make the necessary adjustments to optimize the setup. Testing solidifies confidence in your security system and ensures long-term effectiveness.
Step 9: Regularly Inspect and Maintain the Camera
Outdoor cameras are exposed to the elements, so regular inspections are vital. Periodically check the mounting bracket for rust, wear, or loosening. Clean the camera lens and surrounding components to prevent debris accumulation that could obstruct the view.
Inspect the camera for signs of electrical or connectivity issues, addressing them immediately to avoid gaps in surveillance. By incorporating a maintenance schedule, you ensure your Arlo camera remains secure, reliable, and fully operational over time. Dedicated upkeep extends the lifespan of your device and maximizes its investment value.
Additional Maintenance Tips and Reminders
Regular Firmware Updates
Ensure that your Arlo camera is running the latest firmware. Regular updates often include performance improvements, new features, and critical security patches to keep your system protected.
Check Battery or Power Supply
For battery-operated models, monitor battery levels regularly and replace or recharge them as needed to prevent interruptions in functionality. For wired cameras, verify that power connections are secure and free of damage.
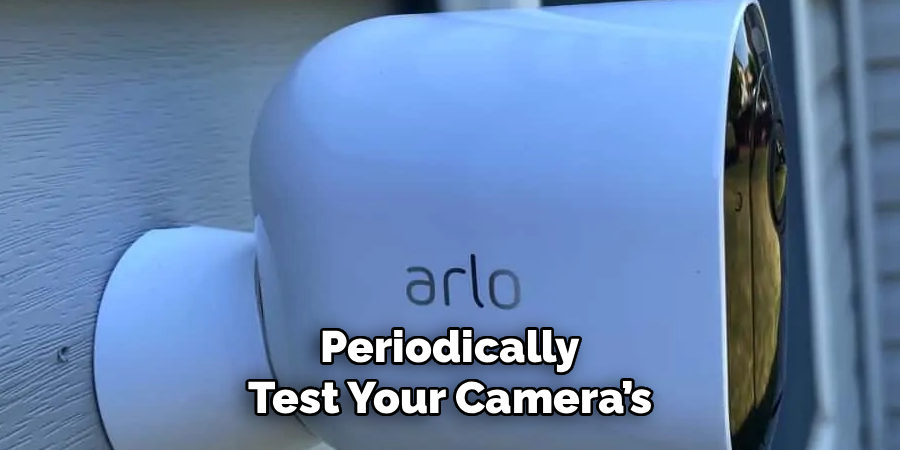
Test Connectivity
Periodically test your camera’s connection to the Wi-Fi network or base station. Weak or unstable connections can affect video quality and real-time monitoring.
Weatherproof Protection
If your camera is installed outdoors, confirm that its weatherproofing seals are intact. Replace damaged seals to safeguard against moisture and extreme temperatures.
Secure Mounting
Recheck the mounting brackets and screws to ensure that the camera is securely positioned. A loose camera can compromise your monitoring angle or fall, risking damage.
Establishing a consistent maintenance routine can help you identify potential issues early and prolong the operational life of your device. Set calendar reminders to carry out these tasks monthly or quarterly, depending on usage and environmental conditions.
Frequently Asked Questions
Do I need special tools to mount an Arlo camera outdoors?
Basic tools such as a screwdriver, drill, or anchors may be required depending on the surface. Arlo cameras include mounting kits to simplify the process. Proper tools ensure secure installation.
Can I mount my Arlo camera on uneven surfaces?
Yes, but you may need to adjust the mounting bracket or use shims to level the surface. Uneven placement can disrupt the camera’s view and stability, making surface preparation key for accurate installation.
What’s the ideal height to mount an Arlo camera outside?
For optimal coverage, mount the camera between 8-10 feet above ground. This height reduces the risk of tampering while capturing a broad area for surveillance. Adjust based on local requirements.
How do I protect my Arlo camera from theft?
Use security mounts or anti-theft locking accessories to secure the device. Placing cameras in hard-to-reach locations and activating motion alerts adds extra protection against tampering.
Can I reposition the camera easily after mounting?
Yes, Arlo cameras are designed for flexibility. Most mounts allow you to adjust angles or reposition the device without removing the entire setup. This makes it convenient to adapt your security needs when needed.
Conclusion
Knowing how to mount Arlo camera outside provides you with a reliable and cost-effective way to enhance your home’s outdoor security. By carefully selecting the location, securing the mount, and optimizing the camera angle, you ensure consistent performance and peace of mind.
To maximize the longevity of your Arlo camera, consider routine maintenance such as cleaning the lens and checking for any environmental wear and tear. Regularly inspect the mount to ensure it stays secure, especially after harsh weather conditions, as this can impact its stability. Taking these steps will ensure your camera remains reliable in safeguarding your home.
Take the steps today to install your Arlo camera efficiently and enjoy high-quality surveillance that keeps your property safe. Combining proper installation with regular maintenance guarantees your outdoor security system functions flawlessly for years to come!