

Are you looking to take your photography skills up a notch? By mounting your camera on vinyl siding, you can create stunning outdoor photos that project great detail and clarity. With this guide on how to mount cameras on vinyl siding, you’ll learn the proper techniques for safely and securely installing all kinds of cameras in any type of environment.
We’ll provide helpful tips on how to mount camera on vinyl siding along with handy tools and hardware needed so that you have the confidence to be bold and creative when capturing your next photo! Whether it’s taking images of nature or skyline views, mount your camera right with our step-by-step instructions so that you never miss another perfect shot.
Why Mount Camera on Vinyl Siding?
There are several reasons why you may choose to mount your camera on vinyl siding. Firstly, it allows you to get a better angle for your photos, especially when shooting from a higher vantage point.
This can be useful for landscape or architectural photography. Additionally, vinyl siding is durable and weather-resistant, making it an ideal surface to mount your camera on even in adverse weather conditions.
Another benefit of mounting your camera on vinyl siding is that it keeps your camera safe and secure. The sturdy material provides a stable foundation for your equipment, preventing it from being knocked over or damaged.
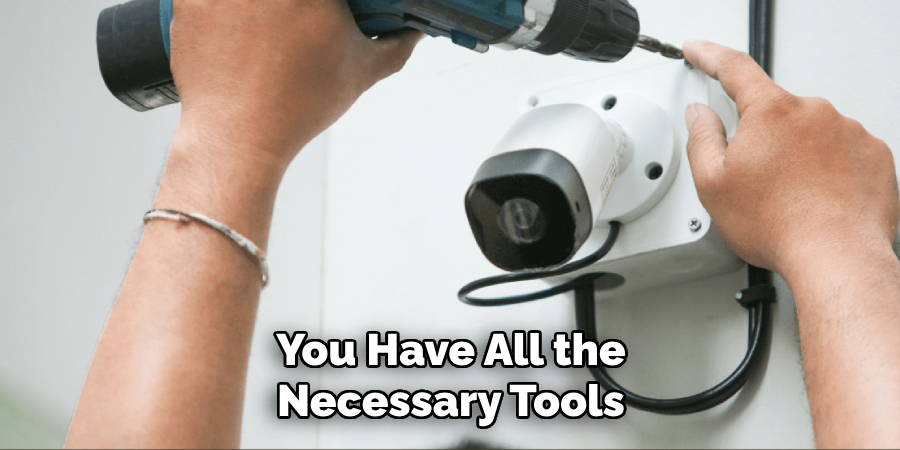
Tools and Materials Needed
Before you begin the mounting process, make sure you have all the necessary tools and materials. Here’s a list of what you’ll need:
- Camera
- Vinyl Siding Hooks or Clips
- Drill and Drill Bits
- Measuring Tape
- Level
- Screwdriver
12 Step-by-step Guides on How to Mount Camera on Vinyl Siding
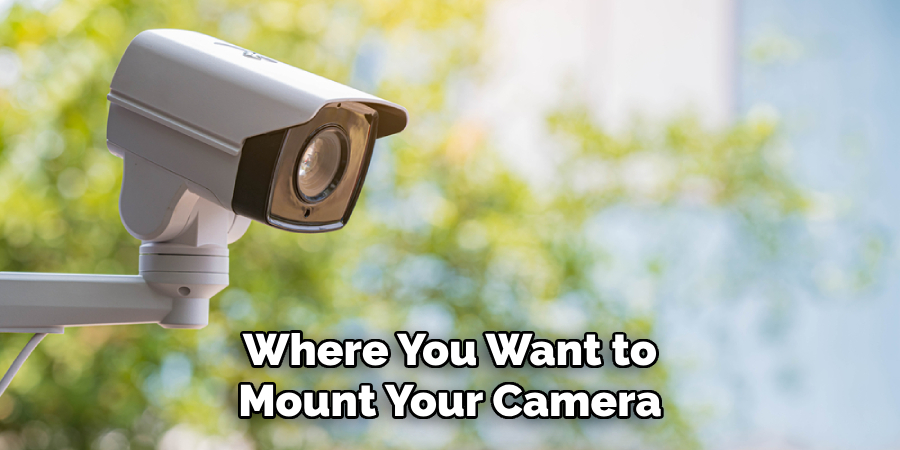
Step 1: Choose the Location
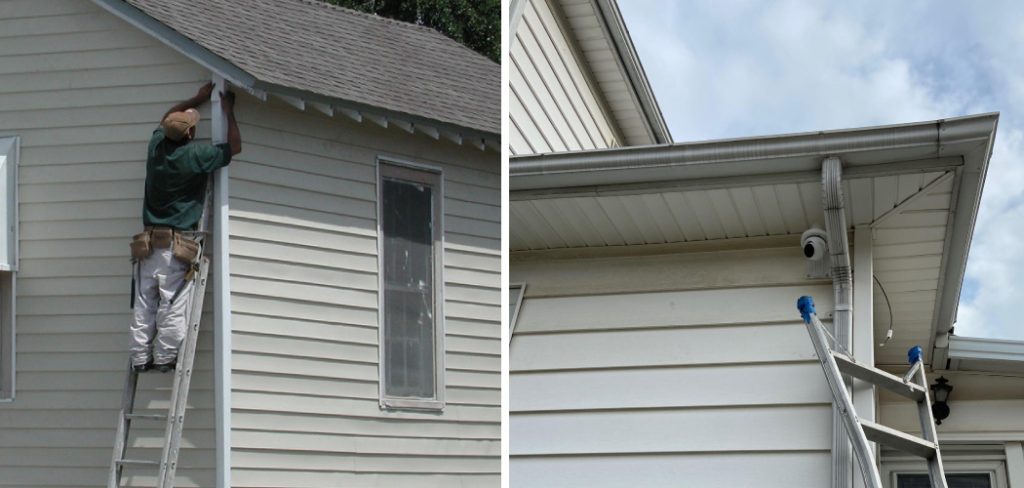
Find a suitable spot on the vinyl siding to mount your camera. Make sure it is not too high or too low, and that you have a good enough distance to get the desired shot. Otherwise, you may need to adjust the camera angle later. You can also use a ladder to reach higher spots if needed.
It’s important to ensure that the mounting spot is free from any obstructions that may interfere with your shots. Always take safety precautions while working at heights. But don’t worry, vinyl siding makes it easy to install a camera without the need for professional help.
Step 2: Measure and Mark the Spot
Use a measuring tape to determine the exact spot where you want to mount your camera. Mark the spot with a pencil or marker. You can also use a laser level to ensure that the spot is perfectly straight. But, if you don’t have a level, it’s okay to simply eyeball it.
You can always adjust the angle later. You can use a vinyl siding hole punch to create a hole where the screw will go. Whether you use a punch or not, it’s important to make sure the hole is big enough for the screw.
Step 3: Drill the Hole
Using an appropriate drill bit, drill a small pilot hole on your marked spot. This will make it easier to insert the screws later without damaging the siding. Make sure you hold onto your ladder or have someone else hold it steady for you while drilling. But, if you’re using vinyl siding clips that don’t require drilling, skip this step.
Step 4: Attach the Camera Mounting Plate
Once the pilot hole is made, attach the mounting plate to your camera. This will ensure that your camera stays securely in place on the siding. You may need to use a screwdriver or drill depending on the type of mounting plate. It’s important to follow the manufacturer’s instructions carefully. But, if your camera already has a built-in mounting plate, you can skip this step.
Step 5: Insert the Screw or Clip
Next, insert the screw or clip into the pilot hole. Make sure it is secure and tightly in place. If using vinyl siding hooks or clips, simply hook them onto the siding. This should be a simple and quick step. You can use your screwdriver or drill to tighten the screw if needed. But, be careful not to over-tighten as it may cause damage to the vinyl siding.
Step 6: Check for Stability
Ensure that your camera is stable and securely mounted on the siding. You can gently shake it or give it a little push to test its stability. If there is any wobbling or you feel like the camera might fall over, re-adjust the screw or clip to make it more stable.
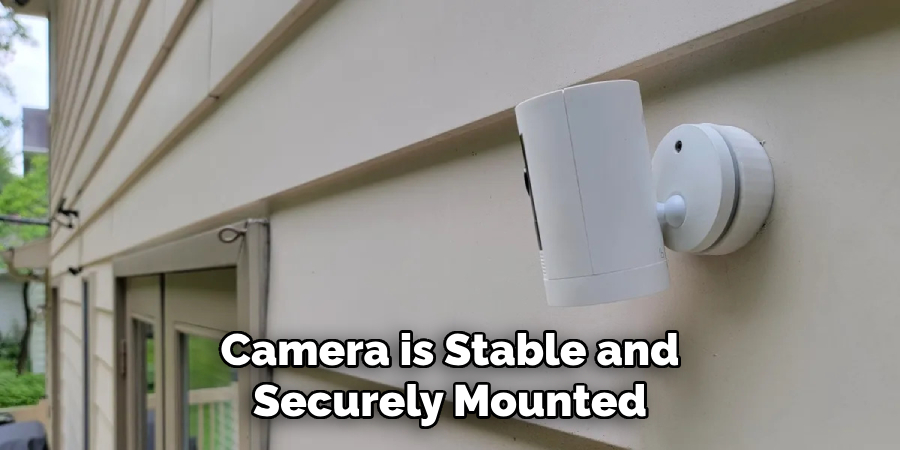
It’s important to ensure that your camera is safe and secure before leaving it unattended. This will prevent it from getting damaged or causing any accidents.
Step 7: Adjust the Camera Angle
Using your camera’s angle adjustment feature, make sure that it is facing the right direction. You can do this by taking a test shot and checking if the composition is what you desire. If not, simply adjust the angle until you get the perfect shot.
You can also use a remote control or timer if you’re self-shooting to avoid any camera shake while adjusting the angle. It’s important to take your time and get the angle just right for the best results.
Step 8: Check for Obstructions
Make sure there are no obstructions in the way of your camera’s view, such as branches or wires. If there are, adjust the camera’s angle or move it slightly to get a clear shot.
It’s important to do this before taking your actual photos so that you don’t have to pause and adjust mid-way through your shoot. However, if you’re capturing a moving subject, it’s best to have someone else monitor the camera and make necessary adjustments as needed.
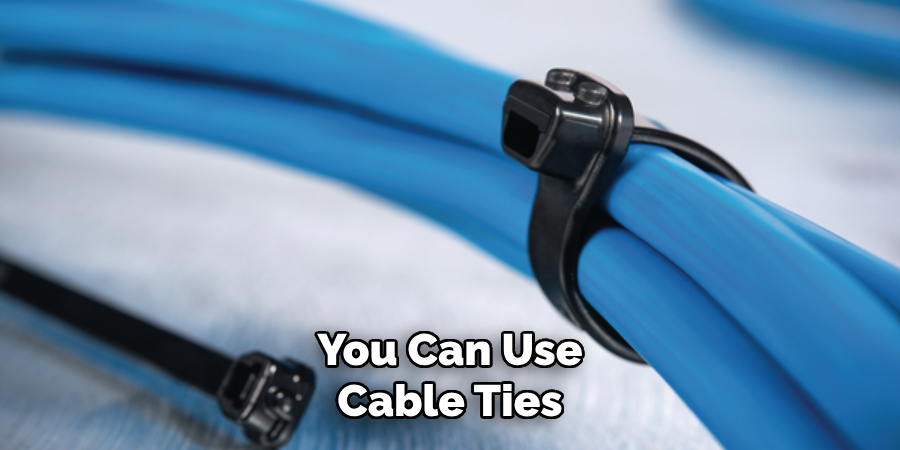
Step 9: Secure Any Loose Cables
If your camera has any cables or cords attached to it, make sure they are securely tucked away. You can use cable ties or tape to keep them in place so that they don’t come loose while you’re shooting. This will also prevent any accidents or damage to your camera. It’s important to check this regularly, especially if you’re using your camera for an extended period.
Step 10: Test the Camera Settings
Before taking your actual photos, it’s important to test your camera settings. Make sure the exposure, focus, and any other settings are adjusted according to your desired shot. You can take a few test shots and review them to ensure everything is in order. This will help avoid any disappointments or re-shoots later on. But, if you’re using automatic settings, simply skip this step.
Step 11: Take Your Photos
Now that everything is set up and ready to go, it’s time to take your photos! You can use a timer, or remote control, or ask someone else to snap the shot for you. Make sure you have a safe spot to stand while taking the photos, and avoid leaning too closely to the camera or reaching over it to prevent any accidental damage.
Step 12: Remove the Camera When Not In Use
Once you’re done with your photo shoot, make sure to remove your camera from the vinyl siding. This will help prolong its life and keep it in good condition. You can also remove it temporarily if you’re not using it for an extended period to avoid any damage caused by weather or other external factors. Make sure to store your camera in a safe and dry place when not in use.
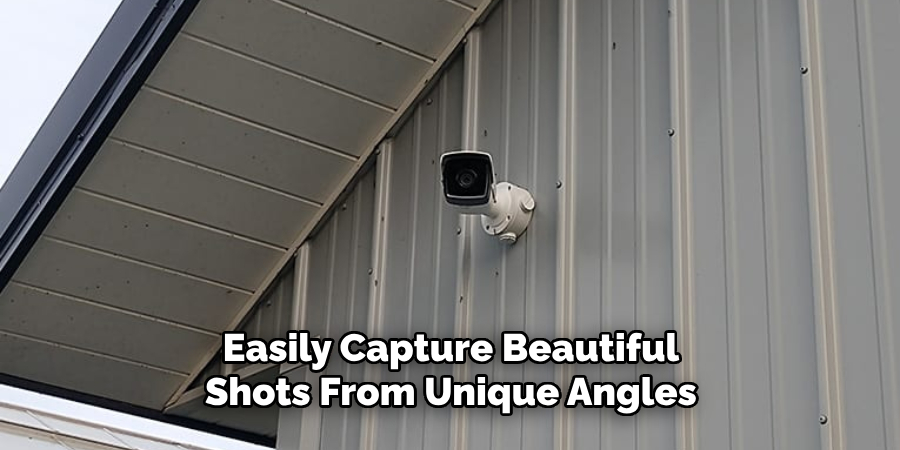
Congratulations, you now know how to mount camera on vinyl siding! With these simple steps, you can easily capture beautiful shots from unique angles. Just remember to always prioritize safety and check for any potential issues before starting your photo shoot. Happy shooting!
Do You Need To Use Professionals?
While mounting a camera on vinyl siding may seem like a simple task, it’s important to consider whether you’re comfortable doing it yourself or if you should hire professionals. If you have experience with DIY projects and feel confident in your abilities, you can definitely mount the camera on your own following the steps outlined above.
However, if you’re not familiar with tools or are hesitant to work at heights, it may be best to hire a professional for the job. They have the necessary expertise and tools to ensure your camera is mounted safely and securely without causing any damage to your siding. Ultimately, it’s important to prioritize safety and choose the option that makes you feel most comfortable.
Additional Tips
- Before Drilling, Make Sure to Check With Your Homeowner’s Association or Local Government for Any Regulations Regarding the Installation of Cameras on Your Property.
- If Using a Drill, Be Careful Not to Damage the Vinyl Siding by Applying Too Much Pressure or Drilling in the Wrong Spot.
- It’s Always a Good Idea to Have Someone Else Help You While Mounting the Camera, Especially if You’re Not Comfortable Working at Heights.
- Consider Investing in a Security Camera With Wireless Capabilities to Avoid Having to Mount and Remove It Every Time You Want to Use It.
- If Using Extension Cords, Make Sure They Are Rated for Outdoor Use to Prevent Any Damage or Accidents.
- Regularly Check the Mounting Screws or Clips to Ensure They Are Still Secure and Make Any Necessary Adjustments if Needed.
- If You’re Not Confident in Your Abilities to Mount the Camera, Don’t Hesitate to Seek Professional Help for a Safe and Secure Installation.
Frequently Asked Questions
Q1. Can I Mount a Camera on Any Type of Vinyl Siding?
A1. Yes, you can mount a camera on any type of vinyl siding as long as it is properly installed and sturdy enough to hold the weight of the camera. It’s important to follow the manufacturer’s instructions and use appropriate tools for a secure installation.
Q2. Can I Mount a Camera on Vinyl Siding That is Not Flat?
A2. Yes, you can mount a camera on vinyl siding that is not flat, such as textured or beveled siding. You may need to adjust the mounting screws or clips accordingly to ensure a secure fit.
Q3. Can I Remove the Camera from the Vinyl Siding Without Causing Damage?
A3. Yes, you can remove the camera from the vinyl siding without causing damage as long as it is properly installed and removed carefully. Avoid using excessive force or pulling on any wires or cables attached to the camera. If unsure, it’s best to seek professional help for removal.
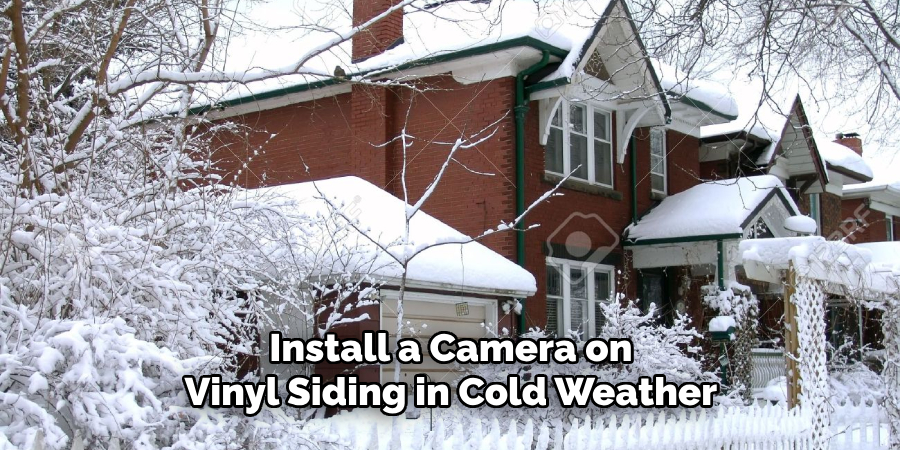
Q4. Can I Install a Camera on Vinyl Siding in Cold Weather?
A4. It is possible to install a camera on vinyl siding in cold weather, but it may require extra caution and preparation to ensure a successful installation. The adhesive backing of some cameras may not stick as well in colder temperatures, so make sure to follow the instructions carefully and allow enough time for proper adhesion.
Conclusion
In conclusion, mounted cameras on vinyl siding can be a tricky task. But by following these steps on how to mount camera on vinyl siding, you can achieve a successful installation every time. Don’t forget to take into account the weight of the camera and use heavy-duty screws to mount it securely in place.
Consider also using an appropriate sealant to prevent damage from weather and other external factors. You may need assistance while installing your camera too.
Make sure that it’s perfectly level and aligned so you get optimal coverage of your property with the camera’s viewfinder. Finally, invest in quality products as they will last longer and provide greater peace of mind for keeping your home safe! So what are you waiting for? Start mounting that camera today!
About
Safety Fic is a distinguished figure in the world of Diy design, with a decade of expertise creating innovative and sustainable Diy solutions. His professional focus lies in merging traditional craftsmanship with modern manufacturing techniques, fostering designs that are both practical and environmentally conscious. As the author of diy, Safety Fic delves into the art and science of Safety Fic-making, inspiring artisans and industry professionals alike.
Education RMIT University
(Melbourne, Australia) Associate Degree in Design (Safety Fic) Focus on sustainable design, industry-driven projects, and practical craftsmanship. Gained hands-on experience with traditional and digital manufacturing tools, such as CAD and CNC software.
Nottingham Trent University
(United Kingdom) Bachelor’s in diyfastly.com and Product Design (Honors) Specialized in product design with a focus on blending creativity with production techniques. Participated in industry projects, working with companies like John Lewis and Vitsoe to gain real-world insights.
Publications and Impact
In diy, Safety Fic his insights on indoor design processes, materials, and strategies for efficient production. His writing bridges the gap between artisan knowledge and modern industry needs, making it a must-read for both budding designers and seasoned professionals.