

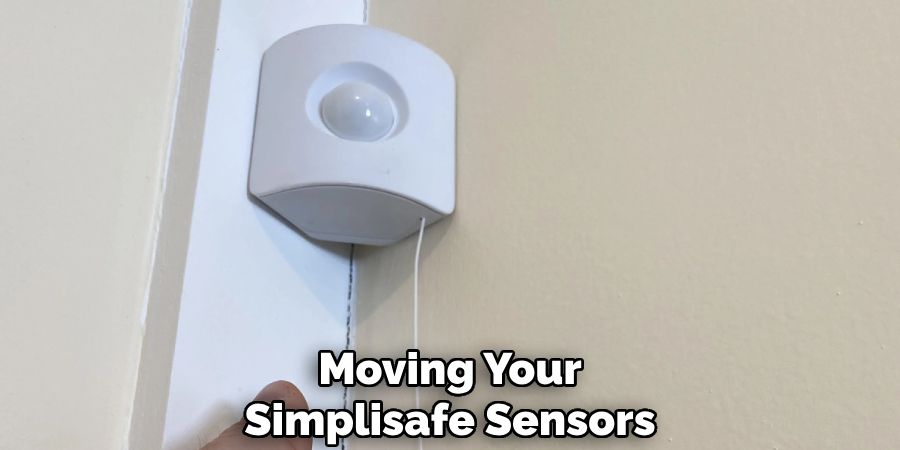
Moving SimpliSafe sensors is a straightforward process that can be done with ease, allowing you to adjust your home security system to suit your evolving needs.

Whether you’re rearranging your furniture, renovating your space, or simply looking to optimize sensor placement for better coverage, knowing how to move SimpliSafe sensors is essential.
With a few simple steps and minimal tools required, you can relocate door/window sensors, motion sensors, and other components of your SimpliSafe system without disrupting your home security.
In this guide, we’ll walk you through the step-by-step process of moving SimpliSafe sensors, ensuring that your home remains protected while providing you with the flexibility to adapt to changes in your living environment.
Whether you’re a new SimpliSafe user or a seasoned homeowner, mastering this skill will empower you to maintain an effective and customizable security solution for your home.
Importance of Proper Sensor Placement
The strategic placement of SimpliSafe sensors is critical to the effectiveness of your home security system.
Proper sensor placement not only maximizes the coverage area, ensuring that all potential entry points and areas of movement within your home are monitored, but it also reduces the likelihood of false alarms, which can be triggered by pets, shifting shadows, or other benign movements.
Additionally, well-placed sensors are less noticeable to potential intruders, making it more difficult for them to avoid detection. By carefully considering the location of each sensor, you ensure that your SimpliSafe system works efficiently and provides the comprehensive protection your home needs.
It’s not just about placing sensors; it’s about placing them wisely to create a security network that offers peace of mind and a safer living environment.
Assessing New Sensor Locations
Before physically moving your SimpliSafe sensors, it’s pivotal to assess and choose new locations thoughtfully.
This preparatory step ensures that the relocation enhances the security of your home without inadvertently creating vulnerabilities. Here are several key factors to consider when selecting new sensor locations:
- Visibility to Intruders: Aim to place sensors where they are not easily spotted by potential intruders yet can effectively detect unwanted entry or movement. This balance ensures that your sensors remain a covert aspect of your security system.
- Environmental Factors: Evaluate the impact of environmental elements such as direct sunlight, humidity, and temperature fluctuations, which could affect sensor performance. Avoiding placement near heating vents, windows that open frequently, or in direct sunlight can prevent false alarms and prolong sensor life.
- Structural Elements: Be mindful of any structural elements that might obstruct the sensor’s range or signal. Thick walls, metal objects, and large furniture pieces can impede the effectiveness of motion sensors and wireless communication between sensors and the base station.
- Power Sources: For sensors that require proximity to power outlets or have specific installation requirements (like SimpliSafe’s glass break sensors, which are recommended to be placed near windows), ensure the new location accommodates these needs without compromising the sensor’s effectiveness or your home’s aesthetics.
- High Traffic vs. Low Traffic Areas: Consider the daily activity within your home. Placing motion sensors in high traffic areas can increase the chance of false alarms. Strategically locate sensors to monitor these areas without being directly adjacent to them.
- Entry Points: Prioritize the security of all potential entry points, including less obvious ones like basement windows, second-story entryways, and garage doors. The goal is to ensure complete coverage without any blind spots.
Taking the time to thoughtfully assess potential new locations for your SimpliSafe sensors will not only enhance the overall security and efficiency of your system but will also contribute to the peace of mind that comes from knowing your home is protected.
Identifying Ideal Placement Spots
Once you’ve assessed your home’s layout and considered the key factors for sensor relocation, identifying ideal placement spots becomes the next critical step.
This involves a combination of strategic thinking and practical assessment to ensure that each sensor contributes effectively to the overall security of your home.

For motion sensors, look for areas that offer a clear field of view across major walkways but are positioned out of the direct path of household pets or daily activity that could trigger false alarms. Corners that overlook entry points or hallways are typically ideal.
Entry sensors should be attached to all exterior doors and windows, particularly those that are secluded or accessible via a flat roof or tree. Remember to consider secondary access points, such as basement doors or garage entry doors, which can be appealing targets for intruders.
Glass break sensors benefit from being placed in rooms with large windows or glass doors, ideally within 20 feet of the glass surfaces they’re meant to protect. However, they should not face direct sunlight or reflective surfaces to avoid false alarms.
Ensuring Proper Functionality and Coverage
After determining the optimal spots for relocating your SimpliSafe sensors, the next step is to ensure their proper functionality and coverage. This crucial phase requires a meticulous approach to confirm that each sensor operates as intended and contributes to the comprehensive security coverage of your home.

Firstly, conduct thorough tests on each sensor post-installation to verify that they are correctly communicating with the SimpliSafe base station.
This can be done through the system’s test mode, which allows you to activate each sensor individually and confirm it triggers the appropriate response from the base station. Pay attention to any connectivity issues or delayed responses, which may indicate the need for adjustments in sensor placement.
Secondly, evaluate the coverage area of each sensor, ensuring there are no dead zones where intruder activity could go undetected. For motion sensors, this may involve adjusting their angle or position to broaden their field of view. For entry sensors, confirm that they are adequately sensing the opening and closing of doors and windows.
Glass break sensors should have a clear line of sight to the glass surfaces they are protecting, without obstructions that could dampen the sound of breaking glass.
Consideration of Security Needs
In the process of optimizing your SimpliSafe home security system, taking an individualized approach by considering your specific security needs is crucial. Every home has unique aspects that can influence the type and extent of security measures necessary. Factors such as the neighborhood crime rate, the presence of valuable items within the home, and personal security concerns should guide the customization of your security setup.
Begin by evaluating the external and internal risk factors. For instance, homes in areas with higher crime rates may require a denser concentration of entry and motion sensors. Likewise, if you have valuable art, electronics, or collectibles, positioning additional glass break sensors in these areas can offer extra protection.

Furthermore, consider the personal schedules of household members. If the house remains empty for long stretches during the day, or if you frequently travel, integrating more comprehensive monitoring options and remote control functionalities can enhance security during these periods.
The consideration of these security needs not only ensures the tailored effectiveness of your SimpliSafe system but also maximizes your peace of mind, knowing that the protective measures in place truly resonate with your specific concerns and lifestyle.
Preparing for Sensor Movement
Before physically relocating any SimpliSafe sensors within your home, adequate preparation is essential to ensure a smooth and effective transition. This phase is critical for maintaining the integrity of your security system during the alteration process and minimizing any potential vulnerabilities that might arise.
Start by creating a detailed plan that outlines which sensors will be moved and their new locations. This plan should take into account the insights gained from identifying ideal placement spots and the specific security needs of your home.
Alongside this, gather all necessary tools and materials needed for the installation process, such as mounting strips, screws, or any proprietary installation kits provided by SimpliSafe.
It’s also important to notify all household members of the upcoming changes to the security setup. This includes instructing them on how to temporarily disable and re-enable the system if needed and informing them about any temporary safety protocols during the sensor transition period.
Additionally, consider scheduling the movement of sensors during a time when it will cause the least disruption to your household’s daily activities and when there is enough daylight to safely perform the installations.
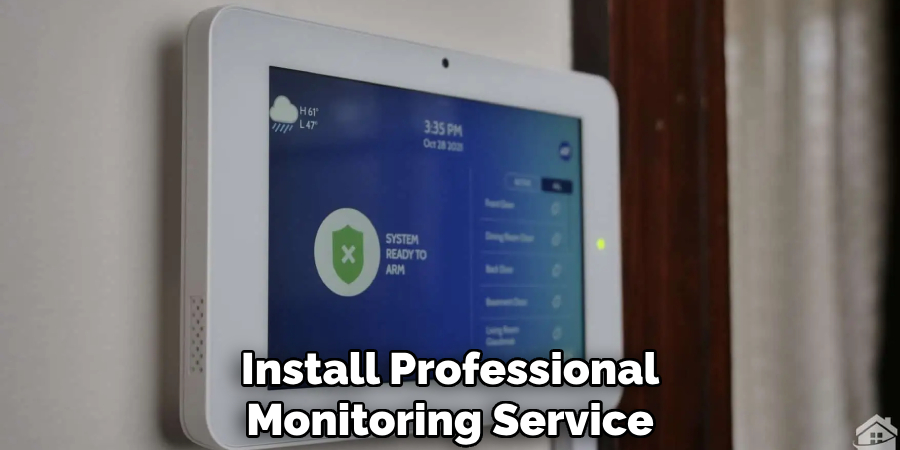
If you’re enrolled in a professional monitoring service, inform them of your plans to adjust the sensor layout to avoid any false alarms or misunderstandings during the transition period.
Gathering Necessary Tools and Supplies
Once you’ve planned for the movement of your SimpliSafe sensors, gathering the necessary tools and supplies is the next crucial step. This ensures that the process of relocating sensors within your home is executed smoothly and efficiently, without unnecessary interruptions or delays.
The tools and supplies needed may vary depending on the type of sensor and its installation requirements, but generally include the following:
- Mounting Strips/Tape: Often used for attaching sensors to walls or frames without causing damage. Ensure you have enough strips of the right type for your sensors.
- Screws and Wall Anchors: For a more permanent fixture, especially for heavier sensors, having a variety of screws and wall anchors can be necessary.
- Drill and Drill Bits: If you’re using screws for installation, a drill with various bit sizes can make the process easier, particularly when installing on drywall, wood, or masonry.
- Level: To ensure your sensors are installed straight, which is crucial for both aesthetic reasons and optimal operation, particularly for motion sensors.
- Measuring Tape: To help with precise placement and maintain an even distance between sensors, a measuring tape is indispensable.
- Pencil or Marker: For marking drilling spots or alignment lines on the wall before installing sensors.
- Clean Cloth: To clean the installation area before attaching the sensor to ensure it adheres properly.
- SimpliSafe Installation Instructions: Always have the installation guide or manual nearby for reference, to follow the correct installation steps for each sensor type.
Before you commence the sensor relocation, double-check that you have all these tools and supplies at hand. Preparation is key to avoiding midway disruptions and ensuring a quick and successful installation process.
10 Methods How to Move Simplisafe Sensors
1.Assessing Placement Needs:
Before you start moving your SimpliSafe sensors, take some time to assess your home’s security needs. Consider factors such as the layout of your home, the locations of entry points, and any areas that may require additional sensor coverage.
By identifying potential blind spots or vulnerable areas, you can plan the optimal placement of your sensors for enhanced security.
2.Updating Sensor Settings:
Once you’ve determined the new locations for your sensors, log in to your SimpliSafe account using the mobile app or web portal. Navigate to the sensor settings menu, where you can update the sensor names, descriptions, and placement details.
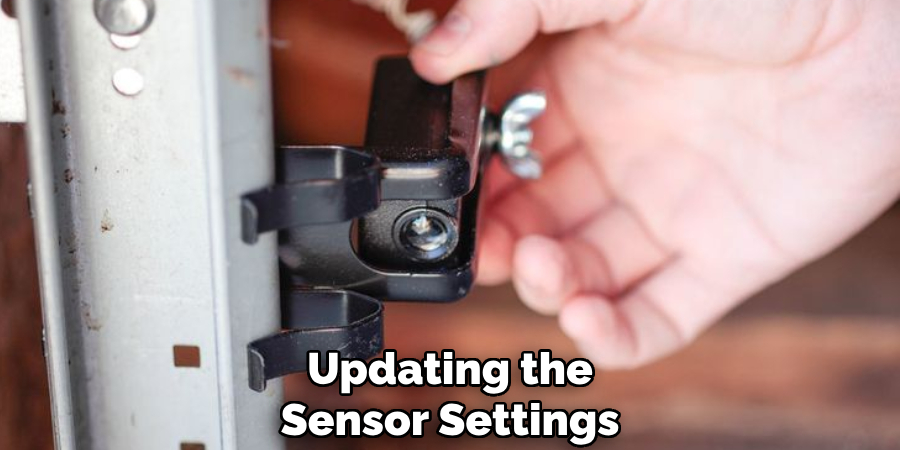
This step ensures that your system remains accurately configured and can provide relevant alerts and notifications based on the new sensor placements.
3.Removing Existing Sensors:
To move a SimpliSafe sensor, you’ll first need to remove it from its current location. Depending on the type of sensor you’re relocating, the removal process may vary slightly. For door/window sensors, carefully detach the sensor from its mounting bracket using a flathead screwdriver or your fingers.
For motion sensors, remove the sensor from its mounting plate by pressing the release button or sliding it out of the bracket.
4.Resetting Sensor Connections:
Before reinstalling a sensor in its new location, it’s essential to reset its connection to the SimpliSafe base station. This ensures that the sensor can establish a reliable connection and communicate with the rest of your security system.
To reset a sensor, refer to the manufacturer’s instructions or consult the SimpliSafe support resources for guidance specific to your sensor model.
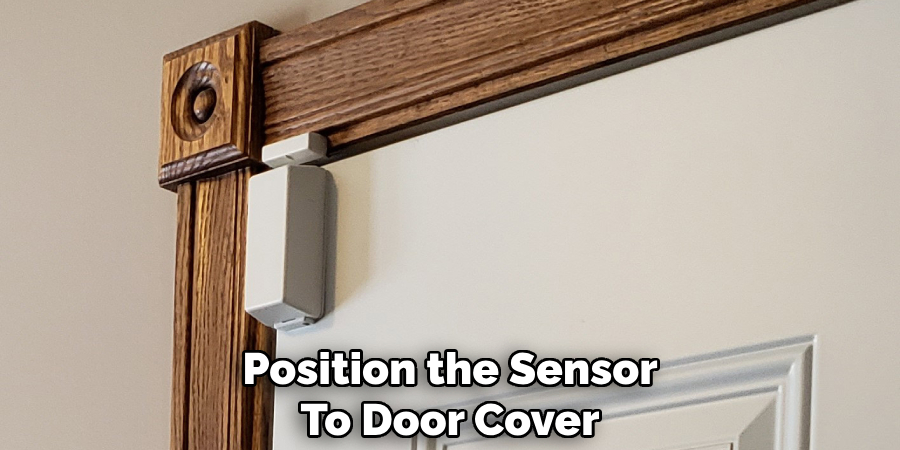
5.Repositioning Door/Window Sensors:
Door and window sensors are among the most commonly moved components of a SimpliSafe system. To reposition a door/window sensor, start by removing it from its current location as described earlier. Next, clean the mounting surface with a mild detergent to remove any dirt or residue that may affect adhesion.
Once the surface is clean and dry, attach the sensor to its new location using the included adhesive backing or mounting screws.
6.Relocating Motion Sensors:
Motion sensors are designed to detect movement within a specified range, making them versatile components of a home security system. To relocate a motion sensor, begin by removing it from its current mounting bracket as outlined earlier.
Choose a new location for the sensor that provides optimal coverage of the area you wish to monitor. Mount the sensor securely in its new location using the included hardware or adhesive backing.
7.Adjusting Sensor Angles:
When reinstalling motion sensors or other adjustable sensors, such as cameras, consider the angle and orientation of the device for optimal performance.
Position the sensor to cover the desired area effectively while minimizing false alarms caused by movement outside the intended detection zone. Experiment with different angles and heights to find the optimal position for each sensor based on your specific security needs.
8.Testing Sensor Functionality:
After moving and reinstalling your SimpliSafe sensors, it’s essential to test their functionality to ensure they are working correctly. Open and close doors or windows to trigger door/window sensors and verify that they send notifications to the base station promptly.
Walk through the detection range of motion sensors to confirm that they detect movement and trigger alerts as expected. Conducting thorough testing helps identify any issues or deficiencies in sensor placement or performance.
9.Fine-Tuning Sensor Placement:
Even after initial testing, you may find that certain sensors require further adjustment or fine-tuning to achieve optimal performance. Pay attention to any areas of your home that experience frequent false alarms or where sensor coverage may be inadequate.
Make minor adjustments to sensor placement or angle as needed to address these issues and optimize the effectiveness of your security system.
10.Monitoring and Maintenance:
Once you’ve completed the process of moving SimpliSafe sensors, it’s essential to monitor their performance regularly and perform routine maintenance as needed. Keep an eye out for any signs of sensor malfunction or deterioration, such as weak battery signals or connectivity issues.
Periodically check the adhesive backing or mounting hardware to ensure that sensors remain securely in place. By staying vigilant and proactive in monitoring your security system, you can maintain optimal protection for your home and belongings.
Conclusion
In conclusion, mastering the relocation of SimpliSafe sensors offers homeowners the flexibility to adapt their security system to changing needs and preferences seamlessly.
By following the outlined steps with precision and care, individuals can confidently move sensors to optimal positions, ensuring comprehensive coverage and reliable functionality throughout their homes.
As the sensors are reinstalled and the system is recalibrated, take pride in the enhanced security and peace of mind that comes with knowing your SimpliSafe setup is tailored to suit your specific requirements. Remember, regular testing and adjustment may be necessary to maintain optimal performance over time.
Thanks for reading, and we hope this has given you some inspiration on how to move simplisafe sensors!
About
Safety Fic is a distinguished figure in the world of Diy design, with a decade of expertise creating innovative and sustainable Diy solutions. His professional focus lies in merging traditional craftsmanship with modern manufacturing techniques, fostering designs that are both practical and environmentally conscious. As the author of diy, Safety Fic delves into the art and science of Safety Fic-making, inspiring artisans and industry professionals alike.
Education RMIT University
(Melbourne, Australia) Associate Degree in Design (Safety Fic) Focus on sustainable design, industry-driven projects, and practical craftsmanship. Gained hands-on experience with traditional and digital manufacturing tools, such as CAD and CNC software.
Nottingham Trent University
(United Kingdom) Bachelor’s in diyfastly.com and Product Design (Honors) Specialized in product design with a focus on blending creativity with production techniques. Participated in industry projects, working with companies like John Lewis and Vitsoe to gain real-world insights.
Publications and Impact
In diy, Safety Fic his insights on indoor design processes, materials, and strategies for efficient production. His writing bridges the gap between artisan knowledge and modern industry needs, making it a must-read for both budding designers and seasoned professionals.