

To open a Suburban key fob, start by locating the small notch or seam along the edge of the fob. This is usually where the two halves of the key fob meet. Using a flathead screwdriver or a similar flat tool, gently insert it into the notch. Carefully twist the tool to pop the key fob open, separating the two halves. Be cautious during this step to avoid damaging the plastic casing.
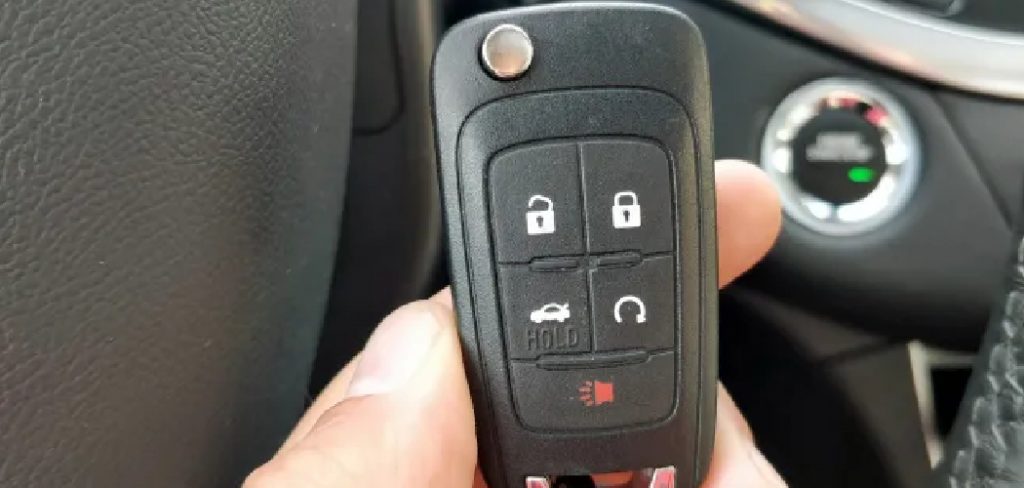
Once the key fob is open, you will have access to the internal components, including the battery. If you’re replacing the battery, take note of the battery size and orientation before removing it. Insert the new battery in the same position, ensuring proper contact with the terminals. Finally, snap the two halves of the key fob back together until they click securely into place.
Knowing how to open a Suburban key fob is an essential skill for any Chevy Suburban owner. Whether you need to replace a dead battery or inspect it for damage, understanding this straightforward process ensures your key fob stays fully functional. Key fobs are a vital part of your vehicle’s keyless entry system, allowing you to unlock doors, start your vehicle, and access other features with ease.
While they’re incredibly convenient, key fobs do require occasional maintenance, such as battery replacements. Being able to open the casing without causing damage is crucial. This guide will walk you through the necessary steps, providing a clear and beginner-friendly approach to maintaining your key fob. By the end of this article, you’ll be confident in handling this task effectively.
Why Should You Know How to Open a Suburban Key Fob?
Key fobs are central to your vehicle’s security and functionality, making it essential to keep them in good condition. Over time, batteries in key fobs naturally deplete, leading to issues like reduced signal range or complete unresponsiveness. Understanding how to open a Suburban key fob ensures that you can quickly replace the battery and restore its functionality without delay.
Additionally, knowledge of opening your key fob can help diagnose minor issues, such as loose internal components or dirt buildup. Troubleshooting these problems early can prevent more significant failures and save you the expense of replacing the entire key fob.
This skill also provides peace of mind in emergency situations, such as when you need to access the manual key hidden inside the fob. Knowing how to handle and maintain your key fob empowers you to keep your vehicle secure and operational, making it an invaluable piece of knowledge for all Suburban owners.
Step-by-Step Guide: How to Open a Suburban Key Fob
Step 1: Locate the Key Fob Seam
The first step in learning how to open a Suburban key fob is identifying the seam that separates its two halves. This seam runs along the casing’s edge and is often marked by a faint groove. Hold the key fob in your hand and inspect its perimeter to locate the division point.
Carefully run your finger along the groove to ensure you’ve pinpointed the correct spot. Some models may also have a small notch or indentation at one end of the seam, designed to accommodate a tool for prying it open. Recognizing the seam is crucial for avoiding accidental damage while attempting to open the casing.
Step 2: Gather the Necessary Tools
Once you’ve identified the seam, prepare the tools needed to open the casing. A small flathead screwdriver or plastic pry tool is recommended, as these provide adequate leverage without risking damage to the fob. Avoid using sharp or metal tools not designed for this purpose, as they can leave scratches or break the plastic.
Hold your tool at a slight angle, positioning its edge at the seam’s notch or groove. Applying even pressure ensures the casing opens smoothly. Having the right tools on hand simplifies the process and minimizes the risk of harming your key fob during disassembly.
Step 3: Open the Casing
With your tool in position, gently insert it into the seam and apply a slight twisting motion. This action separates the two halves of the key fob casing. Work your way around the seam, gradually loosening the casing until it splits open fully.
Take your time during this step to avoid forcing the casing apart or snapping the snap mechanism that holds it together. If resistance occurs, reposition the tool and try again from another angle. Properly opening the casing ensures you can access the internal components without difficulty.
Step 4: Identify the Key Fob Components
Once the casing is open, you’ll see the internal components of the key fob. This includes the battery, circuit board, and, in some cases, an emergency key. Familiarizing yourself with these elements allows you to handle them carefully while performing maintenance.

Focus on locating the battery, which is usually seated within a designated compartment. The battery is easily recognizable as a small, round, silver piece marked with its type (e.g., CR2032 or CR2025). Identifying the key fob’s layout ensures you can proceed with battery replacement or inspection efficiently.
Step 5: Remove the Old Battery
To replace a depleted battery, carefully lift it from its compartment using your fingertip or a small tool. Note the orientation of the battery before removing it, as this determines how the replacement should be installed. Most key fobs have clear markings indicating the positive (+) and negative (-) sides.
Avoid applying excessive force or touching the circuit board while removing the battery, as this can cause damage. Properly removing the old battery prepares the key fob for a seamless installation of the new one.
Step 6: Insert the New Battery
After removing the old battery, take your replacement battery and align it with the positive and negative markings within the compartment. Gently press the battery into place until it sits securely. Ensure that the battery is flush with the compartment and doesn’t shift when the fob is moved.
Test the alignment by pressing any buttons on the key fob to verify a responsive signal. Installing the battery correctly ensures the key fob functions as intended once reassembled.
Step 7: Inspect and Clean the Casing
Before closing the key fob, inspect both halves of the casing for dirt, debris, or wear. Use a microfiber cloth to wipe down the surfaces, removing any buildup that might interfere with reassembly or the snap mechanism.
Pay attention to the areas around the buttons or seam where dust may accumulate. Keeping the casing clean helps maintain the key fob’s appearance and ensures a secure fit when reassembled.
Step 8: Reassemble the Key Fob
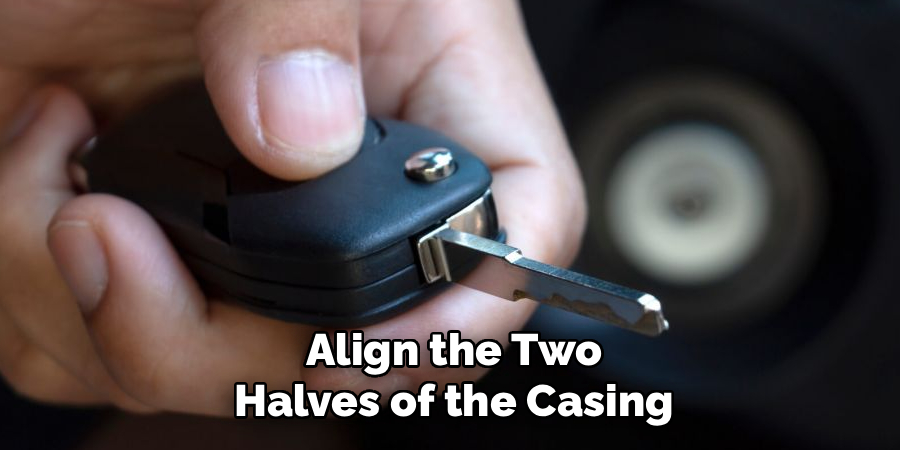
To close the key fob, align the two halves of the casing and press them together firmly until you hear a satisfying click. Ensure all edges are flush and that the snap mechanism is fully engaged. If any gaps remain, check for obstructions like misaligned components.
Test the key fob after reassembly by pressing the buttons to confirm it responds correctly. Reassembling the fob properly completes the process and restores its full functionality.
Key Fob Troubleshooting
If your key fob is still not functioning correctly after reassembly, there are a few troubleshooting steps you can take. First, double-check that the battery is installed correctly, ensuring the positive (+) and negative (-) sides are properly oriented. A misaligned battery is a common cause of malfunction. Next, inspect the battery itself to confirm it is fresh and fully charged; even slight depletion can affect performance.
If the issue persists, examine the internal contacts and circuitry for signs of buildup or corrosion. Gently clean these areas with a small amount of rubbing alcohol and a cotton swab, taking care not to damage the delicate components. Additionally, verify that all buttons are properly seated and not stuck, as debris can sometimes obstruct movement.

Finally, consider reprogramming the key fob if your vehicle requires it. Consult your owner’s manual or contact a professional locksmith or dealership for specific instructions. If none of these steps resolve the problem, it may be necessary to replace the fob entirely.
Frequently Asked Questions
What tools do I need to open a Suburban key fob?
A small flathead screwdriver or plastic pry tool is ideal for opening a Suburban key fob. These tools provide enough leverage to separate the casing without causing damage.
How do I know if my key fob battery needs replacement?
Common signs include reduced signal range, unresponsive buttons, or intermittent functioning. Replacing the battery should resolve these issues and restore normal operation.
Can I open the casing without damaging the key fob?
Yes, by using the appropriate tools and applying even pressure, you can safely open the casing without causing scratches or breaking the snap mechanism.
What type of battery does a Suburban key fob use?
Most Suburban key fobs use CR2032 or CR2025 batteries. Check your owner’s manual or the current battery for confirmation before purchasing a replacement.
How long does it take to replace a key fob battery?
Replacing the battery takes approximately 5–10 minutes, including the time needed to open the casing, install the new battery, and reassemble the fob.
Conclusion
Learning how to open a Suburban key fob is a simple yet valuable skill that ensures your vehicle’s keyless entry system remains functional. From carefully opening the casing to replacing the battery and reassembling the components, each step is straightforward and manageable.
Taking the time to master this process can save you money on professional repairs and keeps your key fob in excellent condition. Follow these steps today and enjoy the convenience of a fully operational key fob!
About
Safety Fic is a distinguished figure in the world of Diy design, with a decade of expertise creating innovative and sustainable Diy solutions. His professional focus lies in merging traditional craftsmanship with modern manufacturing techniques, fostering designs that are both practical and environmentally conscious. As the author of diy, Safety Fic delves into the art and science of Safety Fic-making, inspiring artisans and industry professionals alike.
Education RMIT University
(Melbourne, Australia) Associate Degree in Design (Safety Fic) Focus on sustainable design, industry-driven projects, and practical craftsmanship. Gained hands-on experience with traditional and digital manufacturing tools, such as CAD and CNC software.
Nottingham Trent University
(United Kingdom) Bachelor’s in diyfastly.com and Product Design (Honors) Specialized in product design with a focus on blending creativity with production techniques. Participated in industry projects, working with companies like John Lewis and Vitsoe to gain real-world insights.
Publications and Impact
In diy, Safety Fic his insights on indoor design processes, materials, and strategies for efficient production. His writing bridges the gap between artisan knowledge and modern industry needs, making it a must-read for both budding designers and seasoned professionals.