Programming a Chevrolet key fob may seem like a daunting task, but with the right guidance, it can be a simple and straightforward process. Whether you need to replace a lost key fob, add a new one, or reprogram an existing fob, this guide on How to Program a Chevrolet Key Fob will provide you with step-by-step instructions to get the job done. By following these steps, you can save time and avoid the inconvenience of visiting a dealership.

Why Program a Chevrolet Key Fob?
Chevrolet key fobs are an essential part of modern car technology, providing convenience and security for drivers. These small devices can control various features of your vehicle, such as locking and unlocking doors, opening the trunk, and even starting the engine remotely. However, if your key fob is not programmed correctly, it may not work or may even cause issues with your car’s security system.
The programming process ensures that your key fob is uniquely synced with your vehicle, making it the only one able to access and control its features. It also allows you to have multiple key fobs for a single car, giving you and other drivers in your household easy access to the vehicle.
Needed Materials
Chevrolet Key Fob:
The first and most essential item you’ll need is a Chevrolet key fob. If you’re adding a new one, make sure it’s compatible with your car’s make and model. You can purchase a new key fob from the dealership or online.
Vehicle Ignition Key:
You will also need your vehicle’s ignition key to program the key fob. This is the traditional metal key that you use to start your car.
Programming Instructions:
Finally, you will need the programming instructions specific to your Chevrolet model. These can usually be found in the owner’s manual or obtained from the dealership.
8 Step-by-Step Guides on How to Program a Chevrolet Key Fob
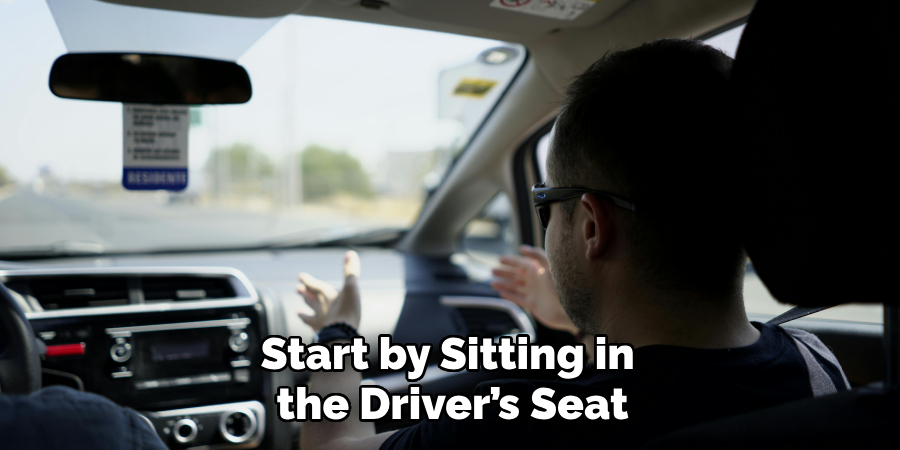
Step 1: Sit in the Driver’s Seat
Start by sitting in the driver’s seat of your Chevrolet vehicle. Ensure all the doors are closed, and lock them manually if necessary.

This step ensures the programming process is not interrupted by any external factors and that your focus remains entirely on the task. Having a stable and quiet environment also prevents potential errors during programming.
Step 2: Insert the Ignition Key
Insert your vehicle’s ignition key into the ignition switch, but do not start the car yet. Turn the key to the “On” position, which is typically the position just before the engine starts. This activates the vehicle’s electrical system and prepares it for programming.
Ensure the dashboard lights turn on, as this indicates the car is in the correct mode for the subsequent steps.
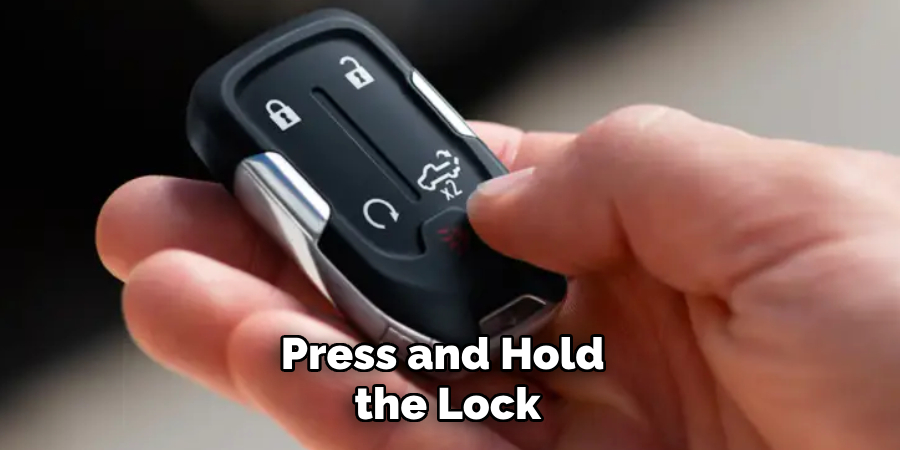
Step 3: Press and Hold the Lock/Unlock Buttons
Press and hold both the lock and unlock buttons on your Chevrolet key fob simultaneously for about 15 seconds.
Hold them until you see one of the following signs:
- The vehicle’s horn honks
- The car lights flash
- A message appears on the dashboard
These are indications that your car is now in “program mode” and ready to receive new instructions from your key fob. If none of these happen, repeat Step 2 and try again.
Step 4: Release the Key Fob Buttons
Once you receive confirmation that the vehicle is in “program mode” (through a honk, flashing lights, or a dashboard message), release the lock and unlock buttons on the key fob.
At this point, the key fob should be properly communicating with your vehicle’s system, and you are ready to proceed with finalizing the programming process in the next steps.
Step 5: Press and Hold the Lock/Unlock Buttons Again
Press and hold the lock and unlock buttons on your key fob again for another 15 seconds. This sends a specific signal to the car’s system, indicating that it should pair with the key fob.

The vehicle may honk or flash its lights once more, signaling that it has successfully recognized and paired with the key fob.
Step 6: Release the Key Fob Buttons
Release the lock and unlock buttons on your key fob once you receive confirmation of successful pairing from your vehicle.
You can now test your key fob by using its various functions, such as locking and unlocking doors or opening the trunk. If everything works as it should, you have successfully programmed your Chevrolet key fob.
Step 7: Repeat for Additional Key Fobs
If you are programming multiple key fobs, repeat Steps 3-6 for each one. Make sure to complete these steps within two minutes of completing Step 5; otherwise, the car will exit “program mode” and require you to start over from the beginning.
But if you are programming a new key fob while keeping an existing one, make sure to perform Step 2 with the current key fob before proceeding with Steps 3-6 for the new one. This ensures that both key fobs are synced and can work interchangeably.
Step 8: Turn off the Engine
Finally, turn off the engine and remove the ignition key from your car’s switch. Your newly programmed Chevrolet key fobs should now work smoothly and efficiently with your vehicle.

Following these steps on How to Program a Chevrolet Key Fob can save you time and money by allowing you to program your Chevrolet key fob at home. However, if you encounter any issues or difficulties during the process, it is always best to seek assistance from a professional or visit your local dealership for further guidance. With a properly programmed key fob, you can enjoy the convenience and security of modern car technology with ease.
Do You Need to Use Professionals?
While programming a Chevrolet key fob at home can be a cost-effective and straightforward process, there are situations where seeking professional help may be the better option. For instance, if you experience repeated issues while attempting to program the key fob yourself or if your vehicle’s system does not respond as expected, a trained technician can quickly diagnose and resolve the problem.
Professional assistance is also recommended if you have a more complex vehicle security system, as certain models may require specialized tools or advanced software to ensure the programming is done correctly. Additionally, visiting a dealership or an automotive locksmith ensures that your key fob is authentic and securely paired, preventing potential security concerns. Ultimately, while DIY programming is feasible for many, professional services provide added peace of mind and reliability, particularly in challenging or unique cases.
Additional Tips
- Always ensure that your key fob is compatible with your Chevrolet make and model before attempting to program it.
- If you are adding a new key fob, make sure to delete any old ones from the vehicle’s memory for security purposes.
- Keep spare key fobs in a safe place to avoid potential theft or loss. The programming process is specific to each key fob, so you will need to repeat it for any replacements.
- If your vehicle’s battery dies or is replaced, you may need to reprogram your key fob as well. Refer to the owner’s manual for specific instructions for your Chevrolet model.
- Remember to test your key fob after programming by trying all of its functions. If any issues arise, consult a professional or visit the dealership for further assistance.
Frequently Asked Questions
Q1: Can I Program My Chevrolet Key Fob Without the Vehicle’s Ignition Key?
A: No, you will need the ignition key to complete the programming process. Without it, the car’s system will not recognize and pair with the new key fob.
Q2: How Many Key Fobs Can I Program for My Chevrolet Vehicle?
A: You can program up to eight key fobs for a single Chevrolet vehicle. However, if you have an existing key fob, make sure to include it in the programming process to ensure both old and new key fobs work together seamlessly.
Q3: Is Programming My Chevrolet Key Fob Different for Different Models?
A: Yes, each Chevrolet model may have slightly different instructions or require additional steps during the programming process. Always refer to your owner’s manual or contact a dealership for specific instructions on your make and model.
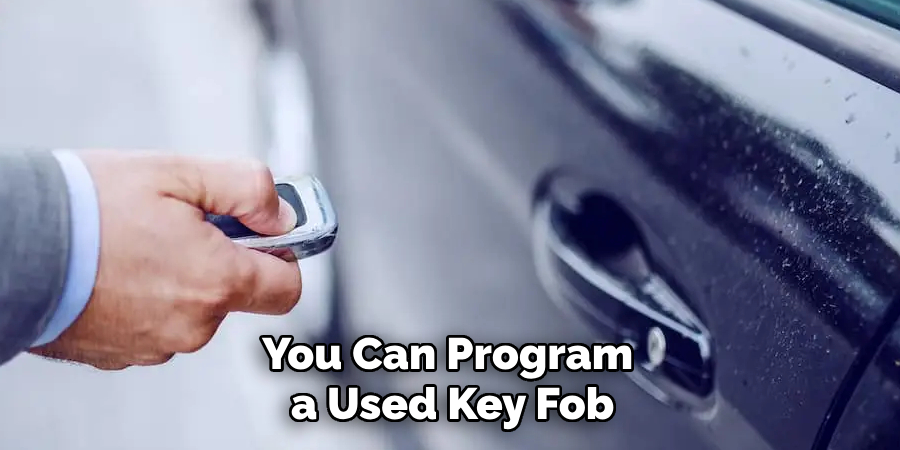
Q4: Can I Program a Used Chevrolet Key Fob?
A: Yes, you can program a used key fob to your Chevrolet vehicle as long as it is compatible with your car’s make and model. Make sure to clear any previous programming on the key fob before attempting to program it for your vehicle.

Conclusion
Programming a Chevrolet key fob may seem intimidating at first, but by following these eight simple steps on How to Program a Chevrolet Key Fob, you can easily get it done on your own without having to visit a dealership. Remember to have all the necessary materials and follow the instructions carefully for successful programming.
With a programmed key fob, you can effortlessly control your car’s features and enjoy a more convenient driving experience. So, next time you need to add a new key fob to your Chevrolet, don’t hesitate to try this DIY method! Happy programming!
About
Safety Fic is a distinguished figure in the world of Diy design, with a decade of expertise creating innovative and sustainable Diy solutions. His professional focus lies in merging traditional craftsmanship with modern manufacturing techniques, fostering designs that are both practical and environmentally conscious. As the author of diy, Safety Fic delves into the art and science of Safety Fic-making, inspiring artisans and industry professionals alike.
Education RMIT University
(Melbourne, Australia) Associate Degree in Design (Safety Fic) Focus on sustainable design, industry-driven projects, and practical craftsmanship. Gained hands-on experience with traditional and digital manufacturing tools, such as CAD and CNC software.
Nottingham Trent University
(United Kingdom) Bachelor’s in diyfastly.com and Product Design (Honors) Specialized in product design with a focus on blending creativity with production techniques. Participated in industry projects, working with companies like John Lewis and Vitsoe to gain real-world insights.
Publications and Impact
In diy, Safety Fic his insights on indoor design processes, materials, and strategies for efficient production. His writing bridges the gap between artisan knowledge and modern industry needs, making it a must-read for both budding designers and seasoned professionals.
