

Are you tired of having to unlock your car manually all the time? Are you afraid of losing your keys and not being able to drive? The solution is simple: program a chip key!
How to program a chip key, is an essential process for ensuring that your vehicle’s security system functions properly. These keys are embedded with a small electronic chip that communicates with your car’s immobilizer system to allow the engine to start. If you’ve recently purchased a new chip key or need to replace an existing one, it is necessary to sync it with your vehicle. While this task might seem daunting at first, it often requires only a few simple steps and can sometimes be done without professional help.
This guide will walk you through the process, ensuring your chip key is correctly programmed and ready for use.
What Are the Benefits of Programming a Chip Key?
Programming a chip key for your vehicle can have several benefits, including increased security and convenience. With a programmed chip key, only that specific key will be able to start your car’s engine, making it more difficult for thieves to steal your vehicle. Additionally, having a programmed chip key eliminates the need for traditional car keys, which can easily be lost or stolen.
Another benefit of programming a chip key is the ability to incorporate additional features into your vehicle’s immobilizer system. Some chip keys come with remote entry capabilities, allowing you to lock and unlock your car from a distance. This can be especially useful in situations where you have your hands full or need quick access to your vehicle.
What Will You Need?
To program a chip key, you will need the following items:
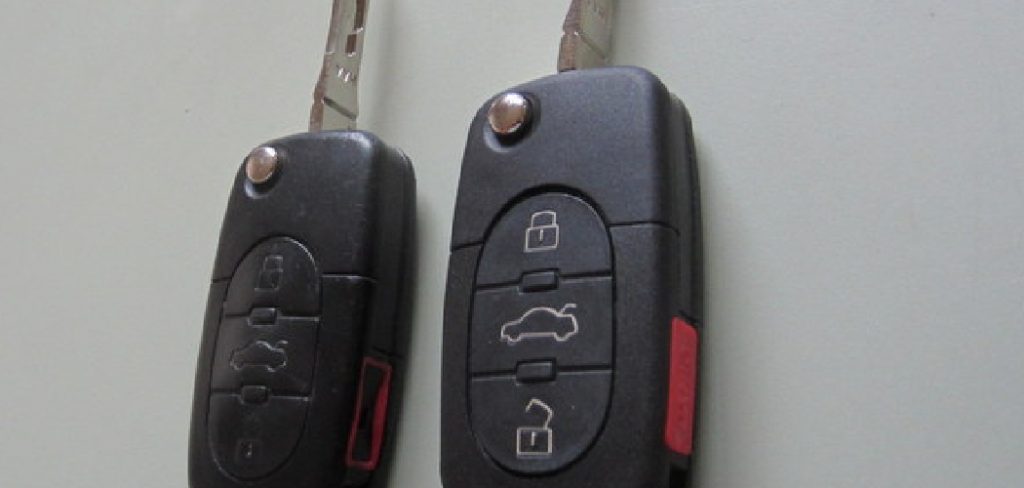
- A New Chip Key: This can be purchased from a dealership, locksmith, or online.
- Your Vehicle’s Make and Model Information: The programming methods may vary depending on the type of car you have.
- Instructions for Programming Your Specific Vehicle: These can usually be found in your owner’s manual or online.
- A Functional Master Key: If your vehicle already has a programmed chip key that works, it will be needed to complete the programming process for additional keys.
Once you have all of these items, you can begin the process of programming your new chip key.
8 Easy Steps on How to Program a Chip Key
Step 1. Insert the Master Key Into the Ignition
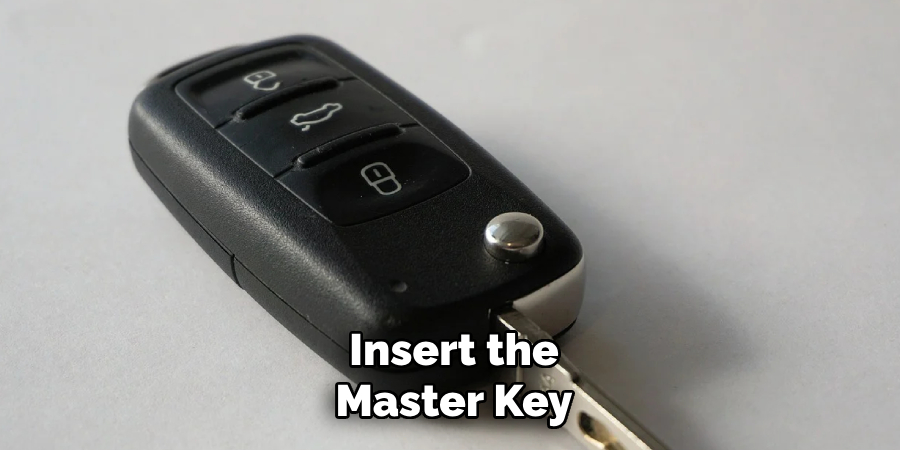
Begin by inserting the functional, pre-programmed master key into your vehicle’s ignition switch. Ensure the key fits securely and is turned to the “On” position without starting the engine. This “On” position typically engages the vehicle’s electrical systems, such as dashboard lights, without activating the motor. This step allows the vehicle’s system to recognize the master key, which is essential for initiating the programming sequence and ensuring accuracy. Leave the master key in this position for a few seconds to allow the vehicle’s computer system to fully register it before proceeding to the next step.
Step 2. Wait for Indicator Lights
When the master key is in the “On” position, keep an eye on the vehicle’s dashboard for any indicator lights to illuminate. These lights are a crucial part of the programming process, as they signify that the car’s electrical and security systems are active and ready to proceed. Pay particular attention to the security indicator light, which may appear as a padlock or a key symbol, depending on the vehicle’s make and model.
This light often blinks or changes its behavior during the process, serving as confirmation that the programming mode has been initiated correctly. If the light does not behave as expected, it may indicate a system error or failure to correctly engage the programming mode, requiring you to reset and try again. Patience is key here—some vehicles take a few seconds longer to respond, so ensure you allow adequate time for the system to recognize the key before moving on.
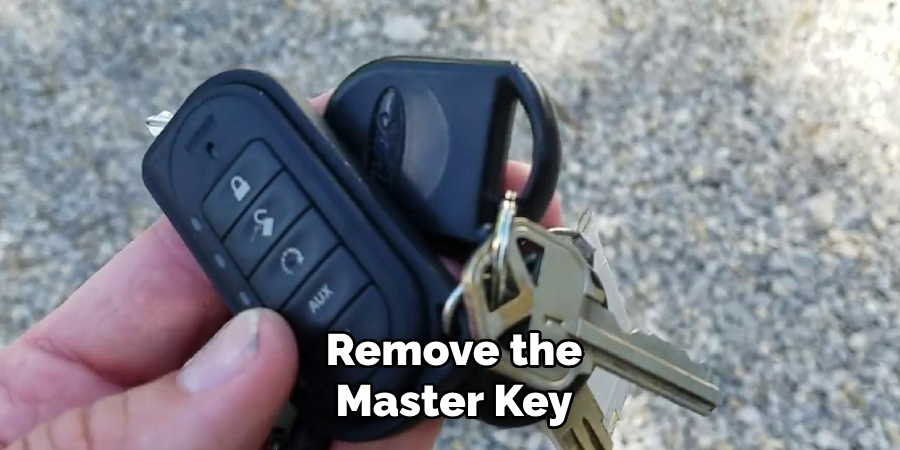
Step 3. Remove the Master Key
Once the programming mode is confirmed and the master key has been removed, it is essential to follow the next steps carefully to ensure the process is successful. At this stage, the vehicle’s system is primed to recognize the new key but has not yet completed the programming sequence. This means you must proceed promptly while also adhering to the specific instructions for your vehicle’s make and model.
Insert the new key into the ignition or designated slot as specified in your user manual. Pay attention to any indicators, such as blinking lights or beeping sounds, as these signals often confirm that the key is being programmed. Avoid removing the new key prematurely, as this could interrupt the process and require you to restart. Depending on the system’s complexity, you may need to hold the new key in position for a predetermined duration or perform additional steps, such as unlocking and locking the vehicle.
Step 4. Insert the New Chip Key
Once the new chip key is inserted, it is crucial to ensure that it is seated properly and remains stable throughout the programming process. Avoid applying excessive force when inserting the key, as this could damage the key or the ignition cylinder. Pay close attention to the vehicle’s dashboard indicators, as they often include a security or key-shaped light that provides feedback on the programming status.
If the light blinks or remains illuminated for the specified time, it typically means the system is recognizing the new key. Follow any specific action sequences outlined in your user manual, such as toggling the ignition between positions or inserting and removing the key multiple times. Be patient during this step, as the system may need a few moments to complete the programming.
Step 5. Wait for Confirmation
Once you have completed the programming sequence, it is crucial to wait for a confirmation signal from the system to ensure the process was successful. This signal can vary depending on the make and model of your vehicle. For instance, some cars might respond with an audible chime, while others may indicate success through the dashboard lights or a steady illumination of the key-shaped light. If you do not receive confirmation, double-check the procedure in your user manual and repeat the steps if necessary. Ensure that all actions were performed within the designated time windows, as timing is often critical in key programming.
Additionally, verify that the new key is compatible with your car’s system and that its transponder is working correctly. If the issue persists, consult a professional locksmith or your dealership for assistance. Proper confirmation ensures the key has been fully programmed and can now operate the vehicle reliably.
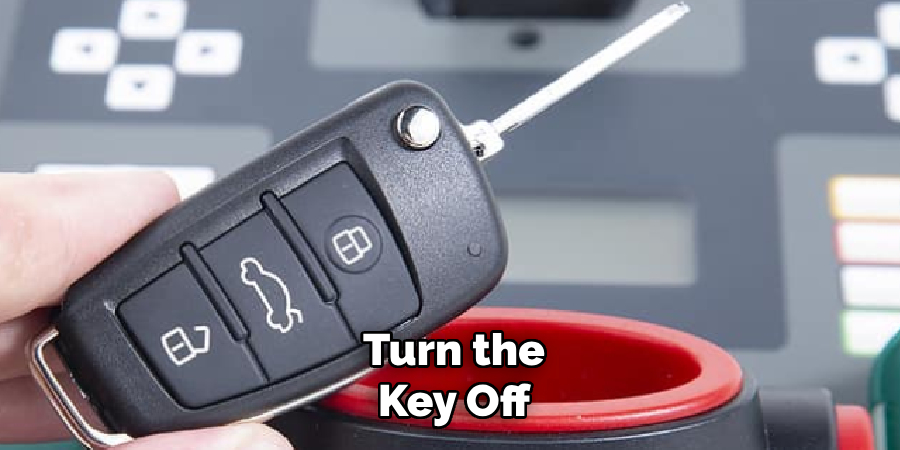
Step 6. Turn the Key Off
After turning the key off, it is important to remove it from the ignition to complete the programming process properly. At this stage, test the new key’s functionality by attempting to start the car and operate its various systems, such as locking and unlocking the doors remotely, if applicable.
Carefully observe for any signs that the programming was unsuccessful, such as error messages or the vehicle not starting. If your car has additional electronic features that rely on the key, such as remote start or keyless entry, take the time to test these functions as well. Thoroughly verifying the key’s performance now can save time and frustration later, ensuring that it works seamlessly with your vehicle.
Step 7. Test the Key in All Functions
After turning the key off, it’s crucial to test the newly programmed key to ensure it operates smoothly. First, insert the key into the ignition and attempt to start the vehicle. Pay attention to whether the engine starts smoothly and the car’s security warning lights behave as expected. Next, test any remote functions the key may have, such as locking and unlocking the doors, opening the trunk, or activating the panic alarm. For innovative key systems, ensure the key allows for keyless entry and start functionality if applicable. Testing these features confirms that the programming process was successful and the key is fully integrated into the vehicle’s system.
Step 8. Final Checks and Troubleshooting
After completing the programming process, it’s essential to perform a final check to ensure everything is working correctly. This includes testing all functions of the key, as well as any additional features such as proximity sensors or remote start.
If there are any issues with the key not functioning correctly, these can often be resolved by troubleshooting. Some common troubleshooting steps include checking the battery in the key fob and ensuring it is properly inserted, reprogramming the key, or seeking assistance from a professional locksmith or dealership.
By following these steps and adequately taking care of your car key, you can ensure that it will continue to work reliably for years to come.
Conclusion
How to program a chip key is an essential process that ensures your vehicle’s security and functionality.
By carefully following the outlined steps—such as entering the proper programming mode, using your vehicle’s manual as a guide, and ensuring compatibility with your car’s system—you can effectively program your key. Always double-check your work and remember that professional assistance is available if you encounter difficulties.
With proper programming and maintenance, your chip key will provide reliable and secure access to your vehicle.
About
Safety Fic is a distinguished figure in the world of Diy design, with a decade of expertise creating innovative and sustainable Diy solutions. His professional focus lies in merging traditional craftsmanship with modern manufacturing techniques, fostering designs that are both practical and environmentally conscious. As the author of diy, Safety Fic delves into the art and science of Safety Fic-making, inspiring artisans and industry professionals alike.
Education RMIT University
(Melbourne, Australia) Associate Degree in Design (Safety Fic) Focus on sustainable design, industry-driven projects, and practical craftsmanship. Gained hands-on experience with traditional and digital manufacturing tools, such as CAD and CNC software.
Nottingham Trent University
(United Kingdom) Bachelor’s in diyfastly.com and Product Design (Honors) Specialized in product design with a focus on blending creativity with production techniques. Participated in industry projects, working with companies like John Lewis and Vitsoe to gain real-world insights.
Publications and Impact
In diy, Safety Fic his insights on indoor design processes, materials, and strategies for efficient production. His writing bridges the gap between artisan knowledge and modern industry needs, making it a must-read for both budding designers and seasoned professionals.