

Are you tired of fumbling with your keys whenever you want to lock or unlock your Acura car? With a key fob, you can easily perform these actions with just the click of a button.
How to program Acura key fob is an essential process for ensuring that your vehicle’s remote functions, such as locking, unlocking, and panic mode, operate seamlessly. Whether you’ve recently replaced a lost key fob or received a new one as a spare, learning how to program it can save you time and the expense of visiting a dealership.
This guide will walk you through the straightforward steps to program your Acura key fob, making it a hassle-free experience even for those without technical expertise. Let’s get started!
What Are the Benefits of a Key Fob?
A key fob, also known as a remote or clicker, is a small electronic device that allows you to remotely control your car’s functions. It typically has buttons for locking and unlocking the doors, opening the trunk, and activating the panic alarm. Some advanced key fobs even have remote start and climate control features.
One of the main benefits of using a key fob is convenience. Instead of manually inserting a key into the lock or turning on the ignition, you can simply press a button on the key fob to perform these actions. This saves time and effort, especially when your hands are complete with groceries or other items.
Another advantage of having a key fob is increased security. With the traditional keyless entry system, anyone with a copy of your key can easily access your car.
What Will You Need?
Before you begin the programming process, make sure you have the following items ready:
- Your Acura car
- The key fob(s) you want to program
- Your driver’s seat
- A clear path in front of your car
Once you have these items, you can start programming your Acura key fob.
8 Easy Steps on How to Program Acura Key Fob
Step 1. Enter Your Vehicle

Begin by ensuring that you are seated in the driver’s seat of your Acura vehicle. This is essential because the programming process requires easy access to your car’s controls, including the ignition system. Ensure all doors are closed before starting to avoid interruptions during the programming process. It’s also helpful to double-check that you have all the items mentioned earlier, such as your key fob(s) and a clear path in front of your car. Once everything is set, you’re ready to proceed to the next step.
Step 2. Insert and Remove the Key
Insert your key into the ignition without turning it. Then, obliterate the key. Repeat this process a total of four times in quick succession, ensuring that each insertion and removal is smooth and consistent. This step helps initialize the key programming mode within your vehicle’s system. Be sure not to turn the key during this process, as doing so may interrupt the setup. After the fourth removal, leave the key outside the ignition, as this will prepare the car for the next programming action. If done correctly, the doors should automatically lock and unlock as a sign of successful activation.
Step 3. Turn the Ignition to the “On” Position
After completing the previous step, insert the key into the ignition again and turn it to the “On” position without starting the engine. Leave the key in this position for a few seconds. This action signals the vehicle’s system to acknowledge the programming sequence. Ensure all car doors are closed during this step to prevent interruptions. Listen for a sound or observe a light on the dashboard, indicating the system is ready for the following action. Turn the ignition back to the “Off” position, but do not remove the key yet.
Step 4. Program the Key
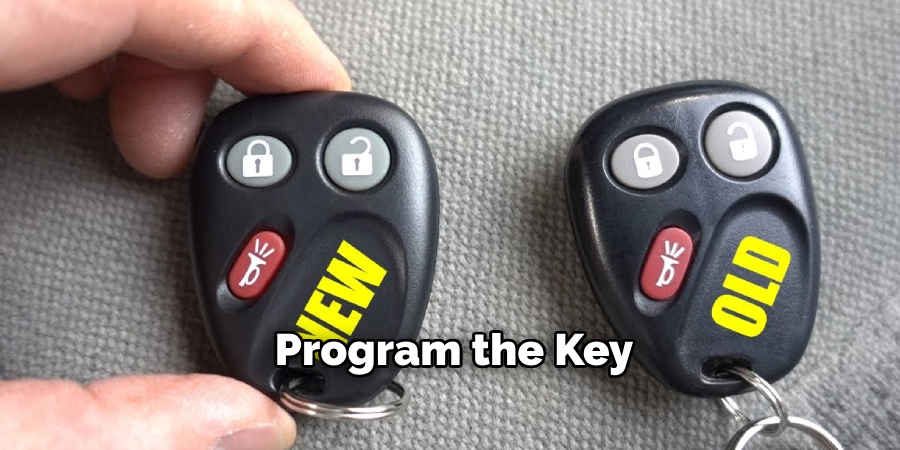
With the ignition still in the “Off” position and the key inserted, press and hold the “Lock” button on the key fob. While holding the “Lock” button, press the “Unlock” button three times in quick succession. Release both buttons and observe the car’s response—typically, the vehicle will emit a sound or the lights will flash to indicate successful programming. If no response occurs, repeat the sequence carefully. Once the confirmation is received, the key is successfully programmed and ready for use.
Step 5. Program Additional Keys (If Needed)
If you have additional keys to program, repeat the same process for each key without starting the procedure from the beginning. Insert the following key into the ignition, ensuring it remains in the “Off” position, and follow the same sequence by pressing and holding the “Lock” button while pressing the “Unlock” button three times. Wait for the vehicle’s confirmation signals after each key is programmed. Repeat this step for all additional keys. Once finished, remove the last key and turn the ignition to the “Off” position to exit programming mode. Test each key to ensure they are all functioning correctly.
Step 6. Exit Programming Mode
After completing the programming of all keys, ensure the vehicle is fully exited from programming mode. To do this, insert a programmed key into the ignition and turn it to the “On” position without starting the engine. Leave it in this position for 10 seconds before turning it back to the “Off” position and removing the key. This final step ensures the programming sequence is ended and the vehicle’s system is reset. Confirm that all keys work correctly by testing the lock, unlock, and ignition functions. Try the panic alarm button as well, if applicable.
Step 7. Troubleshooting Key Programming Issues
If any of the keys fail to function correctly after programming, repeat the process carefully to ensure each step is followed accurately. Common issues include not completing the sequence within the required time or using incompatible key fobs. Refer to your vehicle’s manual to verify that your model’s key fobs are correct. Additionally, check the battery level of the key fobs, as weak or depleted batteries can hinder successful programming. If problems persist, consult a professional automotive locksmith or your vehicle’s dealership for assistance.
Step 8. Final Testing and Verification
Once all keys have been programmed successfully, conduct a final test to ensure proper functionality. Start by testing each key fob’s lock and unlock buttons to confirm they communicate with the car’s system while standing near the vehicle. Then, insert and turn each key in the ignition to verify it starts the engine without issues. If all keys operate correctly, the programming process is complete. For added peace of mind, repeat these tests a few times over the next few days to ensure consistency in performance.

By following these easy steps, you can program your Acura key fob without needing professional assistance.
5 Things You Should Avoid
- Skipping the User Manual: Avoid ignoring the Acura key fob programming instructions provided in your vehicle’s user manual. It contains essential steps and guidelines specific to your model, which can prevent errors during the programming process.
- Using the Wrong Key Fob: Do not attempt to program a key fob incompatible with your Acura model. Using an incorrect fob can lead to malfunction or failure in the programming procedure.
- Rushing Through the Process: Programming requires accuracy and patience. Skipping steps or rushing through can result in the key fob not syncing properly with your vehicle, necessitating repeated attempts.
- Ignoring Battery Life: Ensure the key fob’s battery is fully charged or replaced if needed before programming. A weak or depleted battery can interrupt the process and cause it to fail.
- Overlooking Safety Precautions: Avoid programming your key fob in an unsecured area or leaving other key fobs in the vehicle during the process. If anyone nearby gains access, this can result in duplicate programming or safety risks.
By avoiding these common mistakes, you can successfully program your Acura key fob and enjoy its convenience.
How Do You Manually Program a Key Fob?
If your Acura model does not have the “On” and “Off” ignition positions, you may need to program your key fob manually. To do this, insert and turn the key in the car’s door lock five times consecutively, ending in the “Unlock” position. Next, press any button on the key fob while standing near the vehicle for 10 seconds. This action should reset and sync the key fob with your Acura. If issues persist, consult your vehicle’s user manual or contact a professional locksmith.
Conclusion
Programming your Acura key fob does not have to be a daunting task. Following the outlined steps and avoiding common mistakes, you can reprogram or sync your key fob efficiently.
Whether you use your vehicle’s ignition or opt for manual programming, carefully follow the instructions for the best results. If you encounter any issues, don’t hesitate to consult your vehicle’s user manual or seek help from a professional locksmith. With a properly programmed key fob, you can restore the convenience and security that it provides.
Hopefully, the article on How to program Acura key fob has provided you with the necessary guidance to successfully program your key fob. Enjoy the convenience and security of your Acura vehicle!
About
Safety Fic is a distinguished figure in the world of Diy design, with a decade of expertise creating innovative and sustainable Diy solutions. His professional focus lies in merging traditional craftsmanship with modern manufacturing techniques, fostering designs that are both practical and environmentally conscious. As the author of diy, Safety Fic delves into the art and science of Safety Fic-making, inspiring artisans and industry professionals alike.
Education RMIT University
(Melbourne, Australia) Associate Degree in Design (Safety Fic) Focus on sustainable design, industry-driven projects, and practical craftsmanship. Gained hands-on experience with traditional and digital manufacturing tools, such as CAD and CNC software.
Nottingham Trent University
(United Kingdom) Bachelor’s in diyfastly.com and Product Design (Honors) Specialized in product design with a focus on blending creativity with production techniques. Participated in industry projects, working with companies like John Lewis and Vitsoe to gain real-world insights.
Publications and Impact
In diy, Safety Fic his insights on indoor design processes, materials, and strategies for efficient production. His writing bridges the gap between artisan knowledge and modern industry needs, making it a must-read for both budding designers and seasoned professionals.