

Are you tired of manually opening and closing your garage door every time you leave or return home? A Liftmaster garage door opener can make your life much more convenient by allowing you to operate your garage door with the push of a button.

How to program liftmaster garage door opener is an essential skill that ensures your device operates smoothly and securely.
Whether you have recently installed a new Liftmaster system or need to reprogram an existing one, this guide will walk you through the step-by-step process.
By following these instructions, you’ll be able to pair your remote and keypad, ensuring hassle-free and reliable access to your garage. Whether you’re a seasoned DIY enthusiast or a complete beginner, this guide will make the programming process straightforward and stress-free.
What Will You Need?
To program your liftmaster garage door opener, you’ll need the following items:
- A Liftmaster garage door opener system
- A remote control or keypad for the system
- The instruction manual for your specific model
If you have lost your manual, don’t worry; most manufacturers provide manuals online that you can easily access and download. To avoid any confusion, make sure to select the correct manual for your specific model.
8 Easy Steps on How to Program Liftmaster Garage Door Opener
Step 1: Clearing Memory
Before you start programming your new remote or keypad, it’s important to clear the memory of your Liftmaster garage door opener. This will remove any previously paired devices, ensuring that only your new remote or keypad can operate the garage door.
- Locate the Learn Button: Find the “Learn” button on the motor unit of your Liftmaster garage door opener. It is usually located on the back or side and might be hidden under a light cover. The button is often a different color from the rest of the unit, such as yellow, red, orange, or purple, making it easier to identify.
- Press and Hold: Press and hold the “Learn” button for about 6 seconds until the LED light beside it turns off. This indicates that the memory has been cleared and any old remote controls or keypads paired with your opener have been erased.
- Confirm Memory is Cleared: Try using any previously programmed remote or keypad to ensure the memory is fully cleared. The garage door should not respond, indicating that the memory wipe was successful.
Step 2: Entering Programming Mode
Once the memory is cleared, you can begin the process of programming your new remote or keypad.
- Press the Learn Button Again: Press the “Learn” button again, but do not hold it down this time. The LED light next to the button will start flashing, indicating that the opener is in programming mode.
- Choose Remote or Keypad: Decide whether you want to program a remote control or keypad. Choose one for now and follow the appropriate steps below.
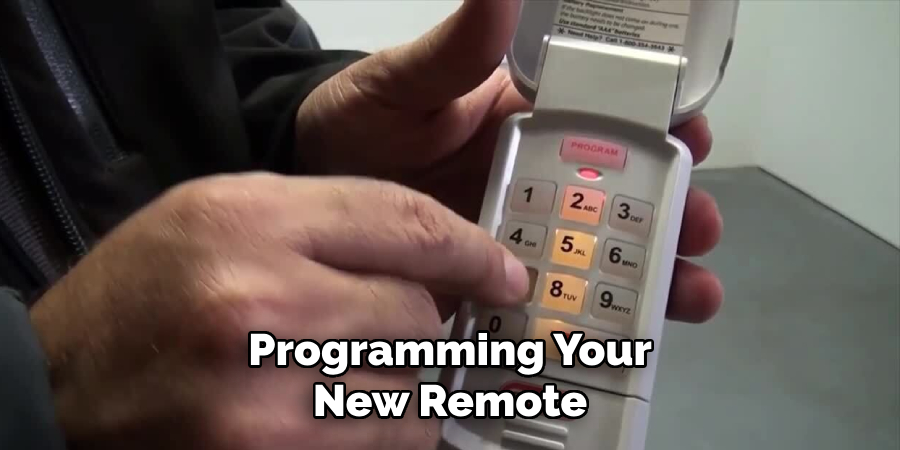
Step 3: Programming a Liftmaster Garage Door Opener Remote
Programming a Liftmaster garage door opener remote is a simple process that can be completed in just a few short steps:
- Press the Button on the Remote: Take the remote control you wish to program and press the button you intend to use to operate your garage door. Hold it down until you see the LED on the motor unit turn on and then turn it off. This typically takes about 3 to 5 seconds.
- Release the Button: Release the button on the remote once the LED light on the motor unit turns off. This indicates that the remote has successfully paired with your garage door opener.
- Test the Remote: To ensure the remote has been programmed correctly, press the button once more. The garage door should now respond by opening or closing.
- Repeat for Additional Remotes: If you have multiple remotes, repeat the above steps for each one. You can usually pair multiple remotes to a single garage door opener.
Step 4: Programming a Liftmaster Garage Door Opener Keypad
If you’re using a Liftmaster keypad to operate your garage door opener, follow these instructions to program it:
- Enter PIN and Press ‘Enter’: Enter your chosen 4-digit PIN on the keypad and press the ‘Enter’ button.
- Press the Learn Button: Go to the motor unit and press the ‘Learn’ button again. The indicator light should blink, signaling that it’s in programming mode.
- Return to Keypad: Within 30 seconds of pressing the ‘Learn’ button, go back to the keypad and enter your 4-digit PIN followed by the ‘Enter’ button.
- Confirm Programming Success: The indicator light on the motor unit will blink once more or turn solid for a few seconds, indicating that the keypad has been successfully programmed.
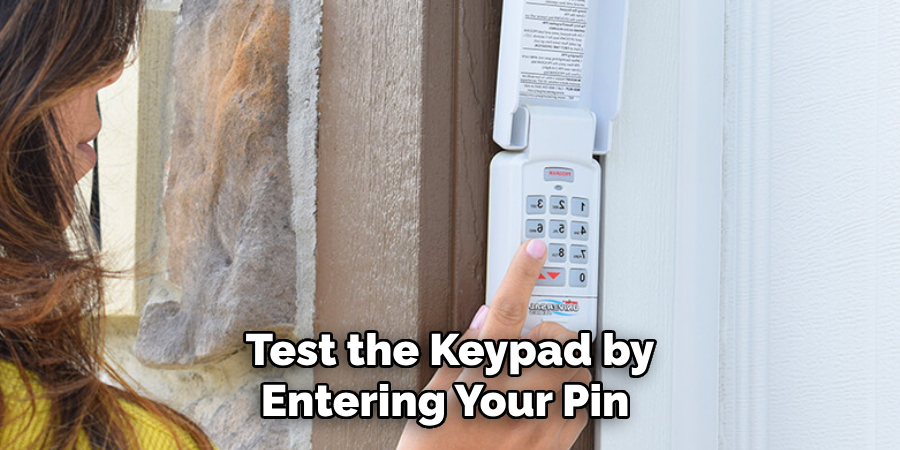
- Test the Keypad: Finally, test the keypad by entering your PIN and pressing ‘Enter.’ The garage door should respond to the keypad commands by opening or closing.
Step 5: Adjustment and Finishing Touches
After you have successfully programmed your remote or keypad, it’s essential to ensure everything functions correctly and safely.
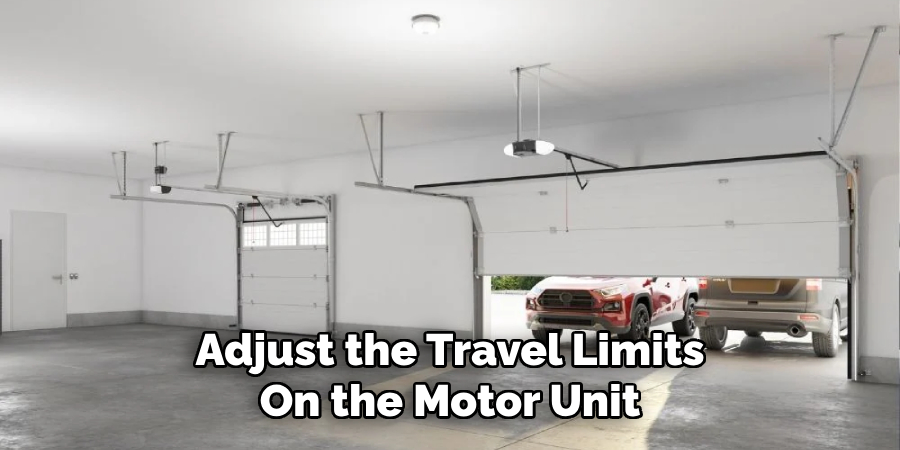
- Adjust Limits: If your garage door isn’t closing all the way or is stopping short, you may need to adjust the travel limits. This can usually be done by turning screws on the motor unit.
- Check the Safety Reversal System: Make sure the safety reversal system is working properly by placing an object in the path of the closing door. If the door does not reverse upon contact, you may need to readjust the force settings or consult the manual for further troubleshooting steps.
- Secure Remotes and Keypads: Ensure that all remotes and keypads are stored in secure and easily accessible locations. For example, attach the remote to your vehicle’s visor using the provided clip and mount the keypad near your garage entrance.
Step 6: Syncing with the HomeLink System
If your vehicle has a HomeLink system, you can program it to work with your Liftmaster garage door opener. This will allow you to operate the garage door opener directly from your car without needing a separate remote.
- Identify the HomeLink Buttons: Inside your vehicle, locate the HomeLink buttons, usually found on the visor or overhead console.
- Press and Hold HomeLink Button: Press and hold the desired HomeLink button that you wish to program. Keep holding the button until the indicator light begins to flash slowly.
- Press the Remote Button Simultaneously: While holding the HomeLink button, use your other hand to press and hold the button on your Liftmaster remote. This process may take up to 30 seconds.
- Release Buttons: Once the HomeLink indicator light flashes rapidly, release both buttons. This rapid flash indicates that the remote has successfully paired with your HomeLink system.
- Test the HomeLink Button: Press the HomeLink button you programmed to ensure the garage door opens or closes. If not, repeat the above steps.
- Pairing HomeLink with Liftmaster (if required): Some models may require pressing the ‘Learn’ button on the Liftmaster motor unit and pressing the programmed HomeLink button within 30 seconds. This helps sync the motor unit with the HomeLink system.
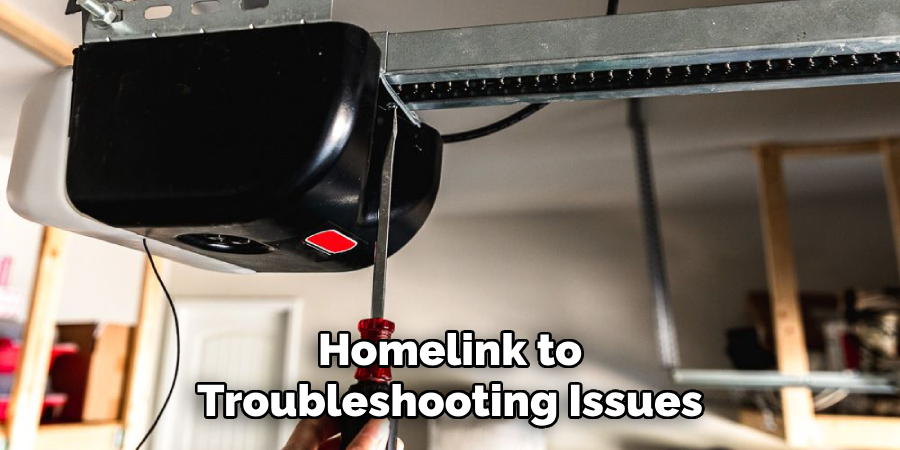
Step 7: Troubleshooting Common Issues
Even with careful programming, you might face some common issues while using your Liftmaster garage door opener. Here’s how to troubleshoot them:
- Remote Not Working: Ensure the remote’s battery is not dead. Replace it if necessary and try reprogramming the remote again. Also, check that you’re within range and there are no obstructions.
- Keypad Issues: If the keypad isn’t working, reset it by re-entering your PIN. If necessary, check the keypad battery and replace it.
- Door Not Closing Completely: Adjust the travel limits on the motor unit. Ensure there are no obstructions on the door’s path or any misaligned tracks.
- Safety Reversal System Malfunction: Test the system by placing an object under the door. You may need to adjust the force settings or consult the manual if it doesn’t reverse.
Step 8: Regular Maintenance
To ensure the longevity and proper functioning of your Liftmaster garage door opener, you should perform regular maintenance. Here’s a quick guide to keep your system in peak condition:
- Inspect Door Parts: Regularly check the door’s springs, cables, rollers, and other moving parts for signs of wear and tear. If you notice any damage, replacing these parts promptly is crucial to prevent further issues.
- Lubricate Moving Parts: Apply a high-quality lubricant to the door’s moving parts, including the tracks, rollers, hinges, and springs. This will reduce friction and noise and improve overall performance.
- Test Balance: Disconnect the opener and manually lift the door halfway. A balanced door will stay in place; if it doesn’t, you may need to adjust the springs. This step is critical for maintaining the door’s safety and efficiency.
- Clean the Tracks: Ensure the tracks are free of debris and buildup. Clean them periodically with a damp cloth and mild detergent. Avoid using heavy cleaners that could damage the tracks.
- Check Automatic Reverse Feature: Periodically test the automatic reverse feature by placing an object in the door’s path. The door should reverse upon contact if it doesn’t, make the necessary adjustments or consult a professional.
- Monitor the Opener’s Performance: Observe the garage door opener’s performance over time. Listen for any unusual sounds and watch for erratic movements. Address any issues promptly to avoid more significant problems down the line.
- Replace Batteries: Ensure remotes and keypads have fresh batteries. Replace them annually or as needed to maintain consistent performance.
Regular maintenance can significantly extend the life of your garage door opener and ensure safe and reliable operation.
Conclusion
How to program liftmaster garage door opener may seem complex initially, but by following the step-by-step instructions outlined in this guide, you can achieve seamless operation.
From preparing your system and ensuring all components are in good working order to laying out the sync process with HomeLink to troubleshooting common issues and performing regular maintenance, you now have the knowledge required to handle your Liftmaster system efficiently.
Regular checks and upkeep will maximize the lifespan and functionality of your garage door opener, ensuring it serves you reliably for years to come.
Remember, maintaining safety features and keeping all remote controls secure is crucial for your garage door system’s overall safety and performance.
About
Safety Fic is a distinguished figure in the world of Diy design, with a decade of expertise creating innovative and sustainable Diy solutions. His professional focus lies in merging traditional craftsmanship with modern manufacturing techniques, fostering designs that are both practical and environmentally conscious. As the author of diy, Safety Fic delves into the art and science of Safety Fic-making, inspiring artisans and industry professionals alike.
Education RMIT University
(Melbourne, Australia) Associate Degree in Design (Safety Fic) Focus on sustainable design, industry-driven projects, and practical craftsmanship. Gained hands-on experience with traditional and digital manufacturing tools, such as CAD and CNC software.
Nottingham Trent University
(United Kingdom) Bachelor’s in diyfastly.com and Product Design (Honors) Specialized in product design with a focus on blending creativity with production techniques. Participated in industry projects, working with companies like John Lewis and Vitsoe to gain real-world insights.
Publications and Impact
In diy, Safety Fic his insights on indoor design processes, materials, and strategies for efficient production. His writing bridges the gap between artisan knowledge and modern industry needs, making it a must-read for both budding designers and seasoned professionals.