

Are you tired of fumbling with your keys whenever you need to unlock or start your Range Rover? Programming a key fob can make your life much easier and more convenient.
Programming a Range Rover key fob is essential for ensuring your vehicle’s security and convenience. Whether you’ve purchased a replacement key or need to reprogram an existing one, the process can often be completed with minimal tools and clear instructions. Understanding the steps involved is crucial, as it allows you to sync your key fob with your vehicle’s computer system, enabling remote locking, unlocking, and additional functions.
This guide on how to program range rover key fob will walk you through the necessary steps to program your Range Rover key fob effectively and efficiently.
What Are the Benefits of Programming Your Range Rover Key Fob?
Before delving into the programming process, it’s essential to understand why you should program your key fob in the first place. Some of the significant benefits include:
- Convenience: With a programmed key fob, you can easily unlock and lock your vehicle without inserting and turning a key manually.
- Added Security: A properly programmed key fob ensures that only those with access to the specific key can start and operate the vehicle.
- Customization: Depending on your Range Rover model, programming your key fob may allow you to customize various seat and mirror positioning features.
These are just a few benefits you can enjoy by programming your Range Rover key fob.
What Will You Need?
Before starting the programming process, make sure you have the following items ready:
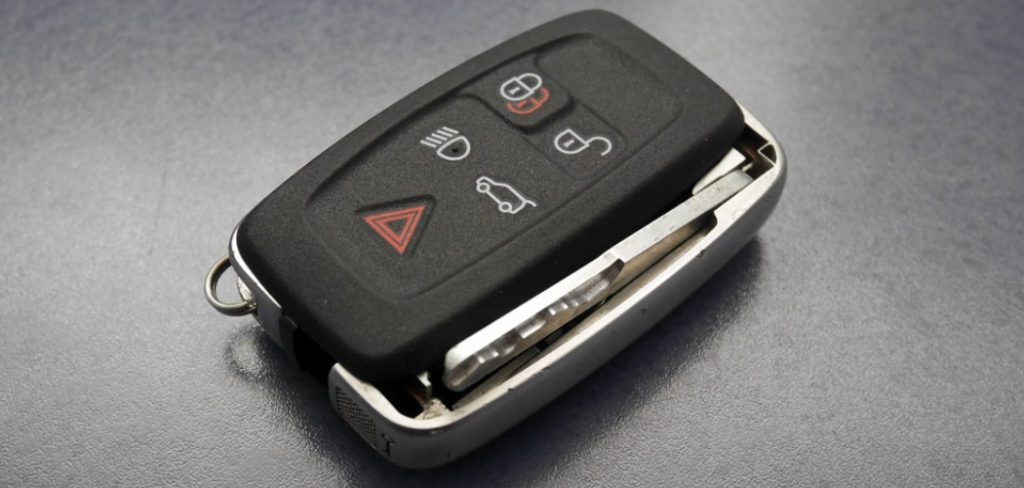
- Key Fob: This is a small remote that activates various functions for your vehicle.
- Spare Key: You’ll need a spare key to complete the programming process.
- Vehicle Ignition Key: This is the physical key to turn on the ignition and start your Range Rover.
- Owner’s Manual: The manual will provide instructions specific to your vehicle model and year, making it an essential resource during programming.
Once you’ve gathered these items, you can start programming your key fob.
10 Easy Steps on How to Program Range Rover Key Fob
Step 1. Enter Your Vehicle:
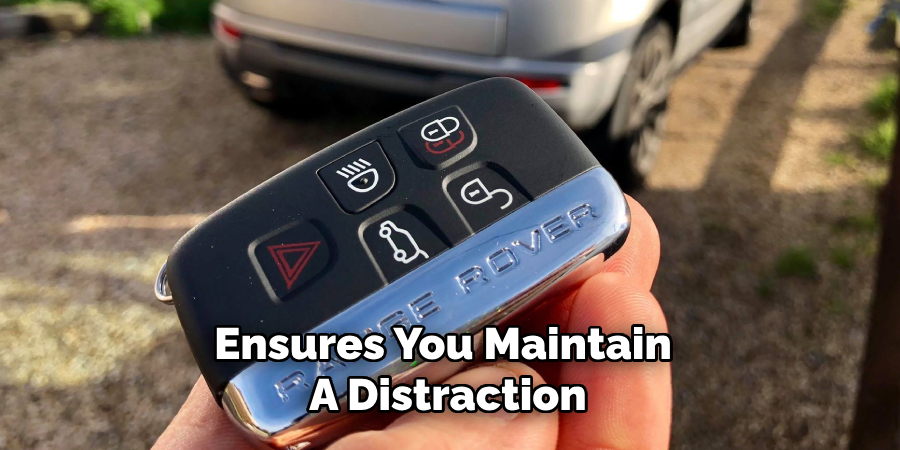
Start by ensuring that you have all the necessary items on hand and are inside your Range Rover. Sit in the driver’s seat and close all the doors to avoid interruptions during the programming process. This step ensures you maintain a distraction-free environment, and the vehicle effectively recognizes the signal from your key fob. Ensure your vehicle is in a well-ventilated area if you plan to keep it running.
Step 2. Insert the Ignition Key:
Insert the vehicle ignition key into the slot, but do not turn it. This step ensures the car’s electrical system is primed to accept the programming commands. By keeping the key inserted, you use the vehicle’s coding system to detect and sync with your new or existing key fob. Be cautious not to turn the key, as doing so prematurely might interrupt the process. Take a moment to double-check that all the doors are securely closed and that no external devices, such as Bluetooth or other electronics, interfere with the key fob’s signal.
Step 3. Turn the Key to the ‘On’ Position:
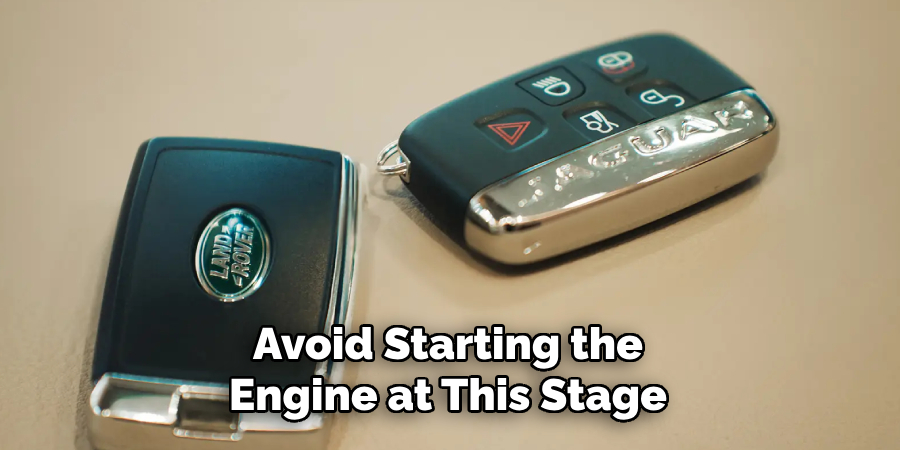
Turn the ignition key to the ‘On’ position without starting the engine. This action powers the vehicle’s electrical system, crucial for initiating the key fob programming mode. Be attentive to the dashboard lights—these should illuminate, indicating that the car is ready. Avoid starting the engine at this stage, as it may disrupt or halt the programming process entirely. Ensure you remain focused and follow the key fob programming instructions for your vehicle make and model.
Step 4. Enter Programming Mode:
Once the ignition is in the ‘On’ position, locate your vehicle’s programming button or sequence. This is often found near the driver’s side dashboard, under the steering column, or in the manual provided by your vehicle manufacturer. Press and hold the programming button, or follow the designated series of actions (e.g., pressing a combination of buttons on your key fob or within the vehicle) to activate programming mode. You may hear a beep or see a flashing light on the dashboard, signaling the car is ready to pair with the key fob.
Step 5. Program the Key Fob:
With the vehicle in programming mode, press the button on your key fob designated for programming. As indicated in your vehicle’s manual, this could be the lock, unlock, or another specific button. Hold the button for a few seconds until you hear a chime, see a confirmation light on the dashboard, or receive another indicator that the pairing was successful. Repeat this step for each fob without turning off the ignition or exiting programming mode if you have multiple key fobs to program.
Step 6. Exit Programming Mode:
Once all key fobs have been successfully programmed, exit programming mode by turning the vehicle’s ignition off or following the specific exit instructions outlined in your vehicle’s manual; ensure that the key fobs function correctly by testing each one to confirm that they lock and unlock the doors and, if applicable, start the vehicle. If any issues arise, repeat the programming steps or consult your vehicle’s manual for troubleshooting guidance.
Step 7. Additional Troubleshooting Tips:
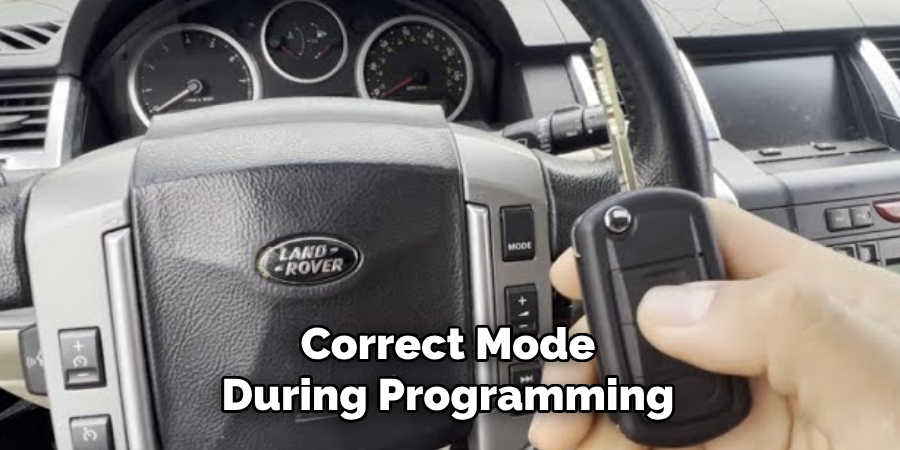
If the key fobs are not functioning as expected after programming, there are several steps you can take. First, double-check the battery levels in the key fobs and replace them if necessary, as weak batteries can interfere with proper functioning. Secondly, ensure that you followed all steps in the programming process correctly and that the vehicle was in the correct mode during programming. If problems persist, consult your vehicle’s manual for further guidance or contact a professional automotive locksmith or dealership for assistance.
Step 8. Final Verification:
After completing the programming and troubleshooting steps, perform a final verification to ensure all programmed key fobs function correctly. Test each key fob by locking and unlocking the doors, activating the trunk release (if applicable), and starting the vehicle. Confirm that all features operate smoothly without any delays or issues. This step ensures that the programming process is successful and provides confidence that your key fobs are ready for use.
Step 9. Maintenance and Care for Key Fobs:
Regular maintenance is essential to ensure your key fobs’ longevity and optimal performance. Keep the key fobs clean by wiping them down with a soft, dry cloth to remove dirt and debris. Avoid exposing them to extreme temperatures, moisture, or direct sunlight for extended periods, as these conditions can damage the internal components. Replace the batteries promptly when they are low to avoid connectivity issues. Additionally, spare key fobs should be stored in a safe and secure location, away from electromagnetic devices that could interfere with their functionality. Proper care will extend the lifespan of your key fobs and ensure they remain reliable.
Step 10. Keep Your Vehicle Safe and Secure:
Properly programming and maintaining your key fobs is essential for keeping your vehicle safe and secure. By following the steps outlined in this guide, you can ensure that only authorized individuals can access your car, providing peace of mind and protection against theft or unauthorized entry. Refer to your vehicle’s manual for specific instructions and guidance related to key fob programming, as different makes and models may vary slightly in their procedures. With a properly programmed key fob, you can confidently hit the road without worrying about losing access to your vehicle. So keep those doors closed, insert the ignition key, turn it into the ‘On’ position, and enter programming.
Following the steps above, you can confidently program your key fob and keep your vehicle safe and secure.
5 Things You Should Avoid
- Skipping the Owner’s Manual: Many people neglect to read the owner’s manual for their Range Rover, which often contains key details and instructions specific to programming the key fob. Avoiding this step can lead to unnecessary complications or missteps.
- Using a Low Battery Key Fob: Attempting to program a key fob with a low or drained battery can cause the process to fail midway. Ensure the fob has a fresh, fully charged battery before you begin.
- Ignoring Vehicle-Specific Tools and Software: Some Range Rover models may require specialized diagnostic tools or software to complete the programming. Avoid the mistake of assuming universal methods will work for every model.
- Rushing Through the Process: Properly programming a Range Rover key fob can require patience and attention to detail. Skipping steps, rushing instructions, or not double-checking could result in a non-functional key fob or error messages.
- Not Seeking Professional Assistance When Needed: If you’re unsure about any steps or encounter unexpected issues, avoid attempting to fix them independently without proper knowledge. Seek help from a qualified locksmith or dealership to ensure the programming is done correctly.
Conclusion
How to program Range Rover key fob can be a manageable task when approached with the right preparation and attention to detail.
You can streamline the process and avoid common pitfalls by ensuring the key fob has a fully charged battery, following the vehicle-specific instructions, and utilizing the proper tools or software. Patience and careful adherence to guidelines are essential for success. However, if any complications arise or you feel uncertain, seeking assistance from a professional locksmith or authorized dealership is the best course of action to safeguard your vehicle’s functionality.
With the proper steps, you can ensure your key fob operates effectively and provides the convenience and security you depend on.
About
Safety Fic is a distinguished figure in the world of Diy design, with a decade of expertise creating innovative and sustainable Diy solutions. His professional focus lies in merging traditional craftsmanship with modern manufacturing techniques, fostering designs that are both practical and environmentally conscious. As the author of diy, Safety Fic delves into the art and science of Safety Fic-making, inspiring artisans and industry professionals alike.
Education RMIT University
(Melbourne, Australia) Associate Degree in Design (Safety Fic) Focus on sustainable design, industry-driven projects, and practical craftsmanship. Gained hands-on experience with traditional and digital manufacturing tools, such as CAD and CNC software.
Nottingham Trent University
(United Kingdom) Bachelor’s in diyfastly.com and Product Design (Honors) Specialized in product design with a focus on blending creativity with production techniques. Participated in industry projects, working with companies like John Lewis and Vitsoe to gain real-world insights.
Publications and Impact
In diy, Safety Fic his insights on indoor design processes, materials, and strategies for efficient production. His writing bridges the gap between artisan knowledge and modern industry needs, making it a must-read for both budding designers and seasoned professionals.