
Branding on safety vests is crucial for businesses and organizations as it enhances visibility and reinforces brand identity. A logo on a safety vest not only promotes the company’s image but also ensures that employees are easily recognizable, which can improve safety on job sites. Several methods exist to add logos to safety vests, including screen printing, heat transfer, embroidery, and vinyl application.
Each method varies in terms of durability, cost, and appearance, making it essential to choose the right one for your needs. This guide will walk you through the steps on how to put logo on safety vest, from selecting the appropriate method and gathering the necessary tools and materials to preparing the vest and applying the logo. Properly executing these steps will result in a professional and durable branded safety vest.
Choosing the Right Method for Logo Application
Several methods are available when deciding how to put a logo on a safety vest, each with unique characteristics. Screen printing is a popular choice because it offers vibrant colors and is cost-effective for large batches, although it might not be as durable on fabrics subjected to heavy wear. Heat transfer involves printing the logo onto transfer paper and using a heat press or iron to adhere it to the vest. This method provides detailed and durable designs but requires precise temperature control to avoid damage.
On the other hand, Embroidery delivers a high-end, professional look that is extremely durable and resistant to washing and wear. However, it can be expensive and unsuitable for complex or small designs. The vinyl application involves cutting the logo from vinyl sheets and using heat to attach it to the vest. This method is versatile and durable but requires a vinyl cutter and can be time-consuming for intricate designs.
When choosing a method, consider factors like durability, cost, appearance, and the type of material of the safety vest. Screen printing and vinyl are great for cost-effective, durable logos, while embroidery excels in professional presentation. If executed correctly, heat transfer offers a balance of detail and durability. Each method has its strengths and weaknesses, so select the one that best aligns with your branding needs and budget.

Tools and Materials Needed
List of Tools: heat press or iron, screen printing kit, embroidery machine, vinyl cutter (depending on the chosen method)
List of Materials: safety vest, logo design, transfer paper, embroidery thread, vinyl sheets
Optional: heat-resistant tape, measuring tape, scissors.
Preparing the Safety Vest and Logo
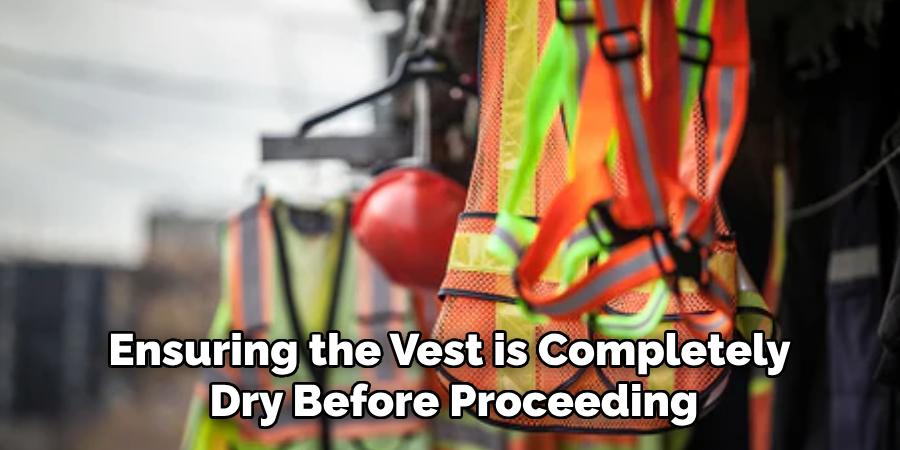
Before applying the logo, it is essential to prepare both the safety vest and the logo to ensure a smooth and professional finish. Begin by thoroughly cleaning the safety vest to remove any dirt, oils, or residues that could affect the adhesion or appearance of the logo. This can be done using a mild detergent and water, ensuring the vest is completely dry before proceeding.
Next, decide on the optimal placement for the logo on the vest. Common locations include the upper chest, back, or above a pocket, depending on where it can be most visible and effective. Use a measuring tape to mark the precise position, ensuring that the logo is aligned and centered correctly.
Preparing the logo itself will depend on the chosen application method. Resizing the logo to fit the designated area on the vest is crucial. If using heat transfer or vinyl, print the logo onto the appropriate transfer paper or cut it from vinyl sheets. For screen printing, create a stencil of the logo design and load the logo design into the embroidery machine for embroidery.
Accurate preparation of both the safety vest and the logo will facilitate a better application process, leading to a durable and professional result.
How to Put Logo on Safety Vest: Applying the Logo Using Heat Transfer
Using the heat transfer method, adding a logo to a safety vest can produce detailed and vibrant designs. Here’s a step-by-step guide:
Printing the Logo OntoTransfer Paper: Begin by designing your logo on a computer using graphic design software. Make sure the design is correctly sized for the area on the vest. Print the logo onto high-quality heat transfer paper using an inkjet or laser printer, depending on the type of transfer paper.
- Cutting Out the Logo if Necessary: Once printed, carefully cut out the logo using scissors or a cutting tool. Precision in this process ensures there are no excess borders.
- Positioning the Logo On the Vest: Place the safety vest on a flat, heat-resistant surface. Align the logo on the vest at the pre-marked position (upper chest, back, or above a pocket). Use heat-resistant tape to secure the transfer paper in place if needed.
- Using a Heat Press or Iron to Transfer the Logo Onto the Fabric: Preheat the heat press according to the transfer paper instructions. If using an iron, set it to the appropriate temperature recommended for the transfer paper and fabric type.
- Applying Pressure and Heat According to the Transfer Paper Instructions: Carefully place the heat press or iron over the transfer paper. Apply firm, even pressure for the specified time. Ensure that heat is distributed evenly over the entire logo for consistent adhesion.
- Allowing the Transfer to Cool Before Removing the Backing Paper: Remove the heat press or iron once the required time has elapsed. Let the transfer paper cool down completely to set the logo correctly.
- Tips for Achieving a Smooth and Even Transfer: Ensure the vest is wrinkle-free before applying heat. Always follow the manufacturer’s instructions on the transfer paper packaging for optimal results. If any part of the logo hasn’t adhered properly, reapply heat carefully without overheating.

Following these steps will result in a professional and durable logo application on your safety vest.
How to Put Logo on Safety Vest: Applying the Logo Using Screen Printing
Using the screen printing method, adding a logo to a safety vest can deliver vibrant and long-lasting results. Here’s a step-by-step guide:
Creating a Stencil of the Logo Design: Start by designing your logo in a graphic design software. Ensure it is the correct size for the target area on the vest. Print the logo design onto a transparency sheet using a laser printer. This transparency will serve as your stencil.
Setting Up the Screen And Stencil On the Vest: Use masking tape to attach the transparency to a clean screen. Position the safety vest on a flat, sturdy surface and use heat-resistant tape to secure it in place. Align the screen with the pre-marked logo placement and ensure it is centered correctly.
Applying Ink to the Screen and Spreading it Evenly Over the Stencil: Pour a line of fabric ink across the top of the screen. Drag the ink smoothly across the stencil using a squeegee at a 45-degree angle. Be sure to apply even pressure and cover the entire design for consistent results.
Lifting the Screen Carefully to Reveal the Printed logo: Once the ink is thoroughly spread, gently lift the screen from the vest, starting from one side. This should reveal your printed logo on the fabric.
Allowing the Ink to Dry Completely: Let the vest sit untouched until the ink is fully dry, following the ink manufacturer’s drying time recommendations. You can use a heat press or iron over a piece of parchment paper to set the ink.
Tips For Multiple Color Designs and Ensuring Durability: For multi-colour designs, print each colour layer separately, ensuring the previous layer is dry before applying the next. Use a color registration system to align the screens accurately. Cure the printed design with heat to guarantee durability and washability.
By following these steps, you will achieve a professional and long-lasting logo application using the screen printing method.

Final Checks and Quality Control
Ensuring your safety vest displays a flawless and professional logo requires a thorough final inspection. Carefully inspect the logo for imperfections, such as uneven edges, smudges, or incomplete ink coverage. Verify that the logo is securely attached and adheres well to the fabric. If any errors or inconsistencies are found, make the necessary touch-ups by reapplying heat or adding a small amount of ink. This attention to detail will result in a polished and durable logo application, reflecting positively on the quality and professionalism of your brand.
Conclusion
In conclusion, adding logos to safety vests is crucial for branding and identification across various industries. Branded safety vests enhance your workforce’s visibility and project a cohesive and professional image. Selecting the right method—be it heat transfer or screen printing—depends on your specific needs and available resources. Both techniques offer durable and vibrant results when executed properly.
Understanding “how to put logo on safety vest” can significantly impact your branded gear’s overall appearance and durability. By investing in high-quality logo applications, businesses and organizations can enjoy enhanced brand recognition and a stronger corporate identity, ultimately promoting employee unity and professional excellence.