Window film is a versatile solution for enhancing the functionality and aesthetic of house windows. It provides an array of benefits, including increased privacy, UV protection, and improved energy efficiency by reducing glare and heat gain. This makes it an ideal option for homeowners aiming to lower energy costs and protect interior furnishings from sun damage. There are several types of window

films available to cater to different needs, such as decorative films that add a touch of style, solar control films that enhance thermal comfort, and security films that offer additional safety. The process of learning how to put window film on house windows is crucial because proper installation ensures the film performs optimally and maintains a clean, smooth appearance. Whether you’re looking to boost home efficiency or enhance security, window film is a pragmatic choice for modern living spaces.
Understanding Window Film
Types of Window Films
There are numerous types of window films designed for various applications and needs. Reflective films, for example, boast a mirror-like finish on the exterior, offering excellent privacy during the day while minimizing glare and reducing solar heat gain. Tinted films, typically gray or bronze, are known for subtly reducing glare and enhancing comfort without significantly altering the room’s brightness. Frosted films provide an elegant, translucent texture ideal for privacy, often used in bathrooms or office spaces to allow light in while obscuring clear visibility. Decorative films are available in a variety of patterns and styles, adding an aesthetic flair to windows and interior spaces.
Benefits of Window Film
Window film provides many advantages, from enhancing privacy and reducing glare to increasing overall comfort within a home. These films protect furniture and flooring from sun damage by blocking a significant amount of ultraviolet (UV) rays. Additionally, they contribute to energy savings by reducing heat loss during the winter and minimizing heat gain in the summer, thus aiding in lowering utility bills.
Common Myths
Some common misconceptions about window film include believing it is solely for aesthetic enhancement or excessively darkening rooms. In reality, window films are engineered not only to improve visual appeal but also to enhance functionality. Advanced technology allows films to maintain clarity without unduly darkening indoor spaces, proving that window film serves as a practical solution for both style and utility.

Tools and Materials Needed
Ensuring a smooth and successful window film installation requires the right tools and materials. Here’s what you’ll need:
Materials Required:
- Window Film: Choose the type that best meets your needs, whether decorative, tinted, or reflective.
- Utility Knife: Essential for cutting the film to the appropriate size.
- Measuring Tape: This is for accurate measurements of your window dimensions.
- Squeegee: To remove air bubbles and ensure a smooth finish.
- Spray Bottle with Soapy Water: Facilitates easy application and positioning of the film.
- Clean Cloth: This is used for drying and ensuring a clean, dust-free surface.
Tools Needed:
- A Flat Surface for Cutting: Ensure stability and precision when trimming the film to size.
- Possibly a Step Ladder: Helpful for accessing and applying film to high windows.
Preparation Tips:
Before applying the film, ensure the windows are thoroughly cleaned and free from any dust or debris to achieve the best adhesion and results.
Preparing the Window Surface
Step 1: Clean the Windows
Begin by thoroughly cleaning your windows to ensure the best possible adhesion for the window film. Use a premium glass cleaner or a simple vinegar solution to remove dirt, grime, or streaks from the window surface. Spray your chosen cleaner evenly across the glass and wipe it down with a lint-free cloth, ensuring all edges and corners are attended to. It’s crucial to achieve a spotless, dry surface to prevent air bubbles during film application, so give your windows ample time to dry completely.

Step 2: Measure the Window
Accurate measurements are key to a smooth installation. With a measuring tape, carefully measure the height and width of your window’s visible area. Note these dimensions, and add an extra inch to each measurement. This additional material will allow trimming and adjustments, ensuring full coverage of the glass.
Step 3: Cut the Window Film
Once you have your measurements, transfer them to the window film. Place the film on a flat, stable surface and cut it to size with a utility knife. Remember to work slowly and carefully to maintain clean, straight edges. Leave a slight overhang of about an inch on all sides to allow for fine-tuning the fit during installation. This approach guarantees there will be no gaps along the window’s edges.
How to Put Window Film on House Windows: Applying the Window Film
Step 1: Prepare the Film for Application
The first step in applying window film is to carefully prepare the film itself. Begin by laying the cut piece of film on a clean, flat surface with the backing side facing up. Gently peel away the backing, taking care not to touch the adhesive side with your fingers, as this can leave marks or reduce tackiness. Spray the adhesive side with a soapy water solution to keep it damp. This slippery layer is crucial as it
allows you to reposition the film once it’s on the window, facilitating easier handling and precise placement without immediate adhesion.
Step 2: Position the Film on the Window
Next, align the film on your prepared window. Start by placing the top edge of the film against the window, ensuring it is parallel to the window frame. Alternatively, depending on your window’s orientation and shape, you may begin from a side edge. Slowly unroll or unfold the film downwards (or sideways) while applying gentle pressure to adhere to the initial edge securely. As you position the film,

adjust as necessary to ensure it is centered and straight along the window’s borders. A little patience and precision at this stage will make subsequent steps easier and enhance the final appearance.
Step 3: Smooth Out Air Bubbles
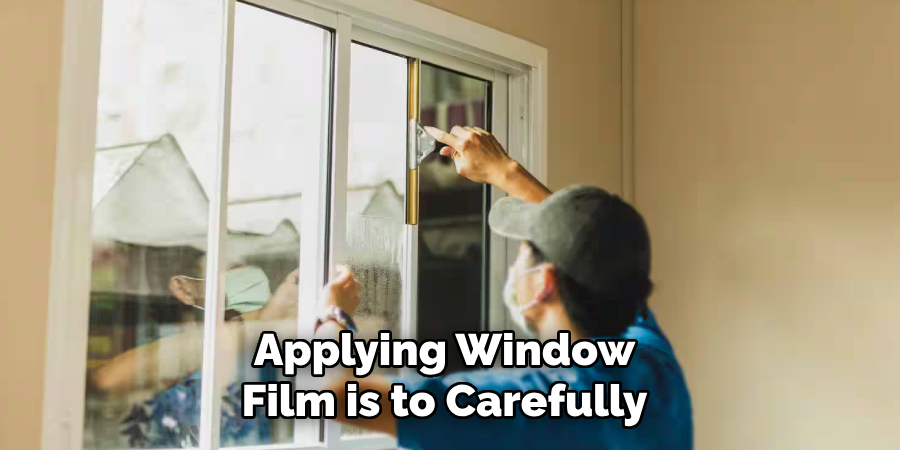
To achieve a professional-looking finish, removing all air bubbles between the film and the window glass is essential. Use a squeegee, starting from the film’s center and working outwards to the edges. Apply consistent, gentle pressure to push out any trapped air or excess water bubbles. This action helps to securely bond the film to the glass while maintaining an even, bubble-free surface. Keep a clean
cloth handy to wipe away excess water that may be expelled during this process, which also helps maintain the film’s proper adhesion.
Step 4: Trim Excess Film
After successfully smoothing out the film, you may need to trim any excess material to ensure a perfect fit within the window frame. Using a sharp utility knife, carefully remove any overhanging film by following along the edge of the window glass. Maintain a light touch to avoid scratching the glass or damaging the film. Exercise caution when trimming near the window frame or seals to prevent
compromising the film’s edges or the window structure. Clean cuts are essential for a neat appearance and to prevent peeling or lifting over time.
Step 5: Let the Film Cure
Once the window film is applied and trimmed, it requires time to fully adhere to the glass surface. Allow the film to cure undisturbed for 24 to 48 hours. During this period, avoid opening the windows or exposing them to excessive moisture or cleaning agents, as these could hinder the adhesion process. Additionally, check for any remaining bubbles or edges that may need an extra press with the
squeegee during this curing phase. Following these guidelines ensures a long-lasting, professional finish that enhances both the aesthetic and functional benefits of your window film installation.
Maintenance Tips for Window Film
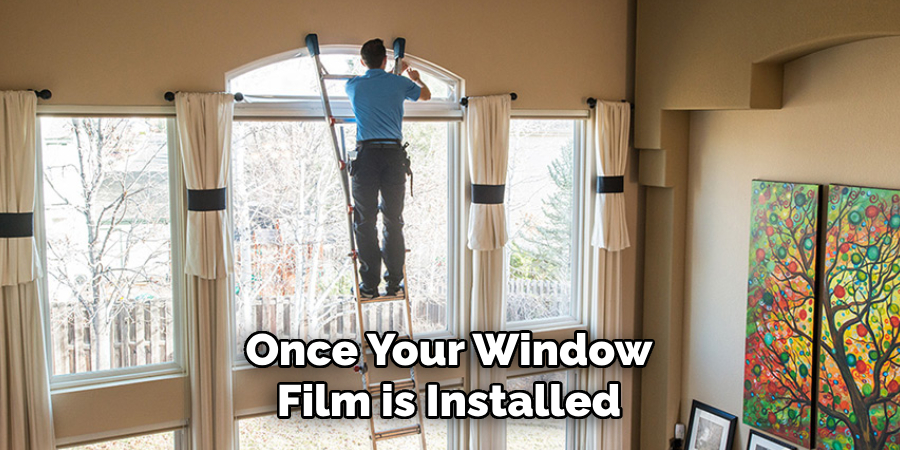
Once your window film is installed, maintaining it properly will ensure it lasts and continues to look good. Here are some maintenance tips to help you care for your window film effectively:

Cleaning the Film
To clean your window film without damaging it, using non-abrasive cleaning solutions is vital. Avoid using ammonia-based products, as these can degrade the film’s surface over time. Instead, opt for a gentle, soapy water solution or a specific window film cleaner. Use a soft microfiber cloth or a non-abrasive sponge to gently clean the surface. Wipe away dirt and smudges with light, circular motions, ensuring not to apply too much pressure that might scratch the film.
Inspecting for Damage
Regular inspections can help you detect problems early. Examine the film periodically for signs of bubbles, peeling edges, or discoloration. Small air bubbles can often be carefully pushed out using a squeegee or soft cloth. If you notice peeling, gently repress the edges to see if they will re-adhere; however, if they remain loose, this may indicate that the film needs replacement. Discoloration can result from prolonged sun exposure or contaminants and may also signal the need for attention.
Lifespan of Window Film
Window films generally have a lifespan ranging from 5 to 20 years, depending on the type and quality of the film. Factors influencing longevity include the film’s exposure to direct sunlight, heat, and environmental conditions. Higher-quality films typically offer better UV protection and durability. Regular maintenance and proper cleaning can also help maximize the film’s lifespan.
Reapplication
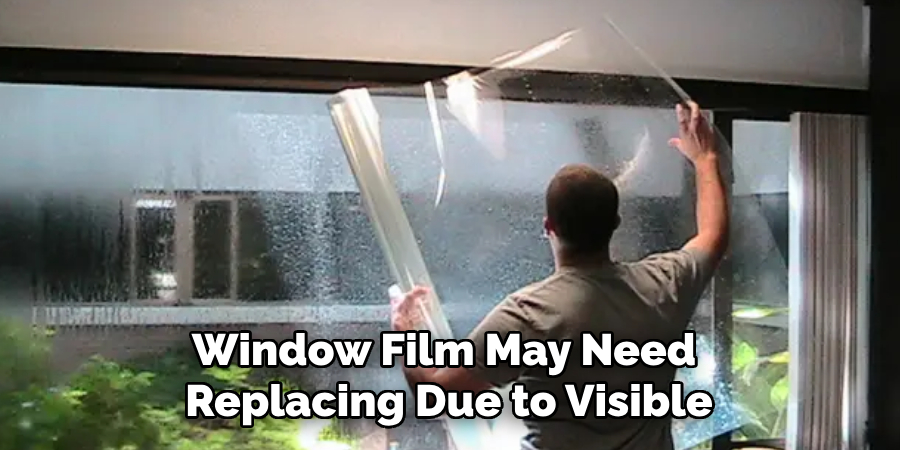
Over time, window film may need replacing due to visible wear and tear. Signs that it might be time to consider reapplication include persistent bubbling, significant peeling, faded colors, or if the film no longer adheres properly to the glass. Addressing these issues promptly restores the aesthetic appeal and maintains functional benefits such as UV protection and privacy.

Conclusion
Installing window film can significantly enhance the comfort and aesthetics of your home with careful preparation and the right techniques. The key steps in learning how to put window film on house windows include cutting the film to size, positioning it accurately, smoothing out air bubbles, trimming excess film, and allowing it to cure properly. Each step is crucial; proper preparation ensures
precise placement and careful execution, resulting in a flawless finish. Window film offers benefits such as UV protection, increased privacy, and energy efficiency, making it a worthwhile DIY project. For the best results, always refer to the manufacturer’s instructions for your specific film type, and consider professional help if necessary. By familiarizing yourself with this process, you can confidently undertake this project, transforming your living spaces while enjoying window film’s long-term advantages.

