

Are you having trouble connecting your Yale lock to its companion app? Are you looking for an efficient way to pair your locks so that they are ready to use with the new security system you’ve installed? Look no further, because today we’ll walk through all the steps needed to put your Yale lock in pairing mode. With this guide, even if you have never used such a sophisticated locking system before, setting up and synchronizing your lock should feel like a breeze.
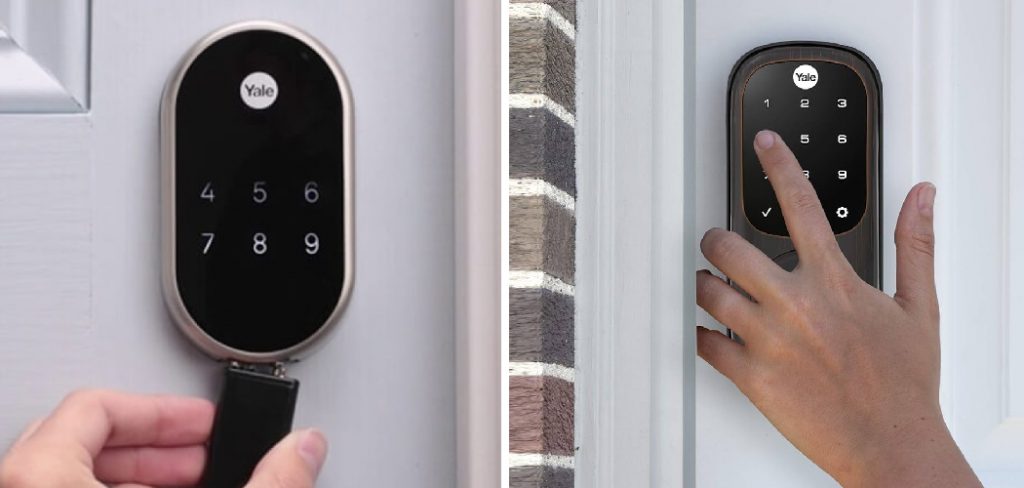
Whether it’s the basic version or any other type, this guide will walk you through each step so that you can confidently get started with a secure, effortless experience locking and unlocking your door from anywhere! With just a few simple steps, you’ll be able to connect remotely from any location on Android or iOS and start enjoying all of the conveniences that come with Yale Connected by August Smart locks. Read on for instructions on how to put yale lock in pairing mode.
Why May Want to Put Yale Lock in Pairing Mode?
1 . To Connect to a Different Smart Home System
If you have recently moved to a new home or switched smart home systems, such as Apple HomeKit or Amazon Alexa, you might need to put your Yale lock in pairing mode for it to work with the new system. This will allow you to access and control your locks from the new app or device.
2. To Set Up or Reconfigure the Lock
If you are setting up a new lock, or need to reconfigure your current lock, such as changing user codes or configuring other settings, then you will need to put your Yale lock into pairing mode. This is necessary in order for any changes to be made.
3. To Troubleshoot
If you are experiencing any issues with your Yale lock, it might be helpful to put it in pairing mode to troubleshoot and possibly solve the issue. This can help reset the device and potentially resolve any issues.
How to Put Yale Lock in Pairing Mode in 5 Easy Steps
Step 1: Prepare the Lock
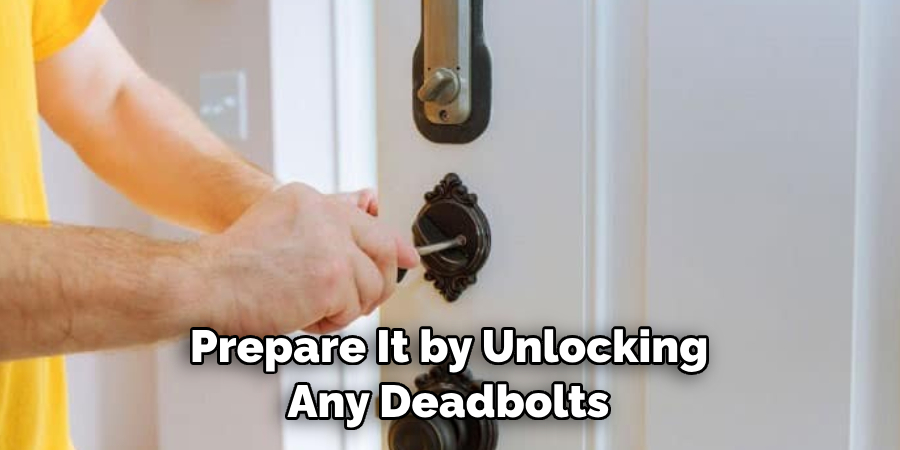
To put your Yale lock in pairing mode, you will need to prepare it by unlocking any deadbolts and removing any keys. Make sure that the door is closed completely before proceeding with the next steps.
Step 2: Enter Admin Mode
Make sure that the keypad is lit up and press Admin Mode. If you have any difficulty entering admin mode, refer to the Yale lock manual for instructions specific to your model.
Step 3: Enter Programming Code
Once in Admin Mode, enter the programming code (usually four digits) that is found on a sticker on the inside of your lock. Once this is done, a message will appear that says “Programming Mode”.
Step 4: Find the Pairing Mode Setting
Once in Programming Mode, you will need to find the pairing mode setting. This is usually found under the Homekit heading (or similar depending on your smart home system). Then select “Pairing Mode” and press enter.
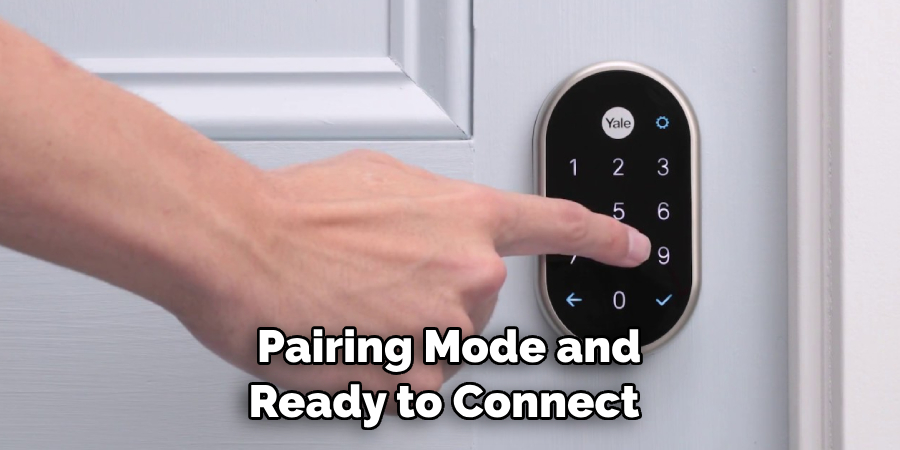
Step 5: Initiate the Pairing Mode
Once you have selected the pairing mode setting, press enter to initiate it. This will put your Yale lock into pairing mode and ready to connect with your smart home system.
Some Additional Tips to Put Yale Lock in Pairing Mode
1 . Make Sure Lock is Properly Installed
Before putting your Yale lock in pairing mode, make sure that it is properly installed and configured. This will help ensure smooth operation and a successful connection to your smart home system.
2. Check the Batteries
Check to make sure that the batteries in your Yale lock are charged before you try to put it in pairing mode. Low battery power may result in an unsuccessful connection.
3. Follow the Instructions Carefully
Each Yale lock model is different, so follow the instructions closely to ensure a successful connection with your smart home system. Also, make sure to refer to the manual for instructions specific to your model.
4. Contact Yale Customer Service
If you are experiencing any issues with your Yale lock, contact customer service for help. They can provide more detailed instructions and answer any questions you may have. With their assistance, you will be able to put your Yale lock in pairing mode without any trouble.
5 . Get Familiar with Your Smart Home System
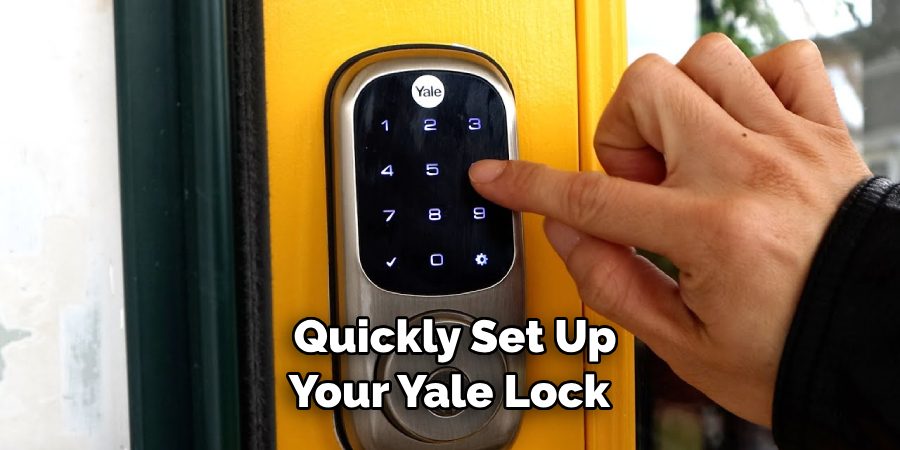
Before putting your Yale lock in pairing mode, make sure to get familiar with your smart home system. This will help you set up and configure the lock more easily and efficiently. With a little bit of preparation, you can quickly set up your Yale lock and enjoy all its features!
Frequently Asked Questions
What Precautions Should I Take Before Pairing My Yale Lock?
Before attempting to pair your Yale lock, it’s important to first prepare the lock and environment for successful pairing. We recommend doing the following steps: Check that your lock is running on its latest firmware version, which can be done by checking in the app settings. Make sure that Bluetooth is enabled on your mobile device.
Check that the Yale lock and the mobile device are within a 10-foot range of each other for successful pairing. Lastly, check that all batteries are in good condition and working properly.
What Should I Do If The Pairing Does Not Succeed?
If you find that the pairing process does not succeed, try these steps: Ensure that both the Yale lock and the mobile device are within a 10-foot range of each other. Make sure that Bluetooth is enabled on both devices. If the issue persists, simply reset your Yale lock and try to pair it again.
What Should I Do if I Experience Interference With My Lock?
If you experience interference with your Yale lock, try moving it to a different location. Some common electronic devices present in the home can interfere with your Yale lock and cause issues such as connectivity drops or delayed response times. If you continue to experience interference, contact customer support for more help.
How Can I Troubleshoot My Lock if It Doesn’t Work?
If your Yale lock isn’t working, first check your mobile device’s Bluetooth settings to make sure it is enabled and that the lock is paired. If you still don’t see any response from your lock, try resetting it by pressing and holding its programming switch for 10 seconds. You can also try removing the batteries and replacing them after 30 seconds. Lastly, if all else fails, contact customer support for further assistance.
How Often Should I Replace My Lock’s Batteries?
Your lock’s batteries should be replaced every 6 months to ensure optimal performance. You can use the Yale app to check your battery levels and receive notifications when they are low. Additionally, we recommend replacing the batteries as soon as possible if you experience any issues with your lock. Doing this will ensure that your lock is always running at its best.
What Kind of Batteries Should I Use for My Yale Lock?
We recommend using only alkaline batteries for optimal performance with your Yale locks. Alkaline batteries are more powerful and offer a longer lifespan compared to other types such as lithium-ion, rechargeable, and zinc-carbon. Additionally, it is important to make sure that you are using fresh batteries with your lock at all times.
Can I Install My Yale Lock Myself?
Yes! Installing your Yale lock is a quick and easy process that can be done by anyone in just a few simple steps. Firstly, before attempting to install the lock, make sure that you have all the necessary tools and supplies ready. This includes a Phillips head screwdriver, mounting hardware, and two sets of alkaline batteries. Once you have everything ready, check out our online installation guide for detailed instructions on how to install your Yale lock.
How Can I Connect My Lock to Other Smart Home Devices?
You can easily connect your Yale lock to other compatible smart home devices such as Alexa, Google Assistant, IFTTT, and more. To do this, simply follow the instructions in our online guide on how to pair your Yale lock with other devices. This will allow you to control your lock from anywhere as well as receive notifications about its usage and activity.
Conclusion
After following these instructions, your Yale lock should now be in pairing mode. Taking a few simple steps will make it much easier to keep your valuables safe and sound. Now, that you know how to put Yale lock in pairing mode, why not start securing the things that matter most with a Yale Digital Security Solution? From their easy-to-use app to their sleek style, there’s sure to be a solution perfect for any situation.
Plus, if you ever need help with installation or troubleshooting, they have customer service teams available 24⁄7 to help you out. Get started on securing your possessions today; it’s never been easier!
About
Safety Fic is a distinguished figure in the world of Diy design, with a decade of expertise creating innovative and sustainable Diy solutions. His professional focus lies in merging traditional craftsmanship with modern manufacturing techniques, fostering designs that are both practical and environmentally conscious. As the author of diy, Safety Fic delves into the art and science of Safety Fic-making, inspiring artisans and industry professionals alike.
Education RMIT University
(Melbourne, Australia) Associate Degree in Design (Safety Fic) Focus on sustainable design, industry-driven projects, and practical craftsmanship. Gained hands-on experience with traditional and digital manufacturing tools, such as CAD and CNC software.
Nottingham Trent University
(United Kingdom) Bachelor’s in diyfastly.com and Product Design (Honors) Specialized in product design with a focus on blending creativity with production techniques. Participated in industry projects, working with companies like John Lewis and Vitsoe to gain real-world insights.
Publications and Impact
In diy, Safety Fic his insights on indoor design processes, materials, and strategies for efficient production. His writing bridges the gap between artisan knowledge and modern industry needs, making it a must-read for both budding designers and seasoned professionals.