

Removing a Kwikset deadbolt lock is a straightforward process that can be done with just a few tools and a bit of patience. Whether you’re replacing your lock for security reasons or upgrading to a newer model, the steps are simple and require minimal expertise.
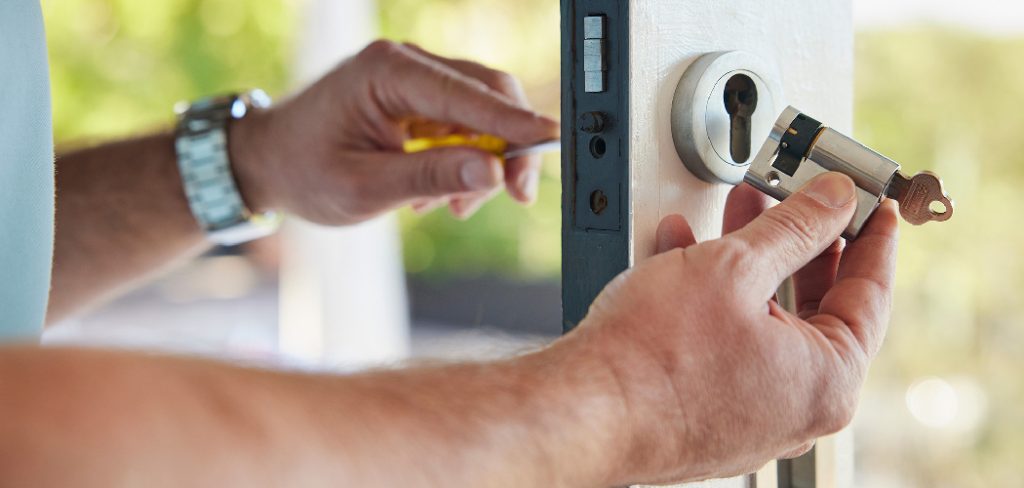
This guide on how to remove a deadbolt lock kwikset will walk you through the removal process step-by-step, ensuring that you can handle it efficiently and safely.
Why Remove a Deadbolt Lock Kwikset?
There are several reasons why you might need to remove a Kwikset deadbolt lock. One common reason is to replace it with a more secure or advanced locking mechanism, such as a smart lock. Over time, locks can also become worn or damaged, leading to reduced functionality or difficulty in operation.
Additionally, if you’ve recently moved into a new home, removing and replacing existing deadbolts ensures that you have full control over your property’s security by eliminating potential access from previous keyholders. Whatever the reason, removing a Kwikset deadbolt is an important step toward enhancing the safety and usability of your door locks.
Tools Required
To successfully remove your Kwikset deadbolt lock, you’ll need the following tools:
- Screwdriver (flathead or Phillips, depending on the type of screws used)
- Allen wrench
- Pliers
- Tape measure (optional)
It’s important to have these tools handy before starting the removal process to ensure a smooth and efficient experience.
10 Step-by-step Guides on How to Remove a Deadbolt Lock Kwikset
Step 1: Prepare the Area
Before beginning the removal process, ensure the area around the deadbolt lock is clean and clutter-free. Remove any obstructions, such as decorations or furniture close to the door, to give yourself enough space to work comfortably.
Also, ensure the door is in a stable position to prevent any movement while you work. Having a clean and organized workspace will help avoid distractions and make the process more efficient.
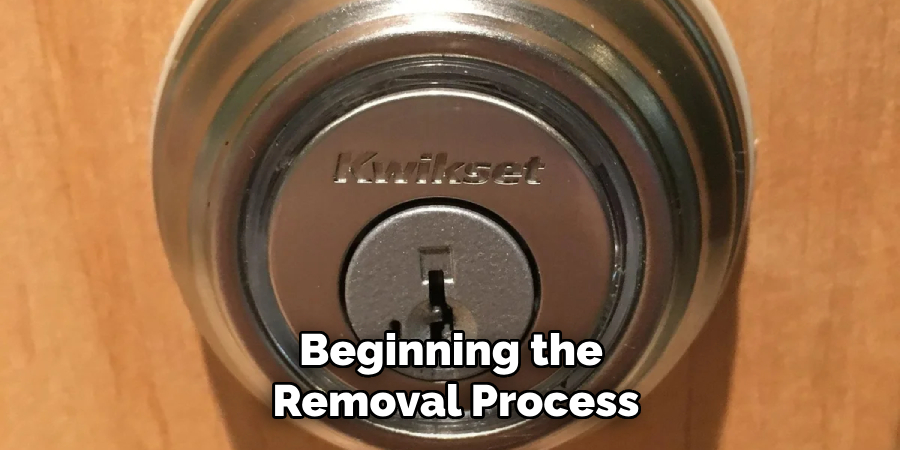
Step 2: Locate the Set Screw
Begin by examining the interior side of the deadbolt lock. Look for a small set screw, which is typically located on the side or the base of the lock’s interior cover. This screw secures the lock’s cover plate in place.
You may need a flathead or Phillips screwdriver, depending on the type of screw used. Ensure you have the correct tool at hand before proceeding. Identifying the set screw is crucial as it allows you to remove the cover and access the internal components of the lock.
Step 3: Remove the Thumb Turn
Once the cover plate is removed, locate the thumb turn mechanism on the interior side of the lock. The thumb turn is typically attached to a spindle, which passes through the lock body to engage or disengage the bolt.
Carefully unscrew or unclip the thumb turn, depending on its design. Be gentle during this process to avoid damaging the components. Removing the thumb turn will provide better access to the spindle and other internal mechanisms, allowing for further disassembly or maintenance as needed.
Step 4: Unscrew and Remove Exterior Plate
With the thumb turn removed, turn your attention to the exterior plate of the lock. Use an appropriate screwdriver or tool to unscrew the mounting screws that hold the exterior plate in place. These screws are typically located on the interior side, securing the plate through the door.
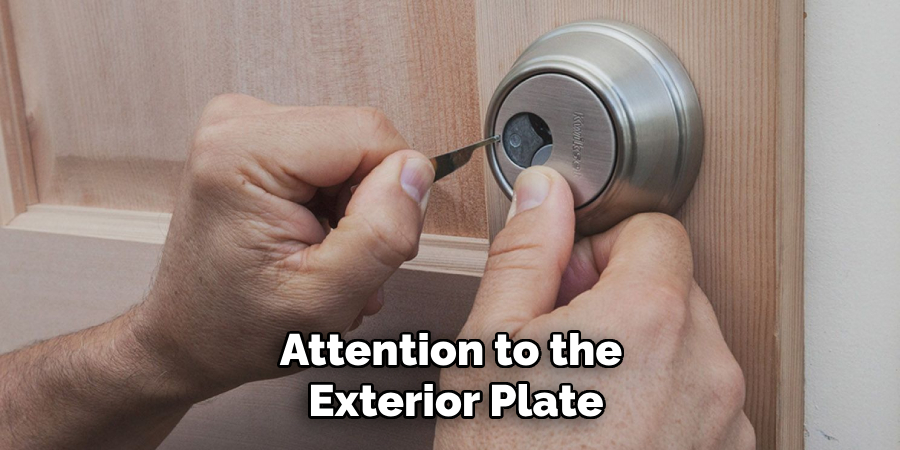
Carefully remove the screws and set them aside to avoid misplacing them. Once unscrewed, gently pull the exterior plate away from the door. Be mindful of any connected components, such as the spindle or decorative trim, to prevent damage during removal. This step exposes the lock’s core, preparing it for repair, replacement, or further inspection.
Step 5: Remove Deadbolt Assembly
With the exterior plate removed and the lock’s core exposed, the next step is to carefully detach the deadbolt assembly. Begin by locating the screws holding the deadbolt mechanism in place on the edge of the door.
Use a screwdriver to unscrew these fasteners, ensuring you keep them in a safe place for reassembly. Once the screws are removed, gently slide the deadbolt mechanism out of the door. Pay close attention to the orientation and positioning of the deadbolt components to aid in proper reinstallation. This step now leaves the door ready for repair, replacement, or the installation of a new deadbolt.
Step 6: Install New Deadbolt Assembly
Begin by positioning the new deadbolt mechanism into the edge of the door, ensuring it aligns properly with the pre-existing mortise. The latch should sit flush with the door’s edge and move smoothly when extended and retracted. Secure the mechanism by fastening it with the screws provided, using a screwdriver to tighten them snugly but not excessively, to avoid stripping the screws.
Next, attach the exterior and interior components of the deadbolt, ensuring the keyhole or thumb turn aligns correctly with the latch mechanism. Once all pieces are in place, test the deadbolt’s functionality by turning the key or thumb turn to confirm smooth operation. Double-check all screws are tightened, ensuring a secure and durable installation.
Step 7: Reattach Exterior Plate
Carefully position the exterior plate back onto the door, ensuring it aligns properly with the deadbolt mechanism and screw holes. Use the screws provided to secure the plate in place, tightening them evenly to avoid misalignment.
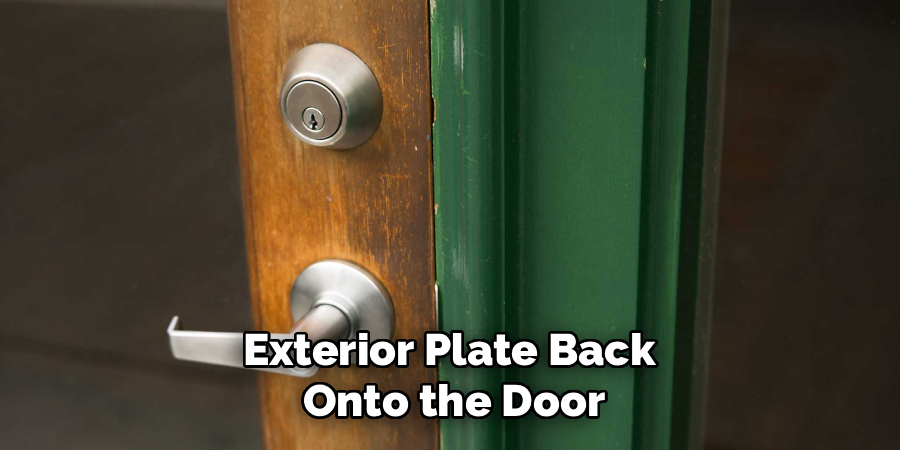
Be mindful not to overtighten, as this could damage the plate or distort its fit. Once attached, inspect the plate to ensure it sits flush against the door surface for a clean and professional finish.
Step 8: Test Your New Lock
After completing the installation, it’s crucial to test your new lock to ensure it functions properly. Begin by turning the deadbolt using the interior thumb turn, checking for a smooth and secure locking action. Next, use the key on the exterior side to unlock and relock the door multiple times, ensuring it operates without any resistance or sticking.
If your lock includes a keypad or smart features, follow the manufacturer’s instructions to program and test these functionalities. Confirm that the door closes and latches securely while the lock is engaged. Address any issues such as misalignment or stiffness immediately to guarantee optimal performance and security.
Step 9: Reattach Strike Plate
Once you have confirmed the lock’s functionality, reattach the strike plate to the door frame. Align it carefully with the latch to ensure a snug fit. Use the screws provided with the lock to secure the strike plate, tightening them firmly but not overly so to avoid damaging the door frame.
Double-check that the latch easily engages with the strike plate when the door is closed. If necessary, make minor adjustments to the plate’s position to prevent sticking or misalignment. This step ensures proper locking and overall door security.
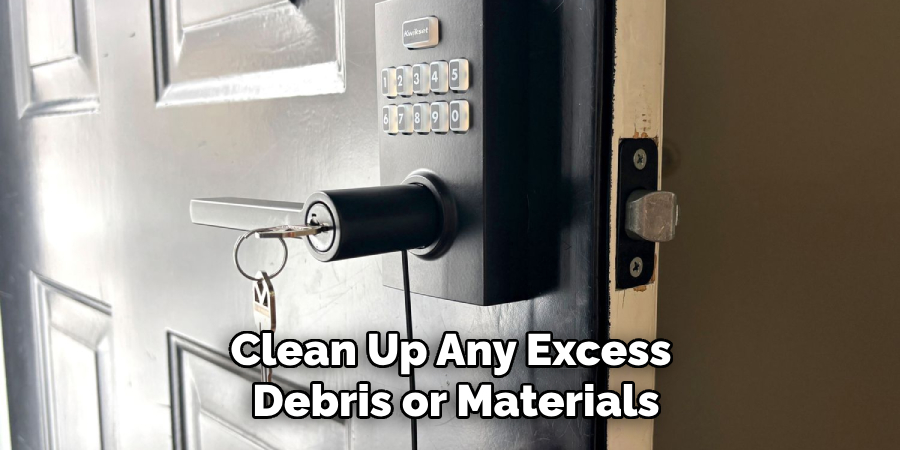
Step 10: Clean Up
Finally, clean up any excess debris or materials from the installation process and dispose of them properly. Give your door one last check to make sure everything is in place and functioning correctly.
Following these steps on how to remove a deadbolt lock kwikset will ensure a smooth and successful installation process. Remember to always read the manufacturer’s instructions carefully and use proper safety precautions when handling tools or working with lock mechanisms. It is also recommended to have a professional locksmith assist with the installation if you are unsure or unfamiliar with the process. With a new deadbolt lock in place, you can feel confident in the security of your home or property.
Frequently Asked Questions
Q: How Do I Know if My Kwikset Lock is Compatible With the Deadbolt Lock?
A: You can check the manufacturer’s specifications or consult with a professional locksmith to ensure compatibility. The Kwikset website also has a “Find Your Lock” feature where you can enter the model number to see if it is compatible with deadbolt locks.
Q: Will a Deadbolt Lock Make My Home More Secure?
A: Yes, adding a deadbolt lock to your home can significantly increase its security. Deadbolts are more resistant to forced entry compared to traditional spring latch locks, making them a popular choice for homeowners looking to improve their home’s security.
Q: Can I Install a Deadbolt Lock on My Own?
A: While it is possible to install a deadbolt lock on your own, it is recommended to have a professional locksmith assist with the installation. This ensures that the lock is properly installed and provides maximum security for your home.
Conclusion
Replacing or installing a deadbolt lock, such as a Kwikset model, can greatly enhance the security of your home or property. By following the outlined steps on how to remove a deadbolt lock kwikset carefully and ensuring proper installation, you can achieve a secure and functional locking mechanism. Always prioritize safety and accuracy during the process, and don’t hesitate to seek professional assistance if needed.
A well-installed deadbolt lock not only provides peace of mind but also serves as a reliable barrier against unauthorized access, reinforcing the safety of your home and loved ones.