
Are you tired of that old, rusty fence in your backyard? Or maybe you want to replace it with a newer, more modern one? Whatever the reason may be, removing a fence is not as difficult as it may seem. With the right tools and techniques, you can easily take down any type of fence without breaking a sweat.

Removing a fence can be a significant undertaking, requiring careful planning, the right tools, and a bit of elbow grease. Whether you’re looking to replace an old, worn-out fence with a new one, or simply want to open up your yard for a more spacious feel, understanding the steps involved is crucial.
This guide will walk you through the entire process of how to remove a fence, from preparation to the actual removal, ensuring you can tackle the project with confidence and efficiency.
When Should You Remove a Fence?
Before diving into the actual steps of removing a fence, it’s essential to understand when you should do it. Here are some common reasons why people choose to remove their fences:
- The Fence is Old and Worn Out: Over time, fences can become damaged due to various weather conditions, such as rain, wind, or snow. As a result, they can become unstable and pose a safety hazard. In this case, it’s best to remove the fence before it becomes a bigger problem.
- You Want to Replace It With a Newer One: Maybe your current fence is outdated, and you want something more modern to enhance the appearance of your yard. If that’s the case, removing the old fence is necessary before installing the new one.
- You Want to Expand Your Yard: If you’re looking to create more space in your yard for various activities, removing a fence can help. This is especially useful for those with small yards who want to make the most out of their outdoor space.
These are just a few examples of when you may need to remove a fence. Now, let’s move on to the actual steps involved in removing a fence.
What Will You Need?
Before you begin, it’s important to gather all the necessary tools and materials. Here are some items that you will need to remove a fence:
- Safety gear: Gloves, safety glasses, earplugs
- Hammer
- Pry bar
- Pliers
- Wire cutters
- Wrench or ratchet set
- Screwdriver
- Saw (hand saw or reciprocating)
- Shovel
- Wheelbarrow
- Tarp or drop cloth
- Heavy-duty garbage bags
- Work gloves
Once you have all the necessary tools and equipment, it’s time to begin the fence removal process. Here are the steps you need to follow:
8 Easy Steps on How to Remove a Fence
Step 1: Prepare for Removal
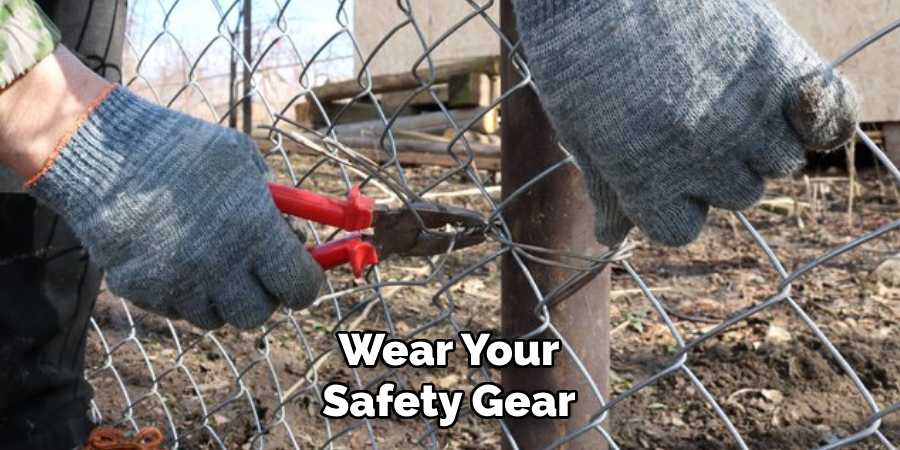
First things first, make sure to wear your safety gear before starting any fence removal work. This includes gloves, safety glasses, and earplugs to protect yourself from any potential hazards. Next, lay down a tarp or drop cloth to collect any debris and keep your yard clean.
Step 2: Remove the Fence Panels
The removal of fence panels is a critical step in dismantling your fence. Start by examining the connection points where your fence panels meet the posts. In many cases, these are either nailed, screwed, or bolted together. Using your tools, such as a screwdriver, wrench, or saw (depending on the type of fixation), carefully detach the panels from the posts.
It is helpful to have a partner during this step to ensure the panels do not fall on anyone or cause damage as they are removed. If you encounter any stubborn fasteners, a pry bar or hammer can be used to loosen them.
Be sure to place the removed panels directly onto your tarp or drop cloth to minimize cleanup later. Handling this step with care and patience will prevent damage to the materials, allowing you to reuse or donate the panels if desired.
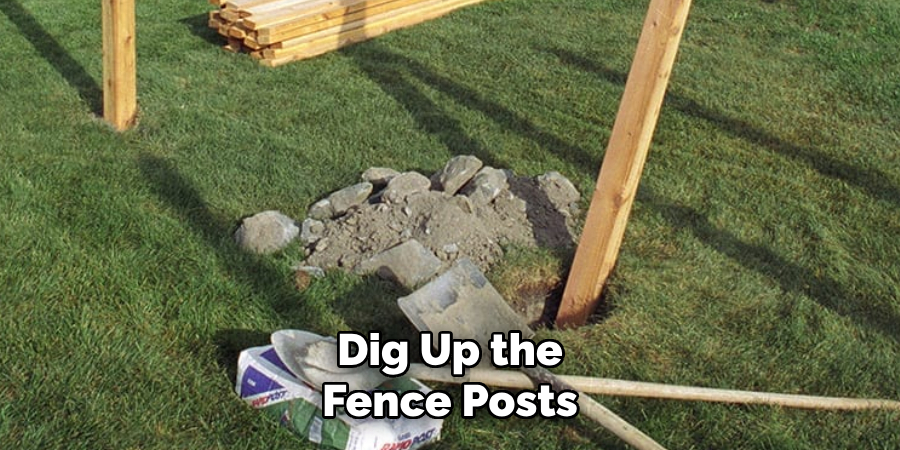
Step 3: Dig Up the Fence Posts
Once all the fence panels have been removed, the next step is to dig up the fence posts. This can sometimes be the most challenging part of the process, especially if the posts are set deep in the ground with concrete.
Start by using a shovel to dig around the base of each post to expose the concrete footing. Be prepared to dig a significant area around the post to have enough room for maneuvering. If you’re dealing with a wooden post, it might be possible to wiggle it back and forth to loosen it from the concrete before attempting to pull it out.
For metal posts, you might need a vehicle and a chain to pull them out, depending on how deeply they’re set. In cases where the post does not budge, you may need to break the concrete footing with a sledgehammer. Remember to proceed with caution to avoid any injuries.
Step 4: Dispose of Old Fence Material
After successfully removing the fence panels and posts, the next step involves the disposal of the old fence materials. Depending on the condition and type of materials, you have several options.
If the panels or posts are still in good condition, consider donating them to local charities, selling them, or even repurposing them for other projects. However, for materials that are damaged or unusable, proper disposal is necessary. You can use heavy-duty garbage bags for smaller pieces and a wheelbarrow to transport larger sections to a suitable disposal area.
Some local waste management companies offer services for disposing of large amounts of yard waste or construction debris, so it might be worth checking if they can assist in the disposal of your old fence materials. Always ensure you are disposing of materials in an environmentally friendly and legal manner.
Step 5: Fill and Level the Holes
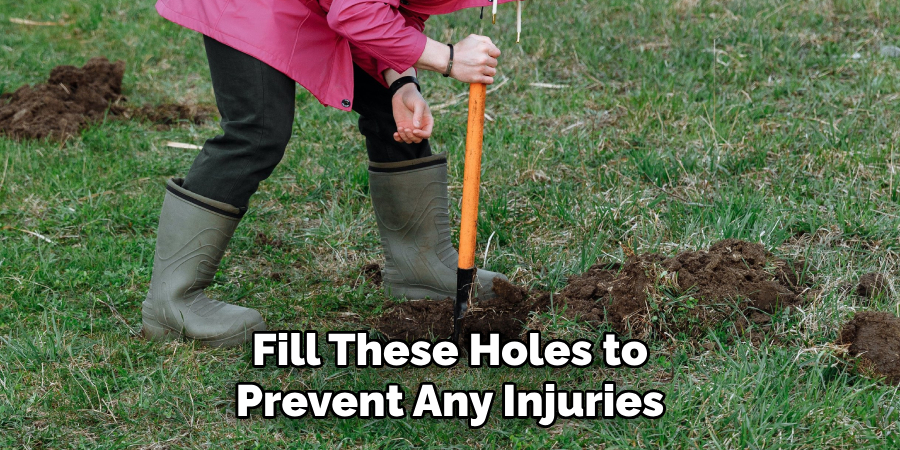
After removing the fence posts and disposing of the old materials, you will likely be left with holes where the posts once stood. It’s important to fill these holes to prevent any injuries or water from accumulating and potentially causing issues in your yard. Use a mixture of soil and gravel to fill the holes, ensuring that you compact the mixture as you go to minimize settling over time.
After filling, use a level to ensure the surface is even with the surrounding ground. If necessary, add or remove the filling mixture to achieve a smooth, level surface. This step not only improves the appearance of your yard but also prepares the ground for any future projects you might have in mind.
Step 6: Repair the Landscape
Once the holes are filled and the area is leveled, attention should now turn to the overall condition of the landscape. Removing a fence often disturbs the surrounding grass and planting areas, which may need repair or replanting.
Assess the area for any bare spots in the lawn where grass seed or sod might be needed to encourage new growth. Additionally, consider replanting flowers or shrubs that were damaged during the fence removal process.
This is also an opportune time to redesign your landscape layout, perhaps creating new garden beds or walkways that enhance the aesthetics and functionality of your outdoor space. Taking the time for landscaping repairs will help your yard recover more quickly and ensure it looks its best post-fence removal.
Step 7: Assess and Plan for New Fencing
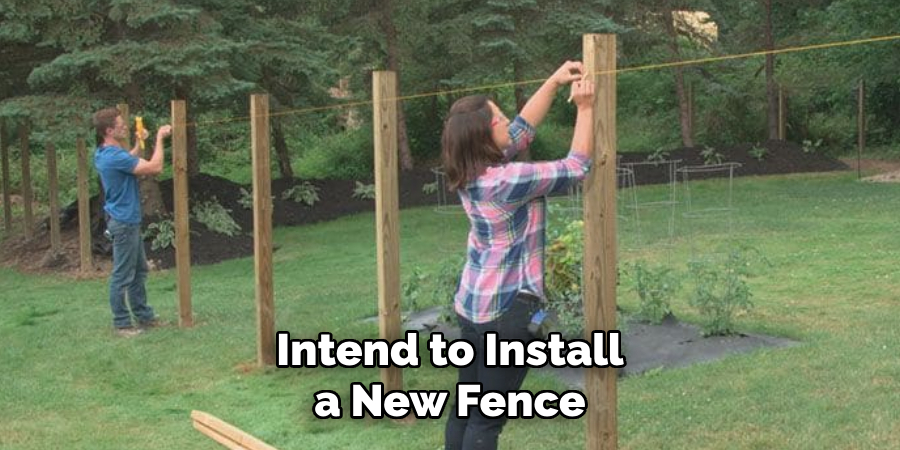
With the old fence now removed, you have a blank canvas for planning the future use of your outdoor space. Whether you intend to install a new fence or use the area differently, it’s important to carefully assess your needs and the potential layout. If installing a new fence is part of your plan, consider the materials, height, and design that will best meet your privacy, security, and aesthetic requirements.
Alternatively, if you decide against a new fence, think about how you can enhance your yard to make it more inviting and usable. This could include adding a patio, garden, play area, or outdoor kitchen. Take measurements and sketch out your ideas to visualize the possibilities before proceeding with any new projects.
Step 8: Commence New Project Implementation
Now that the area is cleared, filled, leveled, and you have a plan in place, it’s time to commence the implementation of your new project. Whether it’s installing a new fence, landscaping, or creating an outdoor living space, make sure to procure all necessary materials and tools before beginning. Hiring professionals for specific tasks, such as fence installation or major landscaping projects, may ensure quality results and save time.
If tackling the project yourself, consider inviting friends or family members to help, making the work more manageable and enjoyable. Remember to check local regulations or homeowners association rules to ensure compliance with any requirements or restrictions. This final step brings your vision to life, transforming your outdoor space into a refreshed area that meets your needs and preferences.
By following these steps, you can successfully remove an old fence and prepare your yard for new possibilities. Remember to proceed with caution and use proper safety equipment throughout the process.
5 Additional Tips and Tricks
- Check Local Regulations: Before you start dismantling your fence, ensure you’re not violating any local ordinances or homeowners’ association rules. Some areas require permits for fence removal, especially if it involves digging.
- Use the Right Tools: Equip yourself with the right tools for the job. A few essentials include a sledgehammer, post-hole digger, shovel, and bolt cutters. Quality tools can significantly reduce the time and effort required for removal.
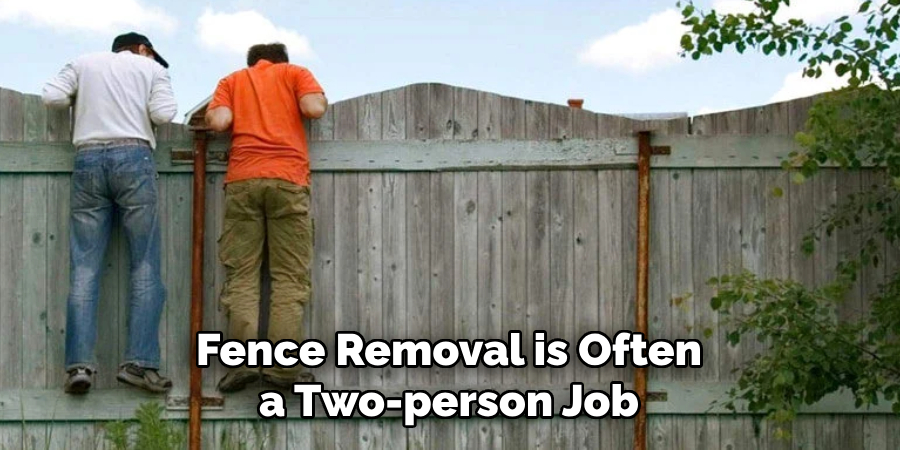
- Seek Assistance: Fence removal is often a two-person job, especially when dealing with long sections or heavy materials. Enlist the help of a friend or family member to speed up the process and ensure safety.
- Consider Recycling or Donation: Instead of discarding old fencing materials, explore options for recycling or donating them. Wood can be repurposed for other projects, and metal may be recyclable at a local scrap yard.
- Take Safety Precautions: Always wear appropriate safety gear such as gloves, goggles, and sturdy footwear. Be aware of potential hazards, including underground utility lines when digging post holes. Contact utility companies beforehand to avoid accidents.
With these additional tips and tricks, removing a fence can be a much smoother and more efficient process.
5 Things You Should Avoid
- Ignoring Legal Boundaries: Prior to fence removal, ensure you’re not infringing on your neighbor’s property. Mistakenly removing part of a fence that belongs to someone else can lead to legal disputes and tensions.
- Underestimating the Job: Don’t assume fence removal will be simple or quick. Underestimating the complexity can lead to inadequate preparation, making the task harder and more time-consuming than anticipated.
- Skipping Safety Procedures: It may be tempting to skip safety steps to expedite the process, but doing so puts you at risk for injury. Always wear protective gear and follow safety protocols throughout the removal.
- Immediate Disposal of Materials: Before hastily disposing of fence materials, consider whether they can be repurposed or recycled. Immediate disposal can be both wasteful and costly.
- Damaging Surrounding Landscaping: In the removal process, it’s easy to forget about the impact on your yard or garden. Avoid using heavy machinery that could damage the surrounding landscape or compact the soil unnecessarily.
By avoiding these common mistakes, you can ensure a smoother and more successful fence removal experience.
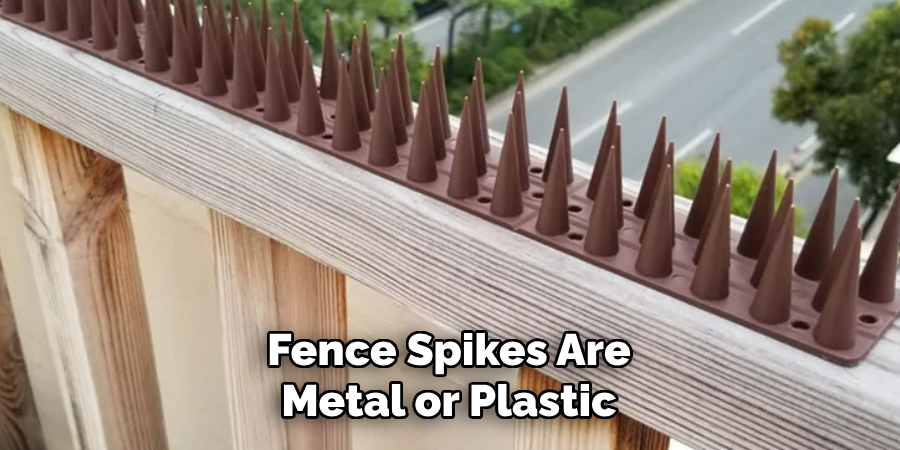
How Do You Remove Fence Spikes?
Fence spikes are metal or plastic attachments used to secure fence posts into the ground. They can be challenging to remove, but with the right tools and techniques, it can be accomplished.
- Prepare for Removal: Before attempting to remove fence spikes, gather all necessary tools such as a hammer, pry bar, and pliers. It’s also helpful to have an assistant to hold the post steady.
- Loosen the Spike: Use a hammer and pry bar to loosen the spike from the ground. Start by tapping gently on all sides of the spike, then use the pry bar to lift it slightly out of the ground.
- Remove Obstructions: Sometimes, objects such as rocks or roots may be obstructing the path of the spike. Use pliers or a shovel to clear away any obstructions before attempting to remove the spike.
- Securely Hold the Post: While one person holds the post steady, use a pry bar and hammer to loosen and remove the spike completely from the ground. Be sure to wear protective gloves to avoid injury.
- Repeat if Necessary: If the spike is still attached to the post after removal, repeat the process until it is fully detached. For stubborn spikes, an angle grinder may be necessary.
Once all fence spikes have been removed from the posts, they can be disposed of or reused for future fencing projects. Always use caution when removing fence spikes and wear proper safety gear to avoid injury.
How Do You Remove a Fence That Is Cemented In?
Removing a fence that is cemented into the ground can be a daunting task, but with the right approach, it can be done efficiently.
- Assess the Situation: Before you begin removing a cemented-in fence, evaluate the condition and type of cement used. This will help determine the best method for removal.
- Dig Around the Posts: Use a shovel or post-hole digger to carefully excavate around the base of each fence post. Be cautious not to damage any underground utility lines.
- Break Up the Cement: Once you have exposed enough of the cement, use a sledgehammer or jackhammer to break it apart. If using a jackhammer, be sure to follow all safety precautions.
- Remove the Posts: Once the cement is broken up, remove the fence posts by lifting them out of the ground with a pry bar.
- Clean Up and Dispose: After removing all posts, clean up any remaining debris and dispose of it properly. If the cement is still in good condition, it can be repurposed or disposed of at a local concrete recycling facility.
Removing a fence that is cemented in requires patience and proper equipment, but with careful planning and preparation, it can be accomplished successfully. Overall, the key to successful fence removal is being well-informed and prepared for any challenges that may arise.
What Type of Fencing is Easiest to Remove?
The easiest type of fencing to remove depends on several factors, such as the materials used and how securely it is installed. However, in general, wood and vinyl fences are considered easier to remove compared to metal or stone fences. This is because they can be cut into smaller sections for easier removal and do not require specialized equipment for dismantling.
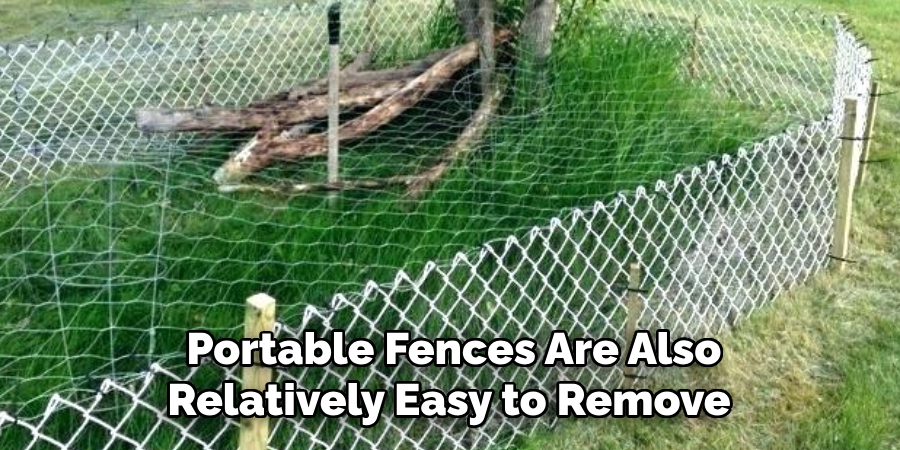
Additionally, temporary or portable fences are also relatively easy to remove as they are designed to be taken down and put back up quickly. Examples of these types of fencing include chain link or mesh fences used for construction sites or events.
On the other hand, metal and stone fences can be more challenging to remove due to their heavy weight and durability. They often require specialized equipment such as a grinder or saw for dismantling. However, the level of difficulty can also depend on factors such as the age and condition of the fence.
Conclusion
In conclusion, removing a fence, whether it’s due to wear, aesthetic reasons, or to make room for a new project, requires careful planning and the right approach. From ensuring that the job is within legal boundaries to choosing the appropriate method based on the type of fence, each step is critical in achieving a smooth and successful removal.
Whether dealing with easy-to-remove wood and vinyl fences or the more challenging metal and stone barriers, understanding the specific needs of each project and adhering to safety precautions cannot be overstated.
While how to remove a fence may be a daunting task, armed with the right tools, techniques, and a bit of patience, homeowners can effectively remove their fences, paving the way for new and exciting changes to their landscapes.