

Removing an alarm panel from a wall can seem like a daunting task, especially if you’re unfamiliar with the wiring and setup involved. However, with the right tools and guidance, the process can be straightforward and safe.
This guide on how to remove alarm panel from wall will take you step-by-step through the necessary precautions and actions to successfully and securely remove an alarm panel from your wall without causing damage to your home or the system.
Identify the Type of Alarm System
Before proceeding to remove the alarm panel, it is crucial to identify the type of alarm system installed in your home. Alarm systems generally fall into two categories: wired and wireless. Wired systems are connected directly to your home’s electrical setup and often require dealing with physical wires during removal.
Wireless systems, on the other hand, rely on batteries and radio signals for operation, making them less cumbersome to detach. Additionally, check if the system is a standalone unit or monitored by a security company, as monitored systems may require coordination with the provider before removal. Knowing the type of alarm system will help you prepare the appropriate tools and take necessary safety precautions for a smooth removal process.
Safety First: Pre-Removal Precautions
Before proceeding with the removal of an alarm system, it is essential to prioritize safety at every step. Start by turning off the power supply to the system to avoid any risk of electrical shock. This includes disconnecting the main power connection and removing any backup batteries. If the system is monitored, contact the security company beforehand to notify them of the removal process and ensure active monitoring is temporarily disabled to prevent false alarms.
Familiarize yourself with the system’s manual to understand its components and connections thoroughly. Additionally, wear appropriate protective gear such as insulated gloves or safety goggles if dealing with electrical parts. Taking these precautions ensures a safe and hassle-free removal process.
9 Step-by-Step Guidelines on How to Remove Alarm Panel From Wall
Step 1: Notify the Monitoring Company
Before beginning the removal process, contact your alarm system’s monitoring company to inform them of your intention to remove the alarm panel. This step is crucial to avoid triggering false alarms during the process.
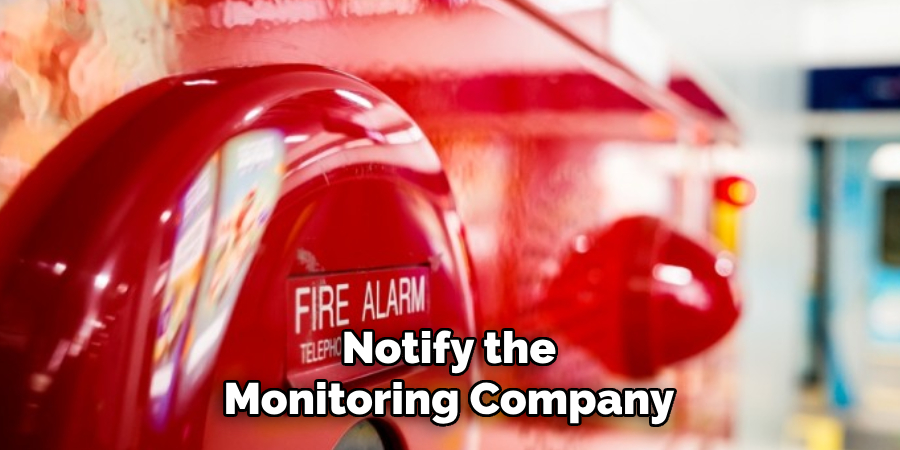
Provide them with the necessary details such as the scheduled time for the removal and verify any steps they might require on their end, such as temporarily disabling monitoring services or confirming your account information. Proper communication ensures a smooth process and prevents unnecessary alerts or disruptions.
Step 2: Turn Off the Power
Before proceeding with the removal of the alarm panel, it is essential to turn off the power to ensure safety and prevent damage to the system. Locate the circuit breaker that supplies electricity to the alarm system and switch it off. Additionally, disconnect any backup battery within the alarm panel to completely cut off power.
Double-check that the panel no longer displays lights or indicators to confirm that it is fully powered down. Taking these precautions minimizes the risk of electrical shock and ensures a secure working environment.
Step 3: Remove Security Panel Cover
Once the system is powered down, carefully remove the cover of the security panel. Most panels are secured with screws or clips, so use a screwdriver or appropriate tool to loosen them.
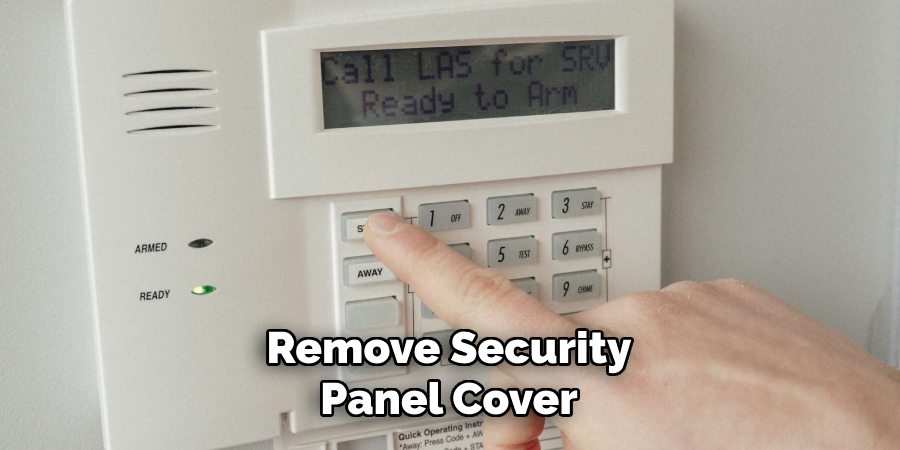
Gently detach the cover, taking care not to damage any internal components or wiring. Keep all screws or fasteners in a safe place for reassembly later. Removing the cover provides access to the internal hardware, allowing you to proceed with repairs, upgrades, or maintenance tasks.
Step 4: Disconnect Wires
With the security panel cover removed, identify the wires connected to the internal components. Carefully document or label each wire to ensure proper reassembly later. Use a screwdriver or appropriate tool to loosen terminal screws or release connectors as needed. Handle the wires gently to avoid damaging their insulation or terminals.
Disconnecting the wires ensures safety and allows you to work on individual components without interference. Keep all disconnected wires organized to prevent confusion during reassembly.
Step 5: Remove Backup Battery
Locate the backup battery inside the device, which is typically a small, cylindrical or rectangular component connected to the circuit board. Check if the battery is secured by clips, screws, or adhesive. If screws are present, use a screwdriver to carefully remove them. If the clips are holding the battery, gently release the clips to free it.
For adhesive-mounted batteries, use a plastic pry tool to carefully lift the battery without damaging surrounding components. Once removed, place the battery in a safe location for disposal or replacement. Always follow proper disposal guidelines for batteries to ensure environmental safety.
Step 6: Dispose of Old Panel
Properly disposing of the old panel is essential to ensure environmental safety and compliance with local regulations. Check with your local recycling center or electronics disposal facility to determine the appropriate disposal method for electronic components. If the panel contains hazardous materials, such as mercury or other chemicals, take extra care by following any specific guidelines provided by waste management authorities.
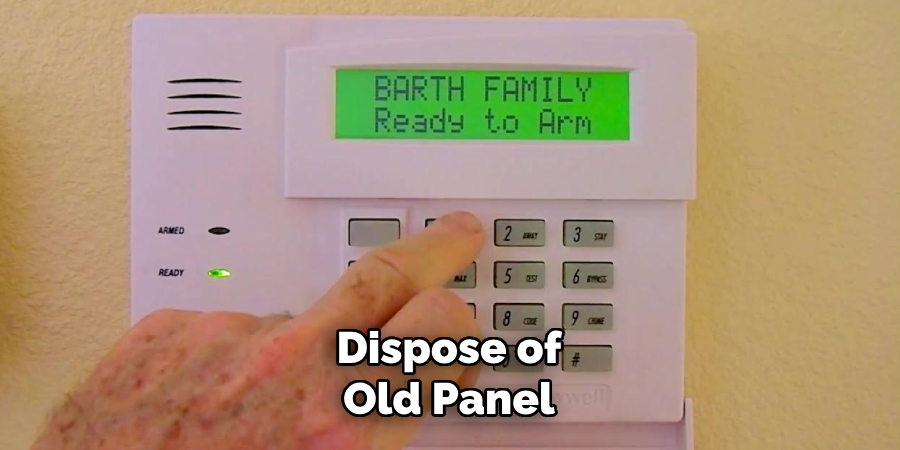
Avoid throwing the panel into regular household waste, as this can harm the environment. Always prioritize sustainability by recycling or disposing of electronic parts responsibly.
Step 7: Install New Panel
Carefully unpack the new panel and inspect it for any signs of damage during transit. Align the panel with the mounting points or brackets used for the previous one. Secure it firmly in place using the appropriate screws or fasteners, ensuring a stable fit without overtightening. Reconnect any cables or wiring as needed, making sure all connections are tight and properly seated.
Once installed, test the panel to verify it functions correctly before closing the enclosure or reassembling any additional components. Always follow the manufacturer’s instructions for optimal installation and safety.
Step 8: Test System
After successfully installing the panel, it is crucial to thoroughly test the system to ensure everything is functioning as expected. Begin by powering on the system and checking for any error messages or unusual behavior. Verify that all connected components are operating correctly and that the panel is responsive. If applicable, run diagnostic tests or utilize troubleshooting tools provided by the manufacturer.
Pay close attention to any signs of malfunction, such as flickering indicators or unexpected noises, and address them immediately. Once the system passes all tests, document the results and proceed to finalize the installation process.
Step 9: Update Emergency Contacts
Ensure that all emergency contact information is accurate and up to date. Compile a list of key individuals and organizations to be notified in case of an emergency, such as maintenance teams, system administrators, and local emergency services. Verify that phone numbers, email addresses, and other contact details are current. Provide a copy of this updated list to all relevant personnel, and store it in a secure but accessible location, both physically and digitally. Regularly review and revise this information to maintain its accuracy and effectiveness.
Following these steps on how to remove alarm panel from wall, you can easily and safely remove your alarm panel for maintenance or relocation. However, it’s important to remember that tampering with the alarm system may void any warranty or insurance coverage. If you are unsure about handling the removal process on your own, it’s best to consult a professional technician.
When to Call a Professional?
While removing an alarm panel may seem like a manageable task, there are situations where it’s better to call a professional for assistance. If your system is connected to a monitoring service, tampering with the panel could trigger alerts or disrupt the connection. Additionally, if you encounter wiring that seems complex or outdated, a professional technician will have the expertise needed to handle these issues safely.
It’s also advisable to seek professional help if you notice any signs of damage, such as frayed wires or malfunctioning components, as mishandling these could lead to further problems. Prioritizing safety and system integrity will help ensure your alarm system operates effectively after any changes.
Frequently Asked Questions
Q1: Can I Install an Alarm System Myself?
A: It is possible to install a basic alarm system yourself, but it’s important to have knowledge and experience with electrical wiring and connections. If you are unsure or uncomfortable with this process, it’s best to hire a professional technician.
Q2: How Often Should I Test My Alarm System?
A: It is recommended to test your alarm system at least once a month. This will ensure that all components are functioning properly and can alert you in case of any emergencies.
Q3: What Should I Do if My Alarm System Constantly Goes Off for No Reason?
A: First, check the batteries in all components such as sensors and control panels. If the issue persists, it may be caused by a faulty sensor or system malfunction. In this case, contact your alarm system provider for assistance in troubleshooting and repairs. It is important to address this issue promptly as false alarms can result in fines from emergency responders or even cause them to ignore real emergencies at your property.
Conclusion
Maintaining a properly functioning alarm system is crucial for the safety and security of your property. Regularly inspecting and testing your system can help prevent false alarms and ensure it operates effectively when needed.
By promptly addressing any malfunctions and seeking professional assistance when necessary, you can avoid potential fines, reduce unnecessary stress, and ensure that your alarm system remains a reliable part of your overall security plan. Thanks for reading this article on how to remove alarm panel from wall.
About
Safety Fic is a distinguished figure in the world of Diy design, with a decade of expertise creating innovative and sustainable Diy solutions. His professional focus lies in merging traditional craftsmanship with modern manufacturing techniques, fostering designs that are both practical and environmentally conscious. As the author of diy, Safety Fic delves into the art and science of Safety Fic-making, inspiring artisans and industry professionals alike.
Education RMIT University
(Melbourne, Australia) Associate Degree in Design (Safety Fic) Focus on sustainable design, industry-driven projects, and practical craftsmanship. Gained hands-on experience with traditional and digital manufacturing tools, such as CAD and CNC software.
Nottingham Trent University
(United Kingdom) Bachelor’s in diyfastly.com and Product Design (Honors) Specialized in product design with a focus on blending creativity with production techniques. Participated in industry projects, working with companies like John Lewis and Vitsoe to gain real-world insights.
Publications and Impact
In diy, Safety Fic his insights on indoor design processes, materials, and strategies for efficient production. His writing bridges the gap between artisan knowledge and modern industry needs, making it a must-read for both budding designers and seasoned professionals.