

Removing an antique drawer lock can seem like a daunting task, but with the right tools and a methodical approach, it can be accomplished safely and efficiently. Whether you’re restoring a vintage piece of furniture or replacing a broken lock, understanding the proper techniques is essential to avoid damaging the drawer or its components.
This guide on how to remove antique drawer lock will walk you through the process step-by-step, ensuring that the lock is removed with care and precision.
Understand the Lock Mechanism
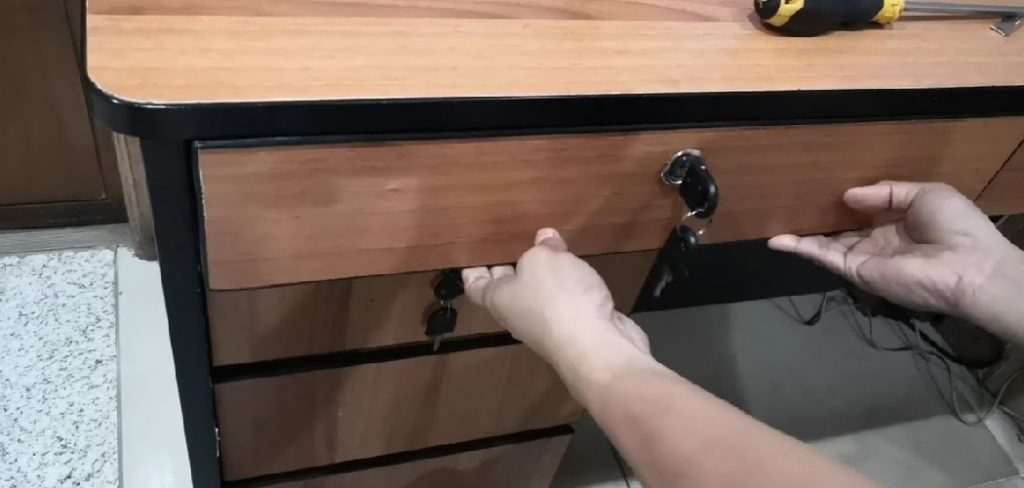
Before attempting to remove an antique drawer lock, it’s important to first understand its mechanism. Most antique locks operate using a simple latch system or a warded lock design. Examine the lock closely to identify the type—look for keyholes, latches, or screws that may hold the mechanism in place.
Familiarize yourself with how the lock interacts with the drawer, including how the locking pin or bolt secures it. If possible, use the original key to test the lock’s function, as this can provide valuable insight into its operation. This understanding will help ensure a smoother removal process while minimizing the risk of unnecessary damage.
Tools and Materials Needed
- Screwdriver (Flathead and Phillips)
- Needle-nose Pliers
- Small Pry Bar or Chisel
- Flashlight (for Inspecting Inside Drawer)
- Wood Filler (if Restoring)
- Protective Gloves
- Lubricant or Penetrating Oil (for Rusted Screws)
9 Simple Steps on How to Remove Antique Drawer Lock
Step 1: Prepare the Area
Begin by clearing the surrounding area to ensure you have adequate space to work. Remove any items in or around the piece of furniture that may obstruct your ability to access the drawer lock. Place a soft cloth or protective mat beneath the furniture to prevent scratches or damage to the surface.
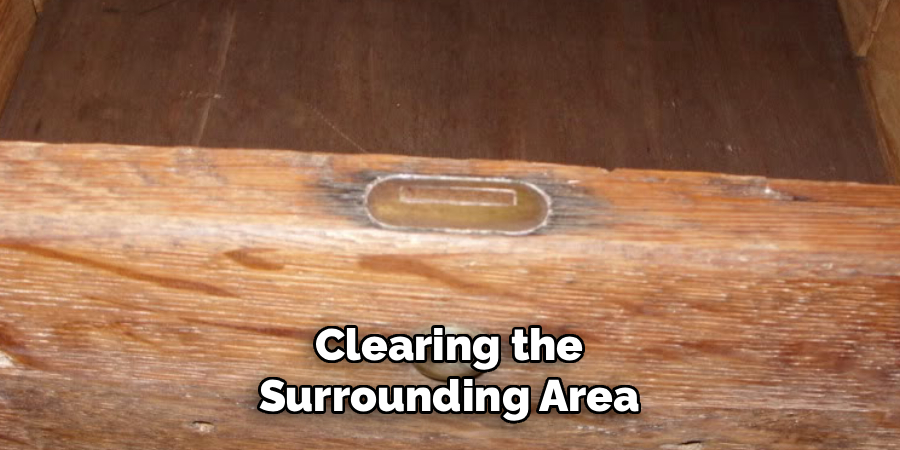
Organize your tools and materials nearby for easy access, and wear protective gloves to safeguard your hands during the process. This preparation will create a safe and efficient workspace for removing the antique drawer lock.
Step 2: Remove Any Hardware
Begin by carefully inspecting the drawer for any external hardware, such as handles, knobs, or decorative elements, that may interfere with the lock removal process. Use an appropriate screwdriver or tool to unscrew and remove these components.
Store the hardware in a labeled container or small bag to prevent loss and ensure easy reassembly later. Take your time during this step to avoid damaging the hardware or the surface of the furniture. Removing these elements first will give you unobstructed access to the lock mechanism and simplify the next steps.
Step 3: Examine the Lock
Once the hardware has been removed, closely examine the lock to understand its structure and mechanism. Check for any screws, bolts, or retaining clips securing it in place. Observe how the lock is positioned within the furniture and take note of any distinguishing features, such as the type of lock (e.g., cam lock, mortise lock, or deadbolt).
This assessment will help determine the tools and techniques required for removal. If possible, refer to any available documentation or diagrams for the lock type, as this can provide additional insights into its design. Being thorough in this step can prevent mistakes and streamline the removal process.
Step 4: Use Lubricant or Penetrating Oil
Before attempting to remove the lock, apply a lubricant or penetrating oil to its moving parts. This step is especially important if the lock has not been used in a long time or appears to be rusted or stuck. Use a small amount of oil, such as WD-40 or a similar product, and allow it to penetrate for a few minutes.

The lubricant will help loosen any debris, corrosion, or stuck components, making it easier to disengage the lock without causing damage. Wipe away any excess oil to prevent it from spreading to other surfaces.
Step 5: Remove Drawers
If you are dealing with a piece of furniture or a cabinet, removing the drawers can provide better access to the lock mechanism. Carefully pull each drawer out, checking for any stops or latches that may need to be released before removal.
This will not only prevent damage to the furniture but also give you a clear view of the locking mechanism and allow you to work with greater precision. Keep the drawers and any accompanying hardware, such as screws or runners, organized to ensure easy reassembly after the lock is fixed.
Step 6: Inspect Drawer Slides
Examine the drawer slides for any signs of damage, wear, or misalignment that may be affecting the movement of the drawers. Check for bent metal tracks, broken plastic components, or debris lodged in the slides. Ensure that all screws or brackets securing the slides are tightly fastened and not loose.
Clean the slides thoroughly using a soft cloth or a small brush to remove dirt or dust, and apply a light lubricant if necessary to improve their functionality. Addressing issues with the drawer slides at this stage will ensure that the drawers open and close smoothly once reassembled.
Step 7: Clean and Reassemble
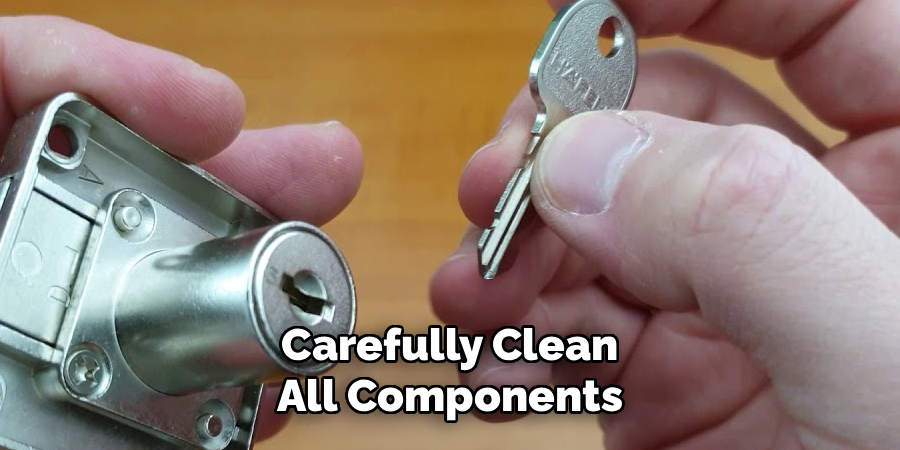
Before reassembling the drawers, carefully clean all components to ensure they are free of dust, grime, or grease. Wipe down the drawer interiors, exteriors, and any hardware using a mild cleaning solution and a soft cloth.
Allow all parts to dry completely to prevent moisture damage. Next, reattach any hardware or slides, following the alignment marks or guidelines made during disassembly. Slide the drawers back into their tracks, ensuring they glide smoothly without resistance. Test each drawer by opening and closing it several times to confirm proper functionality. Taking the time to clean and reassemble everything correctly ensures a longer lifespan and a polished, professional finish.
Step 8: Test Functionality
After reassembling, thoroughly test the functionality of the drawers and hardware. Open and close each drawer multiple times to ensure they glide effortlessly and align properly. Check for any irregularities, such as sticking or uneven movement, and make adjustments as needed.
Inspect all attached hardware for stability, tightening any loose screws or fasteners. This step confirms that everything is working as intended and provides an opportunity to address minor issues before regular use.
Step 9: Finishing Touches
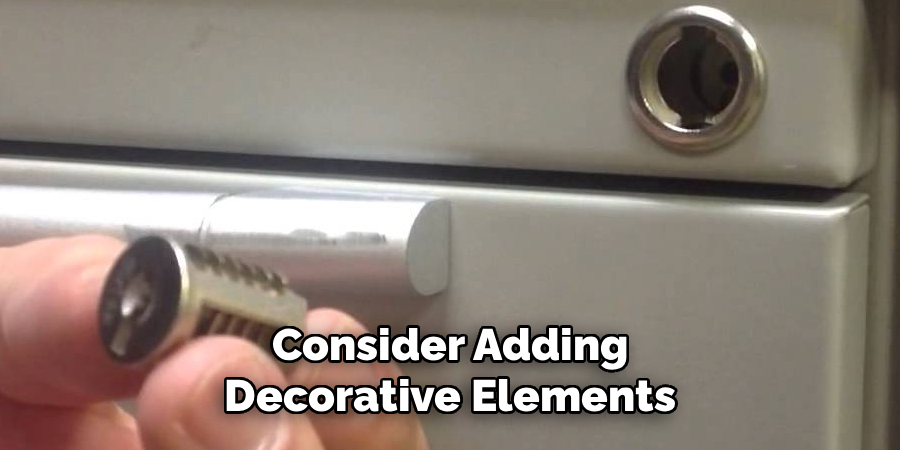
With the functionality confirmed, it’s time to add the finishing touches to your project. Clean the surface of the drawers and surrounding areas using a soft cloth to remove any dust or fingerprints. If desired, apply a protective coating or polish to enhance the appearance and provide an added layer of durability.
For an extra personal touch, consider adding decorative elements like liners for the drawers or updated hardware that complements your style. Once complete, stand back and admire the refreshed look and improved function of your finished piece!
Congratulations! You have successfully replaced your dresser drawer slides. By following these steps on how to remove antique drawer lock, you can not only save money by avoiding professional repair services, but you can also learn valuable skills that can be applied to other furniture projects in the future.
When to Seek Professional Help?
While replacing dresser drawer slides or removing antique drawer locks can often be accomplished with patience and the right tools, there are situations where professional assistance might be necessary. If the drawer or dresser itself has structural damage, such as cracks or warping, it may require expert repair to ensure stability and longevity.
Similarly, if the antique lock is particularly intricate or valuable, reaching out to a specialist can help avoid unintentional damage to the mechanism. Additionally, if you encounter any difficulties with tools or feel unsure about proceeding, seeking professional guidance can save time and ensure the best outcome for your furniture restoration project.
How Much Could It Cost?
The cost of repairing or restoring an antique drawer can vary widely depending on the extent of the damage, the materials required, and whether professional help is needed. For minor repairs like replacing worn-out hardware or re-aligning drawer tracks, costs may range from $20 to $100 if you’re handling it yourself.
However, if professional restoration services are required for structural repairs, intricate lock mechanisms, or refinishing, the expense could climb significantly, often ranging between $150 and $500 or more. High-value antiques or particularly delicate restorations may require specialized artisans, which could increase costs further. Ultimately, the expense should be balanced with the sentimental and monetary value of the piece to determine the best approach.
Frequently Asked Questions
Q1: Can I Restore My Own Furniture?
A: Yes, some minor repairs and touch-ups can be done at home with the right tools and techniques. However, for more complex or delicate restorations, it is best to seek professional help to ensure the best outcome.
Q2: How Do I Determine the Value of My Antique Furniture?
A: The value of antique furniture is determined by factors such as age, rarity, condition, and historical significance. It is recommended to consult with a professional appraiser or do research on similar pieces in the market to get an idea of its worth.
Q3: Can All Types of Furniture Be Restored?
A: In general, most types of wooden furniture can be restored, including tables, chairs, cabinets, and dressers. However, it is important to assess the type and condition of the piece before attempting any restoration work.
Conclusion
Restoring and valuing furniture can be a rewarding process, whether you’re preserving a family heirloom or investing in a unique antique piece. By understanding the factors that influence value and recognizing restoration possibilities, you can ensure that your furniture retains its charm and significance for years to come.
Always approach restoration with care and consider consulting experts when necessary to achieve the best results. Thanks for reading this article on how to remove antique drawer lock.