

Do you have an August Lock and want to remove it from your door? Removing an August Lock can be a tricky process, so here’s a step-by-step guide on how to do it safely and efficiently. Whether you’re replacing the lock with another brand or just taking down the current one, this article will walk you through the entire removal process.
Read on how to remove august lock to learn about what tools are needed for removal, how to unclamp the mounting plate, disconnect cables and other critical steps for successfully getting rid of your old August Lock!
What is August Lock?
August Lock is a popular electronic door lock that has seen tremendous growth in the last couple of years. It offers Bluetooth and Wi-Fi connectivity, allowing you to unlock and lock your door from anywhere using your mobile device. The August Lock also works with other smart home devices like Amazon Alexa, Apple HomeKit, Nest Cam and IFTTT (If This Then That).
If you are no longer using the August Lock, or if you want to replace it with another type of lock, then removal is necessary. This article will provide step-by-step instructions on how to easily remove the August Lock from your door.
10 Step-by-step Guidelines on How to Remove August Lock
Step 1: Gather the Necessary Tools
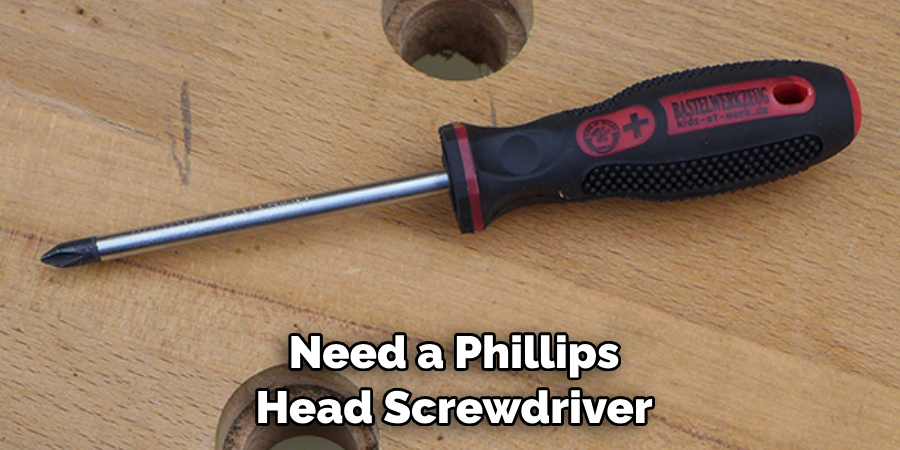
You will need a Phillips head screwdriver, a flathead screwdriver, and a pair of needle-nose pliers to complete the August Lock removal. It’s also a good idea to have a flashlight handy so you can see what you are doing. If you don’t have any of these tools, most hardware stores sell them. You should also make sure that you have the original mounting hardware for the August Lock.
Step 2: Unclamp the Mounting Plate
The first step in removing the August Lock is to unclamp the mounting plate from the door frame. This will allow you to access the screws that hold the lock in place. Use your Phillips head screwdriver to remove the screws. If the screws are difficult to remove, use a pair of needle-nose pliers to grip them and loosen them. But be careful not to over-tighten them as this could cause damage.
Step 3: Disconnect Cables
Once the screws are removed, you will need to disconnect all of the cables that connect to the August Lock. This includes power cables, data cables and any other cable that is connected to the lock. Use your needle-nose pliers to carefully disconnect each cable from its respective port. It is important to make sure that all of the cables are completely disconnected before proceeding.
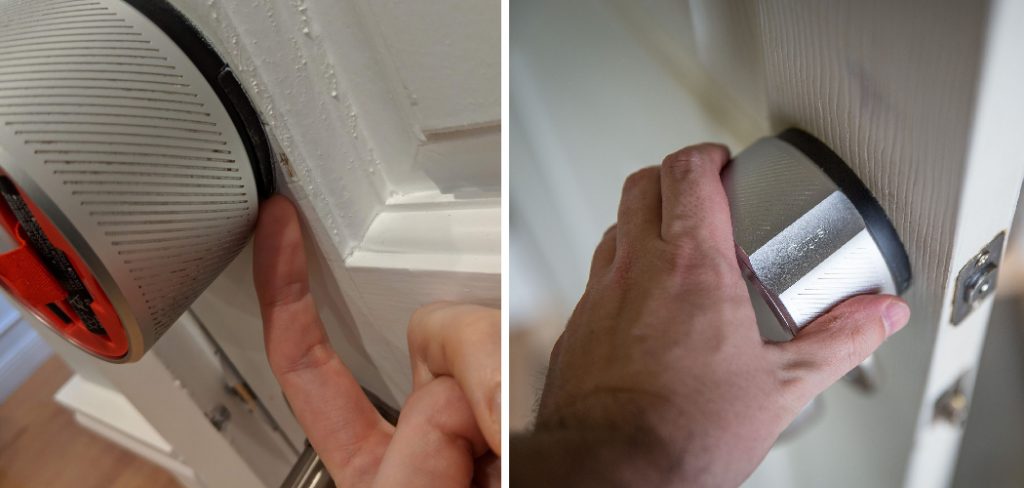
Step 4: Remove the August Lock from the Door

Now that all of the cables have been disconnected, you can remove the August Lock from your door. Place a hand on each side of the lock and gently pull it away from the door frame. This should easily remove the lock without any force or damage to your doorframe. It is also a good idea to use your flashlight to make sure that the lock has been completely removed from the door.
Step 5: Clean the Lock Area
Once you have successfully removed the August Lock, it’s time to clean up the area where it was mounted. Use a damp rag or paper towel to remove any dirt or debris left behind from the lock. This will help ensure that any new locks you install in the future won’t have dirt or dust getting into them. However, if the area needs more detailed cleaning, you may need to use a vacuum cleaner. It is important to make sure that the area where the lock was mounted is completely clean before installing a new lock.
Step 6: Inspect the Area
Once you have cleaned up the area, inspect it to make sure that all of the cables and screws are removed. If there is a cable or screw that was missed, make sure to remove it before moving on to the next step. Buying a new August Lock might require you to pull up the carpet or drill into wood, so it’s important to make sure that all of the old screws and cables are removed before starting your new installation process.
Step 7: Replace with a New Lock
If you are replacing the August Lock with another type of lock, now is the time to do so. Make sure that all of the cables and screws are connected in the same way as they were when you removed them. This will ensure that your new lock is installed correctly. This step may require you to consult the manual for your new lock, as different locks will have their own unique installation instructions.
Step 8: Test the New Lock
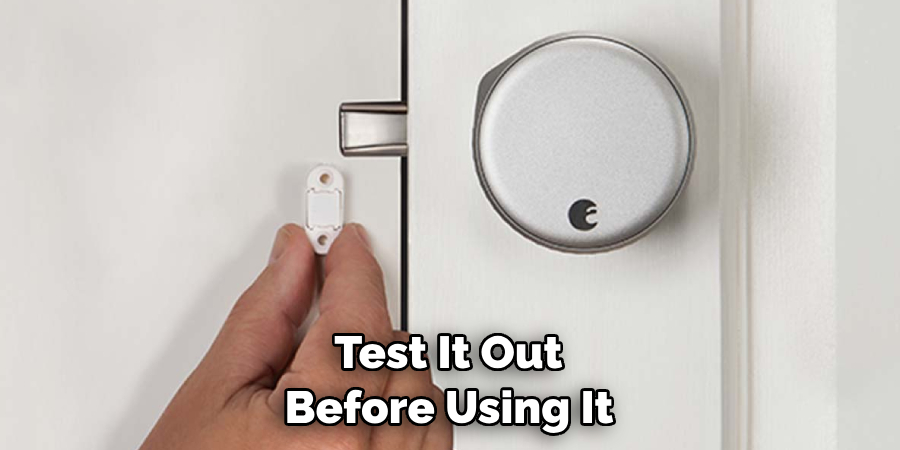
Once you are done installing the new lock, it’s important to test it out before using it. This will help make sure that everything is in working order and there are no issues with the new lock. Although this step is more applicable to those replacing their August Lock, it’s always a good idea to test out the lock before using it. You don’t want to find out there’s a problem only after you have already locked your door. It’s always better to check beforehand.
Step 9: Secure the Area
After testing the new lock, make sure to securely close and latch it. This will help keep your home or office safe and secure from any unwanted intruders. If you’re installing a new lock, make sure to consult the manual and follow all of the instructions carefully. Otherwise, you may not be able to securely lock the door. But if you’re just replacing the August Lock, make sure to reattach all of the screws and cables and then close and latch it.
Step 10: Enjoy Your New Lock!
Now that you have successfully removed the August Lock and installed a new one, you can enjoy all of its features and convenience! Always remember to check the manual for your new lock and follow all of the instructions on how to use it. If you ever have any questions or concerns, make sure to contact the manufacturer directly. It’s always better to be safe than sorry.
Removing an August Lock can be a tricky process, but with the right tools and this step-by-step guide on how to remove august lock, you should have no trouble getting it done. With your new lock installed, you can rest assured that your home or office is secure.
Frequently Asked Questions
Q1: What Tools Do I Need to Remove August Lock?
A1: You will need a Phillips head screwdriver, a flathead screwdriver, and a pair of needle-nose pliers. It’s also a good idea to have a flashlight handy.
Q2: Can I Use Another Lock to Replace the August Lock?

A2: Yes, you can use any other type of lock as a replacement for the August Lock. Just make sure that all of the cables and screws are connected in the same way as they were when you removed them. This will ensure that your new lock is installed correctly.
Q3: Is There Anything Else I Should Do After Removing the August Lock?
A3: Yes, it’s important to test out the new lock before using it. This will help make sure that everything is in working order and there are no issues with the new lock. You should also securely close and latch the new lock to keep your home or office safe and secure from any unwanted intruders.
Q4: Do I Need a Professional to Help Me Remove the August Lock?
A4: Generally, no. With the right tools and this step-by-step guide on how to remove the August lock, you should be able to do it yourself. However, if you encounter any issues or are unsure of what to do at any point in the process, it is always best to call a professional for help.
Conclusion
Checking and removing an August lock is a relatively simple process that anyone can easily do. After watching a few tutorial videos, you will be able to take off your August Lock with ease. Remember to always practice safety when dealing with electricity and locks. All doors should be locked if they are unattended, even if an August lock is not in place. As the saying goes: better safe than sorry!
Additionally, if you ever encounter any issues with your August lock, make sure to reach out to their customer service team so they can help you resolve it quickly and safely. Finally, taking the time now to learn how to remove an August Lock will save you from future headaches when it comes time for installment or removal of your device. Thanks for reading this article on how to remove august lock.
About
Safety Fic is a distinguished figure in the world of Diy design, with a decade of expertise creating innovative and sustainable Diy solutions. His professional focus lies in merging traditional craftsmanship with modern manufacturing techniques, fostering designs that are both practical and environmentally conscious. As the author of diy, Safety Fic delves into the art and science of Safety Fic-making, inspiring artisans and industry professionals alike.
Education RMIT University
(Melbourne, Australia) Associate Degree in Design (Safety Fic) Focus on sustainable design, industry-driven projects, and practical craftsmanship. Gained hands-on experience with traditional and digital manufacturing tools, such as CAD and CNC software.
Nottingham Trent University
(United Kingdom) Bachelor’s in diyfastly.com and Product Design (Honors) Specialized in product design with a focus on blending creativity with production techniques. Participated in industry projects, working with companies like John Lewis and Vitsoe to gain real-world insights.
Publications and Impact
In diy, Safety Fic his insights on indoor design processes, materials, and strategies for efficient production. His writing bridges the gap between artisan knowledge and modern industry needs, making it a must-read for both budding designers and seasoned professionals.