

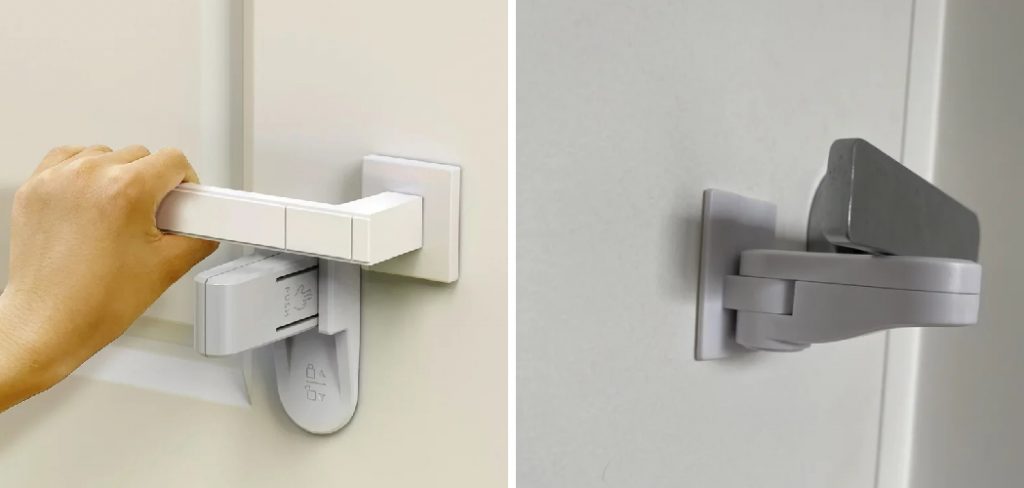
Are you tired of looking at the unsightly adhesive residue left behind from baby-proofing your home? Removing these adhesives can be a frustrating task, but with the right tools and techniques, you can easily get rid of them for good.
Removing baby-proofing adhesive can be quite a task for many parents once their children have outgrown the need for such safety measures. These adhesives are designed to be strong and durable, ensuring that baby-proofing products stay firmly in place. However, when it’s time to take them off, they can leave behind a sticky residue that may damage surfaces or be difficult to clean up.
This guide will provide you with effective methods and tips on how to remove baby proofing adhesive without causing any harm to your furniture or walls.
What Will You Need?
Before starting the removal process, ensure you have all the necessary tools and materials. Here’s a list of items that will come in handy while removing baby-proofing adhesive:
- Rubbing alcohol or nail polish remover
- Vegetable oil or peanut butter
- Warm water and soap
- Scraper or credit card
- Clean cloth or paper towels
Now that you have all the required items, let’s dive into the step-by-step guide on how to remove baby proofing adhesive properly.
10 Easy Steps on How to Remove Baby Proofing Adhesive
Step 1: Soften the Adhesive
Start by softening the adhesive residue. One effective way to do this is by applying a small amount of vegetable oil or peanut butter directly onto the adhesive. Allow it to sit for about 10-15 minutes. The oil will help to break down the adhesive, making it easier to remove.
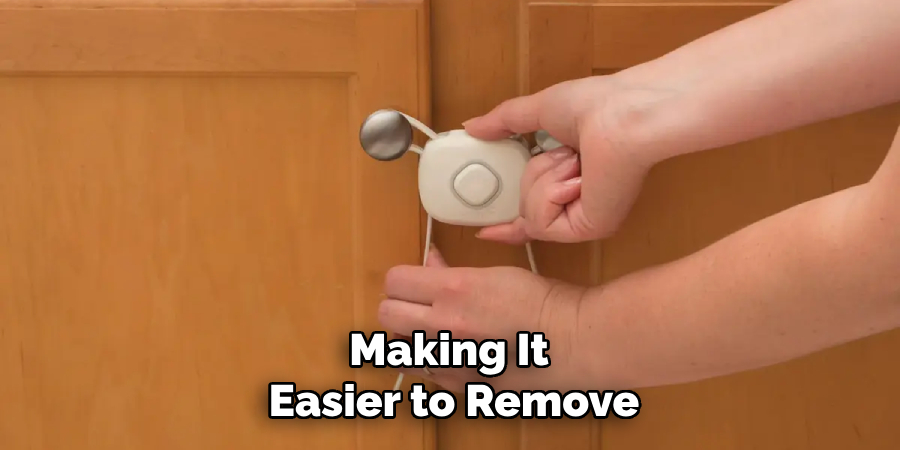
Step 2: Scrape Off the Adhesive
After the vegetable oil or peanut butter has adequately softened the adhesive, take a scraper or a credit card and gently begin to scrape it off. Make sure to work at a shallow angle to avoid scratching or damaging the surface underneath. If the adhesive does not come off easily, you might need to reapply the oil or peanut butter and let it sit for a few more minutes before attempting to scrape again.
Step 3: Clean the Area
Once you’ve removed most of the adhesive, it’s time to clean the area to get rid of any remaining residue and oil. Mix warm water with a few drops of soap and dampen a clean cloth or paper towel with the solution. Wipe down the area thoroughly, ensuring that all traces of the adhesive and the oil or peanut butter are removed. If there are still sticky spots, you may need to repeat this step until the surface is completely clean.
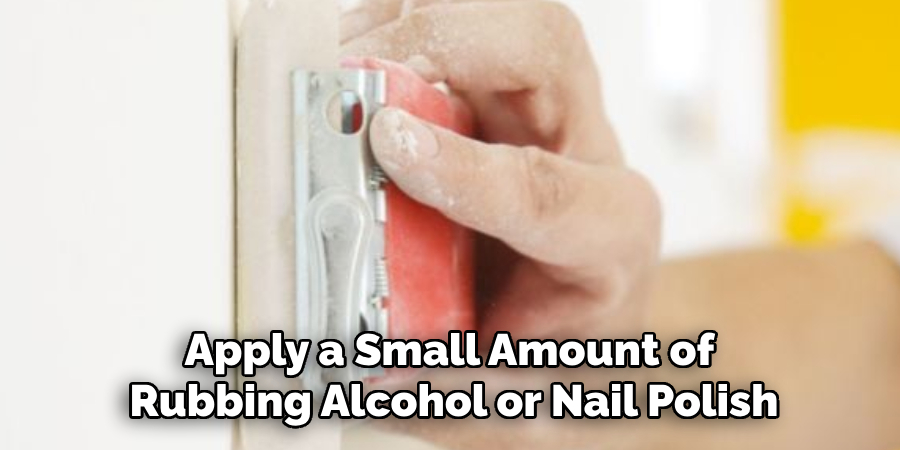
Step 4: Use Rubbing Alcohol or Nail Polish Remover
For any stubborn adhesive that still lingers, apply a small amount of rubbing alcohol or nail polish remover to a clean cloth or paper towel. Gently rub the remaining adhesive in a circular motion. These solvents are effective at breaking down tough adhesives but can be harsh on certain surfaces, so it’s important to test a small, inconspicuous area first to ensure it won’t cause any damage.
Step 5: Rinse the Surface
Once the stubborn adhesive has been treated with rubbing alcohol or nail polish remover, it is crucial to rinse the surface thoroughly to remove any solvent residue. Solvents can sometimes leave behind their own residues which, if not cleaned away, might attract dirt and grime, defeating the purpose of your cleaning efforts. Don’t forget to dry the surface with a clean towel after rinsing.
Step 6: Inspect and Repeat if Necessary
Inspect the area to ensure all adhesive has been removed. If there are still adhesive remnants, repeat the previous steps as necessary until the surface is spotless. Patience is key during this process. Taking your time will help prevent any potential damage to your furniture or walls.
Step 7: Buff the Surface
With the adhesive residue now removed, you should focus on restoring the surface’s original look and feel. Take a dry, clean cloth and gently buff the area where the adhesive was. This step helps to remove any remaining traces of cleaning products and restores a uniform appearance to the surface. Use gentle, circular motions to avoid creating scratches or marks. If the surface is wooden, consider using a small amount of wood polish to enhance its shine and protect the material. For painted walls, a quick touch-up with matching paint may be necessary if the adhesive has caused any discoloration or minor damage.
Step 8: Condition the Surface (Optional)
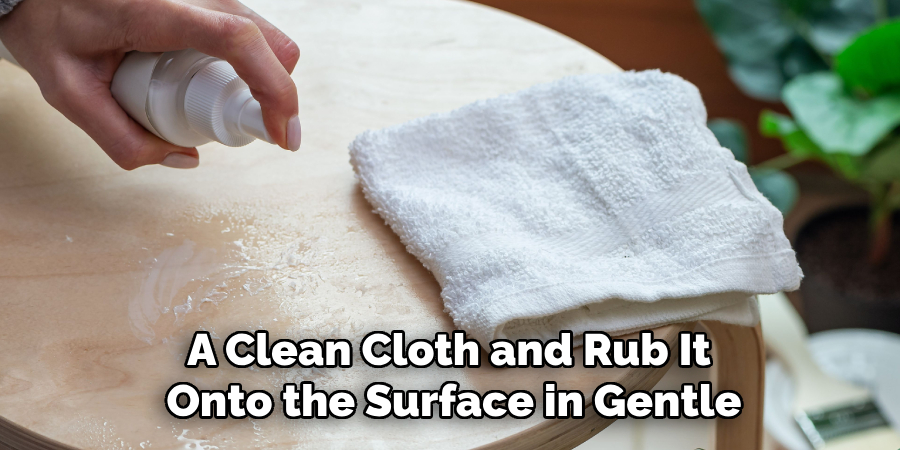
If the surface you were working on is made of wood, leather, or another material that benefits from conditioning, consider applying a conditioner or treatment. For wooden surfaces, a wood conditioner or a bit of mineral oil can help to nourish the wood and restore its natural shine. For leather, a leather conditioner will work to keep the material supple and prevent it from drying out. Apply a small amount of the appropriate conditioner to a clean cloth and rub it onto the surface in gentle, circular motions, following the manufacturer’s instructions. Allow it to soak in, then buff away any excess with another clean, dry cloth.
Step 9: Ventilate the Area
After using solvents like rubbing alcohol or nail polish remover, it’s important to ventilate the area to ensure that any lingering fumes dissipate quickly. Open windows and doors or use fans to help circulate fresh air throughout the space. Proper ventilation not only helps remove fumes but also aids in drying out any remaining moisture, preventing potential damage from dampness.
Step 10: Prevent Future Build-up
Finally, if you plan to baby-proof your home again in the future or use adhesives for other purposes, consider using products that are designed to be easily removable. Many options on the market now provide strong adhesion without the difficult-to-clean residue. Additionally, always follow the manufacturer’s instructions for both application and removal to make the process as easy as possible. Being mindful of these points can save you from future frustrations and help maintain your home in pristine condition.
By following these 10 easy steps, you can effectively remove baby-proofing adhesive and restore your home to its pre-adhesive state.
5 Additional Tips and Tricks
- Use a Hairdryer: Apply heat using a hairdryer to the adhesive for a few minutes. The heat will soften the adhesive, making it easier to peel off without leaving residue.
- White Vinegar: Soak a cloth in white vinegar and place it over the adhesive for a few minutes. The vinegar’s acidity helps dissolve the adhesive, making it easy to wipe away.
- Peanut Butter: Spread a thin layer of peanut butter over the adhesive and let it sit for a few minutes. The oils in peanut butter can break down the adhesive, which then can be wiped clean with a damp cloth.
- Commercial Adhesive Remover: Use a commercially available adhesive remover following the manufacturer’s instructions. These products are specifically designed to remove sticky residues and can be very effective.
- Keep the Area Well-Ventilated: Whether you’re using heat, vinegar or adhesive remover, make sure to keep the room well-ventilated. This will help in dissipating any strong odors and fumes from the products used.
These additional tips and tricks can be useful when dealing with stubborn adhesive residue left behind by baby-proofing products. It’s always a good idea to try different methods and see what works best for your situation.
5 Things You Should Avoid
- Using Sharp Objects: Avoid using knives, razor blades, or any sharp tools to scrape off adhesive. This can damage surfaces and potentially injure you in the process.
- Harsh Chemicals: Avoid using strong chemicals like bleach or ammonia, which can cause discoloration or damage to the surface and may be harmful if inhaled.
- Overheating the Adhesive: Be careful not to overdo it with the hairdryer or other heat sources. Excessive heat can damage certain materials or finishes on furniture and walls.
- Ignoring Ventilation: Failing to ventilate the area properly when using solvents or heat can lead to the buildup of harmful fumes. Always ensure you are working in a well-ventilated space.
- Scrubbing Too Hard: Overzealous scrubbing can scratch or wear away the surface you are trying to clean. Use gentle, circular motions to minimize the risk of damage.
By avoiding these common mistakes, you can safely and effectively remove adhesive residue without causing any damage or harm.
Conclusion
How to remove baby proofing adhesive can be a straightforward process when approached with the right techniques and precautions.
You can effectively dissolve and wipe away adhesive without harming surfaces by employing gentle methods such as a hairdryer, white vinegar, or even household items like peanut butter. Commercial adhesive removers can also offer a reliable solution when used according to the product instructions. Importantly, ensuring the area is well-ventilated and avoiding common pitfalls like sharp objects and harsh chemicals will further safeguard against any unintended damage.
By carefully selecting and combining these methods, you can safely remove adhesive residue, leaving your home as good as new.
About
Safety Fic is a distinguished figure in the world of Diy design, with a decade of expertise creating innovative and sustainable Diy solutions. His professional focus lies in merging traditional craftsmanship with modern manufacturing techniques, fostering designs that are both practical and environmentally conscious. As the author of diy, Safety Fic delves into the art and science of Safety Fic-making, inspiring artisans and industry professionals alike.
Education RMIT University
(Melbourne, Australia) Associate Degree in Design (Safety Fic) Focus on sustainable design, industry-driven projects, and practical craftsmanship. Gained hands-on experience with traditional and digital manufacturing tools, such as CAD and CNC software.
Nottingham Trent University
(United Kingdom) Bachelor’s in diyfastly.com and Product Design (Honors) Specialized in product design with a focus on blending creativity with production techniques. Participated in industry projects, working with companies like John Lewis and Vitsoe to gain real-world insights.
Publications and Impact
In diy, Safety Fic his insights on indoor design processes, materials, and strategies for efficient production. His writing bridges the gap between artisan knowledge and modern industry needs, making it a must-read for both budding designers and seasoned professionals.