

Are you having difficulty removing the Blink camera from its mounting plate to replace the batteries or re-positioning it? If so, you are not alone. Despite their apparent simplicity, blink cameras can be tricky to uninstall – especially for those who are unfamiliar with a few steps.
Fortunately, we’ve got all the know-how needed to help any beginner remove a blink camera from its mount as quickly and as smoothly as possible! Check out our easy-to-follow guide below on how to remove blink camera from mount in no time.
Step-by-step Guidelines on How to Remove Blink Camera From Mount
Step 1: Disconnect the Power
Before you begin, make sure to unplug the camera from its power source. This will also help reduce the risk of electric shock if you accidentally come in contact with any exposed wiring while removing it. Disconnecting the power will also prevent any data loss. This is especially important if you are removing the camera to reposition it and not just to replace its batteries.
Step 2: Loosen the Screws
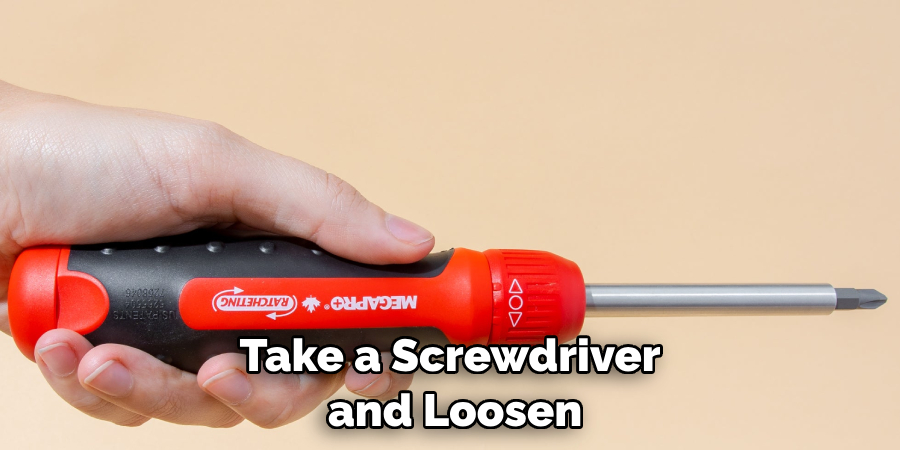
Once you’ve disconnected the power, take a screwdriver and loosen the screws that are holding the camera to its mount. Depending on the type of mount you have, there should be at least four screws that need to be undone in order for it to come loose. Use caution when loosening the screws and be sure that you don’t damage the mount or strip the screw threads.
Step 3: Pull Out the Camera
Once all the screws have been loosened, carefully grab hold of the camera and pull it out from its mounting plate. You may need to give it a slight tug in order to pull it out completely, but be careful not to put too much pressure on the camera in case the wiring disconnects from the mount. Make sure to inspect the area around the mount for any exposed wiring or damage before disconnecting it.
Step 4: Re-position or Replace Batteries
After successfully removing the Blink Camera from its mount, you can now move it freely and re-position it as needed. If you need to replace the batteries, now is a good time to do so. While you have the camera unmounted, take a few moments to inspect the area and make sure that all of the wiring is secure and that there is no damage.
Step 5: Re-connect Power Source
Once you have re-positioned or replaced your blink camera’s batteries, it’s time to reconnect it to its power source. Plug it back into the wall outlet or switch before you begin the process of mounting it again. This will ensure that your camera is powered and ready to go once it has been mounted in its new location.
Step 6: Mount the Camera
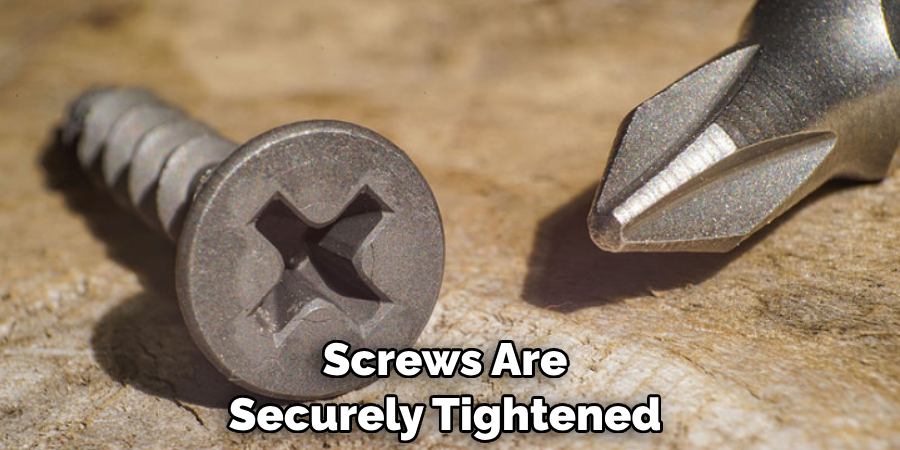
Now that your camera is all set, it’s time to mount it back onto its bracket. Make sure that all the screws are securely tightened and double-check to make sure none of them are stripped or damaged. Once you’ve successfully mounted the camera, plug it back in and turn it on to make sure that everything is working properly.
That’s all there is to it! With just a few simple steps, you can easily remove your Blink Camera from its mount without any trouble. Now that you’ve mastered the basics of unmounting, you can get creative and start experimenting with different mounting positions and locations. Enjoy!
Additional Tips and Tricks to Remove Blink Camera From Mount
- If the camera is only loosely attached to the mount, you can often easily remove it without any tools.
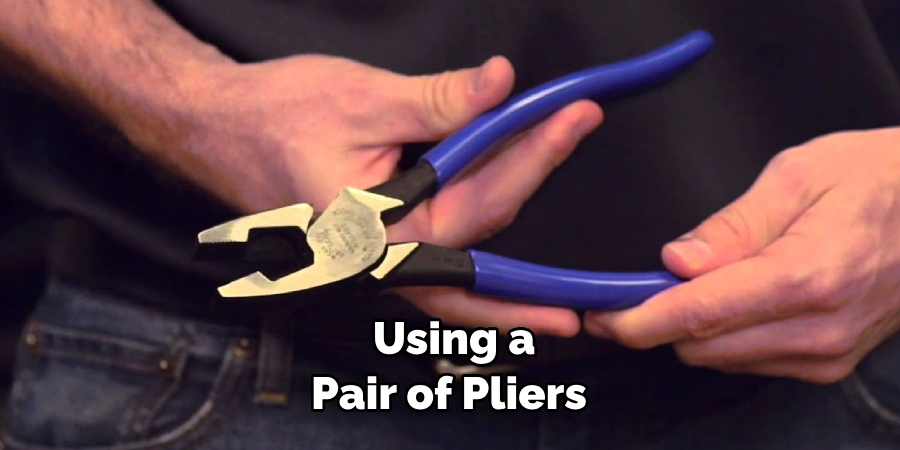
- If the camera is firmly attached to the mount and won’t come loose with your hands, try using a pair of pliers or a screwdriver (be sure to use one that fits snugly in the mounting hole).
- Wear protective gloves when attempting to remove the camera from the mount, as some mounting hardware can be sharp.
- If you need assistance when removing your Blink Camera From Mount, contact our support team for help. They can provide further instructions and guidance regarding the removal of the device from its mount.
- Always make sure to securely reattach the camera once it is removed, as an improperly attached camera can become loose and pose a safety hazard if not properly secured.
- To keep your Blink Camera operating at its best, be sure to regularly clean the mount and surrounding areas with a damp cloth or other soft material. This will help remove dirt and debris that could potentially interfere with the proper functioning of the device.
- If you ever need to replace the mount, make sure to use only the approved replacement parts from Blink. Using any other type of mounting hardware can create a safety hazard and void your warranty.
- Finally, be sure to properly dispose of any old or damaged mounting hardware when replacing your Blink Camera From Mount. Doing so will help ensure that no one is in danger of being injured by mishandled materials.
Following these tips and tricks will help you easily and safely remove your Blink Camera From Mount and keep it running smoothly for years to come. If you have any further questions regarding the removal of your camera or need assistance with installation, our support team is here to help. Please reach out to us anytime!
Precautions Need to Follow for Removing Blink Camera From Mount
- Ensure the Blink Camera’s power cable is disconnected before attempting to remove it.
- When handling the camera, avoid touching any of its electrical components such as the connections on the back or sides of the camera.
- If necessary, wear rubber gloves when handling the camera in order to protect yourself from shocks due to static electricity.
- Carefully remove the camera from the mount and be sure to keep it level as you do so.
- If necessary, use a screwdriver to loosen any screws that may be holding the camera in place on the mount.
- Once the camera is safely removed from its mount, check for any damage or signs of wear and tear before proceeding with re-mounting or installation of the camera in another location.
- Take care to protect the camera from dust and moisture, and store it in a secure place when not in use.
- If you are disposing of the Blink Camera, take care to do so safely and responsibly according to local waste regulations.
Following these precautions and taking the necessary safety measures will ensure that you can safely and effectively remove your Blink Camera from its mount with minimal hassle. If you have any questions or concerns about the removal process, contact Blink customer service for assistance.
Frequently Asked Questions
Can I Reuse the Mounting Device on a Different Blink Camera?

Yes, you can use the same mounting device with multiple cameras. It is important to remember that each camera requires its own set of batteries and other components for operation. Be sure to store or label these components accordingly.
Are There Any Tips for Keeping the Blink Camera Secure?
Yes, there are a few tips to keep your camera secure. For example, you should always make sure that the camera is mounted in an area with good visibility and not easily accessible by anyone else.
It is also beneficial to use security screws when attaching the mounting device since these require a special tool for removal. Finally, you can use the supplied adhesive strips to secure your camera in place if necessary.
What If I Experience Any Technical Difficulty?
If you experience any technical difficulty with your Blink Camera, please contact our customer service team for assistance. Our representatives are available to answer any questions and help resolve any issues quickly and efficiently.
Can I Return My Blink Camera?
Yes, you can return your Blink camera within 30 days of purchase if it is unopened and unused. Please contact our customer service team for further information on the returns process.
Can I Move My Blink Camera to a Different Location?
Yes, you can easily move your camera to another location with its mounting device. To do this, simply follow the steps outlined in the quick start guide to remove and reinstall the camera. Make sure to securely attach all components before moving your camera. Also, be sure to check the camera’s surroundings before moving it to a new location.
Conclusion
You now know how to remove Blink camera from mount. Armed with this information, you can now move your camera around and experiment with the best position for your home security needs! Whether you need to protect a single room or an entire property, there are many spot options to choose from.
With a Blink camera at each location, you can keep an eye on even the most secluded areas. Your safety is important — taking time to properly detach and remount the camera assures you of quality surveillance. Don’t wait until it’s too late — start protecting your home today by following these simple instructions in order to learn how to remove a Blink camera from its mount.
About
Safety Fic is a distinguished figure in the world of Diy design, with a decade of expertise creating innovative and sustainable Diy solutions. His professional focus lies in merging traditional craftsmanship with modern manufacturing techniques, fostering designs that are both practical and environmentally conscious. As the author of diy, Safety Fic delves into the art and science of Safety Fic-making, inspiring artisans and industry professionals alike.
Education RMIT University
(Melbourne, Australia) Associate Degree in Design (Safety Fic) Focus on sustainable design, industry-driven projects, and practical craftsmanship. Gained hands-on experience with traditional and digital manufacturing tools, such as CAD and CNC software.
Nottingham Trent University
(United Kingdom) Bachelor’s in diyfastly.com and Product Design (Honors) Specialized in product design with a focus on blending creativity with production techniques. Participated in industry projects, working with companies like John Lewis and Vitsoe to gain real-world insights.
Publications and Impact
In diy, Safety Fic his insights on indoor design processes, materials, and strategies for efficient production. His writing bridges the gap between artisan knowledge and modern industry needs, making it a must-read for both budding designers and seasoned professionals.