

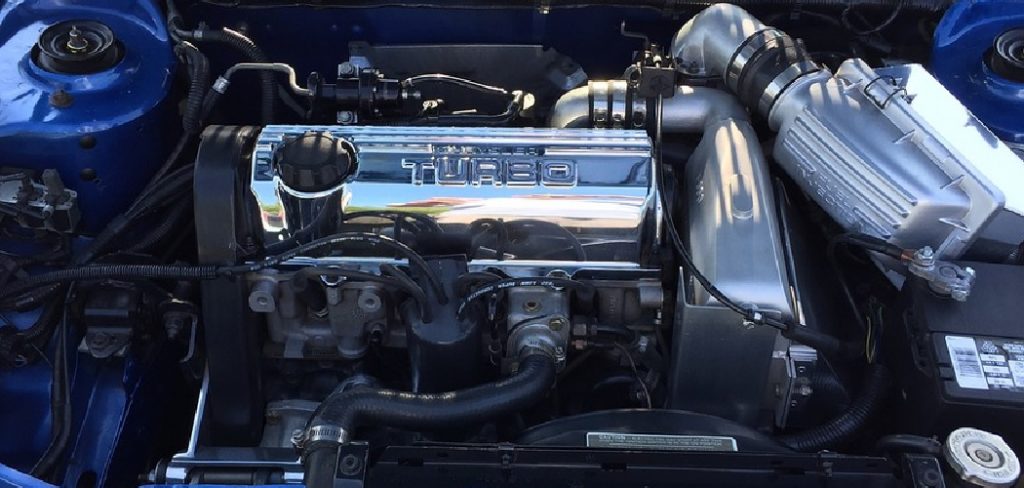
The crankshaft position sensor is a critical component of your vehicle’s engine management system. It monitors the position and rotational speed of the crankshaft, providing essential data to ensure optimal engine performance. If this sensor fails, it can cause issues such as engine misfires, stalling, or difficulty starting the vehicle. Removing and replacing a faulty crankshaft position sensor may seem daunting, but with the right tools and steps, it can be a straightforward process. This guide will walk you through how to remove crankshaft position sensor.
What Does the Crankshaft Position Sensor Do?
The crankshaft position sensor plays a crucial role in the operation of a vehicle’s engine. It monitors the position and speed of the crankshaft, allowing the engine control unit (ECU) to determine the precise timing of fuel injection and ignition. This ensures that the engine runs smoothly and efficiently, optimizing performance and fuel economy. Additionally, the sensor helps in detecting misfires and maintaining proper synchronization between the crankshaft and camshaft, which is vital for engine operation. Without a functioning crankshaft position sensor, the vehicle may experience poor performance, increased emissions, or even fail to start altogether.
Common Signs the Sensor Needs Removal or Replacement
A failing or faulty crankshaft position sensor can lead to several noticeable symptoms, indicating the need for inspection, removal, or replacement. One of the most common signs is difficulty starting the engine, as an inaccurate signal may disrupt the ignition process. Another indicator is engine stalling, where the car unexpectedly shuts off while driving, often caused by intermittent signal loss. Poor acceleration or uneven engine performance, such as misfiring or irregular idle, can also point to a malfunctioning sensor. Additionally, a significant reduction in fuel efficiency or the illumination of the check engine light may signify issues with the crankshaft position sensor. Addressing these warning signs promptly is crucial to ensure the vehicle operates reliably and safely.
10 Methods How to Remove Crankshaft Position Sensor
1. Locate the Crankshaft Position Sensor Using the Vehicle Manual

The first and perhaps most crucial step in removing a crankshaft position sensor is properly locating it. Depending on your vehicle’s make and model, the sensor might be mounted near the crankshaft pulley at the front of the engine, behind the starter motor, or at the rear close to the flywheel. Since access is sometimes limited, consult your vehicle’s service manual or a repair database to confirm the sensor’s location. Identifying its exact position helps plan for the tools needed and assess whether the car needs to be lifted or if engine components must be temporarily removed for access.
2. Disconnect the Negative Battery Terminal for Safety
Before working on any engine component that involves wiring or electrical connectors, always begin by disconnecting the negative terminal of the battery. This safety measure prevents electrical shorts, accidental airbag deployment, or damage to the vehicle’s ECU. Use a wrench or socket to loosen the negative cable clamp, then secure it away from the battery post to ensure there is no accidental reconnection while you’re working under the hood.
3. Raise the Vehicle for Better Access (if necessary)
If the crankshaft position sensor is located in a hard-to-reach spot underneath the vehicle, you will need to lift the car. Position the vehicle on a level surface, engage the parking brake, and use a hydraulic jack to lift the appropriate side. Once elevated, secure the vehicle with jack stands for stability. Never rely solely on a jack when working underneath a vehicle. Adequate elevation provides clear access to the sensor area, especially if it’s hidden near the transmission bell housing or crank pulley.
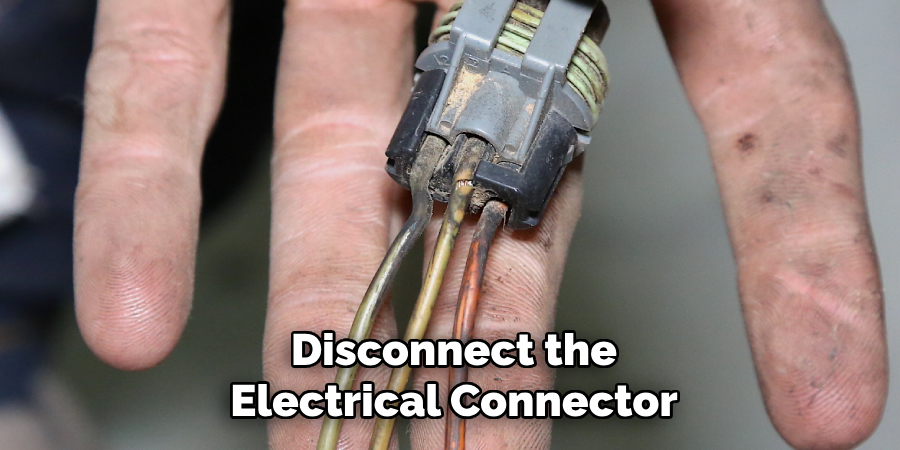
4. Identify and Disconnect the Electrical Connector
The crankshaft position sensor will be connected to the vehicle’s electrical system via a small plastic harness clip. Gently press the locking tab and wiggle the connector off the sensor terminal. In some cases, this clip may be brittle or stuck due to heat and grime, so use care to avoid breaking it. If it resists, spray a small amount of electrical contact cleaner or WD-40 around the connection and let it sit for a minute before trying again. Once disconnected, move the wire out of the way so it doesn’t interfere with the removal.
5. Remove Engine Components That Obstruct Access
In tight engine bays, you may need to remove nearby parts such as the air intake tubing, engine covers, or even the starter motor to access the sensor. Using a basic socket set and ratchet, remove these components as needed while keeping bolts and screws organized for reassembly. It’s helpful to take a photo before removing parts so you can remember their original positions. Some front-mounted sensors may require you to remove the serpentine belt and harmonic balancer, while rear-mounted ones could require access through the wheel well.
6. Unscrew the Sensor Mounting Bolt(s)
Most crankshaft position sensors are secured with a single bolt, typically 8mm or 10mm in size. Use a ratchet or small wrench to remove the bolt, being careful not to drop it into engine crevices. If the bolt is rusted or seized, apply penetrating oil and let it soak in before attempting to loosen. In cases where the bolt head is stripped or inaccessible, a wobble extension or universal joint adapter for your socket wrench can offer better angles for removal.
7. Gently Wiggle and Extract the Sensor
Once the bolt is out, the sensor may come loose easily—or it may resist due to age, corrosion, or buildup around the mounting hole. Wiggle the sensor back and forth gently to loosen it. Do not pry aggressively with metal tools, as this could break the sensor or damage the engine block surface. If needed, use a plastic pry tool to ease it out without scratching or gouging surrounding components. Be patient; some sensors, especially on older engines, can be stuck quite firmly in place.

8. Clean the Mounting Area
After successfully removing the sensor, inspect the mounting hole and surrounding area for debris, corrosion, or old oil residue. Use a clean rag to wipe it down, and if necessary, gently scrape away rust using a nylon brush or soft sandpaper. Ensuring the mounting surface is clean is vital to guarantee the proper seating of the replacement sensor and the accuracy of its readings. Any obstruction or unevenness can affect the sensor’s performance and trigger engine error codes.
9. Inspect the Removed Sensor for Signs of Damage
Before installing a new sensor or reinstalling the old one (if it’s being removed for cleaning or repositioning), examine the sensor tip for signs of damage such as metal shavings, melted plastic, or worn casing. Sensors that are coated in oil or metallic dust may indicate internal engine issues or that the reluctor ring is deteriorating. Taking note of the removed sensor’s condition can help with diagnostics and long-term vehicle health.
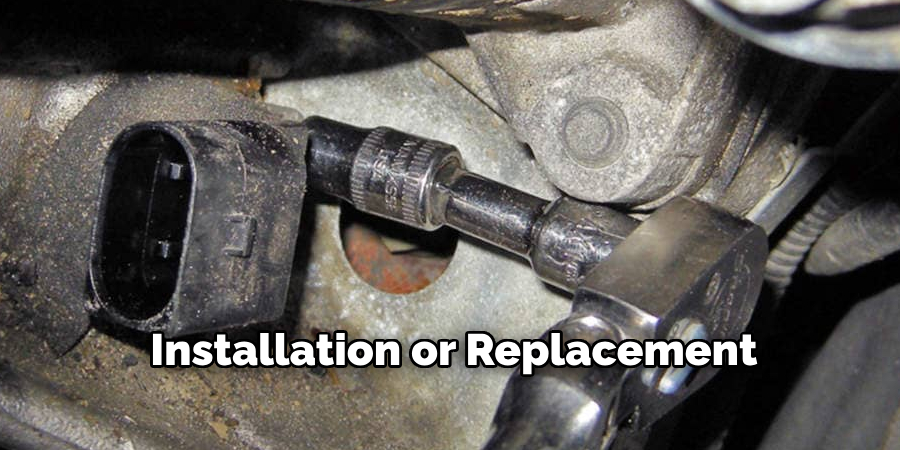
10. Prepare for Installation or Replacement
With the crankshaft position sensor successfully removed, you can now proceed to replace it with a new unit or reinstall a cleaned and inspected one. Make sure the O-ring (if present) on the new sensor is properly lubricated with engine oil or dielectric grease to ease insertion and create a secure seal. Line up the sensor with the mounting hole, press it in gently until flush, and reinstall the mounting bolt with care. Reconnect the wiring harness, reassemble any removed components, and reconnect the negative battery terminal. After reassembly, start the engine and clear any error codes using an OBD-II scanner to confirm a successful operation.
Maintenance and Upkeep
Regular maintenance is crucial to ensure the optimal performance and longevity of your vehicle’s sensors. Periodically inspect all sensors for signs of wear, corrosion, or damage. Keep electrical connections clean and free from debris to avoid intermittent faults. Using dielectric grease on connectors can help protect against moisture and contaminants. Additionally, ensure that sensors are not exposed to excessive heat or vibration, as this can reduce their reliability over time. Refer to your vehicle’s maintenance schedule to identify when specific sensors should be checked or replaced, and always use high-quality, compatible replacement parts for the best results.
Troubleshooting Common Issues
When dealing with sensor-related problems, there are a few common signs to look out for and steps to address them. One of the most frequent issues is an illuminated check engine light, which may indicate a failing or faulty sensor. Use an OBD-II scanner to retrieve diagnostic trouble codes (DTCs) that can help pinpoint the problematic component.
Another common symptom is poor performance, such as reduced fuel efficiency, rough idling, or difficulty starting the engine. These issues could be caused by a malfunctioning oxygen sensor, mass air flow sensor, or throttle position sensor. Inspect the affected sensor for signs of damage or contamination and clean or replace it as necessary.
Intermittent issues, such as erratic sensor readings, may result from loose connections or damaged wiring. Carefully check the electrical connectors and wiring harnesses for signs of corrosion, fraying, or loose pins. Repair or replace any damaged components to restore proper functionality.
Conclusion
Removing a crankshaft position sensor may seem intimidating, but with systematic steps and attention to detail, it’s entirely manageable even for DIY mechanics. Whether you’re replacing a faulty sensor or investigating engine issues, careful disassembly, safe practices, and patience are the keys to success. Always consult your specific vehicle’s service manual to ensure compatibility and follow torque specs when reassembling. Thanks for reading our blog post on how to remove crankshaft position sensor! We hope you found it helpful and informative.