

Learning how to remove door stopper is essential for maintenance and replacement purposes, ensuring your doors’ longevity and proper functioning. Door stoppers come in various types, including hinge pin door stoppers, baseboard door stoppers, wall-mounted door stoppers, and floor-mounted door stoppers, each with distinct installation methods. Understanding these differences will help you approach the removal process with the right techniques.
In this guide, we will cover the necessary tools required, such as screwdrivers, pliers, and utility knives, and highlight important safety precautions to take, such as wearing protective gloves and ensuring the door is securely held in place. By following these steps, you will be able to remove door stoppers efficiently and safely, protecting both your door and walls from damage.
Types of Door Stoppers
Identifying Common Types
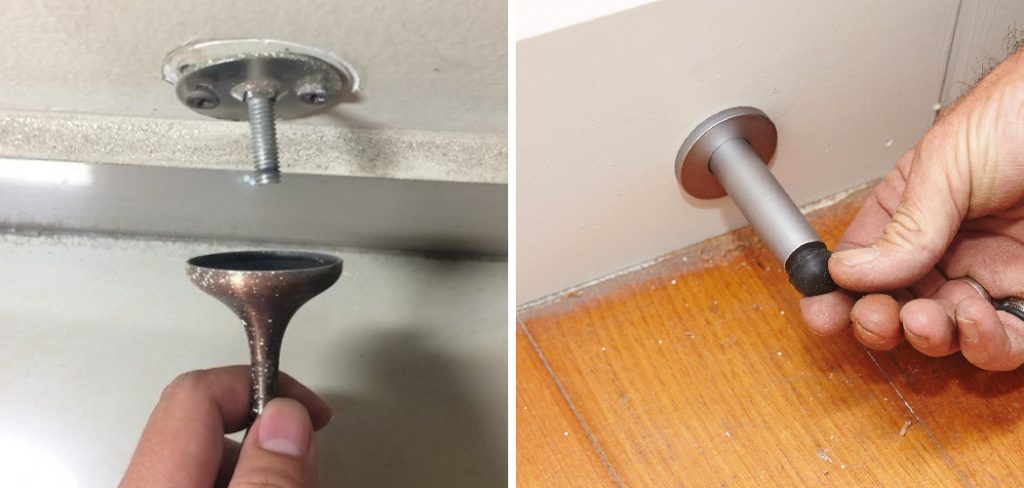
Door stoppers come in a variety of designs, each tailored to specific needs and installation methods. Hinge pin door stoppers are installed on the door’s hinge and often require simply lifting the pin to remove them. Baseboard door stoppers are typically screwed into the baseboard and can be removed by unscrewing them with a screwdriver. Wall-mounted door stoppers are attached directly to the wall or door and usually entail unscrewing from the mounting surface.
Lastly, floor-mounted door stoppers are fixed onto the floor and can be detached via screws or bolts, often requiring tools like pliers or a screwdriver. Understanding these differences helps ensure the right approach is applied for efficient removal.
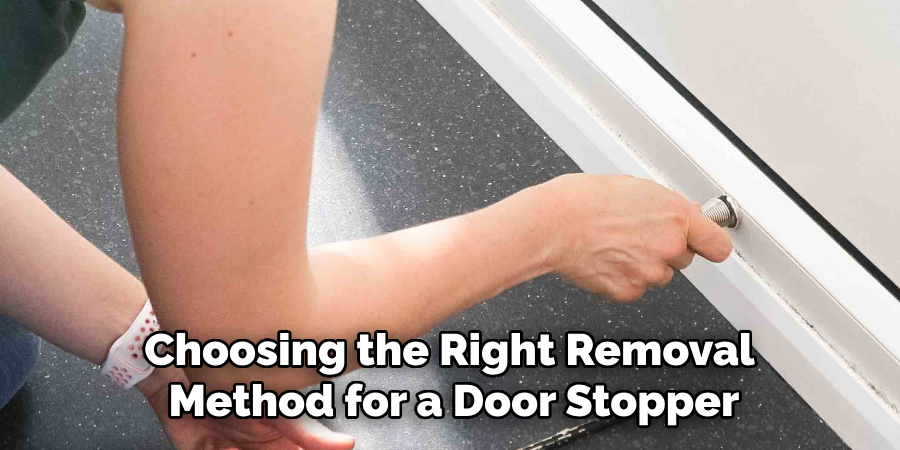
Choosing the Right Removal Method
Choosing the right removal method for a door-stopper hinge depends on several key factors. The material of the door and stopper plays a significant role; for instance, metal stoppers might need different tools compared to plastic ones. The installation method—whether the stopper is screwed in, bolted, or simply inserted—also dictates the appropriate technique. Additionally, considering the age and condition of the stopper and door is crucial; older installations might be more stubborn and require extra caution or additional tools like a pry bar or utility knife. Being mindful of these influencing factors will help you determine the most effective and safest removal method.
Tools Needed for Removal
Properly removing door stoppers requires a selection of essential tools to ensure the process is smooth and damage-free. The main tools you will need include a screwdriver to unscrew mounted stoppers, pliers for pulling out stubborn pins or screws, and a utility knife for any detailed cutting required. In addition, optional tools such as a hammer can help gently tap pins or stoppers loose, and a pry bar is useful for more resistant or older stoppers. These tools will prepare you for efficiently tackling any door stopper removal scenario.
How to Remove Door Stopper: Removing Different Types of Door Stoppers
Hinge Pin Door Stopper
Removing a hinge pin door stopper is a straightforward process that requires minimal tools. Start by slowly opening the door to gain access to the hinge. Using a flathead screwdriver or pliers, gently lift the hinge pin upward. If the pin is stubborn, you can tap the screwdriver with a hammer to loosen it.
Carefully continue to lift the pin until it slides out completely, allowing you to remove the hinge pin door stopper. It’s important to ensure that the door is securely supported while removing the pin to prevent it from falling. Wearing protective gloves can also help prevent pinching your fingers during the process. Additionally, keep a cloth or padding under the door area to avoid any damage to the floor or door from potential slips or drops.
Baseboard Door Stopper
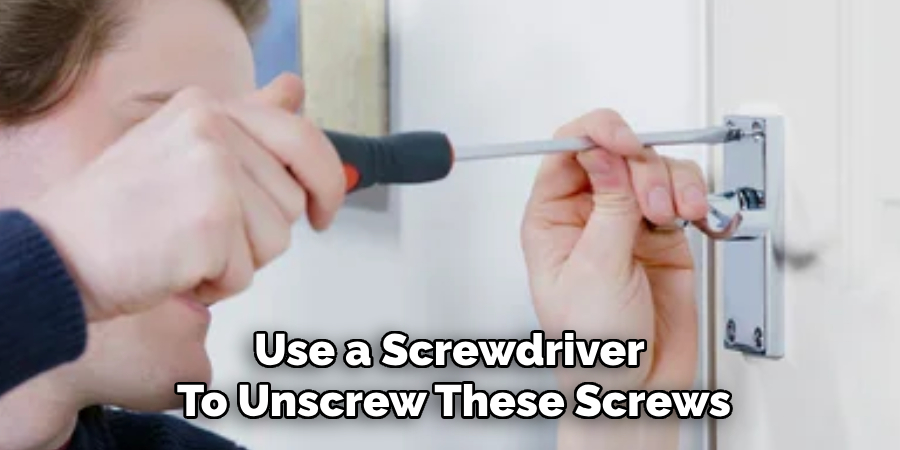
For baseboard door stoppers, start by locating the screws that attach the stopper to the baseboard. Use a screwdriver to unscrew these screws. In cases where the stopper firmly adheres, or the screws are difficult to remove, a pry bar can be gently used to loosen the stopper. Insert the pry bar between the baseboard and the stopper and gently wiggle it to remove it.
Make sure to protect the baseboard and wall from scratches by placing a small piece of cloth or thin wood behind the pry bar. Once the stopper is free, handle it gently to avoid damage. Removing the stopper carefully ensures that the baseboard or the surrounding wall is not damaged, and it prepares the area for any necessary patching or replacement stopper.
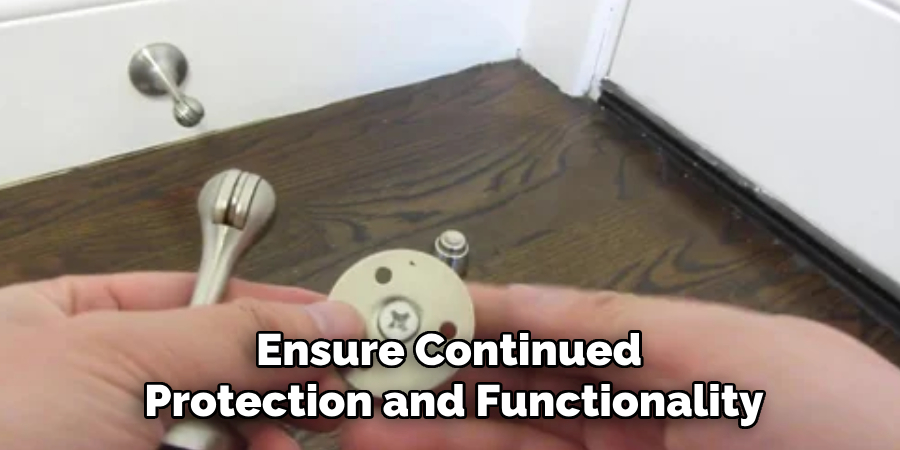
Wall-Mounted Door Stopper
To remove a wall-mounted door stopper, begin by identifying the screws or anchors that hold it in place. Use a screwdriver to unscrew the mounting screws. If the stopper is attached with anchors, gently pull or twist the stopper to release it from the wall. Be cautious of any resistance to avoid damaging the wall surface.
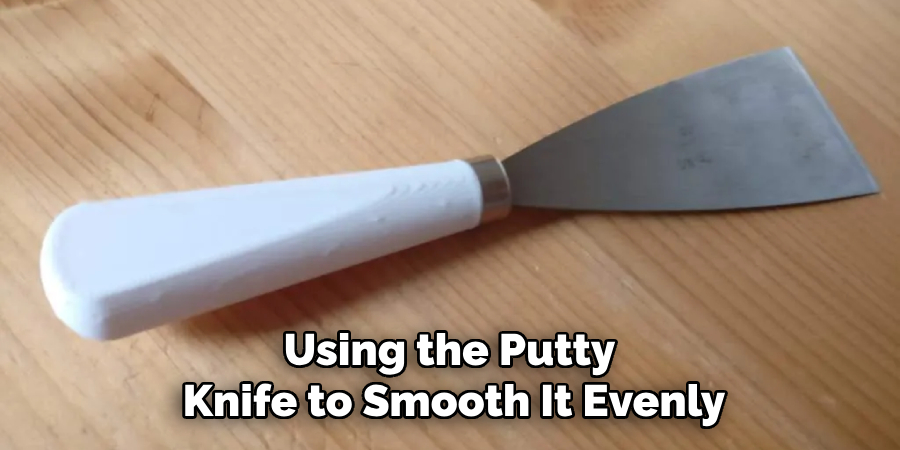
After the stopper is removed, you may need to patch any holes left by screws or anchors. Use a spackling compound or a wall repair kit to fill any holes. Smooth the compound evenly with a putty knife and allow it to dry. Once dry, sand the area until it is flush with the surrounding wall, then apply touch-up paint if necessary. These steps ensure a clean removal and prepare the wall for any future installations.
Floor-Mounted Door Stopper
Removing a floor-mounted door stopper involves a few careful steps to avoid damage to both the floor and the door. Start by identifying the screws or bolts holding the stopper in place. Use a screwdriver or pliers to unscrew or unbolt the stopper. If the stopper is particularly stubborn, a gentle tap with a hammer might be necessary to loosen it.
Once the stopper is free, carefully lift it away from the floor. Ensure you do not apply excessive force, which could damage the floor surface or leave marks. If bolts are used, check the floor for any remaining parts and remove them completely. Clean the area after removal to eliminate any debris or dust. These precautions help maintain the floor’s integrity while successfully removing the door stopper.
Patching and Repairing
After removing a door stopper, the next step involves patching and repairing any damage or holes left behind. Start by gathering recommended materials such as wood filler for baseboards and spackling compound for walls. Tools you’ll need include a putty knife, sandpaper, and a damp cloth. For baseboards, apply wood filler to any holes or cracks, using the putty knife to smooth it evenly. Allow the filler to dry according to manufacturer instructions, then sand it until smooth.
Use the putty knife to fill holes with spackling compounds for wall repairs. Ensure the compound is evenly applied and let it dry completely. Once dry, sand the area until it is flush with the surrounding surface. Finally, use a damp cloth to remove dust and apply touch-up paint if needed. These steps ensure a smooth, professional finish that is ready for new installations.
Maintenance Tips
Inspecting door stoppers is crucial to ensure they are free from wear or damage. Check for any loose screws, bent components, or signs of rust, and address these issues promptly to maintain functionality. Proper installation from the outset is essential to prevent complications during removal. Ensuring that stoppers are securely fastened but not overly tight can help avoid stripping screws or damaging walls and floors. Regular maintenance and correct installation prolong the lifespan of door stoppers and contribute to a smoother removal process when necessary.
Professional Help and Support
While door stopper removal is typically a simple DIY task, there are occasions where hiring a professional is advisable. Consider professional help if the stopper is unusually challenging to remove, if it risks significant damage to your door or walls, or if multiple stoppers need to be replaced at once. Door maintenance specialists and handymen offer precise removal, damage repair, and new stopper installation services. The estimated cost for professional removal and replacement ranges from $50 to $150 per stopper, depending on complexity, and typically takes about 30 minutes to an hour per stopper.
Frequently Asked Questions (FAQs)
1. What Are the Common Types of Door Stoppers?
There are several types of door stoppers, including hinge pin door stoppers, baseboard door stoppers, wall-mounted door stoppers, and floor-mounted door stoppers. Each type is designed for a specific installation method and location to effectively prevent door damage.
2. How Do I Choose the Right Door Stopper for My Home?
Consider the location and type of door to choose the right stopper. For doors that swing open towards a wall, a wall-mounted or baseboard stopper is ideal. For doors that need discreet protection, a hinge pin stopper works well. Floor-mounted stoppers are suitable for heavy doors or when wall installation is not possible.
3. Can a Door Stopper Prevent All Kinds of Door and Wall Damage?
While door stoppers effectively prevent damage from doors swinging open too far, they may not prevent all types of damage. Regular inspection and maintenance of both the door and stopper are essential to ensure continued protection and functionality.
Conclusion
Removing different types of door stoppers can be a straightforward DIY task when following the correct steps. This guide has detailed instructions on how to remove hinge pins, baseboards, and wall-mounted and floor-mounted door stoppers, each requiring specific tools and techniques.
Emphasizing safety and care throughout the removal process is paramount to prevent damage to floors, walls, or doors. Wearing protective gloves, using the proper tools, and ensuring the door is securely supported are essential practices. Regular maintenance and inspection of door stoppers, such as checking for loose screws or rust, can prolong their lifespan and make future removals easier.
By following the outlined process meticulously, you can achieve successful “how to remove door stopper” results, leaving your space ready for any necessary repairs or new installations. Your diligent approach to these steps will contribute to your home’s efficient and safe upkeep.
About
Safety Fic is a distinguished figure in the world of Diy design, with a decade of expertise creating innovative and sustainable Diy solutions. His professional focus lies in merging traditional craftsmanship with modern manufacturing techniques, fostering designs that are both practical and environmentally conscious. As the author of diy, Safety Fic delves into the art and science of Safety Fic-making, inspiring artisans and industry professionals alike.
Education RMIT University
(Melbourne, Australia) Associate Degree in Design (Safety Fic) Focus on sustainable design, industry-driven projects, and practical craftsmanship. Gained hands-on experience with traditional and digital manufacturing tools, such as CAD and CNC software.
Nottingham Trent University
(United Kingdom) Bachelor’s in diyfastly.com and Product Design (Honors) Specialized in product design with a focus on blending creativity with production techniques. Participated in industry projects, working with companies like John Lewis and Vitsoe to gain real-world insights.
Publications and Impact
In diy, Safety Fic his insights on indoor design processes, materials, and strategies for efficient production. His writing bridges the gap between artisan knowledge and modern industry needs, making it a must-read for both budding designers and seasoned professionals.