
Knowing how to remove Kidde smoke detector units is a necessary skill for maintaining the safety and functionality of your home.
These devices are critical for detecting smoke and alerting you to potential fire hazards, but they require periodic maintenance, battery replacement, or replacement of the entire unit. Whether your detector is hardwired or battery-powered, removing it correctly ensures that no damage is caused to the device or your home.
Removing a Kidde smoke detector may seem intimidating at first, especially for those unfamiliar with the process or the device’s various components. With this step-by-step guide, we’ll show you how to safely and effectively remove your smoke detector while adhering to essential safety precautions. Once you’ve mastered this process, you’ll be better equipped to maintain your home’s fire safety devices and ensure a secure living environment.
Why Removing a Kidde Smoke Detector is Important
There are many reasons why knowing how to remove a Kidde smoke detector is essential. Regular maintenance of your smoke detector is necessary to ensure it functions as intended. Over time, dust, debris, or expired batteries can impact its efficiency, while older detectors may require complete replacement after reaching the end of their life span. Removing your detector safely allows you to clean, test, or replace it without causing damage.
Another important reason is troubleshooting. Sometimes, you may need to reset or inspect the unit if it continuously beeps or gives false alarms. Properly detaching the smoke detector is the only way to access certain mechanisms or features, such as silencing a persistent alarm.
For safety-conscious homeowners, the role of smoke detectors cannot be overstated. A damaged or improperly functioning device leaves your home vulnerable to undetected fire risks. Regularly inspecting your units ensures that they’re operational when you need them most. Learning to handle Kidde smoke detectors confidently also sets the stage for future maintenance and upgrades.
Step-by-Step Guide: How to Remove Kidde Smoke Detector
Step 1: Turn Off the Power
Before starting, it’s crucial to prioritize safety by turning off the power supply to the smoke detector. If it is a hardwired unit, locate your home’s circuit breaker panel and switch off the breaker connected to the device. This step eliminates the risk of electrical shock while detaching the detector.
For battery-powered Kidde units, ensure the alarm is inactive by silencing it before proceeding. Confirm all relevant power sources have been safely disconnected by testing the detector to ensure it no longer beeps or activates. Taking these measures reduces the likelihood of injury or electrical hazards during removal.
Step 2: Gather Any Necessary Tools
To safely and efficiently remove a Kidde smoke detector, you’ll need a few essential tools. Most units can be removed without specialized equipment, but a sturdy ladder and a standard flathead or Phillips screwdriver are often needed. Place your ladder on a flat, stable surface and test its stability before climbing.
Having the right tools within reach will help you handle the mounting bracket and release mechanisms comfortably. This preparatory step ensures smooth progress while minimizing the time spent moving up and down the ladder to adjust your approach.
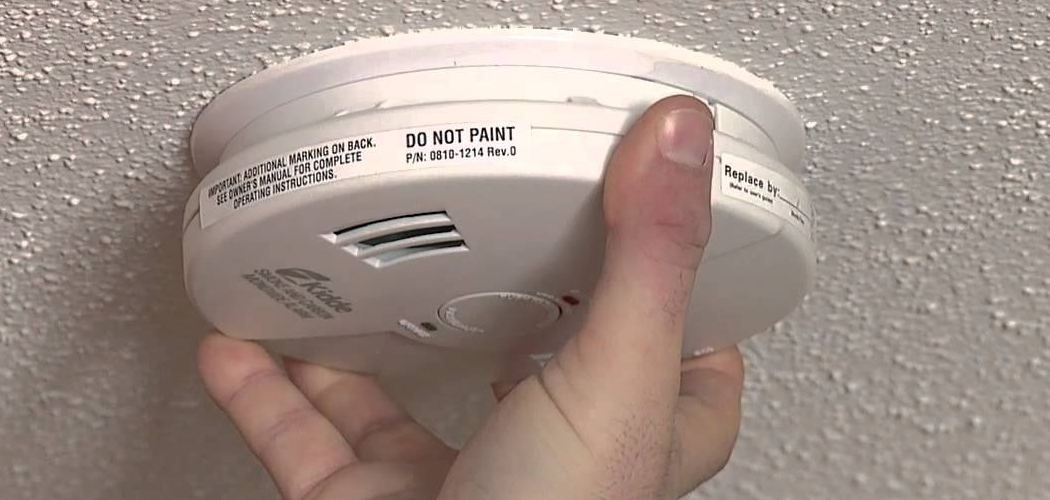
Step 3: Locate the Smoke Detector’s Mounting Bracket
Examine the smoke detector to locate its mounting bracket, which secures it to the ceiling or wall. The bracket is typically a circular or rectangular base with designated slots for locking the alarm unit in place. Kidde detectors are designed so the alarm twists onto the bracket, making removal intuitive yet secure.
Understanding the placement and design of the mounting bracket is crucial for determining the proper method to detach the unit. Observing this interaction helps you effectively separate the detector from the bracket without using excessive force or risking damage.
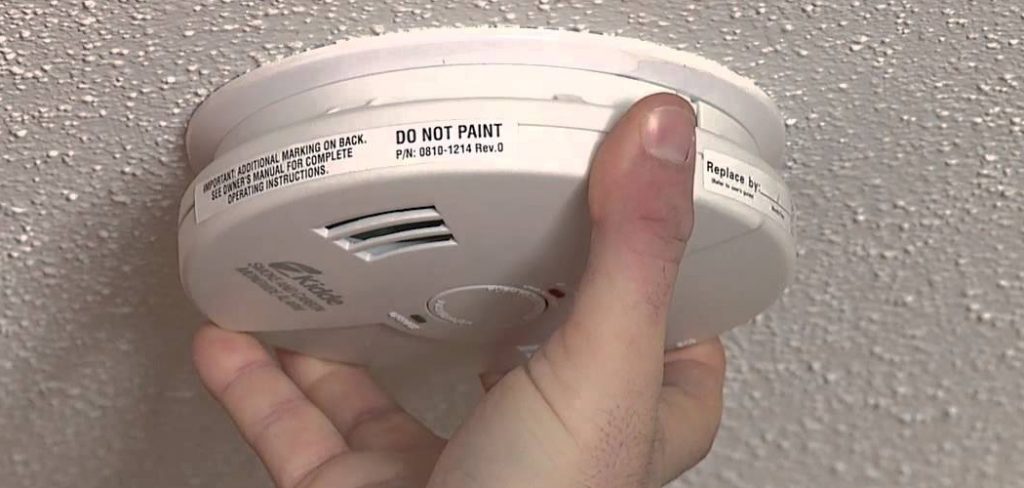
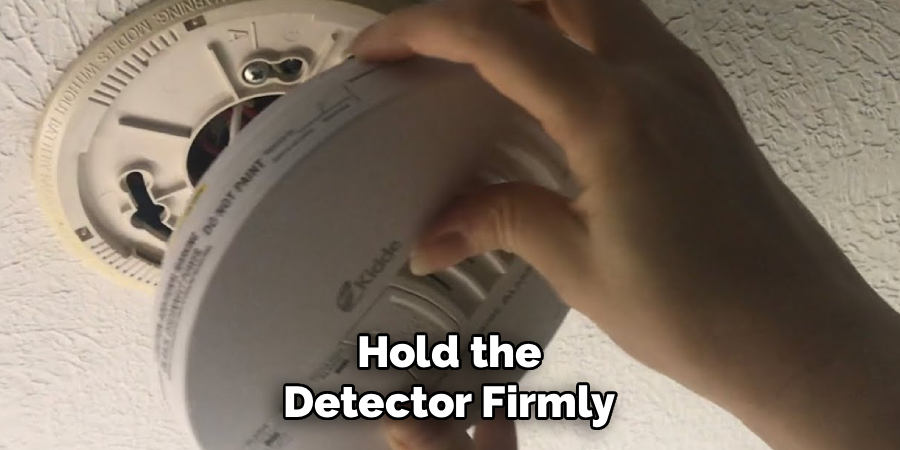
Step 4: Twist the Detector Counterclockwise
Once you’ve located the mounting bracket, gently twist the smoke detector unit counterclockwise to release it. Most Kidde models require only a slight turn before they detach from the bracket. Hold the detector firmly but carefully, ensuring it doesn’t drop when it loosens.
While turning the unit, pay attention to sounds or movements that indicate it’s coming free from the slot mechanism. A smooth twist signals correct alignment, while resistance may mean that additional steps or adjustments are required. Be patient during this step to prevent unnecessary strain on the brackets or wires.
Step 5: Disconnect the Power Connection
After removing the detector from the bracket, you’ll likely notice a connector attaching the device to the home’s wiring. This connector powers hardwired Kidde smoke detectors and ensures they remain operational. Disconnect the power connection by pressing on the locking clip or gently pulling the plug from the back of the detector.
Inspect the wires carefully to ensure no components are damaged during disconnection. For battery-powered units, simply remove the battery from its compartment. Properly handling the power connections during this step protects both the device and your home’s electrical system.
Step 6: Remove Any Backup Batteries
For Kidde smoke detectors equipped with backup batteries, remove these batteries as part of the disassembly process. Open the battery compartment on the back of the detector and take out the batteries. This step ensures the unit is completely powered down and prevents accidental alarms while you clean or inspect it.
Double-check that no remaining batteries or power sources are connected before proceeding. Removing backup batteries is essential for completing the detachment process fully and ensuring safety.
Step 7: Inspect the Detector and Surrounding Area
After detaching the smoke detector, take the opportunity to inspect both the device and the mounting surface. Look for signs of wear, damage, or accumulated dirt on the detector itself, as these can impact its performance. Similarly, examine the bracket, screws, and attachment points on the ceiling or wall to ensure they remain secure.
Cleaning the mounting area can eliminate debris that may interfere with future installations. Use a damp cloth or mild cleaning solution to wipe away any buildup, ensuring a clean surface for reinstallation. Inspection during this step helps maintain the integrity of your smoke detection system.
Step 8: Prepare for Reinstallation or Replacement
If you plan to reinstall the same smoke detector, review its components, such as wiring and connectors, for good condition. Replace aging or damaged batteries and confirm that the device is free of obstructions before putting it back in place.
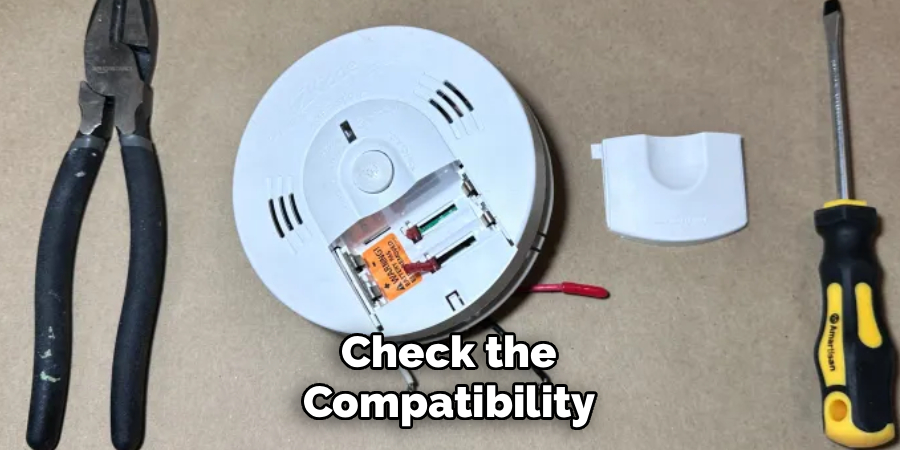
For those replacing the unit, check the compatibility of the new detector with the existing bracket and wiring. Ensuring a proper fit simplifies reinstallation and optimizes performance. Taking note of these details during preparation ensures that your safety systems remain functional and reliable.
Step 9: Reinstall or Store Properly
Once you’ve removed and inspected the unit, decide whether to reinstall or store it. Reinstalling involves reconnecting the power, securing the device onto the mounting bracket, and testing its operation. If replacing or storing the detector, ensure it is kept in a dry, safe location with its batteries removed.
Following these steps ensures proper handling of the Kidde smoke detector while maintaining safety for future use or storage.
Smoke Detector Installation Process
Installing a smoke detector is a straightforward process that significantly enhances household safety. Begin by selecting an appropriate location. Smoke detectors should be installed on every level of your home, including inside each bedroom and outside sleeping areas. Avoid installing them near windows, doors, or vents, as drafts can interfere with their functionality.
Once you’ve identified the installation spots, mark the location on the ceiling or wall, ensuring the detector is at least 4 inches away from the wall if mounted on the ceiling, or 4-12 inches from the ceiling if mounted on a wall. Use the mounting bracket included with the smoke detector to mark the screw holes. Drill the holes, insert wall anchors if needed, and securely fasten the bracket with screws.
After the bracket is installed, attach the smoke detector to it as per the manufacturer’s instructions. If your detector is battery-operated, insert the batteries and test the unit by pressing the test button to ensure it’s working correctly. For hardwired models, turn off the power at the circuit breaker, connect the wires following the color coding, and secure the connections with wire nuts before mounting the unit. Once the power is restored, test the unit to confirm proper operation. Regular maintenance and testing after installation ensure your smoke detector remains effective in protecting your home.
Frequently Asked Questions
How often should smoke detectors be replaced?
Smoke detectors should be replaced every 8–10 years, as recommended by most manufacturers, including Kidde. Over time, sensors degrade and become less reliable, so replacing units ensures your home remains well-protected.
Can I remove a Kidde smoke detector without turning off the power?
For hardwired smoke detectors, always turn off the power at the circuit breaker before removing the unit. This prevents electrical hazards. For battery-operated models, removing batteries suffices to deactivate the device.
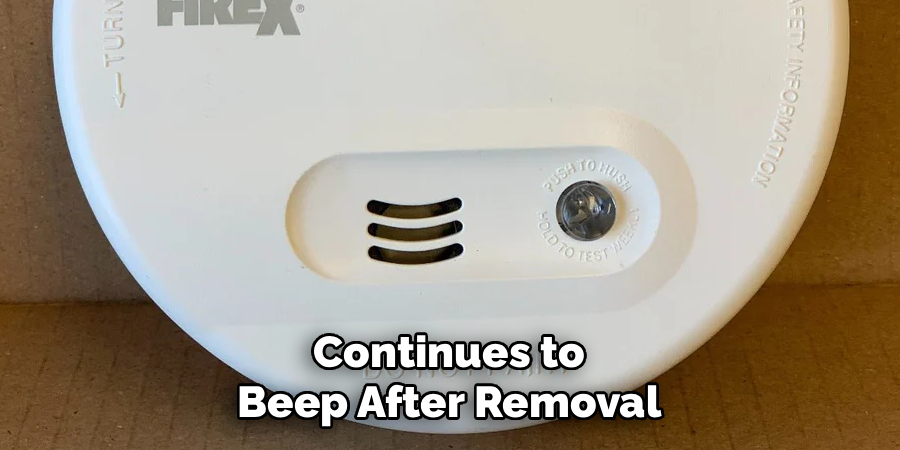
Why is my Kidde smoke detector beeping after removal?
If your unit continues to beep after removal, it may indicate residual power or a need for battery replacement. Ensure all batteries are removed, and reset the unit by pressing its test button for several seconds.
How do I know if my smoke detector is hardwired?
Hardwired models are connected to your home’s electrical wiring and often include a visible plug or cable when you remove the detector from its mounting bracket. Battery-powered units lack such wiring.
What tools are needed to remove a Kidde smoke detector?
You’ll typically need a screwdriver, a stable ladder, and perhaps a flashlight to remove a Kidde smoke detector. Hardwired models may require additional care for disconnecting wiring.
Conclusion
Knowing how to remove Kidde smoke detector units is a vital part of maintaining your home’s fire safety. From turning off the power to disconnecting the device, following these steps makes the process safe and manageable.
Take the initiative to inspect and care for your smoke detectors regularly. By learning this essential skill, you can ensure your safety system works effectively and contributes to a secure and hazard-free environment.