

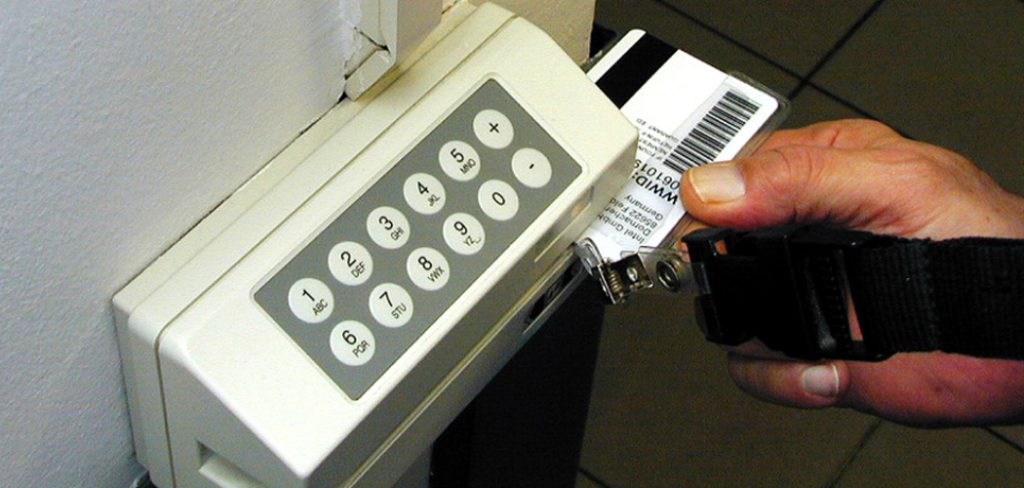
A LiftMaster keypad is a convenient wireless device mounted outside your garage that allows easy, secure access without needing a physical remote. Acting as an entry point, these keypads can be programmed to open and close your garage door with a simple code. However, there are several reasons you might need to know how to remove a LiftMaster keypad.
Over time, the unit may become faulty due to weather exposure, battery corrosion, or internal issues. Alternatively, you might wish to upgrade to a newer model with advanced features, relocate the keypad for better accessibility, or simply remove it for painting or repairs. Understanding how to remove LiftMaster keypad is a straightforward process with a few tools and some preparation. By following clear instructions and safety steps, you can complete this task efficiently, whether you’re a seasoned DIY enthusiast or tackling it for the first time.
Tools and Materials Needed
Proper preparation is the foundation of a smooth keypad removal. Gathering the right tools and materials will minimize the risk of damage and improve safety. Before you start, set aside some time to assemble everything you’ll need for your particular keypad model.
Required Tools
For most LiftMaster keypads, a Phillips screwdriver is essential, as the device is typically mounted with cross-head screws. A flathead screwdriver is also handy for prying and for models with flathead screws. Sometimes, tiny prying tools—like a plastic spudger or even a butter knife—can help release clips or hidden tabs without marking the wall or damaging the keypad housing.
Preparatory Materials
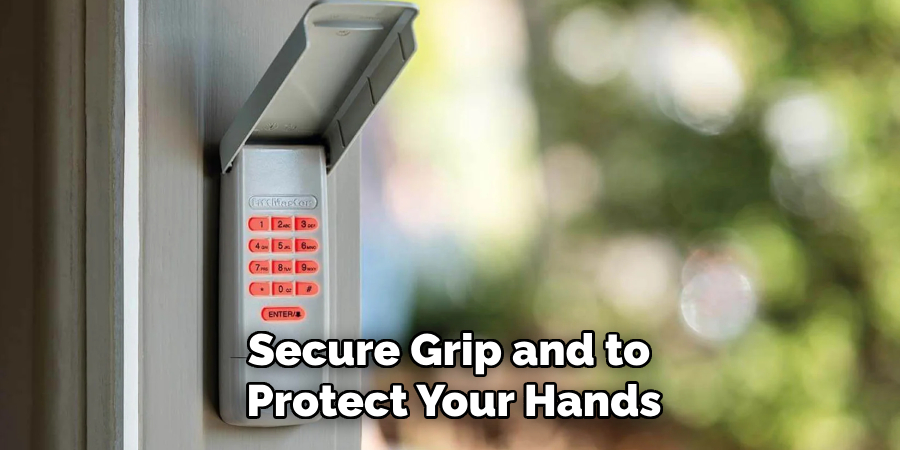
Alongside tools, it’s wise to wear lightweight gloves for a secure grip and to protect your hands from sharp edges or rusted screws. A small container or magnetic tray keeps screws and small components safe, preventing them from rolling away mid-task. Depending on your LiftMaster keypad model, you may need additional items, such as a small Allen wrench for rare hex-head fasteners or a flashlight if lighting is limited. Consult your keypad’s instruction manual or manufacturer’s website for model-specific recommendations before beginning.
How to Remove LiftMaster Keypad: Process to Follow
Safety First
Safety is always the top priority, especially when working with electronic devices and wall-mounted equipment. Before working on your LiftMaster keypad, disconnect the power supply to your garage door opener if the system is hardwired, or ensure the circuit breaker is off. This step prevents accidental activation or electrical shock when disconnecting wires.
It’s also important to review the keypad’s manual for any specific safety warnings. Some keypads, particularly recent models, may include unique safety features or lockout mechanisms to prevent tampering. If your unit is connected to a smart home system, consider disabling or unlinking it temporarily while performing maintenance.
Wearing safety glasses is a good precaution, especially if you suspect dust, paint, or particles might fall from the wall or device during removal. Rest assured, by taking these preventative measures, you’ll reduce the risk of accidents and protect your property and yourself.
Locate the Keypad Mountings
Before any removal can begin, determine how your LiftMaster keypad is attached to the surface. Most commonly, outdoor keypads are mounted directly onto siding, wood, or masonry with one or two screws—usually visible at the top and/or bottom of the keypad housing.
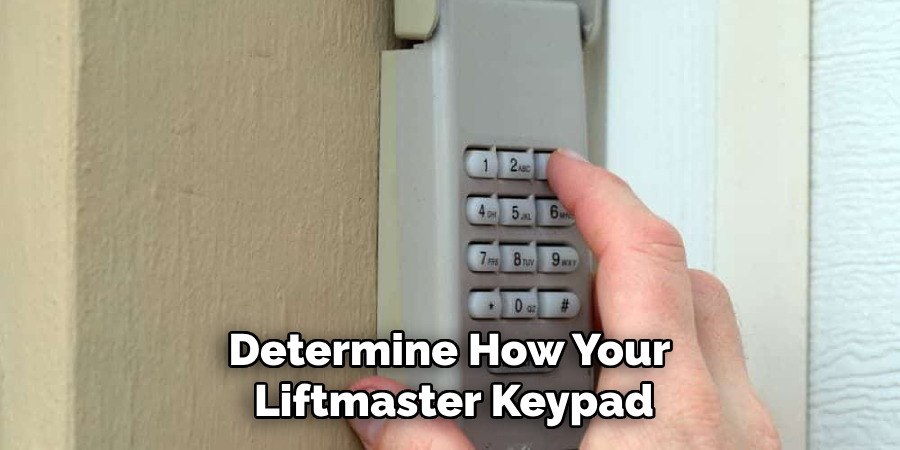
In some cases, newer or weather-sealed keypads may use concealed mounting brackets or slide-and-lock plates that require a different approach. Carefully examine your keypad for visible screws, clips, or fastener covers. Gently lift the lower end of the keypad to peek behind it for hidden latches or tabs. If you’re unsure, refer to your product’s manual or search for the keypad model number online for diagrams or removal tips.
Certain models use adhesive pads, especially if installed on smooth materials like metal or glass. Adhesive-mounted keypads may feel slightly “spongy” to the touch and can usually be released by gentle prying. Knowing the exact mounting method is crucial for selecting the correct tool and removal technique and will make the process much smoother.
Test Keypad Batteries
Before detaching the keypad completely, it’s smart to check or remove the batteries—this ensures you won’t accidentally damage the housing, batteries, or internal wiring during the removal process. Most LiftMaster keypads have a small compartment, typically accessed beneath the keypad or around the back.
Using a screwdriver or prying tool if needed, open the compartment and remove the batteries. If the batteries are old or corroded, toast them for safe disposal by following your local recycling guidelines—do not simply throw them in the trash, as batteries can be harmful to the environment. If you plan to reuse the keypad at a new location, test the batteries and replace them if necessary to ensure the device will function after it’s reinstalled.
Testing or removing the batteries at this stage also prevents any possible short-circuiting or electronic malfunction when disconnecting wiring in the next steps. This quick check can save time and hassle later in the project.
Detach the Keypad from the Wall
When you’re ready to fully remove the keypad, the next step is to gently detach it from its mount. The process will depend on your keypad’s installation style.
Loosening Screws or Clips
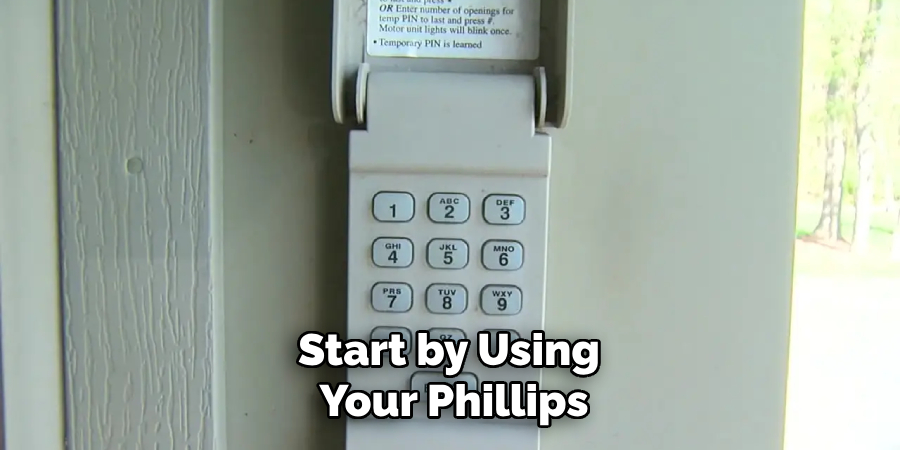
Start by using your Phillips or flathead screwdriver to carefully remove any screws securing the keypad to the wall. Place each screw in your prepared container as you remove it. For keypads using mounting clips, gently press or pry each clip while supporting the keypad with your other hand. If you encounter resistance, double-check for concealed screws or latches before applying extra force.
Avoiding Wall Damage
To avoid damaging your wall or paint during removal, slide a flat, non-marring tool—like a plastic spudger or old credit card—between the keypad and the wall as you release it. Work slowly, and don’t pry or twist aggressively. Adhesive residue can be softened with a hair dryer set to low heat before carefully peeling off the keypad.
If the keypad has been mounted for several years, the surrounding paint may be stuck to the housing. Gently scoring along the keypad’s edges with a craft knife can reduce paint chipping or tearing. Always support the keypad until it’s completely free to prevent it from falling and causing wall or device damage.
Disconnect Internal Wiring
With the keypad off the wall, the final technical step is disconnecting it from any power or signal wires that may be attached. Some wireless keypads are battery-operated only, but hardwired units or those connected to security systems may have extra wires to deal with.
Identifying Wires
Carefully inspect the rear portion of the keypad for any wires connected via screw terminals, push-in connectors, or wire nuts. It’s a good idea to take a quick photo for reference, especially if you plan to reconnect or repurpose the keypad later. Check the wire colors and label or note their positions if the connectors aren’t clearly marked.
Disconnect Safely
Using a small screwdriver or your fingers, loosen any screw terminals or release catch clips. Gently pull the wires clear without tugging or twisting excessively, as this can strip insulation or damage the connections. For wire nuts, twist them counterclockwise to remove.
If any wires are frayed, tape the ends with electrical tape for safety. Make sure the disconnected wires do not touch each other or any metallic surfaces. Store the keypad and any wire connectors in a safe place if reuse is planned.
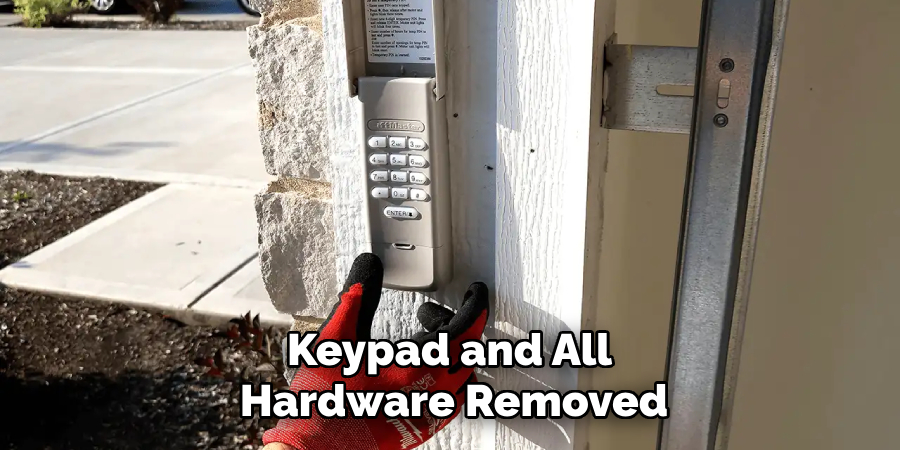
Clean the Wall Area
With the keypad and all hardware removed, you’ll likely notice dust, residue, or discoloration on the wall. Cleaning this area helps prepare the surface for repainting, patching, or installing a new keypad.
Start by gently dusting with a soft brush or cloth. If there’s adhesive left behind, treat it with a mild remover or a little warm, soapy water. Avoid harsh chemicals that could damage the paint or siding. For stubborn tape or sticker residue, use a gentle scraping motion with a plastic scraper or your fingernail.
Once the residue is gone, lightly wipe down the area with a damp cloth and allow it to dry. If any screw holes remain, you can fill them with wall putty or patch filler. Allow repairs to dry fully before painting or remounting any device. By restoring the area, you leave your garage looking tidy and ready for your next project.
Troubleshooting Issues During Removal
Even with preparation, you may run into common obstacles when removing a LiftMaster keypad. Stuck screws are a frequent issue, especially if they’ve rusted over time. In such cases, applying a drop of penetrating oil and waiting a few minutes can help loosen the hardware. Use a correctly sized screwdriver to avoid stripping the screw head.
If the keypad won’t budge due to old adhesive or paint, gently heat the area with a hair dryer or use a thin, flexible tool to work along the edges. Don’t force the device, as you could damage both the keypad and the wall.
Should you encounter cut or damaged wires, consult your owner’s manual or a professional before reconnecting anything. For keypads that seem permanently stuck or where mounting hardware is inaccessible, seeking assistance from a technician or the LiftMaster support team may save time and prevent further damage.
Above all, patience and careful handling are key. Taking your time will help avoid costly mistakes and ensure a clean removal.
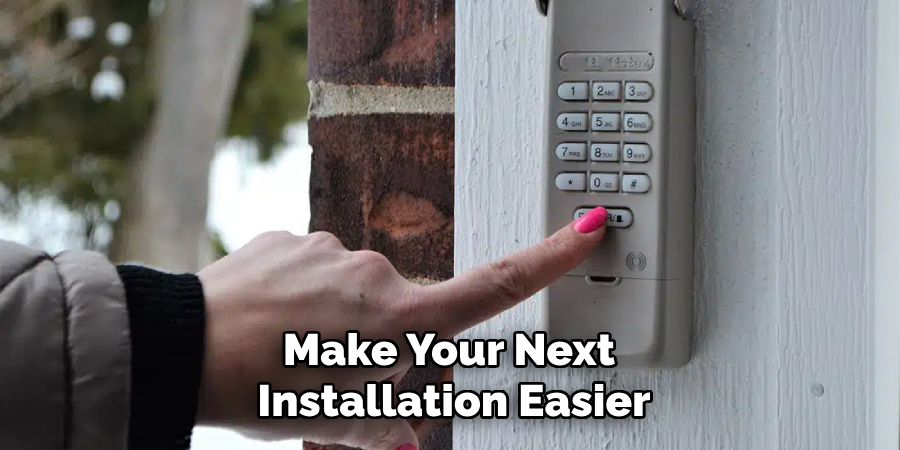
Tips for Future Keypad Installations
Now that you know how to remove a LiftMaster keypad, you can apply these insights to make your next installation easier. When remounting or installing a new keypad, select a well-lit and sheltered location that’s easy to access in all weather. Ensure the mounting surface is smooth and clean for the best adhesion or screw stability.
For sturdier attachment, use wall anchors if you’re drilling into drywall or masonry, as these prevent the keypad from working loose over time. Double-check that the unit is level and aligned before finalizing its position. Keeping cables organized and clearly labeled can simplify future maintenance.
Finally, keep your owner’s manual and installation hardware in a secure place. A little planning at this stage will pay off in greater reliability and convenience in the months and years ahead.
Frequently Asked Questions
Are All LiftMaster Keypads Removed the Same Way?
Most LiftMaster keypads share similar removal methods involving loosening screws or clips and disconnecting wiring, but variations exist among models. Some may have extra security screws, different wiring connections, or unique mounting brackets. Always check your keypad’s manual for model-specific instructions to avoid damaging the device or mounting surface. Online resources and manufacturer support can also provide valuable guidance for less common keypad types.
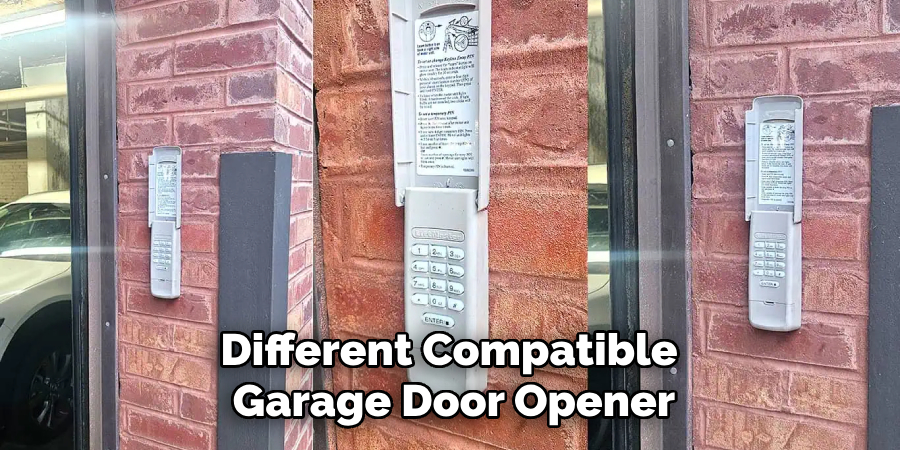
Can I Reuse a Removed Keypad?
In many cases, a removed LiftMaster keypad can be reinstalled at a new location or even reused on a different compatible garage door opener. Before reinstalling, inspect the keypad’s casing, buttons, and wiring for signs of wear or corrosion. Replace worn batteries and reset any codes according to the user manual.
If upgrading to a new system, your old keypad might still work as an auxiliary control or be repurposed as a backup. Check compatibility and reset procedures to ensure reliable functionality. Recycling or donating functional devices is a smart way to reduce waste.
Conclusion
Knowing how to remove LiftMaster keypad empowers you to handle routine maintenance, upgrades, or repairs with confidence. With the proper tools and a step-by-step approach, the task is straightforward and requires no specialized skills. Following all safety precautions, handling wires gently, and taking care of your wall surface ensure a clean and professional result.
Whether you are troubleshooting, replacing with a newer model, or simply relocating the unit, understanding how to remove a LiftMaster keypad makes for an easier, more efficient project. With a little patience and preparation, you can keep your garage secure and functional. Embrace your next DIY challenge—removing a LiftMaster keypad is well within your reach!
About
Safety Fic is a distinguished figure in the world of Diy design, with a decade of expertise creating innovative and sustainable Diy solutions. His professional focus lies in merging traditional craftsmanship with modern manufacturing techniques, fostering designs that are both practical and environmentally conscious. As the author of diy, Safety Fic delves into the art and science of Safety Fic-making, inspiring artisans and industry professionals alike.
Education RMIT University
(Melbourne, Australia) Associate Degree in Design (Safety Fic) Focus on sustainable design, industry-driven projects, and practical craftsmanship. Gained hands-on experience with traditional and digital manufacturing tools, such as CAD and CNC software.
Nottingham Trent University
(United Kingdom) Bachelor’s in diyfastly.com and Product Design (Honors) Specialized in product design with a focus on blending creativity with production techniques. Participated in industry projects, working with companies like John Lewis and Vitsoe to gain real-world insights.
Publications and Impact
In diy, Safety Fic his insights on indoor design processes, materials, and strategies for efficient production. His writing bridges the gap between artisan knowledge and modern industry needs, making it a must-read for both budding designers and seasoned professionals.