

The Mass Air Flow (MAF) sensor plays a crucial role in your vehicle’s engine management system by measuring the amount of air entering the engine. Over time, it can become dirty or malfunction, leading to decreased engine performance or fuel efficiency. Removing the MAF sensor is a straightforward process that allows for cleaning or replacement, which can help restore your vehicle’s performance. This guide will walk you through the steps of how to remove maf sensor.
What is a MAF (Mass Air Flow) Sensor?
The Mass Air Flow (MAF) sensor is an essential component of your vehicle’s engine management system. Its primary function is to measure the volume and density of air entering the engine. This data is sent to the engine control unit (ECU), which adjusts the air-to-fuel ratio to ensure optimal combustion. A properly functioning MAF sensor helps maintain engine efficiency, improve fuel economy, and reduce harmful emissions. There are two common types of MAF sensors: hot wire and vane meter. Both serve the same purpose but operate differently to achieve accurate air flow measurements. Without a reliable MAF sensor, your vehicle may experience issues such as rough idling, poor acceleration, and reduced fuel efficiency.
Symptoms of a Faulty or Dirty MAF Sensor
When a Mass Air Flow (MAF) sensor becomes faulty or dirty, it can lead to various performance issues in a vehicle. One common symptom is poor engine performance, such as rough idling or hesitation during acceleration. Drivers may also notice a decrease in fuel efficiency as a malfunctioning MAF sensor can cause the engine to run too rich or too lean. Additionally, a faulty MAF sensor may trigger the check engine light, prompting further diagnostic checks. Other potential signs include difficulty starting the vehicle, stalling, or unusual engine noises. Identifying and addressing these symptoms early can prevent further damage to the engine and restore optimal performance.
Tools and Materials You’ll Need
To successfully diagnose and replace a faulty MAF sensor, you will need the following tools and materials:
- OBD-II Scanner – To read and clear diagnostic trouble codes (DTCs) a faulty sensor may trigger.
- Screwdrivers – Usually a flathead or Phillips screwdriver to remove screws securing the sensor.
- Socket and Ratchet Set – For loosening bolts that may hold the MAF sensor in place.
- Replacement MAF Sensor – Ensure it is compatible with your vehicle’s make and model.
- Sensor Cleaner – Specifically designed MAF sensor cleaner to clean dirt and debris without damaging components.
- Rags or Shop Towels – To wipe down surrounding components or clean up spills during the process.
- Protective Gloves – To protect your hands during the repair and avoid contamination of sensitive parts.
Having these tools and materials at the ready can ensure a smooth process, from diagnosing the issue to installing the new sensor.
10 Methods How to Remove Maf Sensor
1. Understand the Role of the MAF Sensor Before Removal
Before diving into removal, it’s important to grasp what a Mass Air Flow (MAF) sensor does. Positioned between the air filter and the engine intake manifold, the MAF sensor measures the amount of air entering the engine, allowing the ECU (engine control unit) to adjust fuel injection for optimal combustion. Recognizing its role helps you approach removal with the care this delicate yet critical component deserves. Removing the MAF sensor is not overly technical, but mishandling it can lead to performance issues or sensor damage.
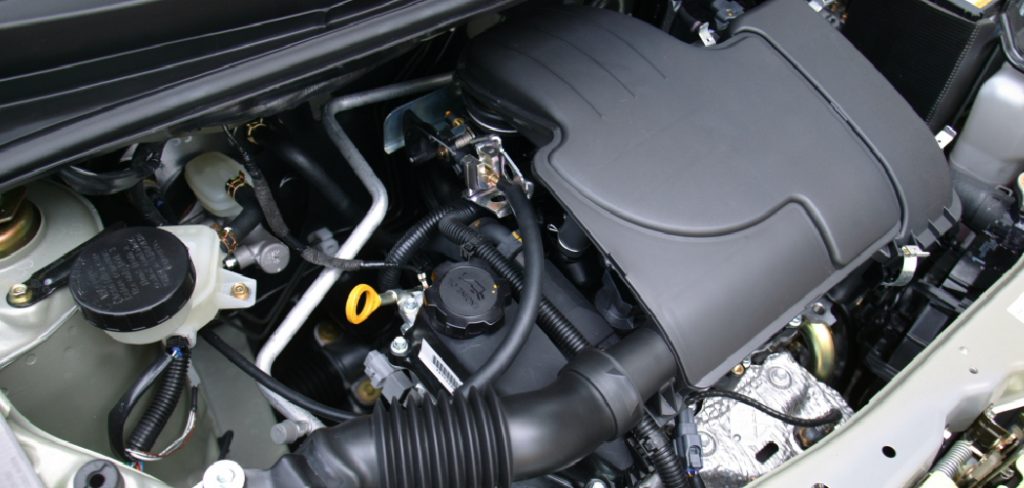
2. Identify the MAF Sensor in Your Vehicle’s Engine Bay
The next logical step is locating the sensor. Pop the hood and trace the air intake hose from the air filter box toward the engine. The MAF sensor is typically mounted directly on this intake hose and secured with either screws or bolts. It may have an electrical connector attached to it and, depending on your car’s make and model, may be cylindrical or rectangular in shape. Familiarize yourself with its position and mounting hardware before reaching for tools.
3. Disconnect the Vehicle Battery to Ensure Safety
Whenever you’re dealing with any electrical component in your vehicle, it’s wise to disconnect the battery. Locate the negative terminal of the battery and use a wrench to loosen the clamp. Carefully set the terminal aside, ensuring it doesn’t accidentally reconnect during the process. This step eliminates the risk of electrical shorts or triggering any error codes while handling the sensor’s wiring. It’s a simple precaution that ensures both your safety and the vehicle’s electrical integrity.
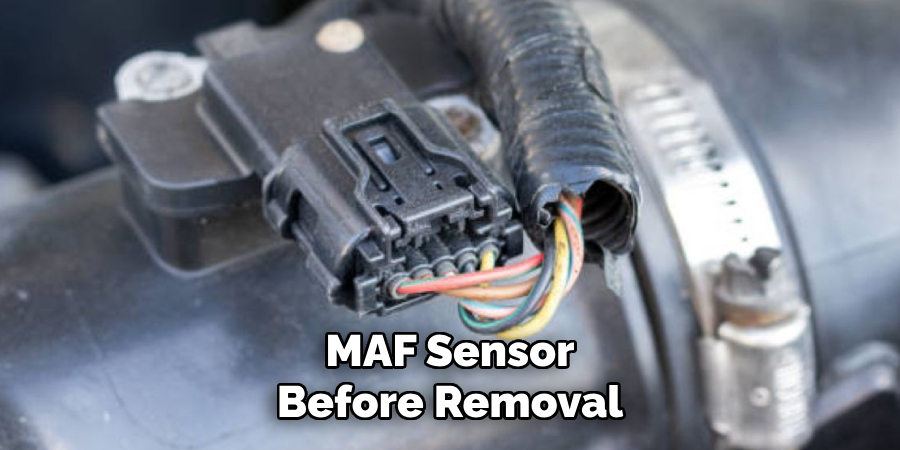
4. Unplug the MAF Sensor Electrical Connector
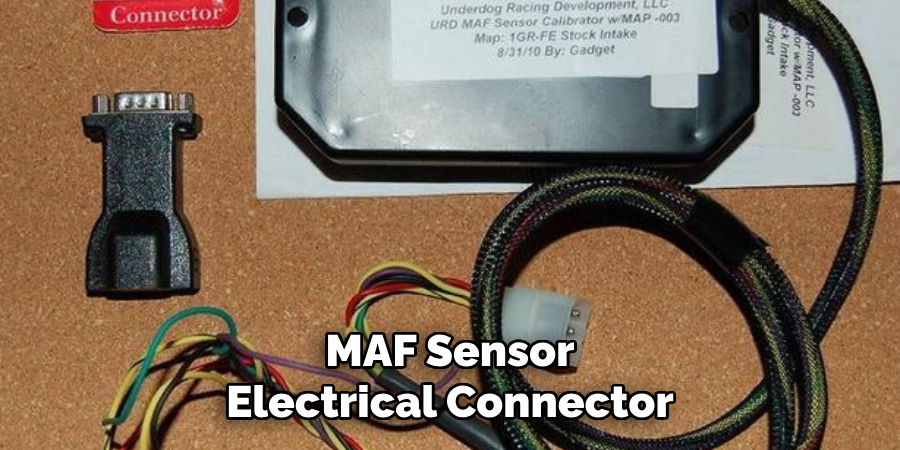
Once the battery is safely disconnected, the first hands-on task is to remove the electrical connector attached to the MAF sensor. These connectors often have a tab or clip that must be pressed down or pulled upward to release. Take your time here—forcing the connector can damage the plastic clips or even tear the wires. If the connector feels stuck, wiggle it gently while pressing the release tab until it separates smoothly from the sensor body.
5. Remove Any Mounting Screws or Clamps Holding the Sensor
With the electrical connection out of the way, turn your attention to the fasteners securing the MAF sensor. Most sensors are held in place with Phillips-head screws, Torx bolts, or sometimes simple hose clamps. Use the appropriate screwdriver or socket to loosen and remove them. Keep track of these small parts as they’re easy to drop or misplace. If the sensor is clamped into the air duct, loosen the clamp screws just enough to slide the sensor out without force.
6. Gently Pull the Sensor Out of the Intake Tube
After removing the fasteners or clamps, carefully pull the MAF sensor out of the intake tube. It should slide out with minimal resistance. If it feels stuck, check again for any hidden screws or tightly cinched hose clamps. Avoid twisting the sensor aggressively, as internal elements can be fragile. Pull it straight out to maintain the alignment and avoid damaging the O-ring or mounting flange that ensures an airtight seal between the sensor and the intake.
7. Inspect the Sensor for Signs of Wear or Contamination
With the MAF sensor removed, take a moment to inspect it visually. Look for signs of contamination such as oil, dust, or soot on the sensor wire or housing. If it appears dirty, it may be contributing to inaccurate air readings and poor engine performance. However, this step is only observational for now—if you plan to clean the sensor, do it only with a proper MAF sensor cleaner and never touch the sensing elements directly. Set the sensor aside in a clean, safe space until you’re ready to reinstall or replace it.
8. Examine the Sensor Housing and Air Duct for Damage or Debris
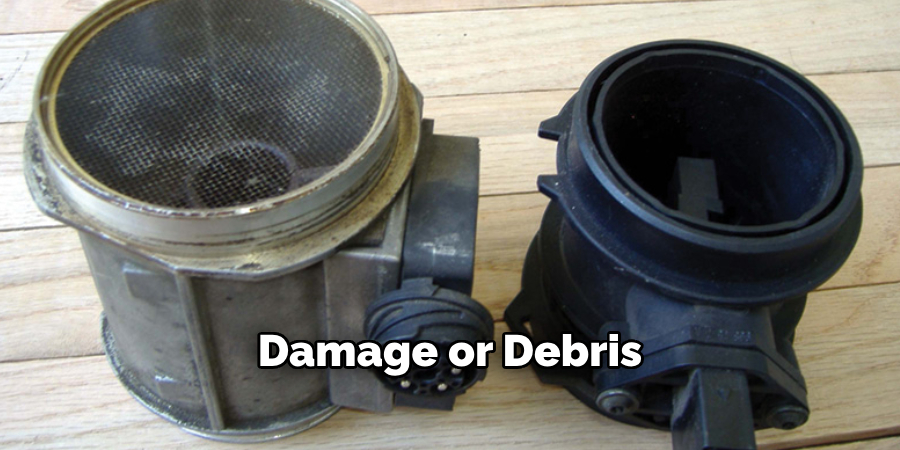
While the sensor is out, check the air intake duct and sensor housing for debris or damage. Dirt or leaks in this area can compromise sensor accuracy and engine performance. Ensure the rubber grommet or O-ring that seals the sensor is intact and flexible. If the rubber is cracked, it should be replaced before reinstallation. Any leaks at this point in the air system can lead to unmetered air entering the engine, resulting in poor fuel economy and rough idling.
9. Prepare for Sensor Reinstallation or Replacement
Once the sensor is out and the housing checked, you may choose to reinstall the original unit after cleaning or swap it out for a new one. If you’re replacing the sensor, ensure the new unit matches the OEM part number exactly. Reinstalling a mismatched sensor can cause incorrect air readings and trigger check engine lights. Line up the mounting holes, slide the sensor into place gently, and reverse the earlier steps to reinstall it securely.
10. Reconnect the Battery and Test the Vehicle
Once the sensor is reinstalled and connected, it’s time to restore power to the system. Reconnect the battery terminal, tighten the clamp, and close the hood. Start the engine and let it idle. Monitor for any check engine lights and listen for abnormal engine behavior. If everything runs smoothly and no warning lights appear, the removal and reinstallation were successful. Some vehicles may need a few minutes of driving or a manual reset to clear any old sensor data.

Things to Consider When Replacing a Sensor
- Compatibility: Ensure the replacement sensor is compatible with your vehicle’s make and model. Check the part number and specifications before purchasing.
- Proper Tools: Use the correct tools for the job to avoid damaging surrounding components or the sensor itself. Many sensors require specific wrenches or sockets for safe removal.
- Safety Precautions: Always disconnect the battery before starting work to prevent electrical accidents or damage to electronic components.
- Sensor Calibration: Some sensors might require calibration or programming after installation. Refer to the vehicle’s manual or consult a professional if necessary.
- Environmental Conditions: Perform the replacement in a clean and dry environment to minimize the risk of dirt or moisture contamination in sensitive areas.
By keeping these considerations in mind, you can ensure a smooth and successful sensor replacement process.
Conclusion
Removing a MAF sensor is a relatively straightforward process that requires attention to detail and a gentle hand. By following these ten elaborated methods, you can confidently remove, inspect, and prepare a MAF sensor for cleaning or replacement. From identifying the sensor to disconnecting the battery and carefully sliding the component out of its housing, each step ensures a safe and effective operation. Thanks for reading our blog post on how to remove maf sensor! We hope you found it helpful and informative.