

Removing a stuck O2 sensor can be a challenging task, especially if it has been in place for a long time or exposed to high temperatures.
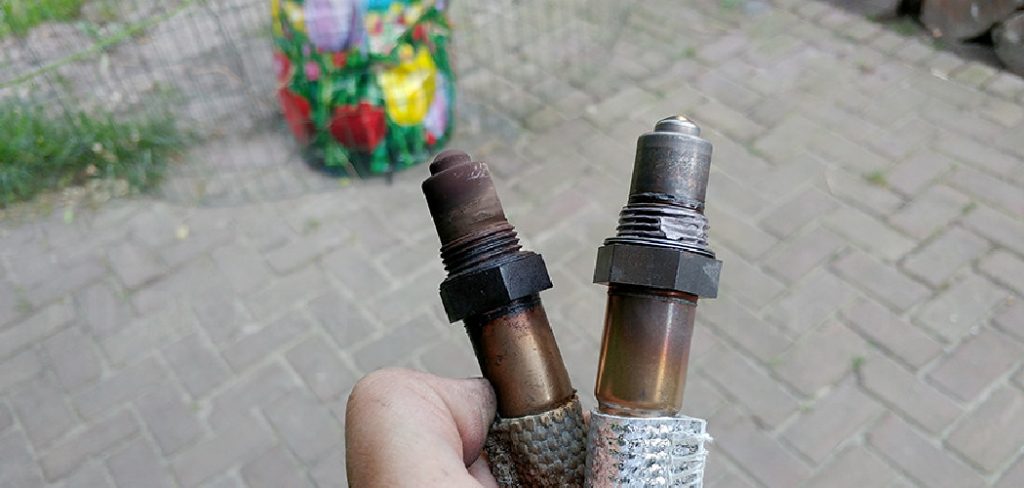
The oxygen sensor plays a critical role in monitoring your vehicle’s emissions and ensuring optimal engine performance, so addressing any issues with it is important. This guide will provide you with the guide on how to remove o2 sensor that is stuck.
Common Reasons Why an O2 Sensor Might Get Stuck
- Corrosion: Over time, exposure to moisture, road salt, and other environmental factors can lead to rust and corrosion around the O2 sensor and its mounting area, making it difficult to remove.
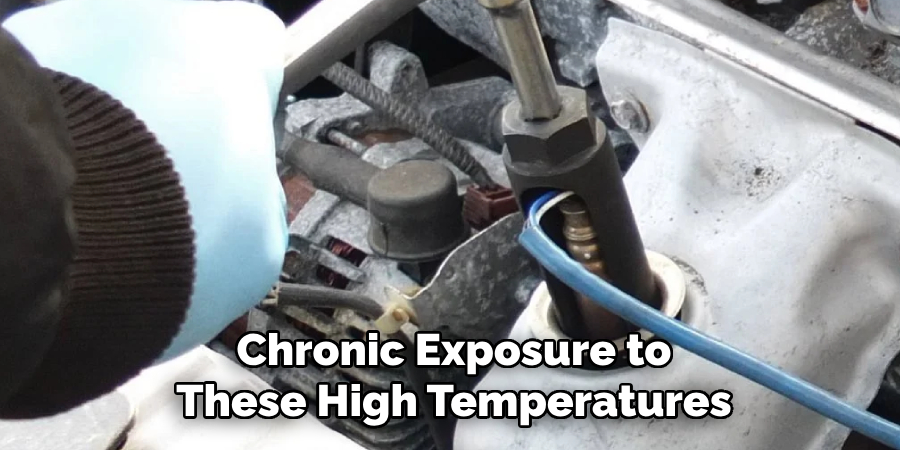
- High Temperatures: O2 sensors are located in the exhaust system, which experiences extreme heat. Chronic exposure to these high temperatures can cause the sensor to seize in place over time.
- Carbon Buildup: Carbon deposits from exhaust gases can accumulate around the threads of the sensor, effectively bonding it to the exhaust manifold or pipe.
- Improper Installation: If the sensor was over-tightened during installation or installed without anti-seize lubricant, it can become much harder to remove later.
- Prolonged Usage: The longer an O2 sensor remains in place, the more time environmental and operational factors have to cause it to stick, especially if routine maintenance is not performed.
10 Methods How to Remove O2 Sensor that Is Stuck
1. Use Penetrating Oil
Penetrating oil, such as WD-40 or PB Blaster, is an effective first step when dealing with a stuck O2 sensor. Over time, sensors can become rusted or corroded due to exposure to heat and moisture, making them difficult to remove. Spray a generous amount of penetrating oil around the base of the sensor where it threads into the exhaust pipe.
Allow it to sit for about 15–20 minutes to let the oil soak into the threads and loosen any corrosion. In many cases, this will make the sensor easier to turn. Once the oil has had time to work, attempt to unscrew the sensor using a wrench or O2 sensor socket.
2. Heat the Sensor with a Torch
If the penetrating oil alone doesn’t do the trick, applying heat can be an effective method. Use a propane torch or heat gun to apply heat to the area around the O2 sensor. The expansion of the metal from heat can help break the bond between the sensor and the exhaust pipe, allowing you to remove it more easily.
Be cautious while applying heat, as the surrounding components, such as wires and hoses, may be sensitive to temperature. Heat the area for a few minutes, then attempt to remove the sensor with a wrench or socket. Be sure to wear gloves and protective eyewear to avoid burns.
3. Use an O2 Sensor Socket
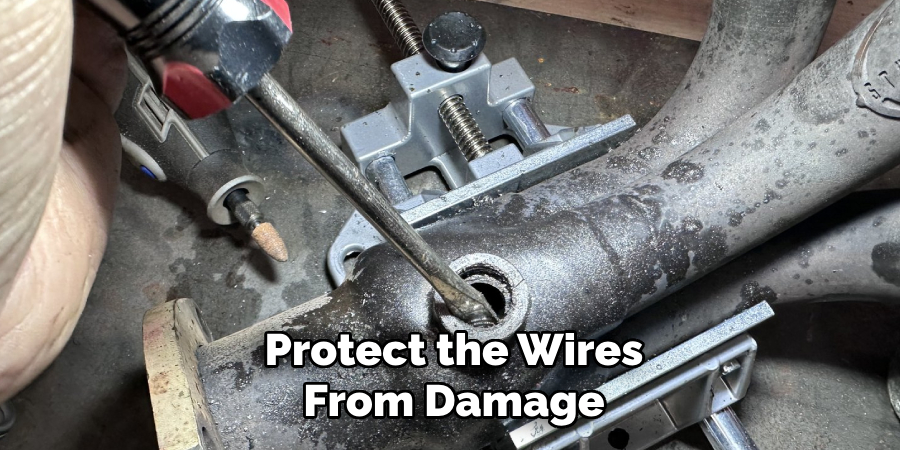
An O2 sensor socket is a specialized tool designed to remove O2 sensors with ease. These sockets feature a cutout that allows you to fit over the sensor while accommodating the wiring. The cutout helps protect the wires from damage while giving you access to the sensor’s hexagonal shape.
If you haven’t already, use an O2 sensor socket, along with a wrench or breaker bar, to apply leverage and break the sensor free from its threads. This socket will fit tightly around the sensor, providing a secure grip for removal.
4. Leverage with a Longer Wrench or Breaker Bar
If the O2 sensor is stuck and cannot be removed with a standard-sized wrench, consider using a longer wrench or breaker bar. A longer wrench will provide more torque, making it easier to break the sensor loose.
Simply place the wrench or bar over the sensor’s nut and apply firm, steady pressure. If you’re using a breaker bar, be cautious and ensure that the vehicle is secure, as it may require significant force to loosen a severely stuck sensor.
5. Apply an O2 Sensor Removal Tool
In some cases, you may need a dedicated O2 sensor removal tool. These tools are designed specifically to provide extra leverage and grip for removing sensors that are particularly stubborn or stuck.
Many O2 sensor removal tools feature a deep socket with a slotted opening, allowing them to slide over the sensor and allow additional torque to be applied. These tools are widely available at auto parts stores and online, and they can make a big difference when dealing with a stubborn sensor.
6. Tap the Wrench or Socket with a Hammer
If the sensor is still stuck after using penetrating oil, heating the area, and applying torque with a wrench, tapping the wrench or socket with a hammer may provide enough force to break the sensor loose.
Lightly tapping the wrench or socket with a hammer can help to break the corrosion’s grip on the threads and loosen the sensor. Be sure not to hit it too hard, as excessive force could damage the sensor or surrounding components. A few light taps should be sufficient to provide the extra shock needed to free the sensor.
7. Use a Threaded Extractor Tool
For particularly stubborn sensors, a threaded extractor tool can be a lifesaver. This tool is designed to grip onto the sensor when all other methods fail. It works by cutting into the sensor’s threads as you turn the tool, providing a way to remove a deeply stuck or damaged O2 sensor.
When using a threaded extractor, follow the manufacturer’s instructions carefully, as the process typically involves screwing the extractor into the sensor threads before applying leverage to remove the sensor. While this method is highly effective, it may require additional tools and skill.

8. Remove the O2 Sensor with a Vice Grip
If the O2 sensor is severely rusted and can’t be unscrewed using standard wrenches, a vice grip plier can help by gripping the sensor firmly and turning it. Place the vice grip pliers around the base of the sensor and tighten them as much as possible to ensure a firm grip.
Once securely fastened, apply torque to rotate the sensor counterclockwise to remove it. Vice grips are especially useful when the sensor is too damaged to fit in a standard O2 sensor socket or wrench.
9. Cut the O2 Sensor Off
If all else fails and you’re unable to remove the O2 sensor through conventional means, you may need to cut it off. This method involves using a hacksaw, reciprocating saw, or angle grinder to carefully cut the O2 sensor’s body away from the threads.
When using this method, be sure to cut only the body of the sensor, avoiding damage to the threads in the exhaust pipe. Once the sensor is cut, you can use pliers or a wrench to remove the remaining piece of the sensor from the pipe.
10. Seek Professional Help
If you’ve tried all of the above methods and the O2 sensor is still stuck, it might be time to seek professional help. A mechanic or auto technician may have the right tools and experience to handle stuck sensors more effectively.
They may have access to specialized equipment, such as an impact wrench or hydraulic tools, to remove the sensor without damaging the surrounding parts. In some cases, they may even be able to replace the sensor and fix any issues in the exhaust system.
Things to Consider When Removing an O2 Sensor
- Safety First
Always prioritize safety when working on your vehicle. Ensure the car is turned off and cooled down before attempting to remove the O2 sensor to avoid burns or injury. Wear protective gloves and eyewear, especially when dealing with penetrating oil, heat, or sharp tools.
- Proper Tools
Using the correct tools, such as an O2 sensor socket or a breaker bar, can make the process smoother and protect both the sensor and surrounding components. Ensure you have access to the necessary tools before starting the task.
- Condition of the Sensor
Assess the condition of the O2 sensor and surrounding area before removal. Corroded or heavily rusted sensors may require additional steps such as applying penetrating oil or heat to loosen them effectively.
- Avoid Damage to Threads
Be cautious not to damage the threads in the exhaust pipe while removing the sensor. Damaged threads can complicate installing a new sensor and may require costly repairs.
- Vehicle Stability
Ensure the vehicle is securely positioned on a flat surface or properly elevated using jack stands. A stable setup ensures your safety while working under the car.
- Manufacturer Guidelines
Refer to the vehicle’s manual or manufacturer guidelines for specific instructions regarding the removal and replacement of the O2 sensor. Proper torque specifications and other important details may vary based on the make and model of the vehicle.

Conclusion
Removing a stuck O2 sensor requires patience, the right tools, and sometimes a bit of ingenuity. While there are numerous methods available, ranging from using penetrating oil and heat to cutting the sensor off entirely, the most important thing is to approach the task with caution and persistence.
Thanks for reading, and we hope this has given you some inspiration on how to remove o2 sensor that is stuck!