Removing an old security system is often necessary for a variety of reasons. Many systems become outdated as technology rapidly advances, leaving you with equipment that cannot keep up with modern security needs. Additionally, malfunctioning components can lead to false alarms or gaps in security.

Transitioning to a new security provider often entails removing existing hardware to make way for a more integrated and comprehensive system. Despite the need, many homeowners face challenges when it comes to how to remove old security systems. The complexity of wiring within walls can be intimidating, and there’s the risk of accidentally triggering alarms or voiding warranties. This article aims to provide a detailed, step-by-step guide to safely and effectively remove an old security system, ensuring a smooth transition to your new setup without causing unnecessary damage to your property.
Understanding the Components of Your Security System
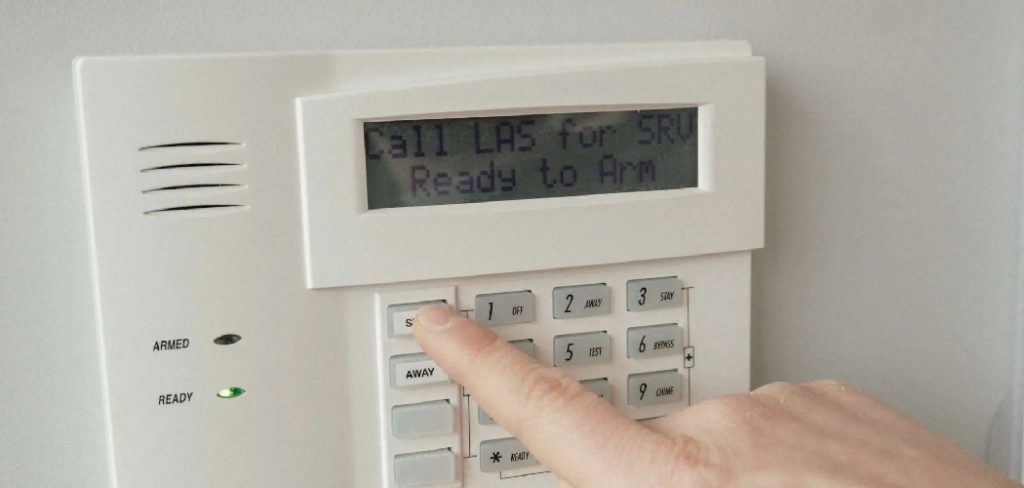
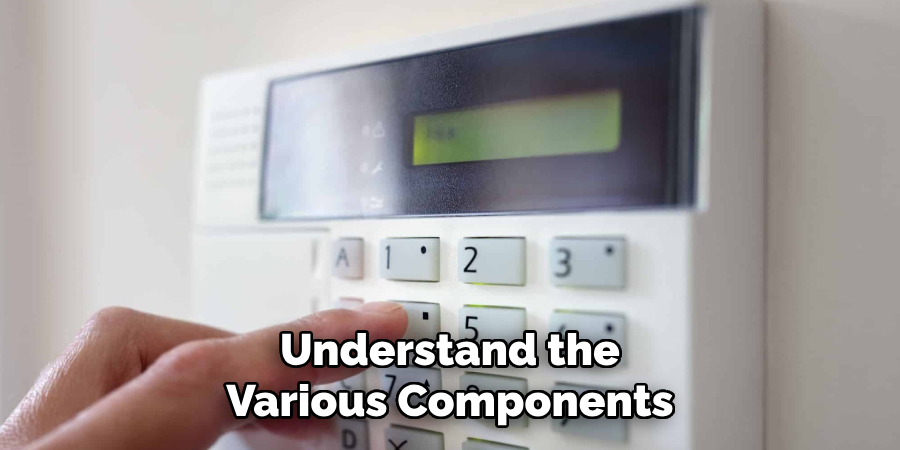
When preparing to remove an old security system, it’s crucial to understand the various components that make it up. A typical security system includes a control panel, which acts as the central hub where all signals are processed. Keypads are used to input commands, such as arming or disarming the system. Sensors, including door/window sensors and motion detectors, are pivotal in detecting unauthorized entry or movement. Additional components like cameras provide visual monitoring, while alarm sirens emit a loud noise to alert you and deter intruders.
The type of system—wired versus wireless—greatly influences the complexity of its removal. Wired systems often require careful extraction due to the network of cables installed within walls, which can be both labor-intensive and intrusive. In contrast, wireless systems are typically easier to disconnect as they rely on battery-operated components and radio signals, eliminating the need for intrusive wiring.

Finally, it’s important to determine if your system is being professionally monitored. If a security company oversees your system, consult your contract to avoid penalties or abrupt disruptions. If still under contract, following proper notification procedures is essential before proceeding with the removal to ensure a smooth transition without legal or financial repercussions.
Preparing to Remove the Security System
Thorough preparation is essential before removing an old security system to ensure the process goes smoothly and safely.
Turn Off and Disconnect Power:
Step 1 involves disconnecting the system from its power source. This could be the main power supply or a backup battery. It’s important to ensure that all power to the system is shut off to prevent accidental alarms or electrical hazards. In Step 2, shut down any control panels or keypads, which will further ensure no alarms are inadvertently triggered during the removal process.
Notify Monitoring Service:
If your system is professionally monitored, it is critical to inform the security company of your intention to deactivate and remove it. This notice helps prevent false alarms that could result from the disassembly process. Check any contracts or agreements for specific notification requirements to avoid possible penalties.

Gather Necessary Tools:
As you prepare to start the removal, gather all the necessary tools to streamline the process. Essential tools include screwdrivers, pliers, and wire cutters, which will help disconnect various components. If dealing with a wired system, utilizing a voltage tester is highly recommended for added safety, ensuring that wires are not live during removal. With these preparations in place, you’re ready to safely dismantle your old security setup.
How to Remove Old Security System: Removing Key Components of the Security System
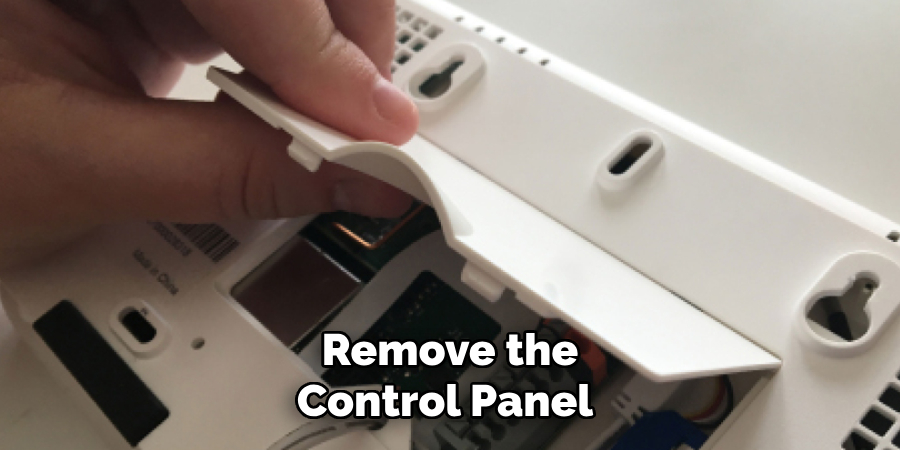
A. Remove the Control Panel
Step 1: Disconnect Power Supply
Begin by ensuring that the control panel is no longer connected to electricity. Cut off the system’s main power supply and remove any battery backups. This crucial step prevents electrical shocks and accidental alarms during the removal process.
Step 2: Unscrew and Remove
Next, the control panel was unscrewed from its wall mount. Carefully disconnect any wiring or cables connected to it. Handling these components gently is important to avoid damage to the wires or surrounding surfaces.

Step 3: Remove Wires Carefully
If your system is wired, proceed by carefully disconnecting the wires. Remove them one by one, not damaging the wires or their connections. If reinstallation or recycling is considered, it may be helpful to mark the wires for future reference.
B. Remove Sensors
Step 1: Detach Sensors
To remove door and window sensors, use a screwdriver to gently unscrew them from their frames. Wireless sensors are straightforward to detach, as they can simply be unscrewed and taken off.
Step 2: Disconnect Wiring
In the case of a wired security system, gently pull the wires out from the walls. Utilize pliers if needed to remove any adhered or stuck wires, ensuring minimal damage to walls.
C. Remove Keypads
Step 1: Unscrew Keypads
Using a screwdriver, carefully unscrew the keypads from their mounts. This is crucial for ensuring that the keypad and the mount remain undamaged, allowing for potential reuse or disposal.
Step 2: Disconnect Wires
If dealing with a wired setup, carefully disconnect the wiring attached to the keypads. Wireless keypads typically only need to be unmounted, as they rely on battery power rather than mains electricity.
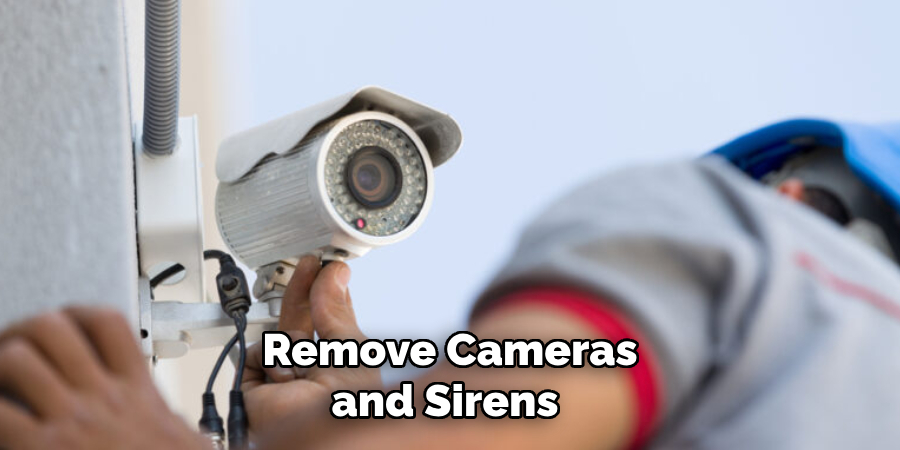
D. Remove Cameras and Sirens
Step 1: Unmount Cameras
To remove indoor or outdoor cameras, unscrew their mounts and gently detach any wiring connected to them. Preserve the cameras for future use or recycling if intended.
Step 2: Disconnect Sirens
Finally, unscrew the sirens from their mounts and disconnect the wires connecting them to the control panel. Ensure the sirens are properly handled and disconnected to prevent noise or damage.
Dealing with Wiring in a Wired System
When addressing the wiring of a wired security system, it’s crucial to decide whether to leave the wiring in place or remove it completely. If you anticipate needing the wiring for future installations or if it might be useful to new occupants, consider leaving it intact.
Removing the Wiring
Step 1: Gently Pull Wires from Walls
Using pliers, carefully extract the wires from the walls. Take special care to avoid damaging the walls or harming the wires in case they need to be reused.
Step 2: Cap Exposed Wires
Once the wires are removed, use wire nuts or electrical tape to cap off any exposed ends. This precaution prevents electrical hazards and ensures that any residual current is not risky.
Label and Document
Consider labeling the various wires to indicate their former connections and functions. Document the wiring locations within the walls, detailing their routes and endpoints. This information can be invaluable for future homeowners or professionals who may need to work with the wiring, facilitating easier repairs or installations. By taking the time to record and label accurately, you provide a clear guide for any subsequent electrical work.

Safely Disposing of Old Security Equipment
When it comes to disposing of old security equipment, it’s vital to do so responsibly to minimize environmental impact. Take electronic components such as control panels, cameras, and keypads to a certified electronic recycling center. These facilities are equipped to handle e-waste properly, ensuring harmful materials are safely processed.
Additionally, check if your security system’s manufacturer offers a take-back program, as many companies now provide recycling options for their outdated products. Consider donating it to organizations or individuals who can give it a second life for functional equipment. This not only helps those in need but also reduces waste. Always ensure that personal data is removed from any devices before disposal to protect your privacy. By following these steps, you can responsibly deal with your old security equipment while contributing positively to environmental conservation efforts.
Handling Security System Contracts and Legal Considerations
When dismantling a security system, addressing any contractual obligations and legal considerations is important. First, Check for Early Termination Fees: Review your current contract to verify whether terminating the service before the end of the agreed period incurs penalties. These fees can sometimes be considerable, so understanding them can inform your decision-making process and potentially save you.
Next, consider the necessity to Understand Property Disclosure Obligations: If you’re selling your home, removal of the security system could be a material fact that needs to be disclosed to prospective buyers. Check local regulations and discuss with a real estate professional to ensure all disclosures are appropriately managed, minimizing legal risks and maintaining transparency during the sale.
Finally, explore the option to Transfer Ownership of the System: If you are changing security providers or selling your home, inquire whether transferring ownership of the system, or parts of it, is permissible under your contract. This can potentially simplify processes for yourself and new homeowners, providing continuity in security and possibly avoiding the costs associated with installing a new system entirely. By considering these factors, you can navigate the transition smoothly and avoid unnecessary complications.
Conclusion
Safely removing a security system involves several crucial steps that ensure both efficiency and safety. Begin by turning off the power to avoid any electrical hazards. Detach all components systematically, starting with the control panel, sensors, and keypads and finishing with cameras and sirens. Carefully handle any associated wiring, deciding whether to leave it in place for future use or remove it entirely.
The importance of safety and care cannot be overstressed, as taking proper precautions helps prevent damage to your property and ensures a smooth removal process. Whether you’re upgrading to a new system or no longer need the current one, following these outlined steps on “how to remove old security system” will assist you in dismantling it without causing unnecessary damage. By doing so, you not only protect your property but also contribute to environmental conservation through responsible disposal practices.
About
Safety Fic is a distinguished figure in the world of Diy design, with a decade of expertise creating innovative and sustainable Diy solutions. His professional focus lies in merging traditional craftsmanship with modern manufacturing techniques, fostering designs that are both practical and environmentally conscious. As the author of diy, Safety Fic delves into the art and science of Safety Fic-making, inspiring artisans and industry professionals alike.
Education RMIT University
(Melbourne, Australia) Associate Degree in Design (Safety Fic) Focus on sustainable design, industry-driven projects, and practical craftsmanship. Gained hands-on experience with traditional and digital manufacturing tools, such as CAD and CNC software.
Nottingham Trent University
(United Kingdom) Bachelor’s in diyfastly.com and Product Design (Honors) Specialized in product design with a focus on blending creativity with production techniques. Participated in industry projects, working with companies like John Lewis and Vitsoe to gain real-world insights.
Publications and Impact
In diy, Safety Fic his insights on indoor design processes, materials, and strategies for efficient production. His writing bridges the gap between artisan knowledge and modern industry needs, making it a must-read for both budding designers and seasoned professionals.
