

Removing a plastic grid from a door might seem like a daunting task, but with the right tools and approach, it can be done efficiently and safely. Whether you’re planning to replace it with a new design or simply want an unobstructed view, following a systematic process is essential.
This guide on how to remove plastic grid from door will walk you through the necessary steps, tools, and precautions to ensure a smooth removal of the plastic grid without causing damage to your door.
What is a plastic grid?
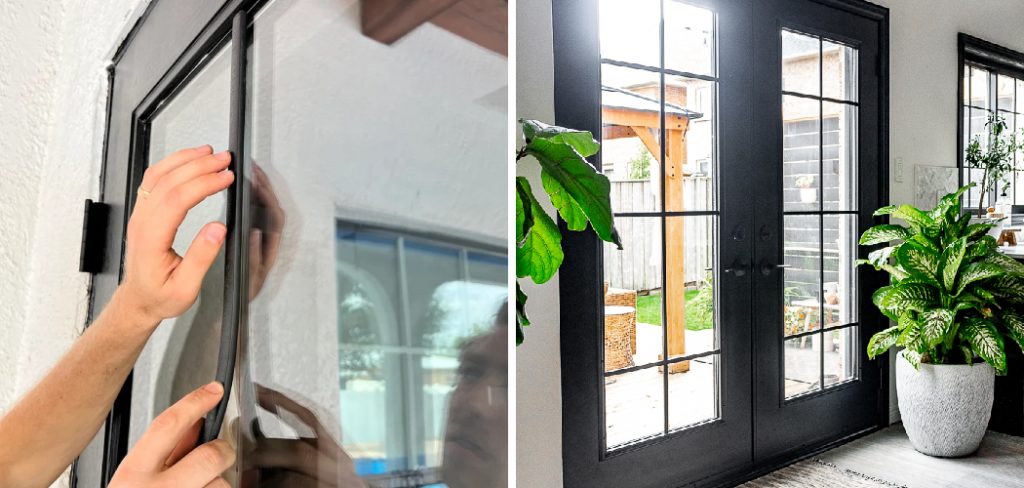
A plastic grid, sometimes also referred to as a window grille or muntin, is a decorative element that is attached to the surface of a door. It usually consists of vertical and horizontal strips of plastic that form small squares or rectangles, giving the appearance of multiple panes in a window.
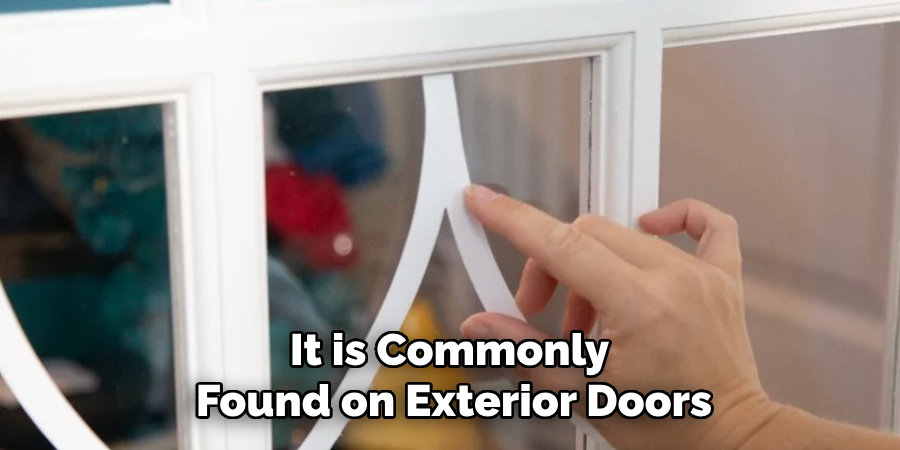
It is commonly found on exterior doors, particularly those with a window, to add aesthetic appeal and provide additional security. However, over time, these grids may become damaged or outdated, and you might want to remove them for maintenance or design purposes.
Why Remove a Plastic Grid From Door?
There are several reasons why you might want to remove a plastic grid from your door. Some common ones include:
Changing the Aesthetic:
If you’re looking to update the look of your door or match it with new windows, removing the plastic grid can give it a more modern and sleek appearance.
Easier Maintenance:
Plastic grids can accumulate dirt and grime, making them difficult to clean. Removing them makes the door surface easier to maintain.
Increased Visibility:
Removing the plastic grid will allow more natural light into your home, providing a clearer view of your surroundings.
Better Security:
If the plastic grid is damaged or loose, it can compromise the security of your door. Removing it ensures that your door is secure and functional.
Tools Needed:
Before starting the removal process, gather all the necessary tools and materials. These include:
Utility Knife or Box Cutter:
This will be used to cut through any adhesive holding the plastic grid in place.
Pry Bar:
A pry bar will help you gently lift and remove the plastic grid from the door without damaging it.
Safety Glasses:
Wearing safety glasses will protect your eyes from any debris that may fly during the removal process.
Precautions
Removing a plastic grid from your door can be a straightforward task, but it is essential to take some precautions to avoid injury or damage to your door. These include:
- Wear protective gear such as safety glasses and gloves to prevent injuries.
- Start by removing one grid at a time rather than trying to remove them all at once. This will prevent any accidental damage to the door.
- If you’re unsure about the removal process, it’s best to consult a professional.
7 Step-by-step Guidelines on How to Remove Plastic Grid From Door
Step 1: Examine the Grid
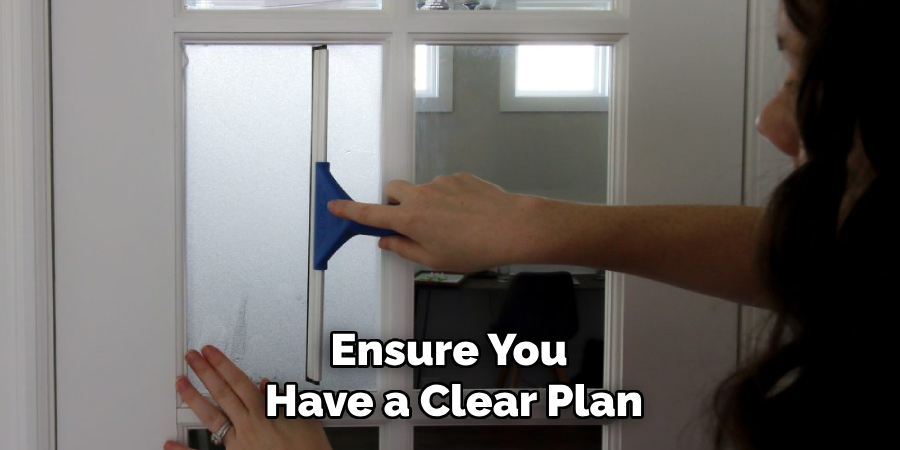
Begin by thoroughly examining the plastic grid to understand how it is attached to the door. Check if the grid is held in place by adhesive, screws, or clips. Look for any visible screws or fasteners that might be securing the grid, and take note of their locations. This initial assessment will help you determine the best approach for removal.
Additionally, inspect the grid for any signs of damage or wear that could affect the removal process. Knowing the grid’s attachment points and conditions will ensure you have a clear plan before you start cutting or prying.
Step 2: Cut Through the Adhesive
Once you have thoroughly examined the plastic grid and identified its attachment points, the next step is to cut through any adhesive holding the grid in place. Using a utility knife or box cutter, carefully insert the blade between the grid and the door’s surface. Gently glide the blade along the edges of the grid, applying consistent pressure to ensure you cut through the adhesive without damaging the door.
Take your time during this process to avoid scratching or gouging the door. Working slowly and methodically will help ensure a clean cut and make the subsequent steps easier. If the adhesive is particularly tough, you may need to make multiple passes with the knife. Always maintain safety by holding the knife securely and angling the blade away from your body.
Step 3: Remove the Screws or Fasteners
If your plastic grid is attached with screws or fasteners, use a screwdriver or drill to remove them. Ensure you have the correct size and type of tool to prevent stripping the screws. Place the removed screws in a container so that they don’t get lost.
Some plastic grids may also be secured with clips rather than screws. In this case, carefully detach each clip using a pry bar, starting from one corner and working your way around until all clips are removed. Be gentle during this process to avoid damaging the door’s surface.
Step 4: Gently Pry the Grid
With the adhesive and screws removed, your plastic grid should be loose enough to pry gently with a pry bar. Slide the pry bar between the door and the grid and apply even pressure to lift it off. If you encounter any resistance, stop and re-evaluate the attachment points to ensure they are all released before continuing.
You can also use a putty knife or flathead screwdriver if you don’t have a pry bar, but be careful not to damage the door’s surface.
Step 5: Clean the Door Surface
After successfully removing the plastic grid, you may notice residual adhesive or dirt on your door’s surface. To clean it, dampen a cloth with warm water and gentle soap and wipe down the area.
If there is any remaining adhesive residue, use a solvent like rubbing alcohol or adhesive remover and a clean cloth to remove it. Be sure to test the solvent on an inconspicuous area of the door first to ensure it does not cause any damage.
Step 6: Sand and Touch Up
Depending on how the plastic grid was attached, you may notice small holes or scratches on the door’s surface. Use fine-grit sandpaper to gently sand over these imperfections and create a smooth surface.
If your door has a painted finish, you can touch up any scratches with matching paint. For wooden doors, use wood filler followed by sanding and staining if necessary. Allow the touch-up area to dry completely before moving on to the next step.
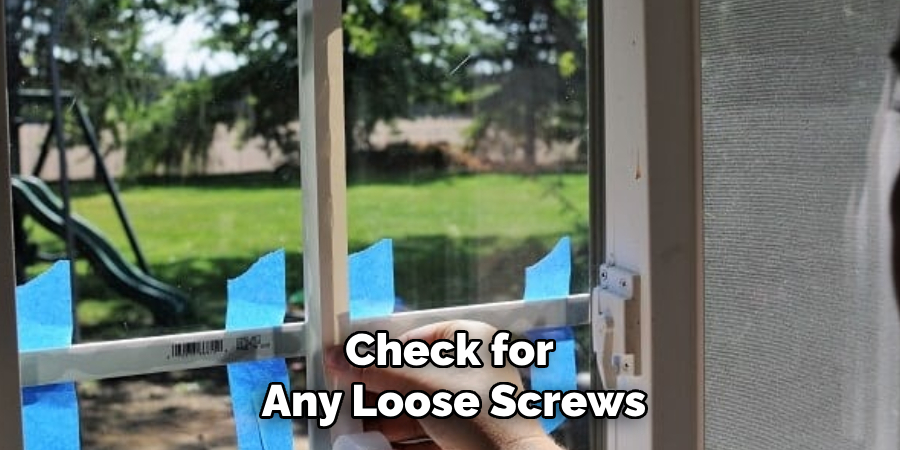
Step 7: Secure Any Loose Hardware
Before finishing the project, check for any loose screws or fasteners and tighten them if necessary. This will ensure that your door is secure and functional without the plastic grid.
Following these step-by-step guidelines on how to remove plastic grid from door will enable you to remove a plastic grid from your door easily and safely. Remember to take your time, wear protective gear, and consult a professional if you have any concerns or questions. Enjoy the increased visibility and security of your newly unobstructed door! So why wait? Go ahead and give it a try!
Frequently Asked Questions
Q: Will Removing the Plastic Grid Damage My Door?
A: As long as you are careful and follow the steps outlined above, the removal process should not cause any damage to your door. Just be sure to inspect the grid and use the appropriate tools to avoid any scratches or gouges.
Q: Can I Reattach the Grid After Removal?
A: It is possible to reattach a plastic grid after removing it, but this will depend on the condition of both the door and the grid. If there is significant damage, it may be best to replace the plastic grid with a new one instead.
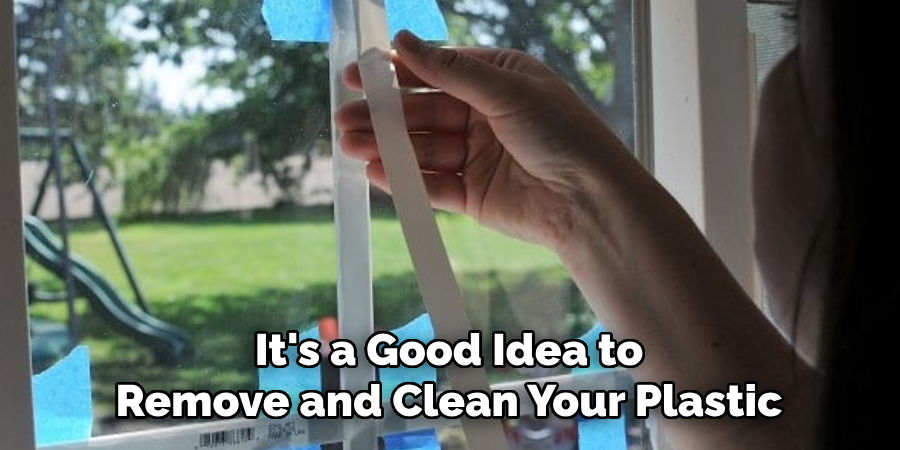
Q: How Often Should I Remove and Clean My Plastic Grid?
A: It’s a good idea to remove and clean your plastic grid at least once every six months. This will help maintain its appearance and prevent any buildup of dirt or debris. However, if you notice any damage or wear, it’s best to remove and clean the grid right away.
Q: Can I Use a Heat Gun to Remove the Grid?
A: While using heat can help soften stubborn adhesive, it’s not recommended for removing plastic grids from doors. The high temperature could potentially cause damage to both the door and the grid itself.
Q: Is It Possible to Remove a Plastic Grid Without Any Tools?
A: It may be possible to remove a plastic grid without tools in some cases, but this method is not recommended as it may cause damage to your door. Using the proper tools, as outlined in this guide, will ensure a safer and more efficient removal process.
Conclusion
Removing a plastic grid from your door may seem like a daunting task, but with the right tools and precautions, it can be done easily and safely. Not only does removing the grid provide aesthetic benefits, but it also makes maintenance and security easier.
Follow these step-by-step guidelines on how to remove plastic grid from door to successfully remove a plastic grid from your door and enjoy the unobstructed view. And remember, if you have any doubts or concerns, don’t hesitate to consult a professional for assistance. Happy cleaning!
About
Safety Fic is a distinguished figure in the world of Diy design, with a decade of expertise creating innovative and sustainable Diy solutions. His professional focus lies in merging traditional craftsmanship with modern manufacturing techniques, fostering designs that are both practical and environmentally conscious. As the author of diy, Safety Fic delves into the art and science of Safety Fic-making, inspiring artisans and industry professionals alike.
Education RMIT University
(Melbourne, Australia) Associate Degree in Design (Safety Fic) Focus on sustainable design, industry-driven projects, and practical craftsmanship. Gained hands-on experience with traditional and digital manufacturing tools, such as CAD and CNC software.
Nottingham Trent University
(United Kingdom) Bachelor’s in diyfastly.com and Product Design (Honors) Specialized in product design with a focus on blending creativity with production techniques. Participated in industry projects, working with companies like John Lewis and Vitsoe to gain real-world insights.
Publications and Impact
In diy, Safety Fic his insights on indoor design processes, materials, and strategies for efficient production. His writing bridges the gap between artisan knowledge and modern industry needs, making it a must-read for both budding designers and seasoned professionals.