

Rain guards, also known as window visors or deflectors, are accessories installed on a vehicle’s windows to deflect rain, wind, and debris while allowing you to keep the windows slightly open. This enhances the driving experience by reducing wind noise, preventing rain from entering the cabin, and promoting better air circulation. Despite their benefits, there are common reasons for removing rain guards and their adhesive, such as the need for replacement due to damage or, wear and tear, or a change in aesthetic preferences.
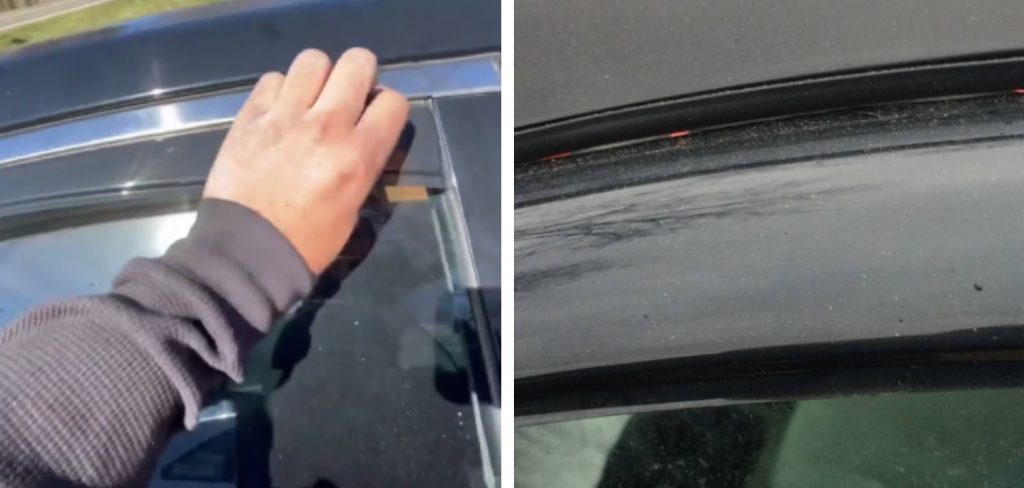
Knowing how to remove rain guard adhesive properly is essential to avoid damaging the vehicle’s paint and ensure a clean surface for any new installation. This guide will provide an overview of the process and the materials needed, including tools like a plastic scraper, adhesive remover, microfiber cloths, and a heat gun to successfully remove rain guards and their adhesive.
Understanding Rain Guard Adhesives
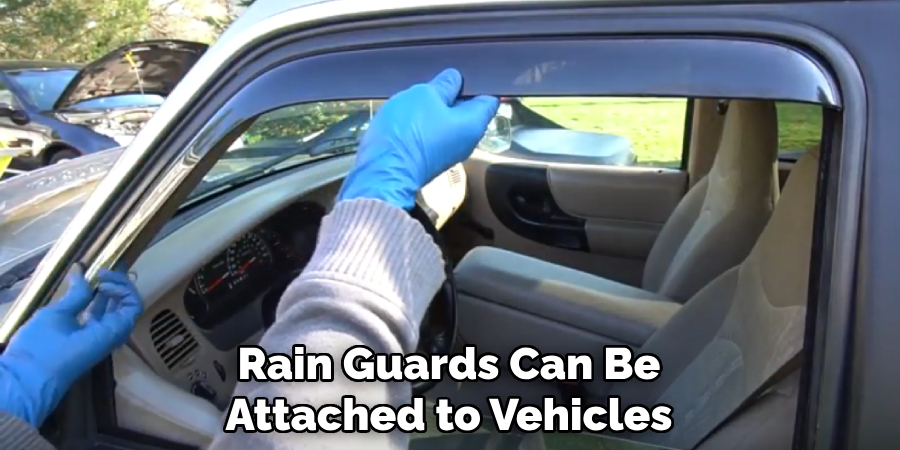
Rain guards can be attached to vehicles using various types of adhesives, with the most common being double-sided tapes and silicone adhesives. Double-sided tape offers a strong and instant bond, which is convenient for quick installations but challenging to remove due to its tenacious grip. Silicone adhesive, on the other hand, provides a flexible yet durable connection that can withstand weathering and temperature changes.
Both adhesives are designed to endure harsh environmental conditions, making them particularly difficult to remove without proper techniques and tools. The properties of these adhesives—such as their strong bonding capabilities and resistance to water and heat—contribute to the complexity of the removal process.
Therefore, removing rain guard adhesives carefully is crucial to prevent damaging the vehicle’s paint or window surfaces. A meticulous approach ensures that the adhesive is fully eliminated, leaving a clean and intact surface for future installations or aesthetic improvements.
Tools and Materials Needed
To successfully remove rain guards and their adhesive, you will need the following tools and materials: a plastic scraper, adhesive remover or solvent (e.g., Goo Gone, rubbing alcohol), microfiber cloths, a heat gun or hairdryer, and gloves. Optional items include masking tape and detailing spray.
Preparing for Removal
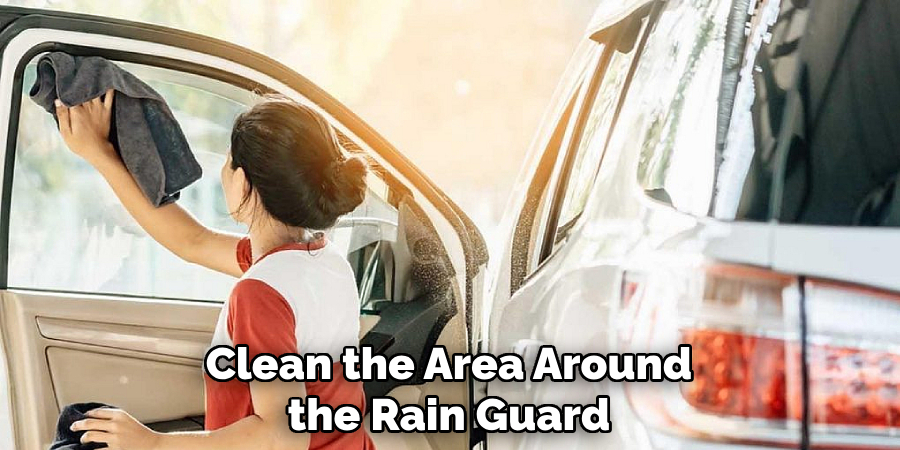
Before starting the removal process, it is important to prepare the work area to minimize the risk of damage to your vehicle. First, clean the area around the rain guard using mild soap and water to remove dirt and debris.
This ensures that no contaminants interfere with the removal process or scratch the vehicle’s surface. Consider using masking tape to safeguard the paint around the rain guard for added protection. Apply the tape carefully to cover any exposed areas that might be affected during the adhesive removal.
Next, gather all the necessary tools and materials to have them within easy reach. These include a plastic scraper, adhesive remover or solvent, microfiber cloths, a heat gun or hairdryer, and gloves. Organizing these items in advance allows for a smoother and more efficient removal process, thereby reducing the chances of inadvertent damage to your vehicle.
How to Remove Rain Guard Adhesive: Softening the Adhesive
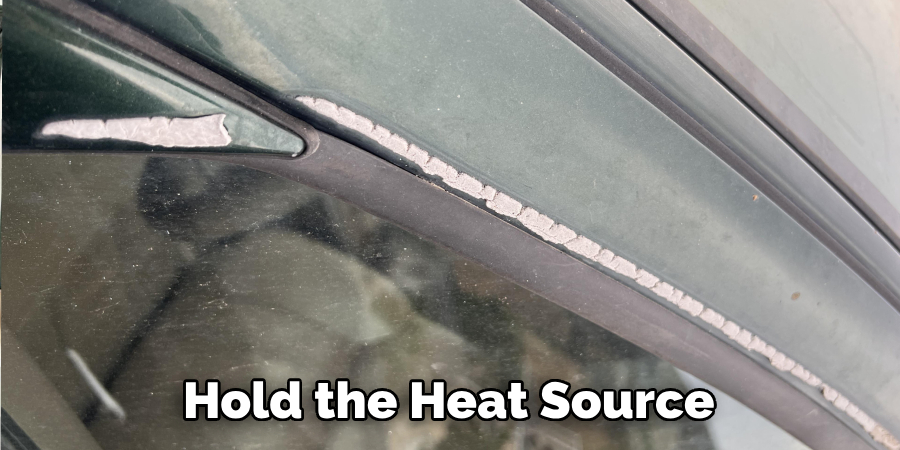
Softening the adhesive is crucial in making the removal process smoother and more effective. First, use a heat gun or hairdryer to gently heat the adhesive securing the rain guard. Hold the heat source approximately 6 to 8 inches from the surface at a safe distance to avoid damaging the vehicle’s paint or plastic components. Maintaining this distance ensures that the heat is evenly distributed without harming the underlying materials.
Gradually warm the adhesive by moving the heat gun or hairdryer in a steady, sweeping motion. This helps to uniformly soften the adhesive without creating hot spots that could potentially damage the vehicle. Pay close attention to the temperature and duration of heating, as prolonged exposure to intense heat can lead to unwanted effects on the paint and plastic.
While using heat sources, prioritize safety by wearing heat-resistant gloves to protect your hands from burns. Keep the heat gun or hairdryer in good condition and always follow the manufacturer’s instructions to prevent any accidents. Ensure that no flammable materials are nearby during this process. With the adhesive adequately softened, the subsequent steps of removing the rain guard and any residual adhesive will be significantly easier, paving the way for a cleaner and more efficient removal process.
How to Remove Rain Guard Adhesive: Removing the Rain Guard
Once the adhesive has been adequately softened, you can begin removing the rain guard. Start by selecting a corner of the rain guard and gently inserting a plastic scraper between the guard and the vehicle’s surface. Carefully pry up the corner without excessive force, as this can damage the rain guard and the vehicle’s paint.
Work slowly and methodically across the length of the rain guard. As you lift the rain guard, continue to apply heat using the heat gun or hairdryer. This helps to keep the adhesive pliable, making it easier to separate the rain guard from the vehicle. Maintain a steady, even pressure to ensure that the rain guard is removed smoothly and to prevent it from breaking.
During this process, you may encounter areas where the adhesive is more resistant. In these cases, reapply heat and gently work the plastic scraper to loosen the adhesive. Be patient and avoid rushing, as this reduces the risk of causing any damage.
If the adhesive remains stubborn in certain spots, a small amount of adhesive remover or solvent can be applied to dissolve it. Use a microfiber cloth to gently wipe away any remaining adhesive. By following these steps carefully, you can remove the rain guard without harming your vehicle, setting the stage for a clean surface for new installations.
Polishing and Finishing
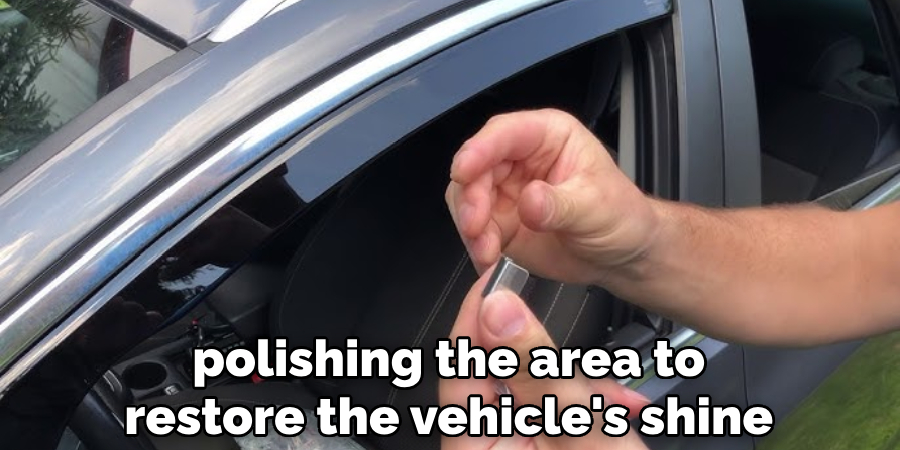
The final and crucial step in the rain guard removal process is polishing the area to restore the vehicle’s shine. Begin by applying a small amount of detailing spray or polish to a clean microfiber cloth. This will help effectively remove any remaining adhesive residue and restore the vehicle’s original finish.
Once the polish is applied, gently buff the area where the rain guard was attached using a circular motion. This method ensures that the surface is evenly treated, enhancing the vehicle’s shine. Continue buffing until all adhesive residues are completely removed, taking frequent pauses to inspect your progress and to avoid over-polishing, which can potentially harm the paintwork.
After buffing, inspect the area closely to identify any missed spots or damage that might have occurred during the removal process. If you find any minor scratches or blemishes, apply a small amount of touch-up paint to these areas. Use a fine brush to cover the imperfections carefully, and allow the paint to dry thoroughly.
Finally, give the entire area one last wipe with a clean microfiber cloth to remove any excess product or debris. This thorough polishing and finishing process will leave your vehicle pristine, with a seamless and shiny surface ready for future installations or simply enjoying the restored appearance.
Preventative Measures for Future Installations
To ensure easier removal of rain guards in the future, consider using less aggressive adhesives or removable adhesive strips. These options simplify the removal process and minimize the risk of damage to your vehicle. Regularly check the condition of the adhesive to catch any issues early, which can prevent more extensive problems later on.
Additionally, always follow the manufacturer’s recommendations for both installation and removal procedures. Adhering to these guidelines ensures that the rain guards are securely attached without compromising the ease of future removals, maintaining the integrity of your vehicle’s finish.
Frequently Asked Questions
1. What Tools Do I Need to Remove Rain Guard Adhesive Safely?
To safely remove rain guard adhesive, you will need a few essential tools, including a plastic scraper, a heat gun or hairdryer, adhesive remover or solvent, microfiber cloths, and heat-resistant gloves. These tools help ensure a smooth and effective removal process while minimizing the risk of damage to your vehicle.
2. Can I Use Any Type of Heat Source to Soften the Adhesive?
While various heat sources can be used, a heat gun or hairdryer is highly recommended, as these tools provide controlled and manageable heat settings. Always maintain a safe distance of approximately 6 to 8 inches from the adhesive to avoid damaging your vehicle’s paint or plastic components with excessive heat.
3. How Can I Prevent Damage to My Vehicle During the Removal Process?
To prevent damage during the removal process, work slowly and methodically. Use a plastic scraper to gently lift the rain guard without applying excessive force. Continually apply heat to keep the adhesive pliable and consider using adhesive remover to dissolve stubborn spots. Wearing heat-resistant gloves and following the manufacturer’s guidelines ensures a safer and more effective removal process.
Conclusion
Successfully learning how to remove rain guard adhesive entails a series of meticulous steps to ensure the integrity of your vehicle’s appearance. Starting with the initial preparation of essential tools and materials and moving on to softening the adhesive using a heat gun or hairdryer, each stage contributes to an effective and damage-free removal process.
Gently prying off the rain guard while maintaining a consistent heat application further aids in the smooth extraction of the adhesive. The polishing and finishing steps restore the vehicle’s surface, preparing it for future installations.
Patience and careful attention are paramount throughout this process to avoid any inadvertent damage to the paintwork or plastic components. Proper techniques and regular maintenance keep your vehicle looking pristine and prepared for new enhancements. Following these detailed procedures on how to remove rain guard adhesive not only ensures a flawless finish but also preserves the vehicle’s overall aesthetic and structural integrity.
You Can Check It Out to Stop Car Door Lock Freezing Up.
About
Safety Fic is a distinguished figure in the world of Diy design, with a decade of expertise creating innovative and sustainable Diy solutions. His professional focus lies in merging traditional craftsmanship with modern manufacturing techniques, fostering designs that are both practical and environmentally conscious. As the author of diy, Safety Fic delves into the art and science of Safety Fic-making, inspiring artisans and industry professionals alike.
Education RMIT University
(Melbourne, Australia) Associate Degree in Design (Safety Fic) Focus on sustainable design, industry-driven projects, and practical craftsmanship. Gained hands-on experience with traditional and digital manufacturing tools, such as CAD and CNC software.
Nottingham Trent University
(United Kingdom) Bachelor’s in diyfastly.com and Product Design (Honors) Specialized in product design with a focus on blending creativity with production techniques. Participated in industry projects, working with companies like John Lewis and Vitsoe to gain real-world insights.
Publications and Impact
In diy, Safety Fic his insights on indoor design processes, materials, and strategies for efficient production. His writing bridges the gap between artisan knowledge and modern industry needs, making it a must-read for both budding designers and seasoned professionals.