

Removing a Ring contact sensor is a straightforward process that may be necessary for various reasons, such as repositioning the sensor, conducting maintenance, or troubleshooting connectivity issues.
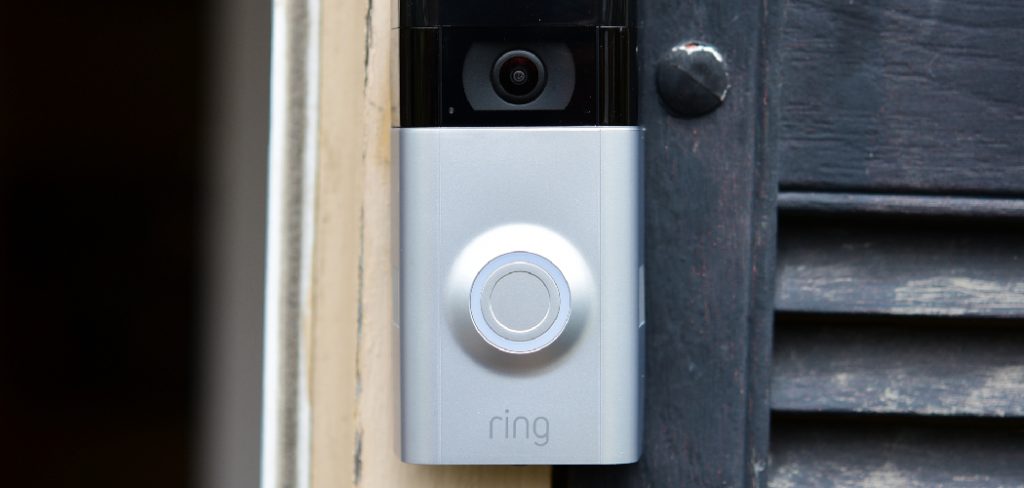
Whether you’re upgrading your home security system, adjusting sensor placement, or simply need to replace a malfunctioning unit, knowing how to remove a Ring contact sensor correctly is essential. In this guide, we’ll explore the step-by-step process of how to remove ring contact sensor safely and effectively.
By following these instructions, you can ensure that the sensor is removed without causing damage to your door or window frame, allowing you to maintain the integrity of your home security system while making necessary adjustments or replacements.
Importance of Home Security Devices
In today’s world, the importance of home security devices cannot be overstated. With the increasing rate of burglary and home invasions, having a robust security system has become a necessity rather than a luxury.
Devices such as contact sensors, motion detectors, and surveillance cameras act as the first line of defense against potential intruders, alerting homeowners of any suspicious activity around their property.
Beyond mere deterrence, these security devices provide peace of mind, knowing that one’s home and loved ones are protected 24/7.

They also play a crucial role in emergency response, as modern systems can be integrated with monitoring services to notify authorities instantly in the event of a break-in. Furthermore, the presence of security devices can significantly affect insurance premiums, offering another layer of financial security by lowering costs.
In essence, investing in quality home security devices is an investment in safety, security, and serenity.
Reasons for Removing Contact Sensors
There are several reasons why a homeowner might decide to remove a Ring contact sensor from their door or window. One of the primary reasons is the need for battery replacement. Like all battery-operated devices, the Ring contact sensor will eventually run out of power, necessitating a battery change to ensure continuous protection.
Another common reason is the relocation of the sensor. Homeowners may decide to move the sensor to a more strategic location for better home security coverage or to accommodate home renovations and aesthetic changes. Maintenance and troubleshooting are also significant reasons for removal.
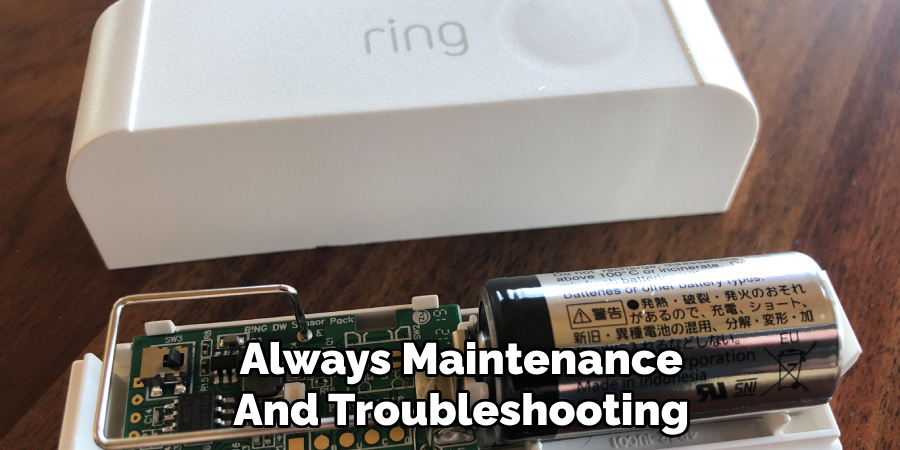
Over time, sensors can accumulate dust and debris, potentially affecting their functionality and necessitating a thorough cleaning or inspection. Additionally, if the sensor is not functioning correctly, such as failing to detect openings or causing false alarms, it may need to be removed for repair or replacement.
Understanding the Need for Removal
Before proceeding with the removal of a Ring contact sensor, it’s important to fully understand the need for this action. Identifying the specific reason behind the removal can guide the process, ensuring that it’s done correctly and for the right purpose.
Whether it’s due to battery depletion, a decision to enhance the security setup through strategic relocation, the requirement for routine maintenance, troubleshooting to resolve operational issues, or upgrading to a newer, more advanced model, understanding the underlying cause will not only streamline the removal process but also inform the subsequent steps.
For instance, if the removal is for battery replacement, ensuring you have the correct replacement battery type and understanding how to safely replace it are crucial. Similarly, if the aim is to relocate the sensor for optimal coverage, pre-identifying the new location and preparing it for installation will save time and effort.
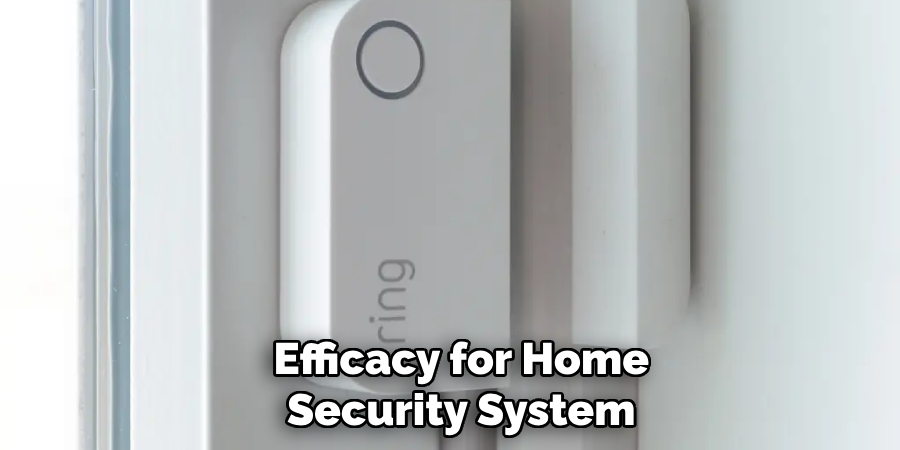
Therefore, taking a moment to assess and articulate the reason for removal not only facilitates a smoother process but also helps in maintaining the functionality and efficacy of the home security system.
Identifying Type of Ring Contact Sensor
Before attempting to remove a Ring contact sensor, it is vital to identify the specific model and type you are dealing with. Ring offers several versions of contact sensors, each with unique features and removal procedures. The first generation of Ring contact sensors, for example, differs significantly in design and mechanism from the second generation.
Identifying the model is straightforward — by examining the sensor for any model identifiers or by checking the product manual or packaging that came with your device. You can also find this information in the device settings if you have already set up the sensor with your Ring app.
Knowing the exact type of Ring contact sensor you have is crucial because it determines the removal steps you need to follow. Some models may require specific tools or methods to detach them safely from the mounted surface without causing damage.
Additionally, understanding the sensor type helps in precisely diagnosing any issues for troubleshooting or in selecting the correct replacement parts if necessary.
Proceeding with removal without this knowledge could inadvertently result in damage to the sensor or the surface it is attached to, leading to unnecessary complications or expenses.
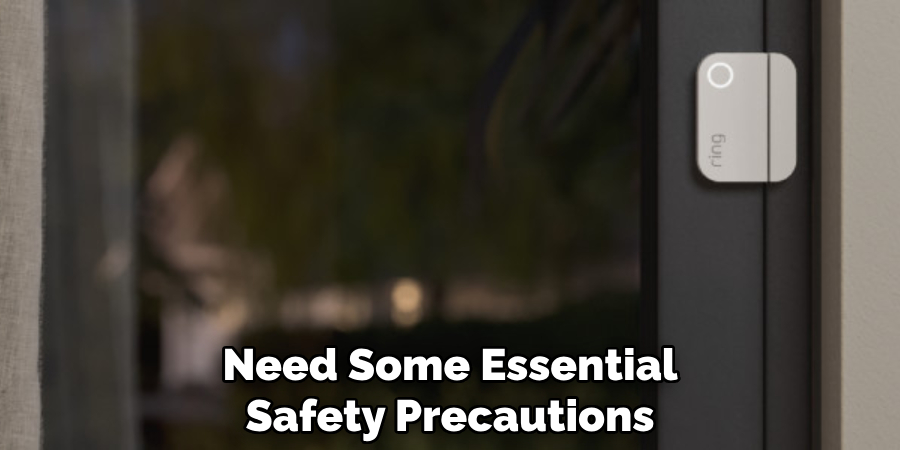
Safety Precautions to Consider
When removing a Ring contact sensor, prioritizing safety is paramount, both for the individual performing the removal and for the device itself. Here are some essential safety precautions to consider:
- Turn off the power: If your Ring device is connected to the house’s power system (in cases where it may be wired or connected to a smart home system), ensure that the power is completely turned off. This step prevents any electrical hazard.
- Wear protective gloves: Handling tools or the edges of the device and mount can sometimes lead to cuts or scrapes. Wearing protective gloves can provide a safeguard against unforeseen injuries.
- Use the right tools: Employing the correct tools for the removal process is crucial. Using inappropriate tools can not only cause damage to the device but also pose a risk of injury. Refer to the manufacturer’s guidance for recommended tools.
- Be mindful of battery safety: If dealing with depleted batteries, handle and dispose of them according to the manufacturer’s recommendations. Batteries can leak or even explode if mishandled or incorrectly disposed of.
- Securely store small parts: During the removal process, small parts such as screws or brackets can become choking hazards, especially in homes with small children or pets. Keep these parts in a secure container during and after the removal process.
- Follow the step-by-step instructions carefully: Avoid rushing the removal process. Follow the manufacturer’s instructions step by step. Hastily or incorrectly removing the sensor can result in damage to the sensor, mounting surface, or even personal injury.
- Consider professional help if unsure: If at any point, the removal process seems beyond your skill set or if you are not confident in safely completing the task, it is advisable to seek professional assistance. Doing so can prevent potential harm or damage.
Adhering to these safety precautions ensures that the removal of a Ring contact sensor is completed smoothly, safely, and without incident.
Preparing for Removal
Prior to commencing the removal of a Ring contact sensor, adequate preparation is essential to ensure the process is smooth and devoid of any obstacles. The following steps will guide you through preparing effectively:
- Gather Necessary Tools and Materials: Based on the guidance provided by the user manual or manufacturer’s instructions, prepare all the tools and materials you may need for the removal.This could include screwdrivers, safety gloves, and a container for holding small parts.
- Notify House Members or Office Staff: Inform everyone in the household or office about the intended removal, especially if the process might temporarily reduce security measures or require power shutdowns in certain areas.
- Document the Current Setup: Taking photos or making notes about the current installation can be invaluable for reference, especially if you plan to reinstall the sensor after troubleshooting or to ensure correct setup if replacing with a new unit.
- Clear the Work Area: Ensure you have clear and safe access to the contact sensor. Removing any obstructions or valuables from the work area minimizes the risk of accidents or damage to property.
- Safety First: Double-check that all necessary safety precautions are in place, such as turning off power if required, wearing protective gloves, and having a first aid kit accessible just in case.
- Review the Removal Steps: Before starting, review the removal steps as outlined in the manufacturer’s instructions or user manual. Familiarizing yourself with the process ahead of time can prevent mistakes and make the removal smoother.
Gathering Necessary Tools and Materials
To ensure the smooth removal of a Ring contact sensor, gathering all necessary tools and materials before beginning is vital.
The right tools not only facilitate a hassle-free process but also prevent damage to the device and your property. Based on the manufacturer’s recommendations, the following list includes essential items you might need:
- Screwdrivers: A set of screwdrivers, including both flathead and Phillips-head, to remove screws of various sizes.
- Safety Gloves: Protective gloves to safeguard your hands from sharp edges and prevent static discharge that could harm electronic components.
- Container for Small Parts: A small container or magnetic tray to hold screws and other small parts securely, preventing loss.
- Prying Tool: A plastic prying tool can be useful for gently separating the sensor from its mounting without causing damage to your walls or the device.
- Flashlight: Adequate lighting is crucial, especially when working in dimly lit areas. A flashlight or headlamp can provide the necessary visibility.
- Multimeter: For wired systems, a multimeter to ensure that all power is correctly shut off before beginning the removal process.
- Circuit Tester: A non-contact voltage tester to double-check for electrical safety.
- First Aid Kit: Keeping a first aid kit nearby for any unexpected minor injuries is always a prudent precaution.
- Manufacturer’s User Manual: The sensor’s user manual or removal guide to reference specific instructions or recommendations for tools.

10 Methods How to Remove Ring Contact Sensor
1.Disarming the Security System:
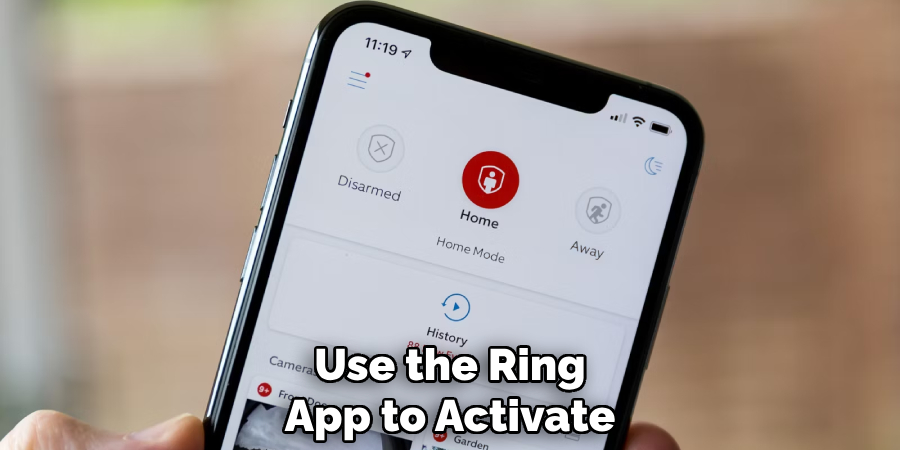
Before removing a Ring contact sensor, it’s essential to disarm your security system to prevent any accidental alarms or alerts. Use the Ring app or keypad to disarm the system, ensuring that it is in an inactive state before proceeding with sensor removal.
2.Accessing the Sensor:
Locate the Ring contact sensor that you want to remove. These sensors are typically attached to doors or windows using adhesive backing or screws. Inspect the sensor to determine how it is mounted and identify any screws or fasteners that need to be removed.
3.Removing the Cover:
Some Ring contact sensors have a removable cover that conceals the battery compartment and mounting screws. Use a small flathead screwdriver or a coin to gently pry open the cover and expose the interior components of the sensor. Be careful not to damage the cover or sensor during this process.
3.Removing Screws or Fasteners:
If the Ring contact sensor is secured with screws or fasteners, use the appropriate tool (such as a Phillips screwdriver) to remove them. Turn the screws counterclockwise to loosen them and carefully remove them from the door or window frame. Keep track of the screws to avoid misplacement.
4.Peeling Off Adhesive Backing:
If the Ring contact sensor is attached using adhesive backing, carefully peel it off the door or window frame. Start by gently lifting one corner of the sensor and slowly peel it away, applying steady pressure to avoid damaging the surface. Use a hairdryer or heat gun to soften the adhesive if needed.
5.Disconnecting Wiring (if applicable):
Some Ring contact sensors may be wired to the security system for power or connectivity. If this is the case, carefully disconnect the wiring from the sensor before removing it from the door or window frame. Use a screwdriver or wire stripper to loosen the terminal screws and remove the wires.
6.Testing the Sensor (Optional):
Before removing the Ring contact sensor completely, it’s a good idea to test its functionality to ensure that it is working correctly. Use the Ring app to activate the sensor’s test mode and verify that it detects opening and closing properly. This can help diagnose any issues before reinstalling or replacing the sensor.
7.Inspecting the Mounting Surface:
After removing the Ring contact sensor, inspect the mounting surface (such as the door or window frame) for any residue or damage. Clean the surface thoroughly using a mild detergent or rubbing alcohol to remove any adhesive residue or dirt. Allow the surface to dry completely before reinstalling a sensor or making any repairs.
8.Replacing or Repositioning the Sensor:
Once the Ring contact sensor has been removed and the mounting surface is clean, you can either replace it with a new sensor or reposition it to a different location. Follow the manufacturer’s instructions for installing and configuring the sensor, ensuring that it is securely mounted and aligned properly.
9.Reactivating the Security System:
After reinstalling or replacing the Ring contact sensor, reactivate your security system to ensure that it is fully operational. Use the Ring app or keypad to arm the system and test the sensor to verify that it is functioning correctly. Make any necessary adjustments or repairs as needed to maintain the integrity of your home security system.
Communicating Bypassing with Household Members
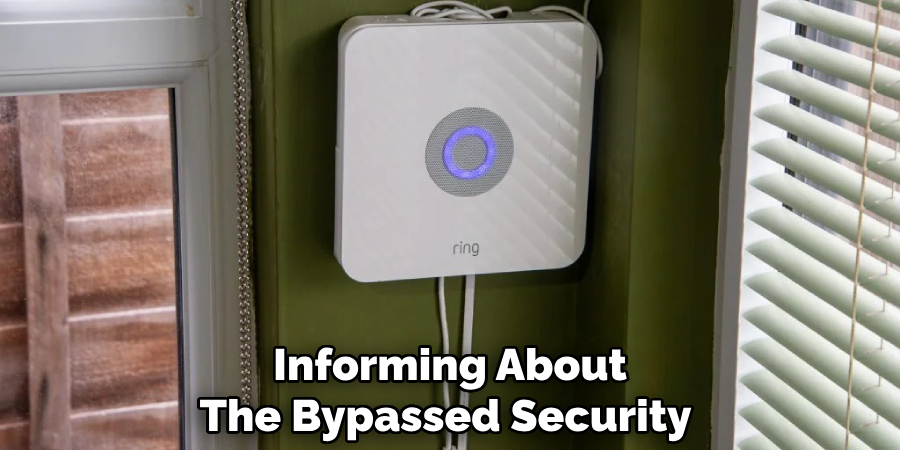
After successfully removing, repositioning, or replacing a Ring contact sensor, it’s crucial to communicate with all household members about the bypassed security system.
Informing them about which sensor has been bypassed and for how long it will remain so helps to maintain the security awareness of everyone in the home. Utilize the following strategies to ensure effective communication:
- Group Meetings or Discussions: Organize a quick meeting or discussion with your household to explain the reason behind the sensor’s bypass and its impact on their daily routines.
- Notification Systems: Use family group chats or home management apps to send updates about the status of the security system, especially if the bypassed sensor affects the system’s overall functionality.
- Visual Reminders: Place visual reminders near the affected area or devise to remind household members that the security system is temporarily modified. This can prevent accidental triggering of the system once it’s reactivated.
- Scheduled Updates: If the bypass is expected to last for an extended period, schedule regular updates to keep everyone informed about the progress and any changes to the home security setup.
Ensuring that each household member understands the temporary security adjustments minimizes confusion and strengthens collective efforts to maintain a secure environment.
Conclusion
In conclusion, knowing how to remove a Ring contact sensor is a valuable skill for homeowners seeking to maintain and optimize their home security systems.
By following the outlined steps with care and attention to detail, individuals can confidently detach contact sensors from their mounting surfaces, whether for maintenance, relocation, or replacement purposes.
Taking proper precautions and handling components with care ensures the integrity of both the sensor and the overall security system. Remember to assess the need for reinstallation or replacement, and test the sensor’s functionality after removal to maintain the effectiveness of the system.
Thanks for reading, and we hope this has given you some inspiration on how to remove ring contact sensor!
About
Safety Fic is a distinguished figure in the world of Diy design, with a decade of expertise creating innovative and sustainable Diy solutions. His professional focus lies in merging traditional craftsmanship with modern manufacturing techniques, fostering designs that are both practical and environmentally conscious. As the author of diy, Safety Fic delves into the art and science of Safety Fic-making, inspiring artisans and industry professionals alike.
Education RMIT University
(Melbourne, Australia) Associate Degree in Design (Safety Fic) Focus on sustainable design, industry-driven projects, and practical craftsmanship. Gained hands-on experience with traditional and digital manufacturing tools, such as CAD and CNC software.
Nottingham Trent University
(United Kingdom) Bachelor’s in diyfastly.com and Product Design (Honors) Specialized in product design with a focus on blending creativity with production techniques. Participated in industry projects, working with companies like John Lewis and Vitsoe to gain real-world insights.
Publications and Impact
In diy, Safety Fic his insights on indoor design processes, materials, and strategies for efficient production. His writing bridges the gap between artisan knowledge and modern industry needs, making it a must-read for both budding designers and seasoned professionals.