

Do you have an old Safety First cabinet lock around the house, preventing access to certain rooms or cabinets you’d like to open? With all the various tools and gadgets in our homes, it can be tricky to use a traditional key only to find out the door is locked. Instead of sweating over getting into a secured area, why not learn how to remove your Safety First cabinet lock?
In this blog post, we’ll take a closer look at what this locking mechanism is made of and provide step-by-step instructions on removing it quickly and easily.
Read on if you’d like to know how to remove safety first cabinet lock. Follow the steps below, and you’ll soon have access to any room or cabinet!
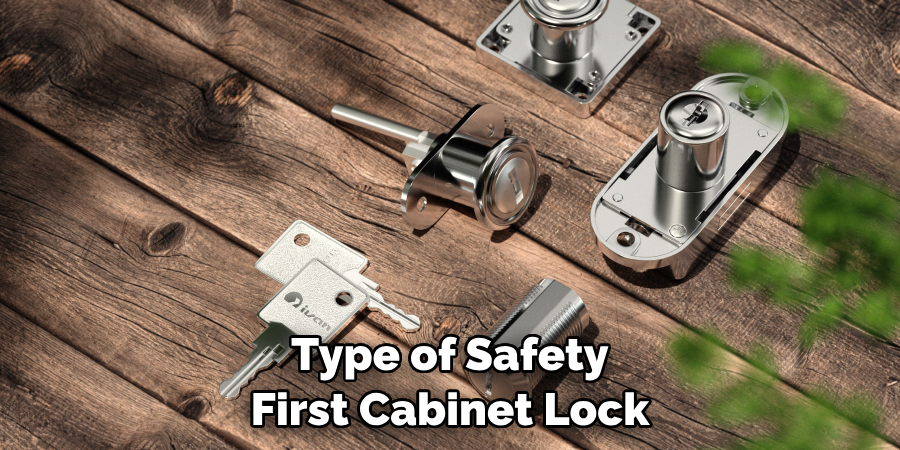
What is a Safety First Cabinet Lock?
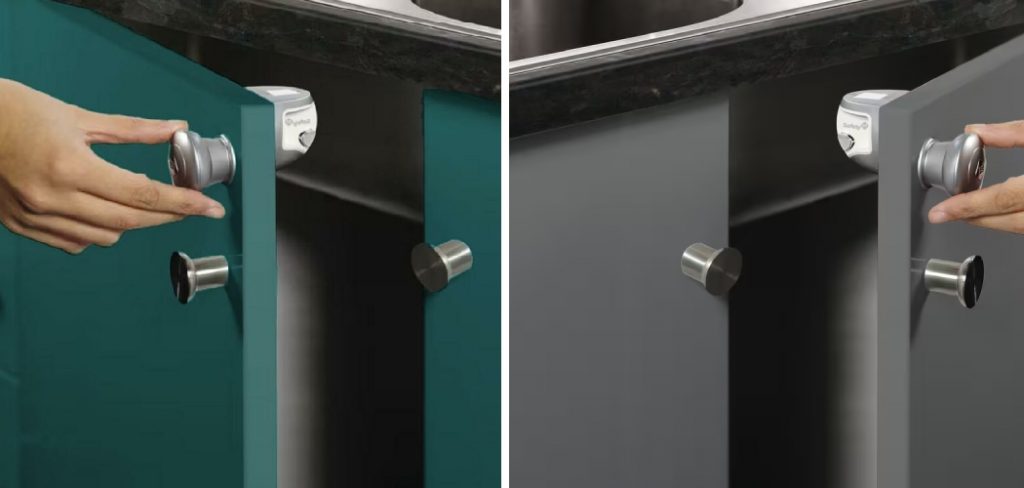
Safety First Cabinet Locks are locking mechanisms typically used to secure cabinets, drawers, windows, and other items from unwanted visitors. Typically made of metal alloy, these locks use multiple pins or levers and a key to open and close the lock.
Many models also feature a safety latch that prevents children from accessing potentially dangerous items, such as cleaning supplies and medicines.
The uses of Safety First Cabinet Locks vary, but they provide an easy and effective way to secure your home and keep intruders out.
What Will You Need?
Removing a Safety First cabinet lock doesn’t require a professional locksmith or expensive tools. The key items you need are:
- A Flat Head Screwdriver: This will leverage the lock and facilitate its removal. Ensure it’s thin enough to fit the gap between the lock and the cabinet.
- A Pair of Needle-Nose Pliers: This tool is handy for gripping parts of the lock that may be difficult to reach or hold onto.
- A Small Hammer (Optional): If the lock is particularly stubborn, a small hammer can provide the necessary force to nudge it free.
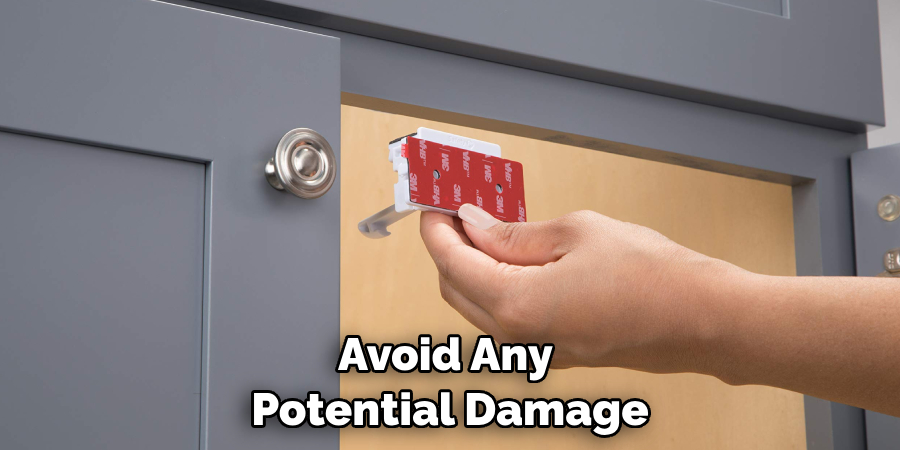
Remember, while using these tools, it’s important not to damage the surrounding cabinet or drawer in the process.
8 Easy Steps on How to Remove Safety First Cabinet Lock
Step 1: Identify the Type of the Lock
Firstly, identify the type of Safety First cabinet lock you’re dealing with. Check where the lock is installed on the cabinet or drawer. Most are installed on the side or at the top of the cabinet or drawer. This will give you a better understanding of the lock mechanism and help you find the best way to remove it.
Step 2: Insert the Flat Head Screwdriver
Once you’ve identified the type and location of the lock, it’s time to start the removal process. Insert the flat head of your screwdriver into the narrow gap between the lock and the cabinet. This should be done gently to avoid damaging the wood of the cabinet or drawer. It’s important to ensure the screwdriver is thin enough to fit into this space. If it isn’t, you may need to use a smaller screwdriver.
Step 3: Leverage the Lock
With the flat head screwdriver inserted into the gap, gently apply pressure to leverage the lock. Be cautious not to exert too much force as it could damage the cabinet or drawer. The aim is to create a small opening by lifting the lock away from the surface.
Step 4: Use the Pliers
Now that you have created a small opening take your needle-nose pliers and grip the edge of the lock. Once you have a firm hold, gently pull on the pliers while leveraging the lock with the screwdriver.
The added force from the pliers should help to loosen the lock from its position further. Remember to pull slowly and steadily to avoid damaging the cabinet or drawer.
Step 5: Remove the Lock Completely
Once you’ve loosened the lock significantly, you should be able to obliterate it by hand. If the lock is still tight, use the screwdriver and pliers as needed. Be patient and maintain a steady hand to avoid any potential damage to the cabinet or drawer.
Once the lock is completely free, pull it away from the cabinet or drawer carefully. Congratulations, you have successfully removed your Safety First cabinet lock!
Step 6: Inspect the Cabinet or Drawer
After successfully removing the lock, examine the cabinet or drawer for possible damage. Check for any scratches, dents, or scuffs caused during removal. If there’s minor damage, use a wood repair marker or filler to conceal it.
If the damage is significant, consider seeking professional assistance for repairs. The goal is to leave your cabinet or drawer looking just as good, if not better, than before the lock removal.
Step 7: Clean the Area
Now that the lock is removed and the cabinet or drawer is inspected for damage, it’s time to clean the area. Use a damp cloth to remove any dust or debris that may have been dislodged during removal.
This will ensure your cabinet or drawer is clean and ready for use. If there are adhesive residues from the lock, you can use a mild cleaner or adhesive remover to clean the area. Be sure to dry the area thoroughly after cleaning.
Step 8: Re-install a New Lock (Optional)
If you plan to re-install a new Safety First cabinet lock, measure the space where the old lock used to be to ensure the new lock will fit. Follow the manufacturer’s instructions to install the new lock.
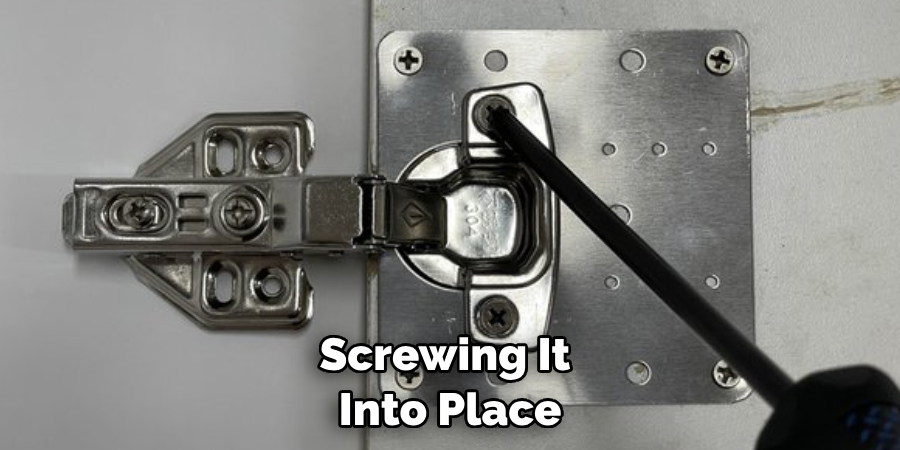
Typically, this involves aligning the lock with the cabinet or drawer, screwing it into place, and testing the lock to ensure it’s functioning as expected. Remember that the installation process may vary depending on the type and model of your Safety First cabinet lock.
Following these eight steps, you can easily remove your Safety First cabinet lock and gain access to any room or closet in no time. With the right tools and patience, you can quickly and safely remove unwanted locks from your home. All that’s left is for you to enjoy the newly accessible space!
5 Additional Tips and Tricks
- If your Safety First cabinet lock is an older model with a physical key, try to clean the barrel of the cylinder and the key. A build-up of dust and debris can prevent them from working properly.
- If your Safety First cabinet lock uses magnets instead of keys, make sure that both the magnetic pieces are still connecting when you close the door. If the connection is broken, it won’t latch correctly.
- Once you’ve tried to clean the key or checked the magnets, try to reset your lock by rotating the key in both directions several times. This may re-align the locking mechanism and allow it to work again.
- If none of these steps have worked, it’s time to open up the lock and take a look inside. You can do this by unscrewing the screws on the back of the cylinder with a screwdriver.
- Once you’ve opened up your Safety First cabinet lock, use needle nose pliers to adjust any misaligned gears inside. This may help get your lock working again!
With all of these tips and tricks, you can successfully remove your Safety First cabinet lock. If none of them work, it’s best to contact the manufacturer or a professional locksmith for assistance. They’ll be able to help determine the cause of the issue and suggest a plan of action.
5 Things You Should Avoid
- Only try to force the key into the lock if it’s properly fitting. This could cause damage to both the key and the cylinder.
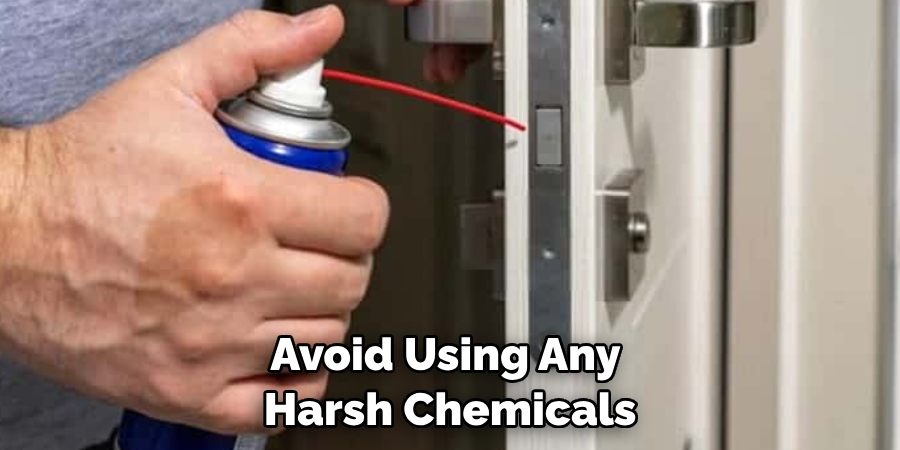
- Avoid using any harsh chemicals or lubricants on your Safety First cabinet lock, as this could damage its internal components.
- Never use a hammer or other blunt object to try and open your lock. You might end up damaging the lock or getting yourself hurt in the process.
- Don’t try to pick your Safety First cabinet lock with a paperclip or any other type of tool. This can cause irreparable damage and may not be successful anyway.
- Finally, if you’re having difficulty removing your Safety First cabinet lock, resist the temptation to remove it without unlocking it. This could result in damage to the cabinet or even injury.
By following these tips and avoiding the pitfalls, you can easily remove your Safety First cabinet lock without any hassle.
How Do You Remove Safety Lock Adhesive?
If you have a Safety First cabinet with an adhesive lock, removing it can be tricky. To remove the adhesive from the door or frame, start heating the area with a hairdryer or similar tool. The heat will help soften and loosen the adhesive so it’s easier to remove. Once it’s softened enough, use a razor blade to scrape it off carefully.
When removing the adhesive, work in small sections and take your time. If you rush, you could end up damaging the surface or leaving behind stubborn pieces of adhesive. Once all of the adhesive is removed, use a damp cloth or paper towel to clean any remaining residue. You may need to repeat this process several times if the adhesive is particularly stubborn.
By following these steps, you can easily remove Safety First locks and their adhesive from your cabinet. Be sure to take your time and be as careful as possible so that you don’t damage the surface or leave behind bits of adhesive.
How Do You Use Cabinet Latches?
Cabinet latches are a great way to keep your cabinets secure. They can be used on both doors and drawers, and there are several different types available.
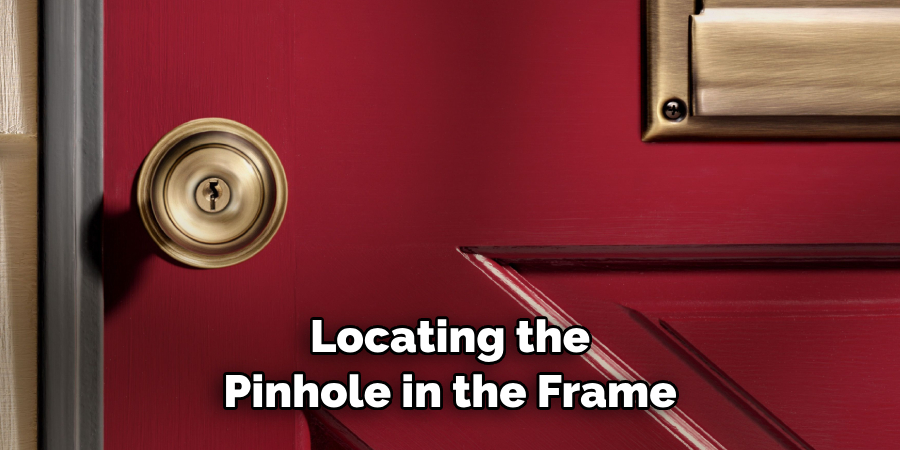
To use a cabinet latch, first start by locating the pinhole in the frame of the door or drawer. This is where you will insert the pin from the latch. Once it’s in place, press down on the latch and make sure it clicks into place. To open the cabinet door or drawer, you can either pull up on the tab at the top of the latch or push down on the lever if your model has one.
Cabinet latches are an easy and effective way to keep your cabinets secure. Be sure to choose the right model for your needs, and always double check that it’s securely fastened before closing. This simple but effective tool lets you easily keep your cabinets and drawers safe and secure.
Providing extra security in addition to cabinet latches is also a good idea. Installing a deadbolt lock or similar device onto the door can provide extra security and peace of mind. With these measures in place, you can ensure your cabinets are as secure as possible.
Conclusion
How to remove safety first cabinet lock may seem daunting at first, but with a few simple steps, you can easily undo the lock and be on your way. DIYers and parents can benefit from this straightforward method, which is especially useful when searching for items hidden in cupboards. With a little patience and a bit of time, you, too, can have easy access to your possessions in no time at all.
Furthermore, keep in mind that if you have any doubts about removing this type of lock, it’s always best to do some research before attempting to tackle it yourself, as improper installation can cause damage. Ultimately, putting safety first will ensure that you and your precious belongings remain safe and secure.
About
Safety Fic is a distinguished figure in the world of Diy design, with a decade of expertise creating innovative and sustainable Diy solutions. His professional focus lies in merging traditional craftsmanship with modern manufacturing techniques, fostering designs that are both practical and environmentally conscious. As the author of diy, Safety Fic delves into the art and science of Safety Fic-making, inspiring artisans and industry professionals alike.
Education RMIT University
(Melbourne, Australia) Associate Degree in Design (Safety Fic) Focus on sustainable design, industry-driven projects, and practical craftsmanship. Gained hands-on experience with traditional and digital manufacturing tools, such as CAD and CNC software.
Nottingham Trent University
(United Kingdom) Bachelor’s in diyfastly.com and Product Design (Honors) Specialized in product design with a focus on blending creativity with production techniques. Participated in industry projects, working with companies like John Lewis and Vitsoe to gain real-world insights.
Publications and Impact
In diy, Safety Fic his insights on indoor design processes, materials, and strategies for efficient production. His writing bridges the gap between artisan knowledge and modern industry needs, making it a must-read for both budding designers and seasoned professionals.