

Threadlocker is a type of adhesive commonly used to secure threaded fasteners in place, preventing them from loosening due to vibrations or regular wear and tear. While it is an incredibly useful tool in many applications, there may come a time when you need to disassemble components held together with threadlocker. Removing threadlocker requires care and the right techniques to ensure the fasteners and surrounding materials are not damaged in the process. This guide will walk you through the steps of how to remove threadlocker safely and effectively.
What is Threadlocker?
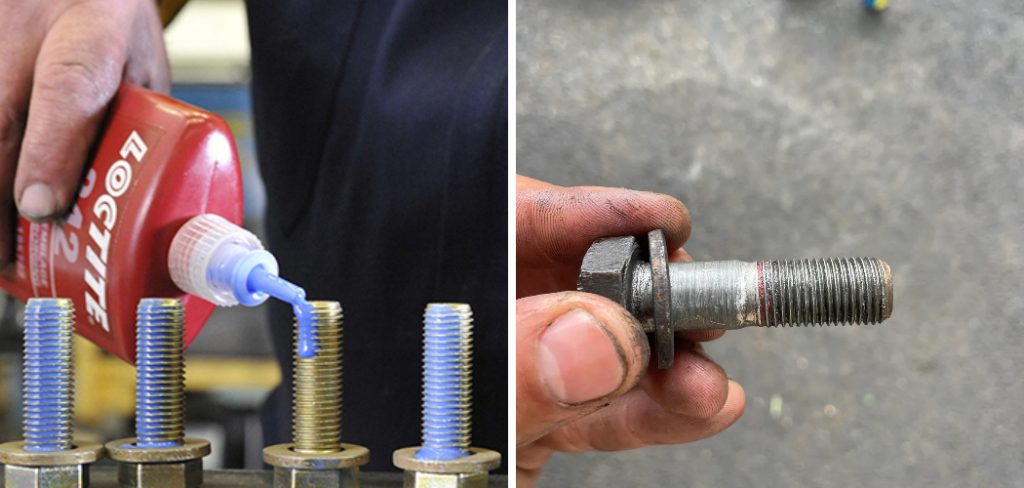
Threadlocker is a type of adhesive commonly used to secure threaded fasteners, such as bolts and screws, in place. It is a liquid or semi-solid compound that is applied to the threads of a fastener before assembly. Once cured, threadlocker creates a strong bond that helps prevent the fastener from loosening due to vibrations, thermal expansion, or regular wear over time.
Threadlocker comes in various strengths, ranging from low-strength formulations that allow for easy disassembly with hand tools to high-strength options designed for permanent applications. It is widely used in industries such as automotive, aerospace, and manufacturing to enhance the reliability and safety of mechanical assemblies.
Types of Threadlocker
Threadlockers are available in various formulations, each designed to meet specific application needs and performance requirements. The main types of threadlocker are distinguished by their strength and removability:
Low-Strength Threadlocker
This type is ideal for small screws or components that require frequent adjustments or disassembly. Low-strength threadlockers provide a light hold and can often be removed with standard hand tools without the need for additional heat or force.
Medium-Strength Threadlocker
Medium-strength threadlockers are versatile and commonly used in applications where moderate hold is required. They strike a balance between secure fastening and ease of removal with standard tools, making them suitable for items like equipment housing or machine assemblies.
High-Strength Threadlocker
Designed for heavy-duty applications, high-strength threadlockers create a durable bond that can withstand significant vibrations and stress. Removal of this type typically requires the application of heat and specialized tools, making it suitable for permanent or semi-permanent fastening.
Wicking Grade Threadlocker
This type is used post-assembly, as it is a low-viscosity formula capable of penetrating threads through capillary action. It is ideal for securing pre-assembled fasteners or sealing hairline cracks.
10 Methods How to Remove Threadlocker
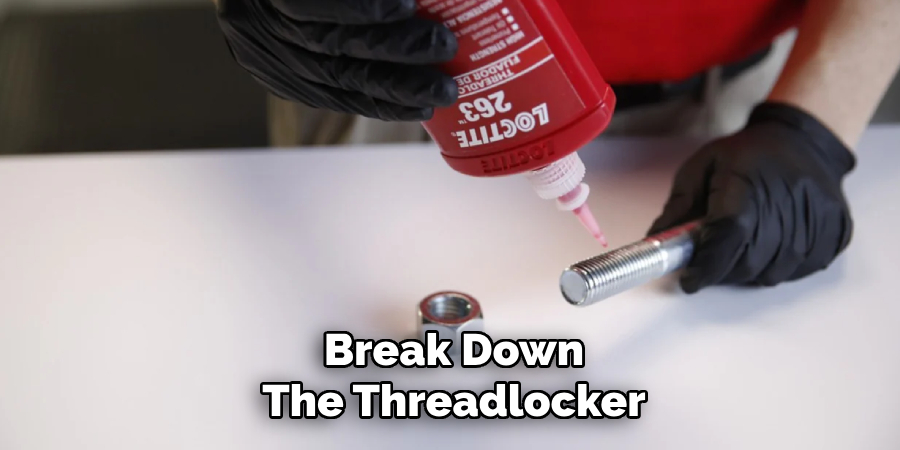
1. Use Heat to Break Down the Threadlocker
One of the most common and effective methods for removing threadlocker is by applying heat. Threadlocker adhesives, especially those used in automotive and industrial applications, are typically designed to break down under high temperatures. To begin, use a heat gun or a blowtorch to apply heat directly to the threaded fastener.
Heat the area around the fastener until it reaches around 250–300°F (121–149°C), which is generally sufficient to soften the threadlocker. Once the adhesive has softened, attempt to unscrew the fastener using the appropriate tool. Be cautious not to overheat the part, as excessive heat can cause damage to nearby components or threads.
2. Apply a Penetrating Oil
Penetrating oils such as WD-40, PB Blaster, or Liquid Wrench are highly effective in loosening fasteners that are bonded by threadlocker. To use this method, spray the penetrating oil liberally around the fastener, ensuring it seeps into the threads. Let the oil sit for about 15 to 30 minutes to allow it to penetrate the adhesive.
After waiting, attempt to unscrew the fastener with a wrench or screwdriver. The oil will help break down the threadlocker, making it easier to turn the fastener. This method is particularly useful for bolts that are difficult to heat or for components that cannot tolerate high temperatures.
3. Use a Threadlocker Remover
There are specific chemical threadlocker removers available on the market that are designed to dissolve the adhesive used in threadlockers. These removers are formulated to break down the bonds of threadlocker without damaging the metal or other components.
To use a threadlocker remover, apply it directly to the affected area, following the manufacturer’s instructions. The product typically needs some time to sit and dissolve the threadlocker, and once it has had sufficient time to work, attempt to unscrew the fastener. This is one of the most efficient ways to remove threadlocker without causing damage to the surrounding area.
4. Use a Thread Cutting Tool
In cases where the threadlocker has been applied in an excessive amount and has significantly hardened, a thread cutting tool can be used to cut through the adhesive. A die grinder or rotary tool fitted with a small cutting disk or bit can be used to grind away the threadlocker.
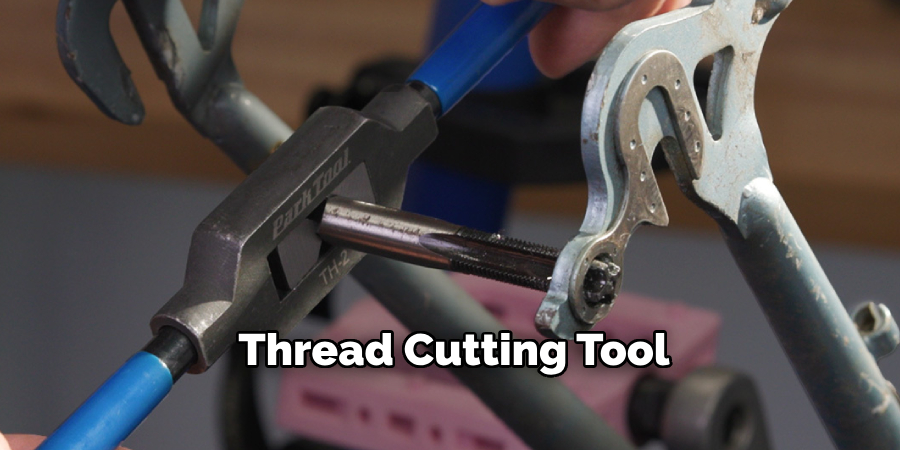
This method works best for fasteners that need to be replaced anyway or if you’re dealing with an area where precision isn’t crucial. When using a cutting tool, take extra care to avoid damaging the threads or surrounding components, as this can make reassembly difficult or lead to stripped threads.
5. Soak in Acetone or Isopropyl Alcohol
Acetone and isopropyl alcohol are both solvents that can be effective at dissolving threadlocker, particularly if the adhesive is not too heavily set. To use this method, soak a clean cloth or rag with acetone or isopropyl alcohol, then apply it directly to the threaded fastener. Allow the solvent to sit for several minutes to loosen the bond of the threadlocker. Afterward, attempt to unscrew the fastener. Acetone works well for breaking down many types of threadlockers, but it can be harsh on certain plastics and finishes, so it’s important to test it on a small, inconspicuous area first.
6. Use a Vice or Clamps to Stabilize the Fastener
In some cases, the fastener may be too stubborn to remove by hand, especially if it’s in a hard-to-reach location. One useful technique is to use a vice or clamps to stabilize the fastener while you apply force. Secure the component with the fastener in the vice, ensuring it is held firmly in place. Then, apply heat, penetrating oil, or a threadlocker remover, depending on the method you prefer. With the fastener held securely, it may be easier to break the bond created by the threadlocker and turn the fastener. This technique provides additional leverage and support, reducing the risk of stripping the fastener or causing damage.
7. Tap the Fastener with a Hammer
Sometimes, tapping the fastener gently with a hammer can help break the bond of the threadlocker. This method can be used in conjunction with heat or penetrating oil. After applying heat or oil to the fastener, use a hammer to tap it lightly to loosen the threadlocker. The shock from the tapping can cause the adhesive to crack or break apart, making it easier to unscrew the fastener. This technique works particularly well for small fasteners that are not overly tight or for cases where the threadlocker has hardened but not fully set.
8. Use a Power Impact Tool
If the fastener is particularly stubborn and does not respond to heat, oil, or manual tools, you can try using a power impact tool. Impact wrenches or drivers provide a significant amount of torque and vibration, which can help break the bond of the threadlocker.
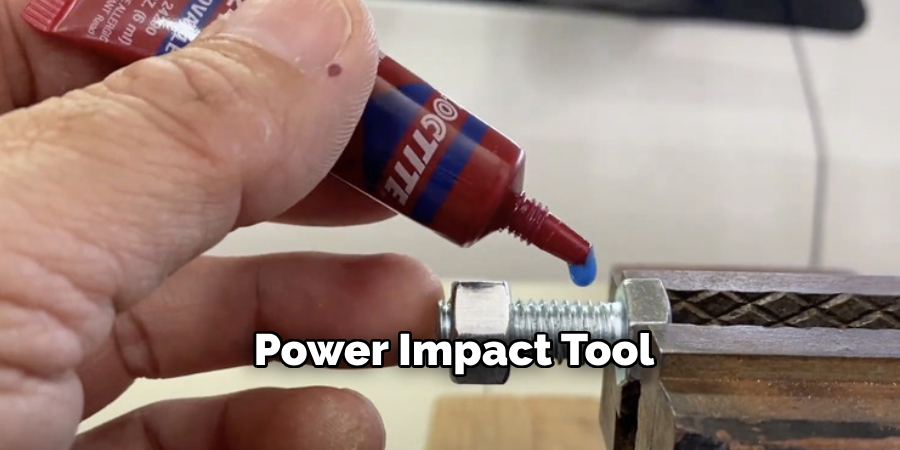
Apply the impact tool with the correct socket or bit and use it to unscrew the fastener. The combination of rotational force and the impact action can help break the threadlocker loose, making it easier to remove the fastener. Be cautious when using this method, as the high torque can potentially damage the threads or surrounding parts if not used properly.
9. Apply Direct Pressure with a Pipe Wrench
For large, heavy-duty fasteners that are difficult to remove, a pipe wrench can be used to apply direct pressure and grip the fastener more securely. Pipe wrenches provide strong gripping power and can be used to loosen rusted or threadlocked fasteners that are otherwise difficult to move. Once the fastener is secured in the pipe wrench, use a controlled force to turn it. This method is particularly effective for large bolts or fasteners that require substantial force to loosen.
10. Replace the Fastener if Necessary
If all else fails and the fastener remains stuck due to excessive threadlocker, you may need to replace it altogether. In situations where the adhesive has caused significant damage to the fastener or surrounding threads, using a new fastener may be the most practical solution.
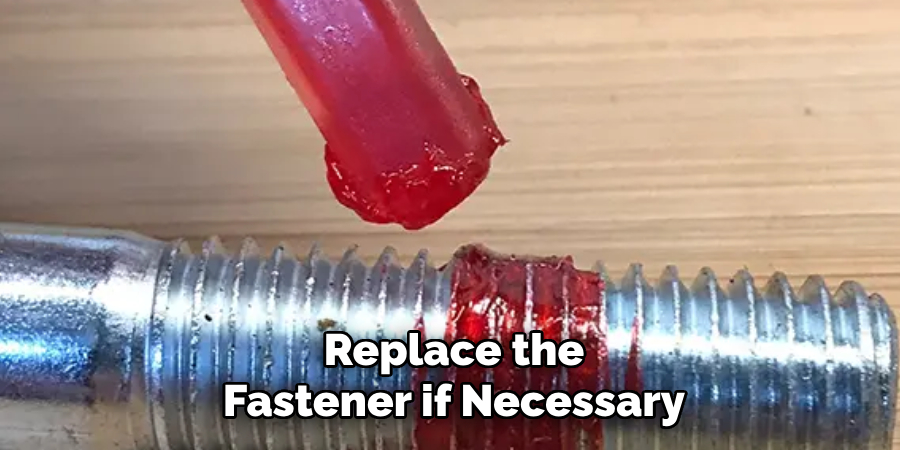
After removing any remaining threadlocker residue, install a fresh bolt, screw, or fastener without applying additional threadlocker, or use a different type of adhesive or securing method. Sometimes, the time and effort spent removing a stubborn fastener may outweigh the cost of simply replacing it.
Conclusion
Removing threadlocker can be a frustrating task, but with the right tools and techniques, it can be done safely and efficiently. Whether you are using heat, solvents, mechanical tools, or a combination of methods, it’s important to approach the task with patience and care. Thanks for reading, and we hope this has given you some inspiration on how to remove threadlocker!