
Are your outdoor surveillance needs not being met by Vivint Outdoor Camera Pro anymore? Do you need an easier way to manage and monitor your home or business security system? If yes, then the good news is that removing a Vivint Outdoor Camera Pro is possible. You can remove it in just a few simple steps on how to remove vivint outdoor camera pro without having to hire a professional to do so.

This blog post will show you step-by-step instructions on how to safely and quickly remove the camera from its mounting location and have complete peace of mind that once removed, there will be no residual trace of its installation or functionality left behind!
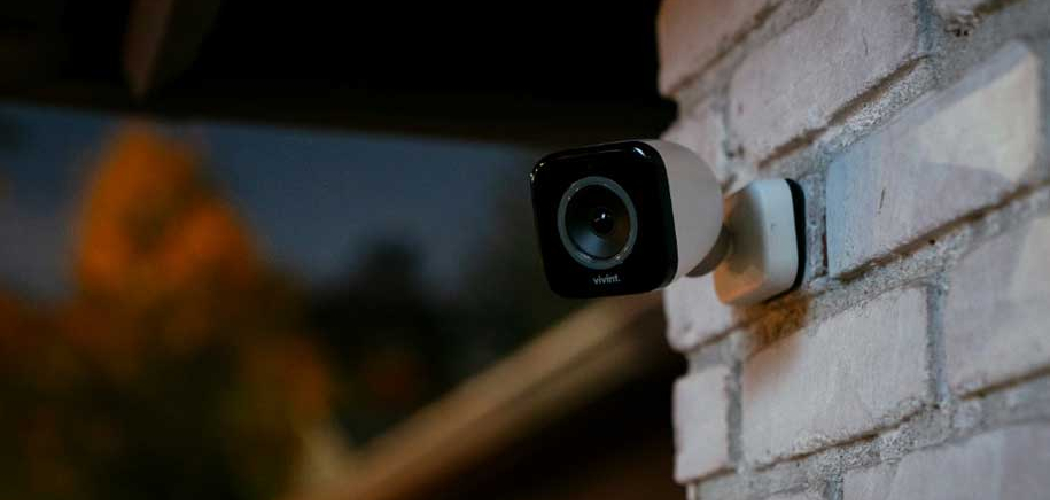
What is Vivint Outdoor Camera Pro?
Vivint Outdoor Camera Pro is a sleek and powerful security camera designed to keep an eye on your property at all times. It comes with advanced features such as a 4k image sensor, color night vision, two-way audio, and smart notifications. The camera is also weather-resistant for outdoor use, making it a popular choice for homeowners and business owners alike.
Why Remove Vivint Outdoor Camera Pro?
Despite its impressive features, there may come a time when you need to remove your Vivint Outdoor Camera Pro. This could be due to various reasons such as upgrading to a newer model, relocating the camera to a different location, or switching to a different security system altogether. Whatever the reason may be, removing the camera is a straightforward process that can be easily done by following these steps.
10 Step-by-step Guides on How to Remove Vivint Outdoor Camera Pro
Step 1: Gather the Necessary Tools
Before starting, make sure you have all the required tools to remove your Vivint Outdoor Camera Pro. These include a ladder (if needed), screwdriver, drill, and any other tool that may be needed for removing screws or disconnecting wires. It’s essential to have all the tools ready to avoid any delays or interruptions during the removal process.
Step 2: Turn Off the Power Supply
The next step is to turn off the power supply to your Vivint Outdoor Camera Pro. If it’s connected to an electrical outlet, simply unplug it. If it’s hardwired, turn off the circuit breaker or disconnect the wires from the camera. This is a crucial step for safety purposes. It’s essential to make sure there is no electricity running through the camera when removing it.
Step 3: Remove the Wall Plate
Using a screwdriver, remove the screws holding the wall plate in place. Once the screws are removed, gently pull out the wall plate from its mounting location. Be careful not to damage any wires that may be connected to it. But before disconnecting any wires, take a picture or make a note of the wire connections to ensure they are reconnected correctly later.
Step 4: Unscrew the Camera Mount
With the wall plate removed, you will now have access to the screws holding the camera mount in place. Use a screwdriver to unscrew these screws and carefully remove the camera mount from its location. You may need to rotate the camera mount slightly to loosen it from the screws. It’s essential to handle the camera and mount it carefully to avoid any damage.
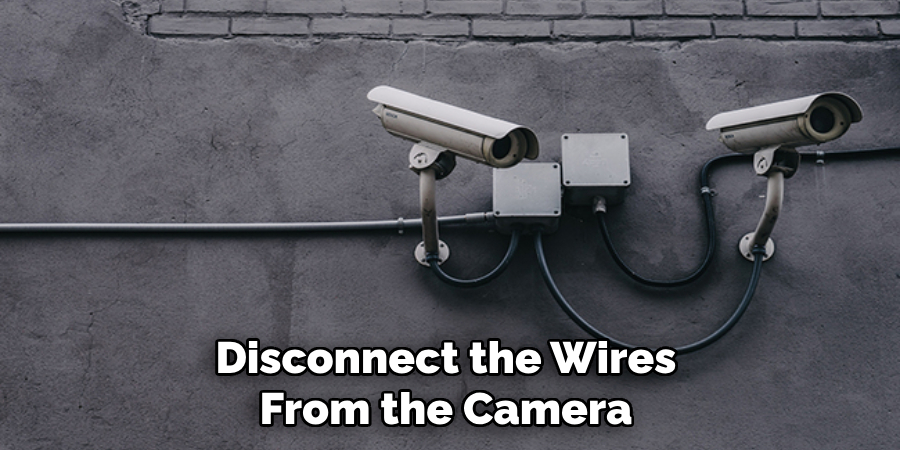
Step 5: Disconnect Wires (if applicable)
If your Vivint Outdoor Camera Pro is hardwired, you will need to disconnect the wires connected to it before removing it completely. Again, refer to your notes or pictures taken in step three to ensure proper reconnection later on. This step may not be needed if your camera is connected to an electrical outlet. It’s best to consult a professional if you are unsure of how to disconnect the wires properly.
Step 6: Carefully Remove the Camera
Once all screws and wires are disconnected, carefully remove the camera from its mounting location. If your camera is mounted high up, make sure to have someone assist you with holding the camera while you unscrew it from the mount. Place the camera in a safe location where it will not get damaged during transport or storage. This is also a good time to clean the camera if needed.
Step 7: Patch Up Holes (if desired)
If you want to patch up any holes left behind after removing your Vivint Outdoor Camera Pro, now is the time to do so. You can use spackle or putty to fill in any holes and sand them down for a smooth finish.
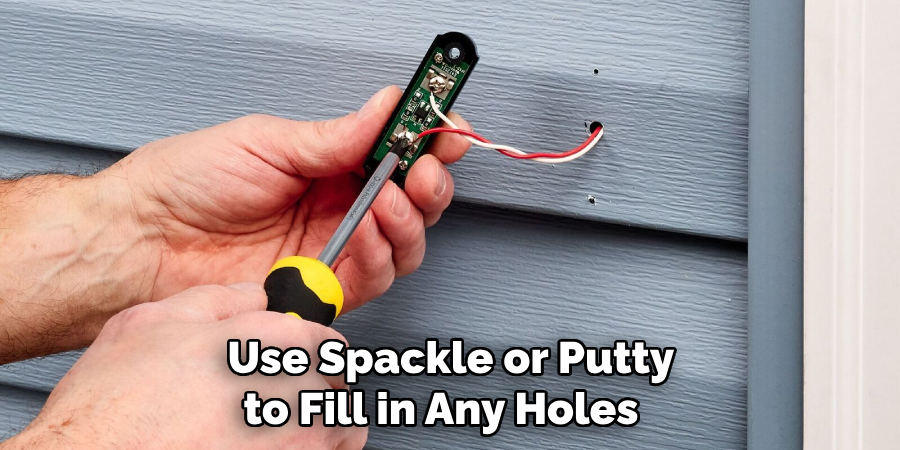
This step is optional, and you can skip it if you plan to reuse the same mounting location for a new camera. It’s always a good idea to consult with your landlord if you are renting before making any changes. But if you are a homeowner, this step is entirely up to your discretion.
Step 8: Clean Up
With the camera successfully removed and any holes patched up, it’s time to clean up the area. Dispose of any wires, screws, or other tools used during the removal process. Wipe down the wall plate and mount it with a damp cloth to remove any dust or debris. Make sure to also clean up any mess created on the ground by using a broom or vacuum cleaner. Otherwise, you’re all set!
Step 9: Repurpose Your Camera (if desired)
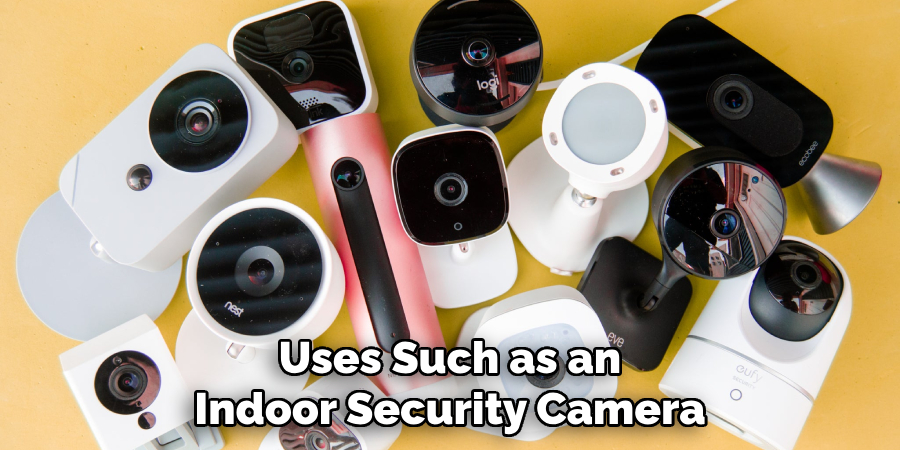
If you no longer need your Vivint Outdoor Camera Pro, consider repurposing it for another use. You can use it as an indoor security camera, baby monitor, or even a pet cam. All you need to do is connect it to your Wi-Fi network and install the Vivint app on your smartphone for remote viewing and control. But before doing so, make sure to factory reset the camera to remove any previous settings.
Step 10: Call Vivint for Assistance (if needed)
If you encounter any issues during the removal process or have a hardwired camera that you are not comfortable disconnecting yourself, don’t hesitate to call Vivint customer support for assistance.
Their team of experts will be happy to guide you through the process or schedule a professional removal service at an additional cost. It’s always better to be safe than sorry when it comes to removing your Vivint Outdoor Camera Pro.
Following these simple steps on how to remove vivint outdoor camera pro, you can easily remove your Vivint Outdoor Camera Pro without any hassle. Whether you are upgrading to a newer model or switching to a different security system, knowing how to remove your camera correctly is essential for a smooth and stress-free process.
So remember the next time you need to remove your Vivint Outdoor Camera Pro, just follow these ten easy steps and you’ll be done in no time!
Frequently Asked Questions
Q1: Do I Need Any Special Skills or Tools to Remove My Vivint Outdoor Camera Pro?
A1: No, you do not require any special skills or tools to remove your camera. However, it’s always best to have all the necessary tools and follow safety precautions. But if you are uncomfortable with the process, it’s best to seek professional assistance.
Q2: Can I Reuse the Same Mounting Location for a New Camera?
A2: Yes, you can reuse the same mounting location for a new camera if desired. Just make sure to patch up any holes left behind and consult with your landlord if renting before making any changes.
Q3: Is It Possible to Repurpose My Vivint Outdoor Camera Pro?
A3: Yes, you can repurpose your Vivint Outdoor Camera Pro for other uses such as an indoor security camera, baby monitor, or pet cam. Just make sure to factory reset the camera before configuring it for its new purpose.
Q4: What Should I Do With my old Vivint Outdoor Camera Pro After Removal?
A4: You can either repurpose your camera or dispose of it in an environmentally friendly way. Vivint offers recycling services for their products, so contact their customer support for more information on how to properly recycle your old camera. Overall, it’s essential to handle the removal process carefully and responsibly to ensure the safety of yourself and others.
Conclusion
Vivint Outdoor Camera Pro is a great product and can be useful if you’re trying to make your home more secure. Although the procedures for removing it are fairly simple, there are still many steps that have to be taken.
We hope this blog post has been useful in helping you understand the process and how to safely complete each step on how to remove vivint outdoor camera pro. To guarantee maximum safety and the best results, consider asking a professional technician for assistance in case you’re having any troubles.
This will ensure that your Vivint Outdoor Camera Pro is correctly removed from your house while also safeguarding any of your personal property or data. Taking preventative measures now can save you time, money and stress down the line so don’t hesitate to take advantage of techniques like these!