

Removing a Vivint window sensor is a straightforward process that may be necessary for various reasons, such as replacing the sensor, conducting maintenance, or moving to a new location.

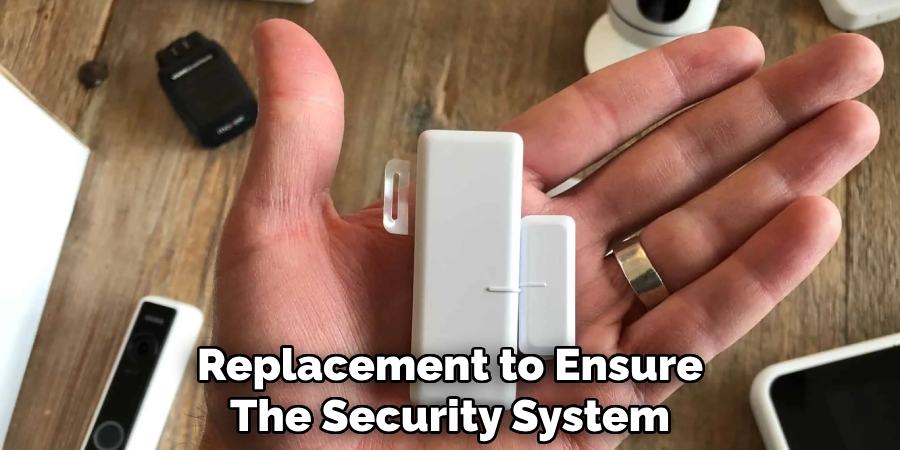
Whether you’re upgrading your security system, adjusting sensor placement, or simply need to remove a malfunctioning sensor, knowing how to do it correctly is essential. In this guide, we’ll explore the step-by-step process of how to remove vivint window sensor safely and effectively.
By following these instructions, you can ensure that the sensor is removed without causing damage to your window or surrounding area, allowing you to maintain the integrity of your home security system while making necessary adjustments or replacements.
Importance of Home Security
The importance of home security cannot be overstated in today’s world. A robust home security system not only protects your property from potential intruders but also offers peace of mind for you and your loved ones.
In the event of a break-in, a well-monitored security system can immediately alert local authorities, thereby reducing the response time and increasing the chances of apprehending the perpetrator.
Additionally, many modern security systems are integrated with smart home technology, allowing homeowners to monitor their property remotely. This level of vigilance and control over one’s environment contributes significantly to the overall sense of safety and security within a home.
Furthermore, the presence of a security system can deter potential burglars, making it an essential component of home safety measures.
Reasons for Removing Window Sensors
There are several compelling reasons why a homeowner might need to remove window sensors from their home security system. One common reason is for maintenance or repair.
Over time, sensors can wear out or malfunction, necessitating their removal for inspection or replacement to ensure the security system remains operational. Another reason is renovation or remodeling; changes to window frames or the installation of new windows may require sensors to be temporarily removed and reinstalled later.
Additionally, upgrading to newer, more advanced sensors can provide better security or compatibility with smart home systems, prompting the removal of older units. Lastly, moving to a new home often involves taking valuable security equipment with you, which includes detaching and later reinstalling window sensors at the new location.
Understanding how to properly remove these sensors ensures they can be reused and continue to provide security and peace of mind in different settings.
Gathering Necessary Tools and Materials
Before beginning the process of removing a Vivint window sensor, it’s crucial to gather all necessary tools and materials to ensure a smooth and efficient removal. The following items are typically required:
- Flat-head Screwdriver: This tool is essential for gently prying the sensor away from the window frame or wall without causing damage.
- Phillips-head Screwdriver: Some models of window sensors may be secured with screws that require a Phillips-head screwdriver for removal.
- Replacement Adhesive Strips: If you plan to reinstall the sensor or install a new one, having replacement adhesive strips is essential for securing the device to the window or wall.
- Soft Cloth: A soft cloth is useful for cleaning the area around the sensor after removal, ensuring that any dust, dirt, or residue is cleared away.
- Alcohol Wipes: Alcohol wipes can help clean the window or wall surface where the sensor was mounted, ensuring a clean surface for reinstallation or to leave the area looking tidy.
- Protective Gloves (optional): While not always necessary, wearing protective gloves can be a good idea to prevent any minor scrapes or cuts during the removal process.
Having these tools and materials on hand before starting will facilitate a straightforward and hassle-free removal of your Vivint window sensor.
Understanding Sensor Placement
Before proceeding with the removal of a Vivint window sensor, it’s crucial to understand the significance of sensor placement. The location of each sensor within a home security system is strategically chosen to maximize its effectiveness in detecting intrusions.
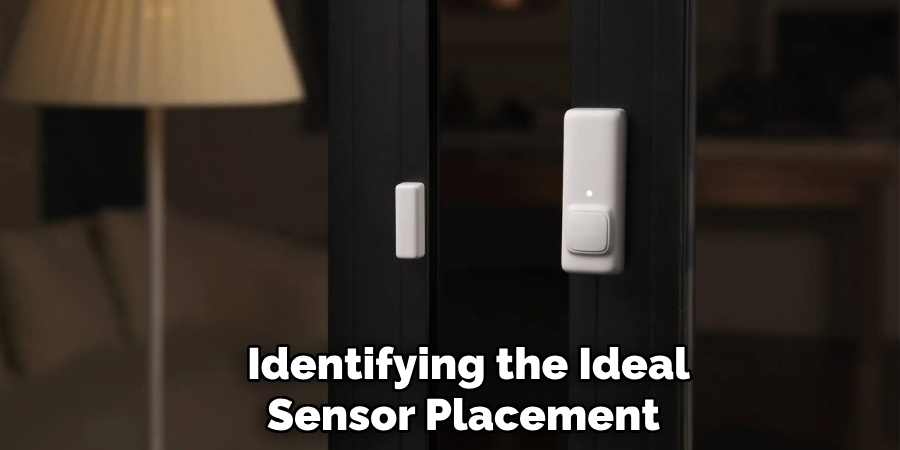
Typically, window sensors are placed on every ground-level window and any accessible window on upper levels that could potentially serve as entry points for intruders. Furthermore, recognizing the placement helps when removing the sensors, enabling a better understanding of how to approach their reinstallation or replacement.
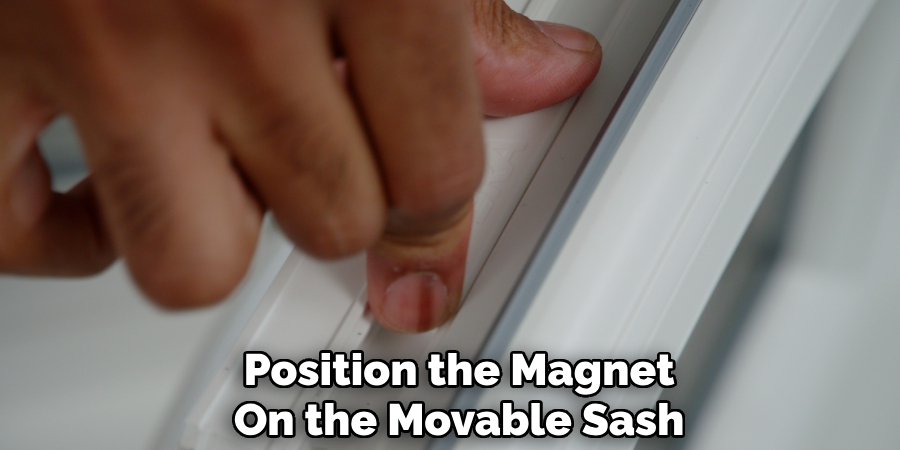
Proper sensor placement involves ensuring the device is positioned where the two components—the sensor and the magnet—align correctly when the window is closed.
This alignment is essential for the sensor to function correctly, as it relies on the magnetic field to detect openings. When a window is opened, the disruption in the magnetic field signals the security system of a potential breach.
When removing a sensor, take note of its original position. This is especially important if you’re planning to re-install the same sensor or upgrade to a new model.
You’ll want to install the new or returned sensor in the same position, or as close to it as possible, to maintain the efficacy of your home security system. This careful consideration ensures that each window remains a fortified part of your home’s defense against potential intrusions.
Identifying Sensor Attachment Method
After preparing your tools and materials and understanding the importance of sensor placement, the next step in removing a Vivint window sensor is to identify how the sensor is attached to the window or frame.
Typically, window sensors are affixed using one of two methods: screws or adhesive tape. The attachment method used can significantly affect the removal process.
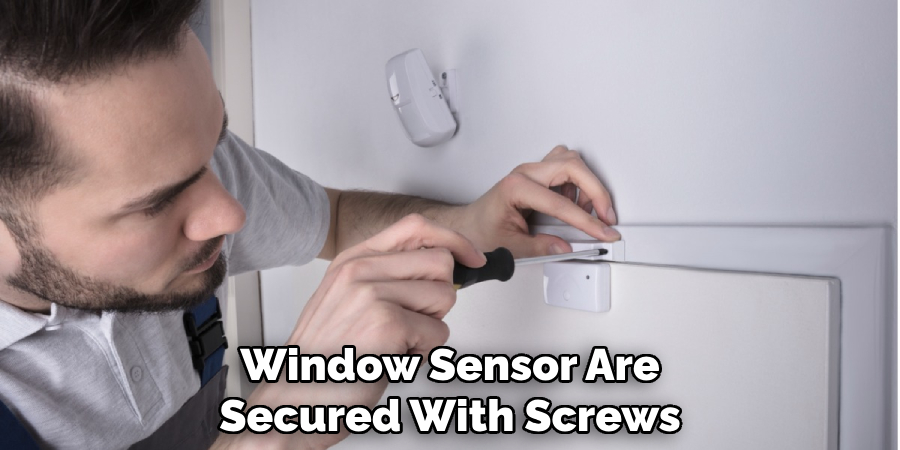
- Screw-attached Sensors: If the sensor is secured with screws, you will likely need a Phillips-head screwdriver. Carefully unscrew each fastener, making sure to keep them in a safe place if you plan to reuse the sensor. It’s crucial to apply gentle pressure to avoid stripping the screws or damaging the sensor casing.
- Adhesive-attached Sensors: For sensors mounted with adhesive tape, a flat-head screwdriver can be useful for carefully prying the sensor away from the surface without causing damage to the paint or window frame. It’s important to proceed slowly and gently to minimize the risk of leaving residues or damaging the sensor, which could impact its functionality if you intend to reinstall it.
Identifying the attachment method beforehand and approaching the removal process with the right tools and techniques is essential for a successful removal.
This preparation ensures the integrity of both the sensor and the surface it’s attached to, allowing for a smooth transition whether you’re performing maintenance, upgrading, or relocating your sensor.
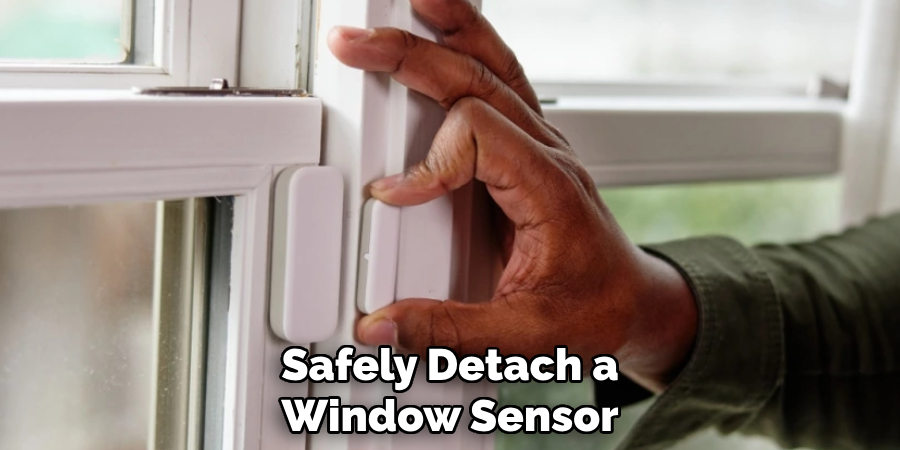
Safely Detaching Sensor from Window Surface
To safely detach a window sensor, especially one attached with adhesive, begin by slowly inserting the flat-head screwdriver between the sensor and the window surface. Aim to gently pry the sensor away without applying excessive force that could damage either the sensor or the surface.
If the sensor is particularly resistant, consider using a piece of dental floss or fishing line. Slide it behind the sensor, using a sawing motion to cut through the adhesive gently. This method helps distribute the force more evenly, reducing the risk of damage.
Once the sensor starts to loosen, carefully pull it away with your hands, applying steady and controlled force. If the sensor was attached with screws, ensure all screws are fully removed before attempting to detach the sensor.
For adhesive-attached sensors, there may be residue left on the window frame or wall. Use alcohol wipes to clean the surface thoroughly, rubbing gently to remove any sticky adhesive remnants without scratching the surface.
In case of any difficult residues, applying a small amount of adhesive remover or rubbing alcohol can help soften the adhesive, making it easier to wipe away. Be sure to handle all cleaning agents with care, avoiding any contact with the sensor’s electronic components to prevent damage.
By following these steps and proceeding with caution, you can safely detach your Vivint window sensor from the window surface, preparing it for reinstallation or replacement as needed. Remember to keep the sensor and any removed components in a safe place if you plan to reuse them, ensuring they remain in good condition for future use.
Handling Batteries and Components Properly
Once you have successfully detached your Vivint window sensor from its position, you might need to handle its batteries and internal components, especially if you plan on performing maintenance the sensor for reuse. Proper handling of these elements is crucial to ensure the longevity and functionality of the sensor.
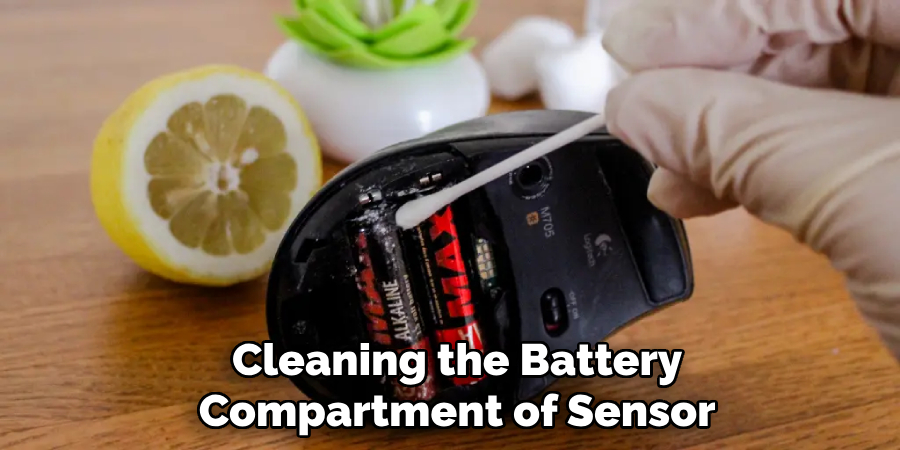
- Battery Replacement: If your sensor operates on batteries and requires a new set, carefully open the battery compartment according to the manufacturer’s instructions. Typically, this involves sliding or gently prying open the compartment cover.When inserting new batteries, ensure they are oriented according to the positive (+) and negative (-) markings inside the compartment to avoid damaging the sensor.
- Handling Electronic Components: When dealing with any exposed electronic components of the sensor, it’s important to ground yourself first to prevent electrostatic discharge (ESD), which can damage the electronics. Touching a grounded metal object before handling the components can reduce this risk. Additionally, handle the components by the edges rather than touching any circuitry directly to minimize the risk of damage.
- Cleaning: If the sensor or its components require cleaning, use a dry or slightly damp cloth to gently wipe away any dust or debris. Avoid using any harsh chemicals, solvents, or water, as these can cause damage to the sensor’s electronic parts. For tougher stains, a small amount of isopropyl alcohol on a cloth can be used sparingly.
- Storage: If you are not immediately reinstalling the sensor, store it and its components in a cool, dry place. Avoid exposure to extreme temperatures, humidity, and direct sunlight, as these conditions can degrade the sensor’s performance over time. Ideally, place the sensor in an anti-static bag or wrap it in anti-static material to protect it from electrostatic damage.
By following these guidelines for handling batteries and components properly, you can help ensure the continued effectiveness and reliability of your Vivint window sensor. Whether you’re performing routine maintenance, replacing batteries, or preparing the sensor for future use, careful handling is key to safeguarding its functionality.
10 Methods How to Remove Vivint Window Sensor
1.Powering Off the Sensor:
Before attempting to remove the window sensor, it’s essential to power it off to prevent any accidental alarms or disruptions. If the sensor is connected to a Vivint security system, you can typically power it off through the system’s control panel or mobile app. Alternatively, you may need to remove the batteries from the sensor to deactivate it temporarily.
2.Accessing the Sensor Housing:
Locate the window sensor on the window frame and identify its housing. Depending on the model, the sensor housing may be attached using adhesive backing, screws, or a combination of both.
Use a flathead screwdriver or a similar tool to gently pry open the housing and access the sensor inside. Be careful not to damage the window frame or surrounding area during this process.
3.Removing Adhesive Backing:
If the window sensor is attached using adhesive backing, carefully peel it away from the window frame using your fingers or a plastic pry tool. Start at one corner and work your way around the perimeter of the sensor housing, applying steady pressure to loosen the adhesive.
Take your time to ensure that the adhesive is fully detached without leaving residue on the window frame. Once the adhesive is removed, wipe down the window frame with a clean cloth to remove any remaining residue.
4.Unscrewing Mounting Screws:
For window sensors that are secured with screws, use a screwdriver to remove the mounting screws from the housing. Typically, there will be two or more screws holding the sensor in place. Turn the screws counterclockwise to loosen them, then carefully remove them from the window frame. Keep track of the screws to avoid misplacement.
Once the screws are removed, gently pry the sensor off of the window frame. Be careful not to damage any wires or components attached to the sensor. If there are adhesive strips on the back of the sensor, carefully peel them off before removing the sensor from the window.
5.Disconnecting Sensor Wires (if applicable):
If the window sensor is wired to the security system, you’ll need to disconnect the sensor wires before removing it completely.
Locate the wire terminals on the sensor housing and carefully disconnect the wires by loosening the terminal screws or pressing the release tabs. Take note of the wire colors and their corresponding terminals for reconnection later.
6.Releasing Sensor Clips (if applicable):
Some window sensors may be held in place by clips rather than screws or adhesive backing.
To remove these sensors, locate the clips securing the sensor housing to the window frame and gently release them using a flathead screwdriver or similar tool. Apply gentle pressure to the clips to disengage them from the frame, allowing you to remove the sensor housing.
7.Detaching Sensor Components:
Once the sensor housing is removed from the window frame, you may need to detach the sensor components from the housing for replacement or maintenance.
Depending on the model, this may involve unscrewing additional screws, releasing clips, or simply sliding the sensor components out of the housing. Follow the manufacturer’s instructions for your specific sensor model.
8.Cleaning the Window Frame:
With the window sensor removed, take the opportunity to clean the window frame and surrounding area to remove any dirt, residue, or adhesive left behind.
Use a mild detergent or rubbing alcohol and a soft cloth to clean the surface thoroughly, ensuring that it’s free of any debris before installing a new sensor or leaving the area bare.
9.Disposing of Old Components (if necessary):
If you’re replacing the window sensor with a new unit, properly dispose of the old sensor components according to local regulations. Remove any batteries or electronic components from the sensor housing and dispose of them separately from regular household waste.
Check with your local recycling center or waste disposal facility for guidance on proper disposal methods for electronic components.
10.Preparing for Reinstallation or Replacement:
If you’re reinstalling the same sensor in a new location or replacing it with a new unit, take the necessary steps to prepare for reinstallation or replacement.
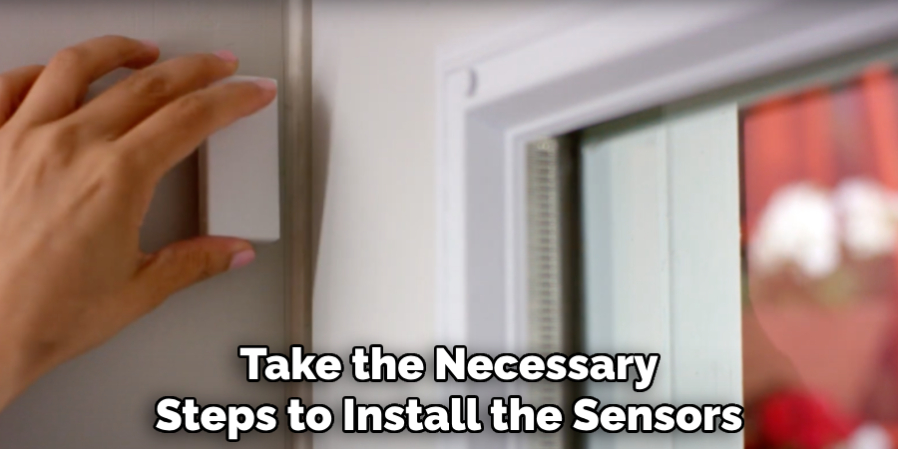
Ensure that you have all the required components, including batteries, mounting hardware, and wiring (if applicable). Follow the manufacturer’s instructions for installation, ensuring proper alignment and connection of the sensor components.
Conclusion
In conclusion, mastering the removal of Vivint window sensors empowers homeowners to adapt their home security systems to their evolving needs with ease. By following the outlined steps with care and precision, individuals can confidently remove sensors from windows without compromising the integrity of their Vivint security setup.
As the sensors are safely detached and any residual adhesive or hardware is cleaned up, take pride in the enhanced control and flexibility you have over your home security configuration. Remember, proper maintenance and storage of removed sensors are essential for future use or replacement.
Thanks for reading, and we hope this has given you some inspiration on how to remove vivint window sensor!
About
Safety Fic is a distinguished figure in the world of Diy design, with a decade of expertise creating innovative and sustainable Diy solutions. His professional focus lies in merging traditional craftsmanship with modern manufacturing techniques, fostering designs that are both practical and environmentally conscious. As the author of diy, Safety Fic delves into the art and science of Safety Fic-making, inspiring artisans and industry professionals alike.
Education RMIT University
(Melbourne, Australia) Associate Degree in Design (Safety Fic) Focus on sustainable design, industry-driven projects, and practical craftsmanship. Gained hands-on experience with traditional and digital manufacturing tools, such as CAD and CNC software.
Nottingham Trent University
(United Kingdom) Bachelor’s in diyfastly.com and Product Design (Honors) Specialized in product design with a focus on blending creativity with production techniques. Participated in industry projects, working with companies like John Lewis and Vitsoe to gain real-world insights.
Publications and Impact
In diy, Safety Fic his insights on indoor design processes, materials, and strategies for efficient production. His writing bridges the gap between artisan knowledge and modern industry needs, making it a must-read for both budding designers and seasoned professionals.