Removing window guards is a task that many homeowners face, whether they’re updating their space or improving safety features. Window guards are commonly installed for added security to prevent potential break-ins or accidental falls. However, there may come a time when these guards are no longer necessary or need replacing.
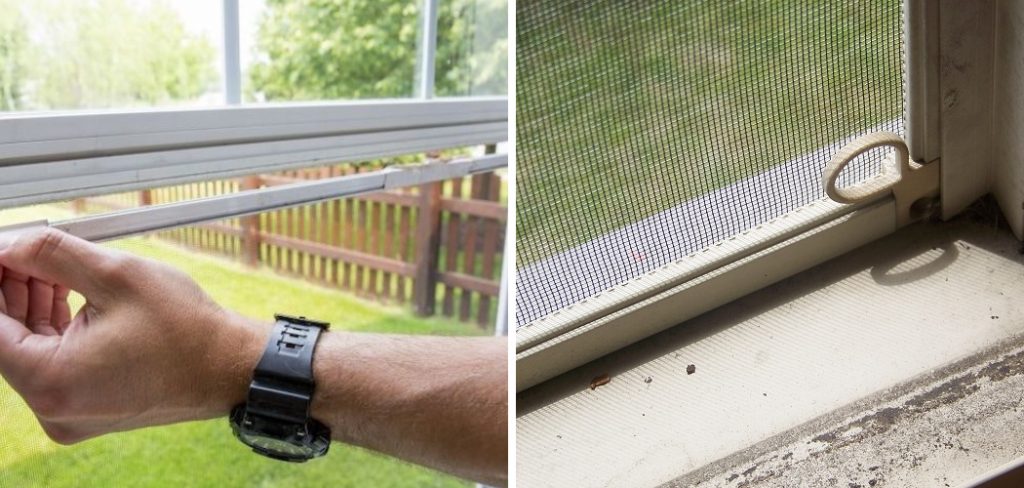
This guide on how to remove window guards will provide you with step-by-step instructions on how to safely and effectively remove window guards from your home, ensuring that you have the proper tools and understanding to carry out the task without damaging your windows or surrounding structure.
Why Remove Window Guards?
There are several reasons why you may need to remove window guards from your windows. Some of the most common reasons include:
Updating the Look and Feel of Your Space:
Window guards can be bulky and unattractive, and if you’re looking to update the aesthetic of your home, removing them is a great place to start. With the growing popularity of modern and sleek window designs, removing old and outdated window guards can instantly give your space a fresh and updated look.
Improving Safety Features:
Window guards are typically installed for added safety, but over time, they can become damaged or worn, compromising their effectiveness. By removing old window guards and replacing them with newer models, you can ensure that your windows provide the necessary protection for your home.
Replacing Damaged Window Guards:
If your current window guards have become damaged due to wear and tear or severe weather conditions, it may be time to replace them. Removing the damaged guards will allow you to install new ones that provide better security and durability for your windows.
8 Step-by-step Guides on How to Remove Window Guards
Step 1: Gather Necessary Tools
Before beginning the removal process, it’s important to gather all the necessary tools. This will ensure a smooth and efficient removal process without any unnecessary interruptions. Some essential tools you’ll need include:
Screwdriver:
A screwdriver is necessary for removing any screws or bolts that are securing the window guard to your window frame.
Hammer:
You may need a hammer to gently tap and loosen any stubborn screws or bolts that are difficult to remove with a screwdriver.
Pliers:
Pliers can be used to grip and twist any small or hard-to-reach screws or bolts. They can also be helpful in removing any staples or other fasteners that may be holding the window guard in place.
Step 2: Inspect the Window Guards
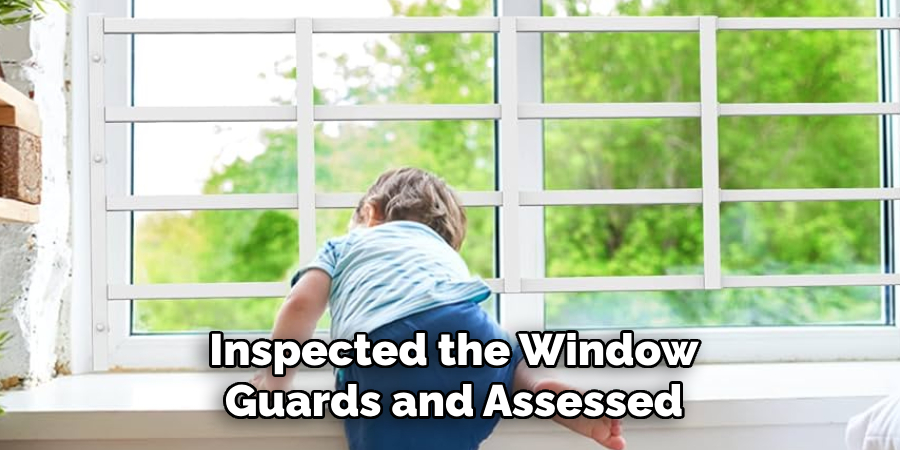
Begin by closely inspecting each window guard to understand how they are attached to your window frame. Check for any screws, bolts, or fasteners and take note of their condition. Look for any signs of rust or corrosion that could affect the removal process. Additionally, the surrounding area should be examined for any damage to the window frame or wall that may have occurred over time or due to the presence of the guards.
Identifying these factors will not only help you anticipate any challenges you’ll face during the removal process but also ensure that you can take the necessary precautions to prevent further damage to your windows or home.
Step 3: Remove Screws or Bolts
Once you’ve inspected the window guards and assessed their attachment points, it’s time to begin removing the screws or bolts. Using your screwdriver, carefully unscrew each fastener one at a time. If you encounter resistance, try using the hammer to gently tap the screwdriver handle to help loosen tight screws. In cases where screws or bolts are particularly stubborn or have rusted, your set of pliers can provide additional grip to twist them free.
Make sure to place each removed screw or bolt into a safe container to avoid losing them, as they may be needed if you decide to re-install window guards in the future. Proceed with caution to avoid stripping the screws or damaging the window frame.
Step 4: Remove Fasteners
After all the screws or bolts have been removed, the next step is to focus on any additional fasteners that may still be holding the window guard in place. Depending on the design of the guard, these fasteners could include staples, clips, or brackets that secure the guard to the window frame. Use your pliers to carefully grip and extract any staples, applying gentle pressure to avoid damage to the window frame.
If clips or brackets are used, inspect how they are attached, and gently loosen them using the appropriate tool, whether it’s the screwdriver or pliers. Taking your time and handling each fastener with care is crucial to prevent any unnecessary damage to your window or frame, ensuring a straightforward continuation in the process of removing the window guards.
Step 5: Loosen the Window Guards
With all the screws, bolts, and fasteners removed, your window guards should now be loose. Use your hands to gently wiggle and loosen the guard from the window frame. If you encounter any resistance or difficulty in removing the guard entirely, check for any remaining attachment points that may need to be loosened.
At this point, you should also inspect the condition of your window frame and surrounding area for any damage or debris that may have accumulated due to years of being covered by window guards. Clean up as needed before proceeding with removal to ensure a smooth and clean finish once the process is complete.
Step 6: Remove Window Guards
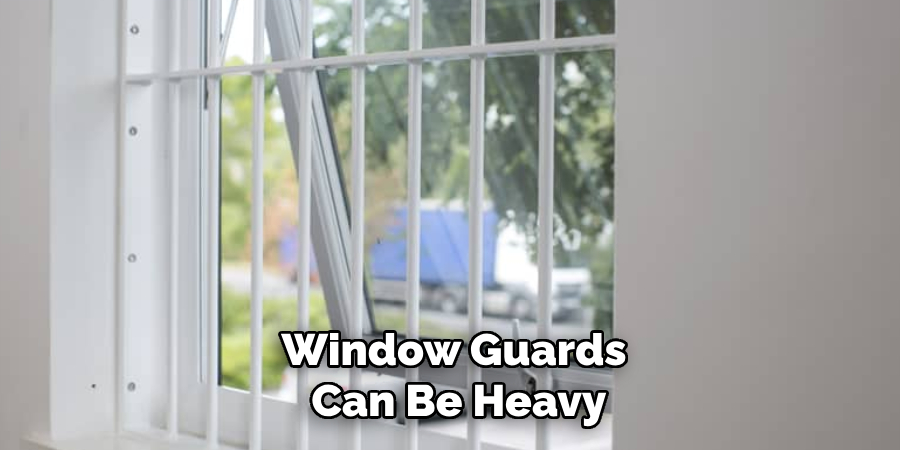
Once the guards are loose and all fasteners have been removed, carefully lift them away from the window frame. Window guards can be heavy, so it’s important to take your time and use caution when removing them to avoid any accidents or further damage.
If you’re unable to remove the guard by hand, enlist the help of a second person for added support and stability. Carefully set aside the removed guards in a safe location until they can be disposed of properly.
Step 7: Clean and Prepare Window Frame
With the window guards successfully removed, it’s now time to clean and prepare the window frame for any new installations or simply to enjoy the unobstructed view. Begin by removing any dust, dirt, or debris that may have accumulated on the frame or around the window edges. Use a soft cloth or brush for this step to gently wipe away the grime without scratching or damaging the frame.
For any stubborn spots, a mild cleaning solution can be applied to a damp cloth to help lift away the buildup. While cleaning, inspect the window frame for signs of damage, such as cracks or peeling paint, which may require repairs or touch-ups before proceeding. Ensuring a clean and stable window frame will not only improve the aesthetic appeal of your window but also provide a solid foundation should you choose to install new window guards or additional safety features.
Step 8: Dispose of Window Guards
Properly disposing of your old window guards is an essential step in the removal process. If the guards are still in good condition, consider donating them to a local charity or organization that may benefit from their use. Otherwise, check with your city’s waste management department for guidelines on disposing of metal or other materials that may require special handling.
Before discarding any parts of the window guards, make sure they are safely stored away from children and pets to avoid any potential hazards.
Following these steps on how to remove window guards will help you safely and successfully remove window guards from your home. With a little patience and care, you can enjoy the unobstructed views and fresh breeze of open windows while still maintaining the safety and security of your home. Remember to always prioritize safety and take your time during the removal process to avoid any accidents or damage to your windows or home.
Additional Tips and Considerations
- Before beginning the removal process, make sure to wear protective gear such as gloves and safety glasses to prevent any injuries.
- If you are unsure about the condition of your window guards or have difficulty removing them, it’s best to seek professional help from a contractor or handyman.
- When reinstalling window guards, make sure to follow manufacturer instructions and use proper tools and materials for a secure installation.
- Consider alternative safety measures such as childproof locks or sensors instead of installing window guards if you have young children in your home.
- Regularly inspect your windows for any signs of wear and tear, including rusted screws or damaged frames, which may require maintenance or replacement.
- Educate your family on the importance of window safety and establish rules for opening and closing windows, especially for children.
- If your home has multiple floors and high windows, consider installing safety bars or gates to prevent falls and accidents.
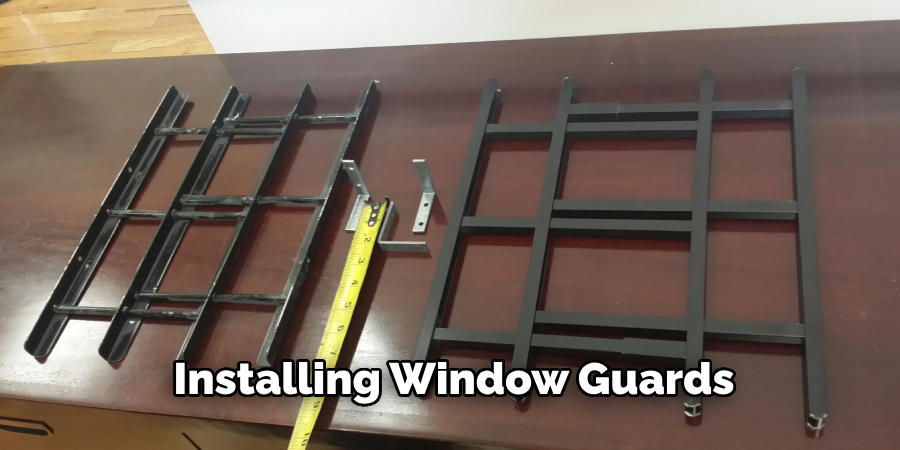
By following these additional tips and considerations on how to remove window guards, you can further enhance the safety of your home while maintaining the functionality and aesthetic appeal of your windows. Window guards serve a significant purpose in keeping children and pets safe, but it’s also crucial to balance their use with proper maintenance and precautions for a comfortable and secure living space.
Conclusion
Removing window guards can be a tedious and sometimes challenging task, but by following these steps on how to remove window guards and taking proper precautions, it can also be a relatively straightforward process. Keep in mind the importance of safety and taking your time during each step to avoid any accidents or damage to your windows.
With a bit of effort, you can enjoy the benefits of open windows while still keeping your home safe for your loved ones. So, whether it’s time for a change or simply enjoying the warmer months with fresh air, now you have the knowledge and tools to safely remov window guards from your home. So, go ahead and let the sunshine in! Happy removing!
About
Safety Fic is a distinguished figure in the world of Diy design, with a decade of expertise creating innovative and sustainable Diy solutions. His professional focus lies in merging traditional craftsmanship with modern manufacturing techniques, fostering designs that are both practical and environmentally conscious. As the author of diy, Safety Fic delves into the art and science of Safety Fic-making, inspiring artisans and industry professionals alike.
Education RMIT University
(Melbourne, Australia) Associate Degree in Design (Safety Fic) Focus on sustainable design, industry-driven projects, and practical craftsmanship. Gained hands-on experience with traditional and digital manufacturing tools, such as CAD and CNC software.
Nottingham Trent University
(United Kingdom) Bachelor’s in diyfastly.com and Product Design (Honors) Specialized in product design with a focus on blending creativity with production techniques. Participated in industry projects, working with companies like John Lewis and Vitsoe to gain real-world insights.
Publications and Impact
In diy, Safety Fic his insights on indoor design processes, materials, and strategies for efficient production. His writing bridges the gap between artisan knowledge and modern industry needs, making it a must-read for both budding designers and seasoned professionals.
