
A torn safety jacket can compromise its effectiveness and pose safety risks in hazardous environments. Instead of replacing the jacket immediately, repairing it can be a cost-effective and environmentally friendly solution.

This guide on How to repair a torn safety jacket will walk you through the steps to properly mend your safety jacket, ensuring it maintains its protective qualities and durability for continued use.
Why Repair a Torn Safety Jacket?
Before diving into the repair process, it’s important to understand why repairing your torn safety jacket is beneficial.
Cost-effective:
Repairing your safety jacket is much more affordable than buying a new one. Safety jackets can be expensive, especially if you need to replace them frequently. By fixing a torn jacket, you can save money and extend the lifespan of your gear.
Environmentally friendly:
By repairing instead of replacing, you are reducing waste and contributing to a more sustainable environment. This is especially important in industries that heavily rely on safety gear, as they produce a significant amount of waste.
Maintain effectiveness:
A properly functioning safety jacket is crucial for ensuring worker safety in hazardous environments. Repairing a tear will help maintain its protective qualities and ensure it meets safety standards.
Materials Needed
Thread (Preferably High-strength Nylon):
High-strength nylon thread is the best choice for safety jacket repairs as it is strong, durable and resistant to wear and tear.
Sewing machine or needle:
A sewing machine can make the repair process quicker and more efficient, but a needle and thread can also do the job.
Scissors:
Sharp scissors will be needed to cut the excess thread and trim any frayed edges of the torn area.
Heat-activated seam tape (optional):
For an extra layer of reinforcement, you can use heat-activated seam tape along with stitching to ensure a stronger bond between the torn fabric edges.
8 Step-by-step Guides on How to Repair a Torn Safety Jacket
Step 1: Clean the Area
Before beginning the repair process, make sure to clean the area around the tear. Use a damp cloth to gently remove any dirt, grease, or debris from the fabric. This ensures that the stitches or seam tape adhere properly and creates a smooth surface to work on. Allow the area to dry completely before proceeding to the next step.
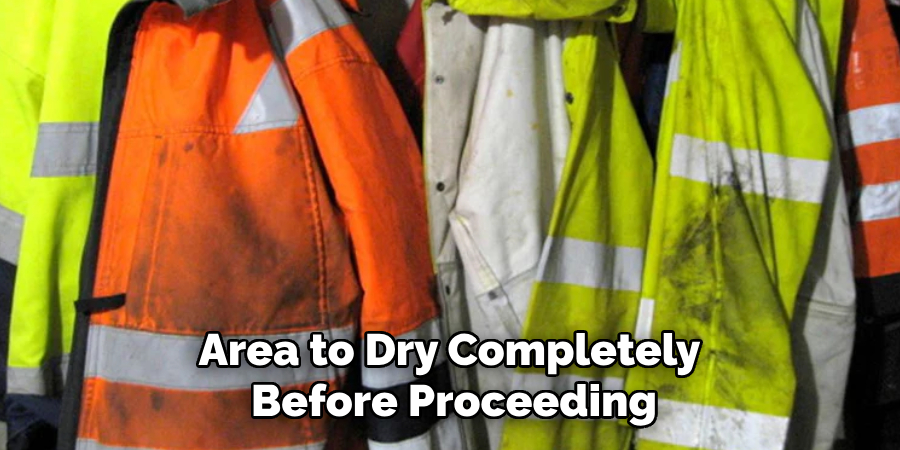
It’s important to note that if the tear is located near reflective stripes or other safety features, extra care should be taken not to damage them while cleaning.
Step 2: Align the Torn Edges
Once the area is clean and dry, carefully align the torn edges of the fabric to restore the jacket’s original shape. Ensure the edges are neatly placed together without leaving gaps or overlapping excessively. Use small fabric clips or sewing pins to hold the edges in place while you work.
This step is essential for ensuring a smooth and sturdy repair, as misaligned fabric can weaken the overall fix and compromise the jacket’s functionality. Take your time to double-check the alignment before moving on to stitching or applying reinforcement.
Step 3: Sewing (or Stitching) the Tear
Using a sewing machine or needle and thread, start stitching along the edges of the tear. Be sure to use a strong, high-strength nylon thread for durability. You can use a straight stitch or a zig-zag stitch, depending on the size and type of tear. For larger tears, it may be necessary to sew multiple lines of stitches for added reinforcement.
If using a sewing machine, set it to a medium speed and carefully guide the fabric under the needle. Make sure to backstitch at both ends of the repair for extra strength.
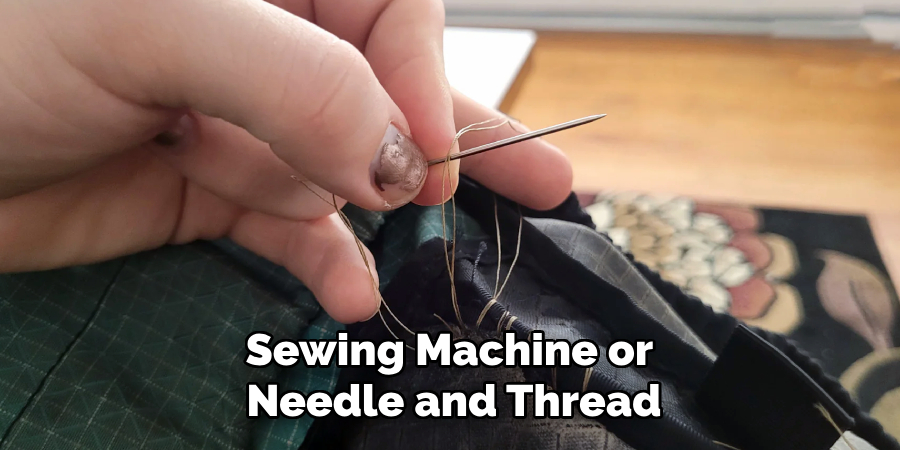
If stitching by hand, use small and evenly spaced stitches while pulling the thread tightly for a secure fix.
Step 4: Applying Heat-activated Seam Tape (optional)
For an extra layer of reinforcement, you can apply heat-activated seam tape along the stitched edges. This will help keep the fabric in place and prevent fraying. To use, simply cut a piece of tape to match the length of the repaired area and place it on top of the stitches. Use an iron set to a low heat setting and press down firmly on top of the tape for about 10-15 seconds.
Note: Make sure to read and follow any specific instructions from the manufacturer when using heat-activated seam tape.
Step 5: Trim Excess Thread
After completing the stitching and any optional reinforcement with seam tape, use a pair of sharp scissors to carefully trim away any excess thread around the repaired area. This will give the repair a clean and professional appearance while preventing loose threads from getting caught or unraveling.
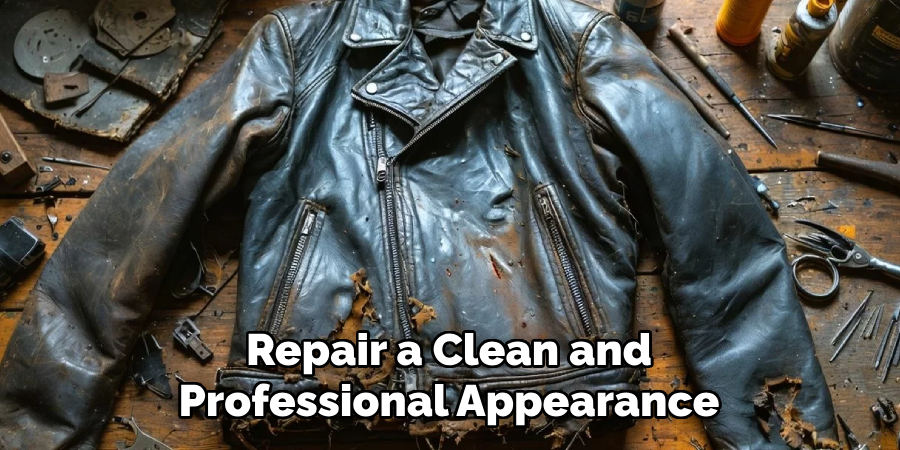
Take care not to cut too close to the stitches to avoid weakening the repair. Ensuring a neat finish will also help maintain the durability and functionality of the safety jacket.
Step 6: Test the Repair
Before returning to work or using the jacket in a hazardous environment, it’s important to test the repair. Put on the jacket and move around to see if there are any signs of strain or weakness in the repaired area. Bend and stretch your arms, shoulders, and torso to ensure the fabric holds up under pressure.
If you notice any issues with the repair, make necessary adjustments before continuing use. If everything seems secure and sturdy, then you’re ready to put your safety jacket back into action.
Step 7: Reinforce High-stress Areas (Optional)
For areas that are prone to high levels of stress and wear, such as pockets or elbows, it may be beneficial to reinforce them preemptively before a tear occurs. You can do this by sewing an extra layer of fabric on the inside or outside of these areas for added strength and durability.
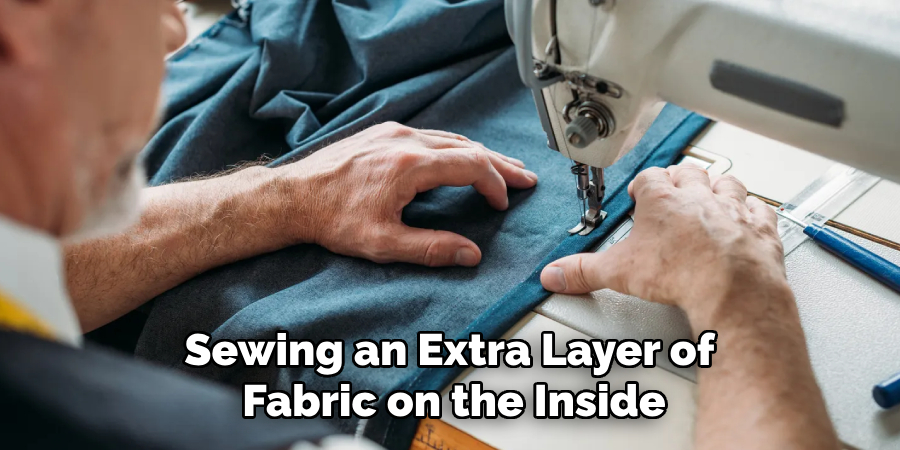
It’s also a good idea to regularly inspect and reinforce these high-stress areas as part of your maintenance routine.
Step 8: Properly Store and Care for Your Safety Jacket
To extend the lifespan of your safety jacket, it’s important to properly store and care for it. Make sure to clean and dry the jacket before storing it in a cool, dry place away from direct sunlight. Avoid folding or crumpling the jacket, as this can cause creases that weaken the fabric over time.
Regularly inspect your safety gear for any signs of wear and tear and repair them promptly to ensure their effectiveness. With proper care and maintenance, your safety jacket can continue to provide protection for years to come.
Following these step-by-step guides on How to repair a torn safety jacket will help you make sure that your safety jacket is always in top condition and ready for any task or emergency. Remember to take the time to carefully repair any tears to ensure maximum durability and functionality. Stay safe and stay protected!
Additional Tips:
Always check the manufacturer’s instructions before attempting any repairs on your safety jacket. They may have specific guidelines for care and maintenance.
- If you are unsure about repairing a tear, it is always best to seek professional help or replace the jacket entirely to ensure proper protection.
- Consider using clear adhesive patches for smaller tears or holes in areas that do not require stitching, such as pockets or cuffs.
- Regularly inspect your safety jacket for any signs of wear and tear and address them promptly to avoid major damage.
Keep a sewing kit with high-strength nylon thread and fabric clips handy for emergency repairs while on the job.
When purchasing a new safety jacket, consider investing in a high-quality, durable one to minimize the need for frequent repairs.
- – Consider having multiple safety jackets on hand to rotate and allow for proper drying and maintenance between uses.
Don’t neglect regular cleaning and maintenance as it can prevent tears and extend the lifespan of your safety jacket.
It’s crucial to have properly fitting safety gear to prevent unnecessary strain on the fabric and reduce the risk of tears and damage.
- In addition to repairing tears, regularly inspect your jacket for any loose or damaged reflective material, zippers, or snaps and replace them if needed.
- If you work in an environment with extreme temperatures, make sure to choose a safety jacket made from materials that can withstand those conditions.
Don’t hesitate to consult with colleagues or professionals for advice on how to properly maintain and repair your safety gear. Safety is a team effort!
By following these tips and steps, you can keep your safety jacket in top condition and ensure maximum protection while on the job. Remember that even the toughest materials can wear over time, so it’s essential to regularly inspect and maintain your safety gear for optimal functionality and durability. Stay safe out there!
Conclusion
Repairing a torn safety jacket can save you time and money while ensuring the continued functionality and protection of your gear. With these step-by-step guides on How to repair a torn safety jacket, you can confidently tackle small tears or rips on your own without having to replace the entire jacket.
Remember to always prioritize safety and proper care and maintenance of your gear. Happy repairing!