

Are you having trouble with your Acura key fob? Is it not unlocking or locking the doors, or is the remote start feature not working? One of the common reasons for these issues could be a dead key fob battery.
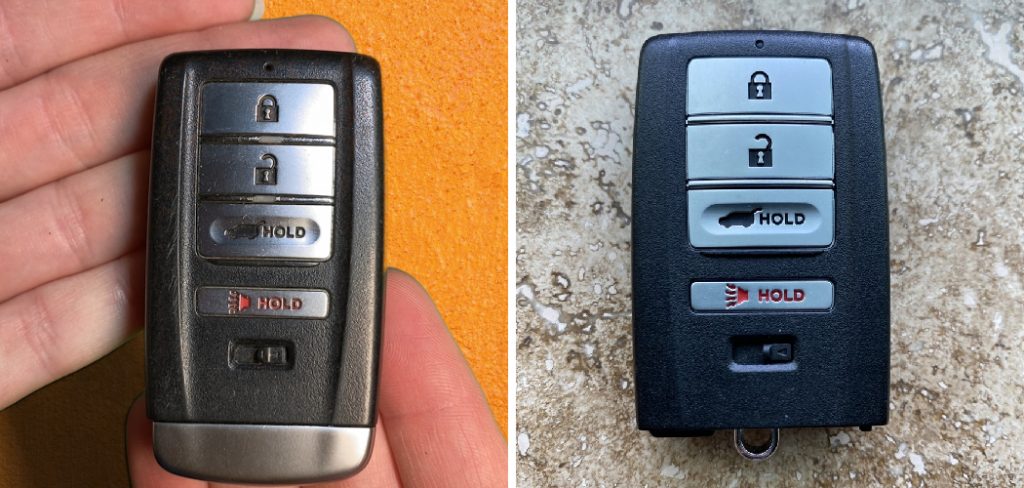
How to replace Acura key fob battery is a simple yet essential maintenance task that ensures uninterrupted access to your vehicle. Over time, the battery in your key fob will naturally lose power, affecting its ability to lock, unlock, or start your car remotely. Fortunately, with just a few tools and guidance, you can quickly replace the battery and restore your key fob to full functionality.
This guide will walk you through the process step by step, ensuring you can handle the task with ease and confidence.
What Are the Causes of a Dead Acura Key Fob Battery?
Before we dive into the steps for replacing your Acura key fob battery, it’s essential to understand what causes a key fob battery to die.
- Age: Like any other battery, the one in your key fob will eventually lose its charge over time. Most key fobs will require a battery replacement every 2-3 years with regular use.
- Exposure to Extreme Temperatures: Extreme heat or cold can cause the battery to drain faster, leading to a dead key fob.
- Defective Battery: Sometimes, the battery may be faulty from the start, resulting in a shorter lifespan.
- Accidental Button Presses: Leaving your key fob in a purse, pocket, or bag can lead to accidental button presses, draining the battery.
What Will You Need?
To replace your Acura key fob battery, you will need:
- A new CR2032 3V lithium coin cell battery
- Small flathead screwdriver or a plastic prying tool
Once you have these items, you’re ready to begin the replacement process.
9 Easy Steps on How to Replace Acura Key Fob Battery
Step 1. Locate the Seam on the Key Fob:
Begin by closely examining your Acura key fob. Look for a visible seam or groove along the edges where the two halves of the key fob come together. This seam is where you’ll separate the key fob to access the battery compartment.
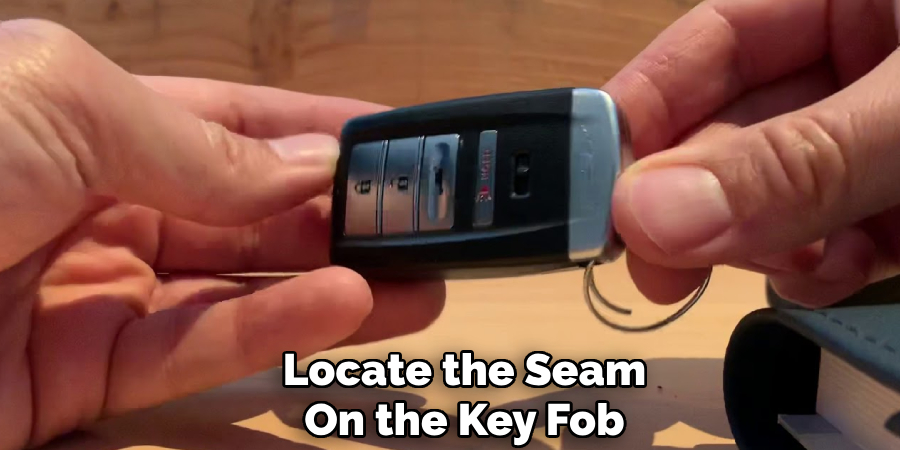
On most Acura key fobs, this seam is easy to spot as it typically surrounds the perimeter of the device. Inspect the seam under good lighting to ensure you don’t miss it. Identifying the seam is crucial as it is the starting point for opening the key fob without causing any damage.
Step 2. Pry the Key Fob Open:
Using a small flathead screwdriver or a plastic prying tool, gently insert it into the seam you identified in Step 1. Carefully apply pressure to pry the two halves of the key fob apart. Start at one end of the seam and work your way around the edge.
Be cautious not to force it open, as excessive pressure could damage the plastic casing. Take your time to ensure the key fob opens without cracks or scratches. Once the key fob is open, set the top cover aside.
Step 3. Remove the Old Battery:
Using your fingers or a non-metallic tool, such as a plastic spudger, gently lift the old battery out of its compartment. Pay attention to how the battery is oriented, noting the positive (+) and negative (-) sides, as this will be essential when inserting the new battery.
If the battery is stuck or difficult to remove, avoid using metal tools that could scratch the contacts or cause a short circuit. Instead, apply light pressure to dislodge it carefully. Once the old battery is removed, inspect the battery compartment for any signs of corrosion or debris. Clean the area with a dry, lint-free cloth to ensure a secure connection for the new battery. Dispose of the old battery responsibly by following local recycling guidelines.
Step 4. Insert the New Battery:
Take the new battery and confirm that it matches the size and type specified for your key fob. Align it with the correct orientation by ensuring the positive (+) and negative (-) sides correspond to the markings inside the battery compartment.
Carefully press the battery into place, ensuring it sits securely within the clips or contact points. Avoid excessive force, as this could damage the delicate components inside the key fob. Double-check to ensure the battery is seated correctly and stable before proceeding to the next step.
Step 5. Reassemble the Key Fob:
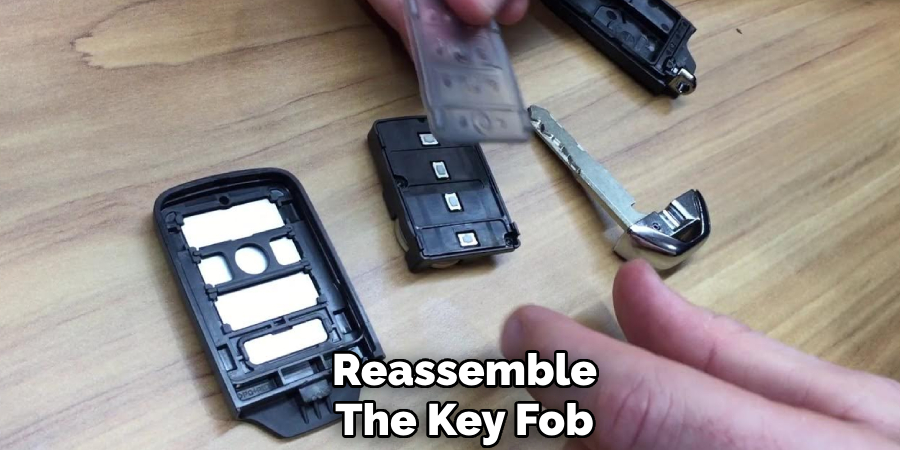
Once the new battery is securely in place, align the two halves of the key fob casing. Gently press them together until they snap back into position. Ensure all edges are flush and that no gaps remain in the casing.
If the key fob has screws, reinsert them and tighten them carefully, avoiding overtightening that might strip the threads or damage the casing. Confirm that the key fob is fully reassembled before testing.
Step 6. Test the Key Fob:
After reassembling the key fob, test its functionality to ensure the new battery works properly. Stand near your vehicle and press the buttons on the key fob to confirm they operate as expected. For instance, try locking and unlocking the doors or activating features specific to your key fob model.
If the key fob does not respond, double-check the battery orientation and ensure all connections are secure. Repeat the steps if necessary, or seek professional assistance if the issue persists.
Step 7. Dispose of the Old Battery Properly:
Proper disposal of the old battery is essential to protect the environment and comply with local waste regulations. Most key fob batteries are small lithium coin cells, which can be hazardous if discarded improperly. Do not throw the battery in regular household trash, as it could leak harmful chemicals or pose a fire risk.
Instead, take the old battery to a designated recycling center or a local retailer that accepts used batteries for recycling. Many electronic stores, auto shops, or supermarkets have recycling drop-off points for small batteries. If you are unsure where to dispose of the battery, check your community’s waste management guidelines or search online for nearby recycling locations. Recycling the old battery helps prevent environmental harm and ensures that valuable materials can be recovered and reused.

Step 8. Keep Spare Batteries on Hand:
To avoid getting stranded with a dead key fob in the future, consider purchasing spare batteries and keeping them readily available. Spare batteries are inexpensive and easy to find at most convenience stores or online retailers.
Additionally, if you frequently use your Acura key fob, it might be worth replacing the battery yearly to ensure optimal performance.
Step 9. Look for Signs of Battery Replacement:
It’s important to recognize the signs that your Acura key fob battery may need to be replaced. Some common indicators include a noticeable decrease in the key fob’s range, requiring you to be closer to the vehicle for it to work effectively. Another sign is delayed or inconsistent responses when pressing the buttons on the key fob. Additionally, if you find yourself repeatedly pressing buttons to unlock, lock, or start the car, it could be a clear warning of a weakening battery.
Finally, many modern vehicles with key fobs will show a low battery warning on the dashboard, reminding you to take action before the battery is fully depleted. Paying attention to these signs can help you replace the battery promptly, avoiding the inconvenience of being left without a functional key fob at a critical moment.
By following these simple steps, you can safely and easily replace the battery in your Acura key fob.
5 Things You Should Avoid
1. Using the Wrong Type of Battery: Ensure you are using the correct battery type specified for your Acura key fob, typically found in the owner’s manual. Using an incorrect battery can cause the fob to malfunction or even damage the internal components.
2. Applying Excessive Force: Avoid using excessive force when opening the key fob casing. Applying too much pressure can crack the cover or damage the internal mechanisms, leading to costly repairs or replacements.
3. Handling the Circuit Board Carelessly: The circuit board inside the key fob is highly sensitive. Avoid touching it with your fingers or allowing dirt, dust, or moisture to come into contact with it, as this may disrupt its functionality.

4. Skipping the Testing Step: After replacing the battery, always test the key fob to ensure it’s working properly before reassembling it. Skipping this step might result in unnecessary frustration if the battery is not correctly positioned or functional.
5. Ignoring Proper Disposal of the Old Battery: Do not dispose of the old battery carelessly, as it can harm the environment. Instead, recycle it at a designated battery disposal site to ensure proper handling and minimize environmental impact.
Conclusion
How to replace Acura key fob battery is a straightforward process when done carefully and methodically.
By following the outlined steps and avoiding common mistakes, you can ensure the longevity and functionality of your key fob. Remember to gather the necessary tools, handle the internal components carefully, and properly dispose of the old battery. These precautions will save you time, money, and the inconvenience of a malfunctioning key fob.
Hopefully, this guide has provided you with the information to confidently replace your Acura key fob battery and return on the road in no time. Happy driving!