

Maintaining a functional garage door opener is essential for both convenience and security. A reliable opener ensures you can easily access your garage, providing safety for your vehicle and home. Common signs indicating the need for a battery replacement include a slow or non-responsive remote control, dimming garage lights, or unusual beeping sounds from the opener unit. If you encounter these issues, it might be time to learn how to replace battery in overhead garage door opener.
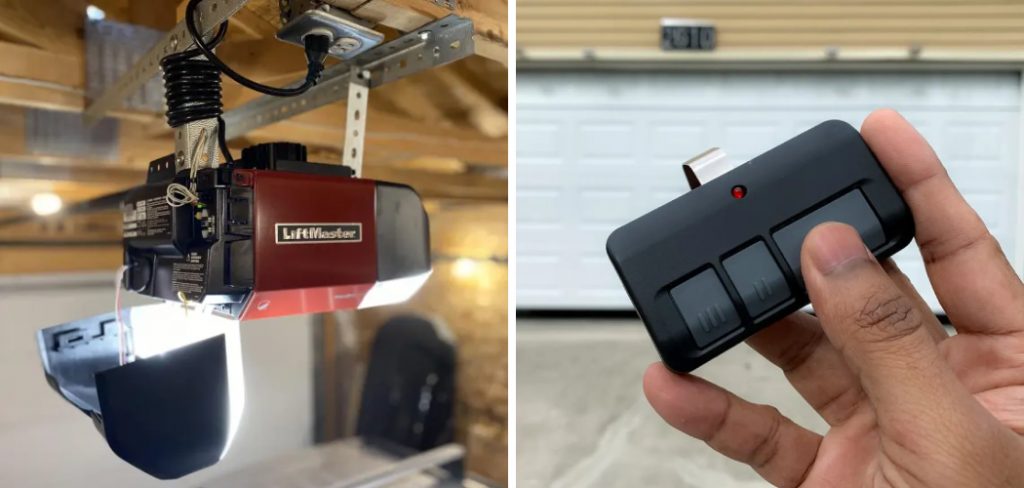
This process typically involves identifying the right type of opener, gathering necessary tools and materials, following safety precautions, accessing the battery compartment, removing the old battery, installing the new one, reassembling the unit, and testing the system. Following these steps will help you maintain your garage door opener’s efficiency and reliability.
Identifying the Type of Garage Door Opener
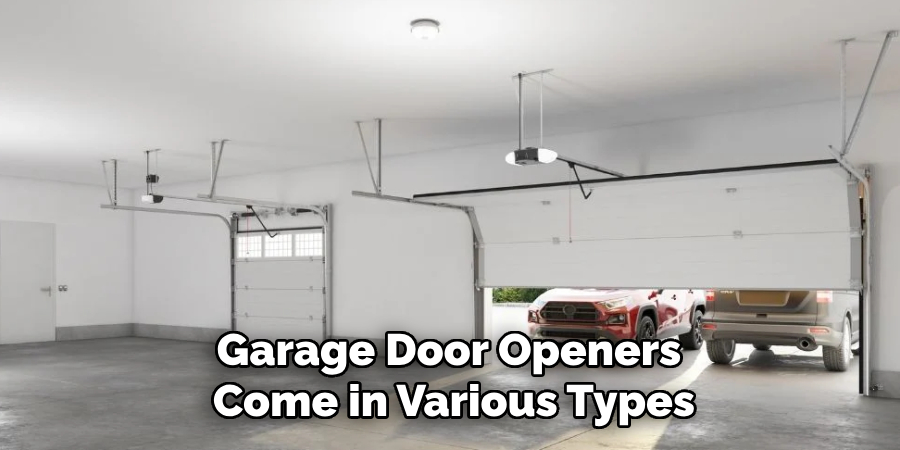
Garage door openers come in various types, each with distinct mechanisms: chain drive, belt drive, screw drive, and direct drive. Chain drive openers operate with a metal chain and are known for their durability and affordability but can be quite noisy. Belt drive openers use a rubber belt, making them quieter and smoother, albeit at a higher cost. Screw drive openers function with a threaded steel rod, offering a reliable performance and lower maintenance needs but may struggle in extreme temperatures. Direct drive openers feature a motor that moves along a stationary chain, providing the market’s most silent and maintenance-free option.
Knowing the model and manufacturer of your garage door opener is crucial for a precise replacement procedure. This ensures compatibility with replacement parts and aids in troubleshooting. You can often find this information on a label attached to the opener unit itself. If it’s not visible, refer to the user manual, which provides detailed specifications and instructions. If you don’t have the manual on hand, many manufacturers offer digital copies on their websites, allowing you to identify your model number and obtain specific guidance for your device.
Tools and Materials Needed
- Tools: screwdriver (Phillips or flat-head, depending on the opener), step ladder
- Materials: replacement battery (ensure it’s compatible with your opener model)
- Optional: gloves for grip and protection
Safety Precautions
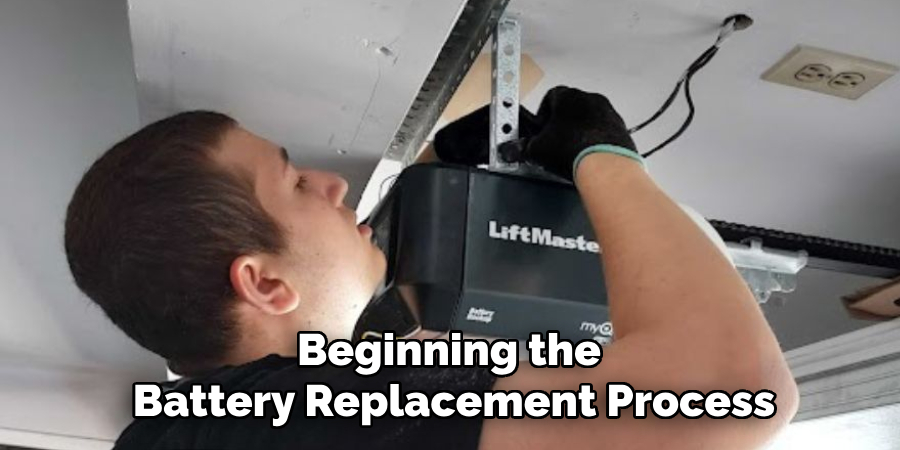
Before beginning the battery replacement process, it’s crucial to ensure that the garage door is completely closed and the opener is disconnected from its power source to prevent accidental operation. When using a step ladder to reach the opener unit, make sure it is stable and positioned on a flat, even surface. Always climb the ladder carefully and maintain three points of contact for safety. Wearing gloves during the procedure is recommended to enhance your grip and protect your hands from potential injuries, such as cuts or abrasions, while handling tools and components.
Accessing the Battery Compartment
Finding the Access Panel on The Garage Door Opener Unit
To begin, locate the garage door opener unit, typically mounted to the ceiling of your garage. The battery compartment is often integrated into the main body of the opener unit. Look for a small panel or section on the unit that appears to be separate from the rest; this is usually the battery access panel. Manufacturers place this panel in varying locations depending on the model, so you may need to refer to your unit’s user manual for exact guidance.
Using the Screwdriver to Remove Screws or Release Clips Holding the Panel
Once you have identified the panel, assess whether it is secured with screws or clips. Most panels use Phillips or flat-head screws, but some might have clips that require specific tools to release. Use a step ladder to reach the opener safely. With the correct screwdriver, carefully remove the screws by turning them counterclockwise. If your unit has clips, gently press or pry them open according to the manufacturer’s instructions.
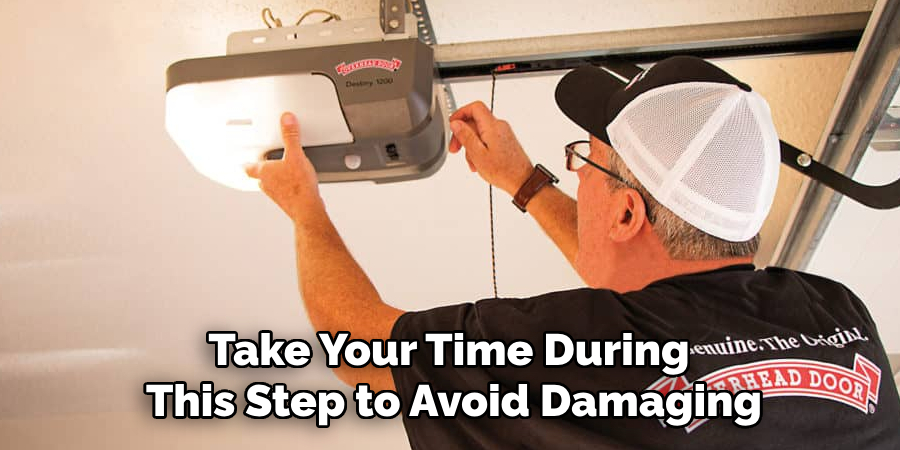
Carefully Removing the Access Panel to Expose the Battery Compartment
After you have removed all the securing screws or clips, carefully lift or slide the access panel away from the main unit. Take your time during this step to avoid damaging any connections or components inside. The battery compartment should now be visible, revealing the old battery and its terminal connections. Ensure the area is well-lit to comfortably proceed with the replacement process.
By following these steps precisely, you will have successfully accessed the battery compartment of your garage door opener, preparing you for the next phase of removing and replacing the old battery.
How to Replace Battery in Overhead Garage Door Opener: Removing the Old Battery
Identifying the Old Battery and Its Connections
With the battery compartment now exposed, note the battery type and its terminal connections. Most garage door opener batteries are small, rectangular units connected by a pair of wires terminating in snap connectors. Understand how the battery is secured within the holder; it might be clipped or seated within a compartment.
Disconnecting the Battery Terminals or Removing the Battery from Its Holder
Begin by disconnecting the terminal connections. Hold the connector firmly and gently pull it away from the battery terminal. If the battery is secured with clips, gently press on the clips to release the battery from its holder. Be cautious not to pull on the wires themselves to avoid damage. Carefully lift the old battery out of its compartment once it is free from all connections.

Proper Disposal of The Old Battery Following Local Regulations for Electronic Waste
After removing the old battery, ensure it is disposed of properly. Batteries contain hazardous materials that should not be thrown in regular trash. Check local regulations for electronic waste disposal to find appropriate recycling centers or drop-off points. Many communities provide designated facilities to handle such waste safely and responsibly, ensuring the materials are recycled or disposed of without harming the environment.
How to Replace Battery in Overhead Garage Door Opener: Installing the New Battery
Ensuring the New Battery Is the Correct Type and Properly Charged
Before installing the new battery, verify that it matches the specifications outlined in your garage door opener’s manual. The battery should be the correct type and size, and it is essential that it is fully charged to ensure optimal performance. If the battery comes with a charge indicator, check its status before proceeding. Some batteries may require pre-charging, so follow the manufacturer’s instructions if necessary.
Connecting the New Battery to The Terminals or Placing It Into the Holder
Begin by positioning the new battery within the compartment and aligning it as required by the holder or clips. Carefully attach the terminal connectors to the new battery. Ensure you match the positive (+) and negative (-) terminals correctly to avoid malfunction. The connectors should fit snugly; gently press them onto the terminals until they click into place. Be mindful not to bend or damage the terminals during this process.
Securing the Battery in Place to Prevent Movement or Disconnection
Once the battery is connected, secure it firmly within its holder. If the battery compartment uses clips, press them back into place to hold the battery steady. For compartments without clips, ensure the battery is properly seated and cannot shift or become disconnected during operation. Reattach the access panel by aligning it and replacing the screws or clips you removed earlier. Tighten the screws securely but avoid over-tightening, which can damage the panel. With the new battery installed and secured, your garage door opener should now be ready for use.
Reassembling the Garage Door Opener
Reattaching the Access Panel and Securing It with Screws or Clips
After successfully installing the new battery, the next step is to reassemble the garage door opener. Start by carefully positioning the access panel back onto the opener unit. Ensure that it is aligned correctly with the rest of the unit. Depending on your specific model, you will either need to replace the screws or reattach the clips that hold the panel in place. Use your screwdriver to turn the screws clockwise until they are snug but avoid over-tightening them, which could strip the threads or damage the panel.
Ensuring All Parts Are Properly Aligned and Tightened
Once the access panel is securely attached, visually inspect the entire unit to ensure all parts are properly aligned. Check that the panel is flush with the body of the opener, and confirm that all screws or clips are tight and secure. This ensures the unit will operate smoothly without any rattling or components coming loose.
Reconnecting the Garage Door Opener to The Power Source
Finally, reconnect the garage door opener to the power source by plugging the unit back into its electrical outlet. Switch the power supply back on and test the opener to confirm that it is functioning correctly. By following these steps, you will have effectively reassembled your garage door opener, completing the battery replacement process.

Testing the Garage Door Opener
Testing the Functionality of The Garage Door Opener with The New Battery
With the new battery securely installed and the garage door opener reassembled, the next critical phase is to test its functionality. Press the wall-mounted button or the remote control to activate the garage door opener. Observe whether the door begins to move smoothly and without any hesitation. Listen for any unusual sounds that might indicate an installation or opener mechanism issue.
Ensuring the Door Opens and Closes Smoothly and The Remote Control Works Correctly
Check that the garage door opens without obstructions and closes fully, noting any irregularities. Use the remote control from various distances to ensure it communicates effectively with the opener. The remote should activate the door opener without requiring multiple presses. Test any other remote controls associated with the garage door opener to confirm they are also functioning correctly.
Troubleshooting Any Issues that Arise During Testing
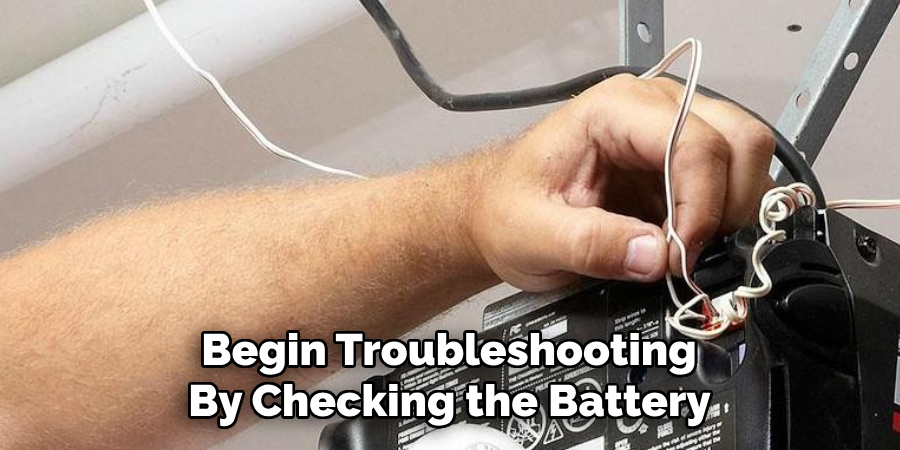
If you encounter issues during testing, such as the door not moving or the remote control failing to work, begin troubleshooting by checking the battery connections. Verify that the battery terminals are correctly attached and securely fastened. If the problem persists, consult the garage door opener’s manual for troubleshooting tips or consider seeking professional assistance. Ensuring the garage door opener works flawlessly is vital for its convenience and safety.
Conclusion
Timely battery replacement is crucial for ensuring your garage door opener’s efficient and reliable operation. By following the outlined steps on how to replace battery in overhead garage door opener, you can prevent unexpected failures and maintain the convenience and security it provides. Remember to securely install the battery and thoroughly test the opener to guarantee it works flawlessly. Regular maintenance checks and keeping your garage door opener clean will further enhance its longevity and performance. By adhering to these best practices, you ensure that your garage door opener remains a dependable part of your daily routine.
About
Safety Fic is a distinguished figure in the world of Diy design, with a decade of expertise creating innovative and sustainable Diy solutions. His professional focus lies in merging traditional craftsmanship with modern manufacturing techniques, fostering designs that are both practical and environmentally conscious. As the author of diy, Safety Fic delves into the art and science of Safety Fic-making, inspiring artisans and industry professionals alike.
Education RMIT University
(Melbourne, Australia) Associate Degree in Design (Safety Fic) Focus on sustainable design, industry-driven projects, and practical craftsmanship. Gained hands-on experience with traditional and digital manufacturing tools, such as CAD and CNC software.
Nottingham Trent University
(United Kingdom) Bachelor’s in diyfastly.com and Product Design (Honors) Specialized in product design with a focus on blending creativity with production techniques. Participated in industry projects, working with companies like John Lewis and Vitsoe to gain real-world insights.
Publications and Impact
In diy, Safety Fic his insights on indoor design processes, materials, and strategies for efficient production. His writing bridges the gap between artisan knowledge and modern industry needs, making it a must-read for both budding designers and seasoned professionals.