
Replacing an exterior door lock is an important task to ensure the security of your home. Whether you’re upgrading to a more advanced lock or replacing a damaged one, this process can be done efficiently with a few tools and some basic knowledge. This guide will walk you through the steps of how to replace exterior door lock, helping you secure your home with confidence.

Why You Might Need to Replace a Door Lock
There are several reasons why you might need to replace an exterior door lock. One of the most common situations is when you’ve recently moved into a new home. Replacing the locks ensures that previous occupants or anyone with access to the old keys can no longer enter the property.
Another reason could be if your lock becomes damaged or starts to malfunction, making it difficult to secure your door properly. Additionally, upgrading to a more modern or advanced lock, such as a smart lock, can provide enhanced security and convenience.
Finally, replacing a door lock is essential if you’ve lost your keys or suspect unauthorized access to your home, as it helps restore peace of mind and safety.
Types of Exterior Door Locks
When it comes to securing your home, choosing the right type of exterior door lock is crucial. Here are some common types of exterior door locks to consider:
Deadbolt Locks
Deadbolts are one of the most secure options for exterior doors. They are available in single-cylinder and double-cylinder variations and can withstand significant force, making them a popular choice for home security.
Knob Locks
Often used in conjunction with deadbolts, knob locks feature a locking mechanism within the doorknob. While common, they are less secure compared to deadbolts and are best used for secondary locking.
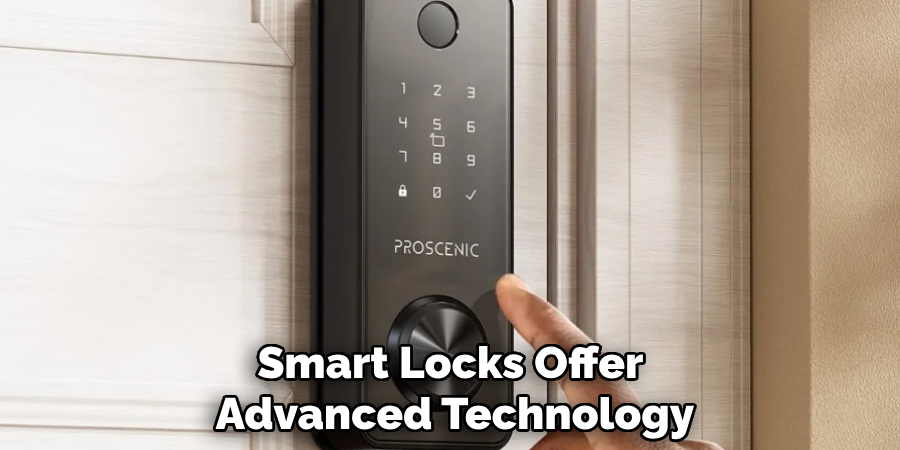
Smart Locks
Smart locks offer advanced technology, allowing homeowners to lock and unlock doors using keypads, smartphones, or even voice commands. Some models also include features like remote access and activity tracking, providing both convenience and security.
Keypad Locks
Keypad locks eliminate the need for physical keys, requiring a numeric code to unlock. These locks are highly durable and offer an excellent solution for families or frequent visitors.
Mortise Locks
Known for their sturdiness, mortise locks are installed within the door itself and are suitable for heavy-duty requirements. They combine a doorknob or handle with a deadbolt, offering enhanced security.
Handle Sets
Handle sets combine a decorative handle with a deadbolt for added security and style. They are typically used on front doors to create a welcoming yet secure entry point.
By understanding the different types of exterior door locks, you can make an informed decision to ensure the safety and security of your home.
10 Methods How to Replace Exterior Door Lock
1. Choose the Right Replacement Lock
Before starting the replacement process, it is crucial to select the appropriate lock for your exterior door. Exterior door locks come in various types, including deadbolts, knob locks, and smart locks. Consider the security level, durability, and compatibility with your door. Measure the backset (distance from the door edge to the center of the lock hole) and the bore hole diameter to ensure a proper fit.
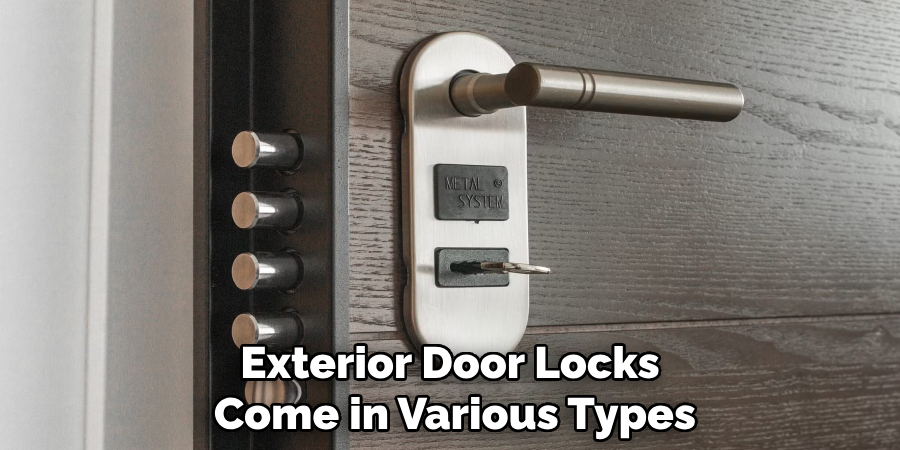
Additionally, decide whether you want a single or double-cylinder lock, keeping in mind that double-cylinder locks require a key from both sides. Choosing the right lock ensures that the new installation meets your security and functionality needs.
2. Gather Necessary Tools
Having the correct tools on hand will make the replacement process smoother and quicker. Typically, you will need:
- Screwdrivers (flathead and Phillips)
- Tape measure
- Drill and bits
- Utility knife
- Chisel
- Pencil
- Lubricant (such as graphite or silicone spray)
Collecting these tools beforehand prevents interruptions and allows for a seamless installation. Make sure to have the replacement lock’s instructions at hand, as some models may require specialized tools or additional parts.
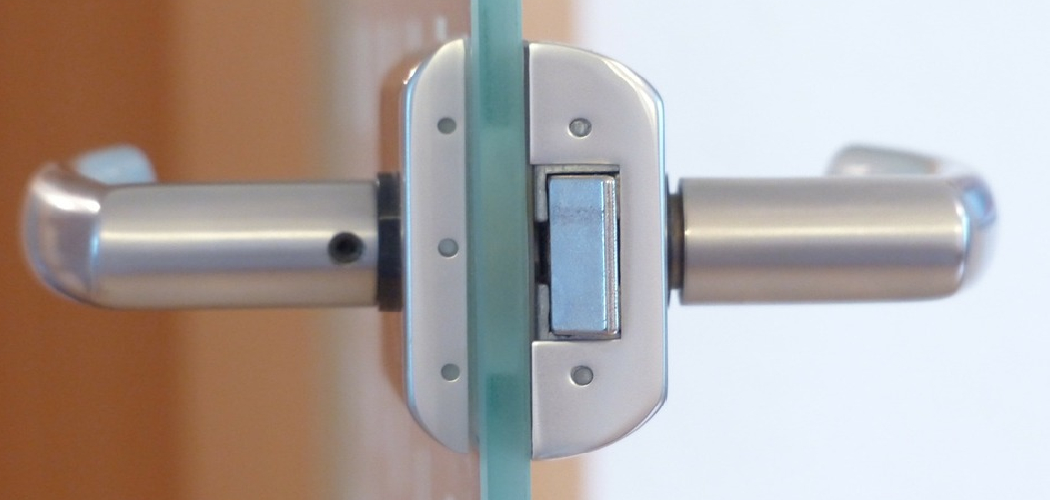
3. Remove the Old Lock
Start by unscrewing the interior and exterior portions of the existing lock. Locate the screws on the inside knob or deadbolt plate and carefully remove them. Once the screws are out, pull the knob and exterior cylinder apart. Next, remove the latch assembly by unscrewing it from the door edge.
Be cautious not to damage the door while removing the old lock, especially if it’s been painted over or is rusty. Proper removal ensures that the new lock will fit smoothly without obstruction.
4. Inspect the Door and Frame
With the old lock removed, inspect the door and the strike plate area for wear, damage, or misalignment. Check whether the holes are clean and the door edge is intact. If the strike plate area appears damaged or worn, it may be wise to replace or reinforce it. Additionally, examine the latch bore hole and backset for any irregularities.
Sand down any rough edges or splinters, as these can hinder the new lock’s performance. Addressing these issues beforehand guarantees a secure and flush installation.
5. Fit the New Latch Assembly
Slide the new latch into the bore hole on the door edge. Ensure that the latch’s beveled side faces the doorjamb for proper operation. Align the latch with the door’s edge and mark screw positions using a pencil. Pre-drill the screw holes to prevent wood splitting and then secure the latch with screws.
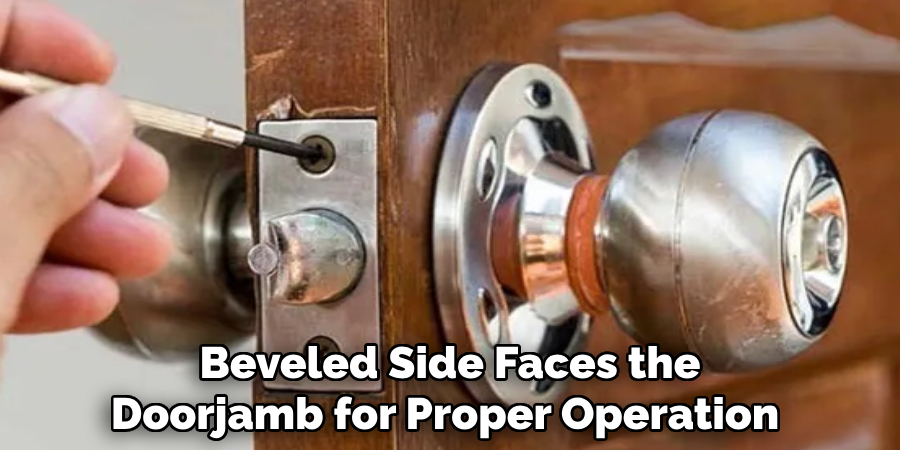
Make sure the latch sits flush against the door edge and operates smoothly when pushed in and out. A properly fitted latch ensures that the lock will function correctly and last longer.
6. Install the Exterior Lock Cylinder
Insert the exterior lock cylinder through the latch mechanism. Align the tailpiece with the latch slot to ensure proper engagement. Hold the exterior cylinder steady while attaching the interior portion of the lock. In most cases, the interior component will align with the exterior cylinder through mounting screws.
Tighten the screws evenly to maintain alignment and prevent the lock from shifting. This step is crucial for the lock’s stability and ensures a professional-looking installation.
7. Secure the Interior Lock Assembly
Once the exterior cylinder is in place, attach the interior knob or lever. Insert the spindle through the latch mechanism and line up the mounting screws. Tighten these screws carefully, avoiding overtightening, which can distort the lock’s alignment.
Test the handle or knob to ensure smooth movement and proper engagement with the latch. Proper assembly at this stage prevents loose handles and guarantees long-term reliability.
8. Attach the Strike Plate
Remove the old strike plate from the doorjamb and replace it with the new one that came with your lock. If the new plate does not align perfectly, use a chisel to adjust the mortise. Once aligned, mark the screw holes and pre-drill to prevent splitting.
Secure the plate with the provided screws, preferably long screws that reach the door frame for enhanced security. A well-anchored strike plate significantly increases resistance to forced entry.
9. Lubricate Moving Parts
After installation, apply a dry lubricant to the keyhole and moving parts of the lock. Avoid using oil-based lubricants as they can attract dirt and cause jamming over time. Operate the lock several times to distribute the lubricant evenly.
Lubrication helps maintain smooth functionality, reducing wear on internal components and extending the lock’s lifespan. Regular maintenance will keep the lock functioning optimally and prevent premature failure.
10. Test the New Lock Thoroughly
After installation, thoroughly test the lock to ensure proper operation. Lock and unlock the door from both inside and outside using the key or thumb turn. Check the alignment of the latch with the strike plate to confirm smooth engagement.
If the door does not close or lock properly, make small adjustments to the strike plate or latch position. Additionally, test the key operation multiple times to ensure there are no sticking points. Confirming functionality at this stage avoids potential lockouts or security issues.
Maintenance and Upkeep
Proper maintenance of your lock ensures its longevity and reliable performance. Regularly clean the lock mechanism with a dry cloth to remove dust and debris that may accumulate over time. Avoid using excessive force when operating the lock, as this can cause unnecessary wear.
Lubricate the internal components with a graphite-based lubricant or a silicone spray specifically designed for locks at least once a year to prevent stiffness or sticking. Periodically inspect the lock for signs of rust, corrosion, or damage, and address any issues promptly to maintain security.
Keeping your lock in good condition not only ensures smooth operation but also enhances the overall safety of your property.
Conclusion
Replacing an exterior door lock is a practical way to enhance home security or update the look of your entryway. By carefully selecting the right lock, properly removing the old hardware, and accurately installing the new components, you can achieve a reliable and secure installation.
Attention to detail during each step, including lubrication and testing, ensures the lock functions smoothly and lasts for years. Thanks for reading our blog post on how to replace exterior door lock! We hope you found it helpful and informative.