

Over time, wooden fence panels may succumb to wear, weathering, or accidental damage, necessitating the replacement of specific panels between existing wooden posts. This process not only revitalizes the fence’s appearance but also ensures its structural integrity.
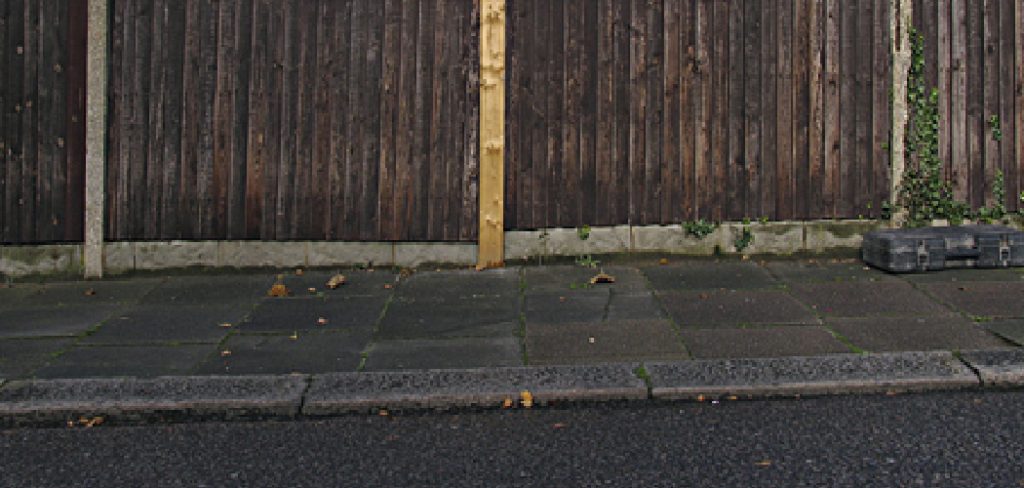
In this article, we will explore the step-by-step guide on how to replace fence panels between wooden posts, offering valuable insights for DIY enthusiasts and homeowners.
From assessing the damage and removing the old panels to selecting suitable replacement materials and securing them in place, this guide aims to empower individuals with the knowledge needed to undertake a successful fence panel replacement project.
Join us as we delve into the intricacies of this process, providing the essential steps to rejuvenate your wooden fence and maintain its functionality and aesthetic appeal.
The Importance of Maintaining a Fence’s Integrity
Maintaining the integrity of your fence is crucial for several reasons. First and foremost, a sturdy fence ensures safety and security, serving as a barrier against unauthorized access to your property.
Additionally, a well-maintained fence contributes significantly to the aesthetic appeal of your home, potentially increasing property value. It also plays an essential role in defining property boundaries, preventing potential disputes with neighbors.
Regularly inspecting and repairing your fence not only prolongs its lifespan but also saves you money in the long run by avoiding the need for a complete overhaul. Proper maintenance, hence, stands as a testament to responsible homeownership and community respect.
When and Why Fence Panels May Need Replacement

Fence panels can require replacement for various reasons, often categorized by natural factors and human-induced damage. Natural wear and tear play a significant role; over time, wood can succumb to rot, insect infestations, or warping due to moisture, leading to weakened structure and appearance.
Weather conditions such as strong winds, heavy rains, or snow can also accelerate damage, causing panels to crack, split, or become dislodged. On the human side, accidental damage—like impacts from vehicles, lawn equipment, or falling tree limbs—can necessitate immediate replacement to restore safety and visual harmony.
Aesthetic upgrades are another reason for replacement, as homeowners might wish to update their fence’s look or switch materials for better durability or maintenance ease. Understanding these triggers for replacement is crucial in maintaining a fence that offers both security and curb appeal.
Reasons for Replacing Fence Panels Between Wooden Posts
Replacing fence panels between wooden posts is often necessitated by a variety of factors ranging from natural aging to specific incidents. Age and General Wear is one of the foremost reasons, as over time, panels can deteriorate due to exposure to the elements, resulting in a loss of structural integrity and aesthetic appeal.
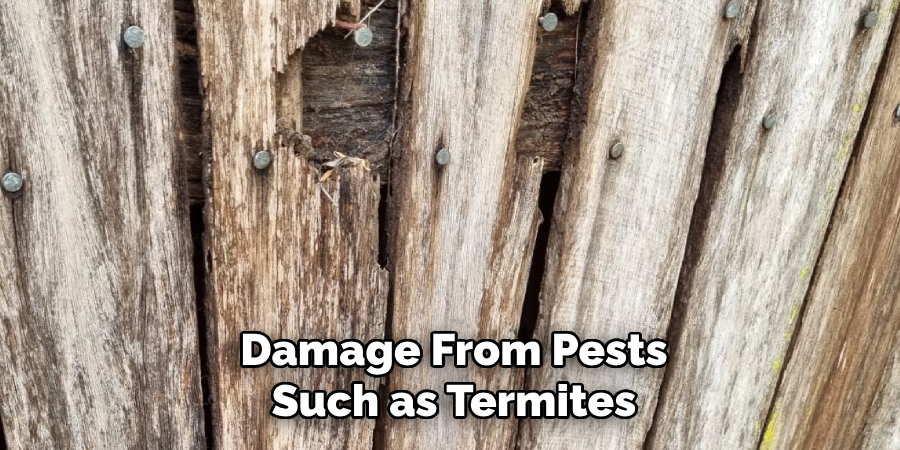
Damage from Pests such as termites or wood borers can compromise the strength of the wood, making replacement necessary to avoid further deterioration. Environmental Factors, including strong winds, heavy rainfall, or snow, can cause panels to warp, crack, or rot, while Accidental Damage from vehicles, gardening equipment, or play activities can inflict immediate and visible harm necessitating repair.
In addition, many homeowners opt to replace fence panels as part of an Aesthetic Update, aiming to improve the curb appeal and potentially the value of their property with newer, more modern materials or designs. Understanding these reasons is crucial in identifying when fence panel replacement becomes necessary and ensuring the longevity and beauty of the property’s fencing.
Assessing the Condition of the Existing Fence
Before proceeding with the replacement of fence panels, it is imperative to conduct a thorough assessment of the existing structure. This evaluation helps in identifying the extent of damage and determining the specific panels that require replacement. Start by inspecting each panel and post for signs of wear such as rot, infestations, cracks, or splits.
Pay close attention to the bases of posts and the ends of panels, as these areas are particularly susceptible to moisture and pests, leading to accelerated decay. Utilize a screwdriver or a similar tool to gently probe suspected rot or damage areas. If the wood feels soft or crumbles easily, this indicates a compromised structural integrity.
Additionally, assess the stability of the posts by gently pushing them to check for movement; posts that wobble may need reinforcement or replacement. Proper identification of the issues will guide the subsequent steps ensuring that the repair work addresses all concerns, thus revitalizing the fence’s functionality and appearance.
Evaluating the Stability of Wooden Posts and Support Structures
Once the initial assessment of the existing fence’s condition is completed, a crucial step before replacing panels is evaluating the stability of wooden posts and any associated support structures. This evaluation is critical because the longevity and durability of the newly replaced panels largely depend on the stability of these supports.
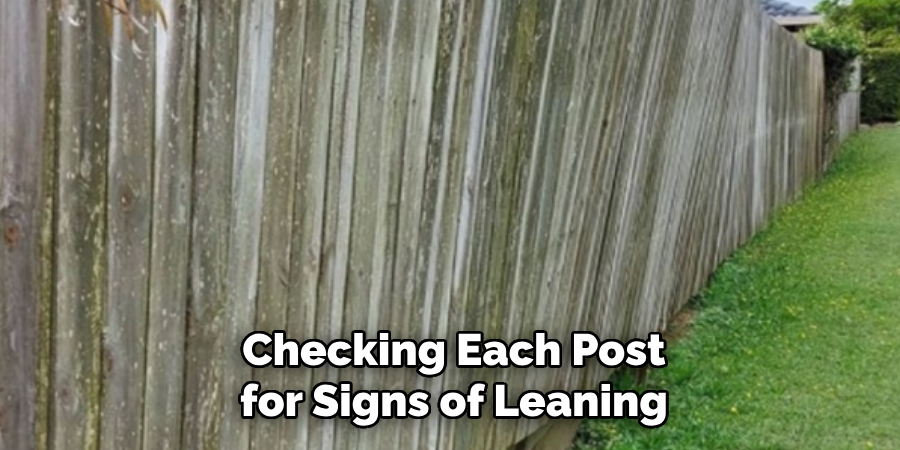
To conduct this evaluation, start by checking each post for signs of leaning or instability. Apply a moderate amount of pressure to each post, pushing from different directions to assess its steadfastness. It’s also vital to inspect the base of each post, where rot or erosion is most likely to occur, compromising stability.
Digging a small perimeter around the base can reveal if the post is adequately secured or if deterioration has set in. Furthermore, examine any support beams, crossbars, or brackets for wear, damage, or rust that could weaken the fence’s structural integrity.
Addressing any issues found during this evaluation is imperative before proceeding with panel replacements, ensuring a solid foundation for your fence’s restoration.
Measuring and Sourcing Materials
After assessing the condition of the fence and ensuring the stability of wooden posts and support structures, the next critical step is Measuring and Sourcing Materials for the replacement of fence panels. Precise measurements are essential to ensure a seamless fit between existing posts.
Begin by measuring the width and height of the spaces to be filled, using a tape measure for accuracy. It’s also advisable to take note of the thickness of the panels to match the replacement as closely as possible with the existing ones. Consider any unique features or designs of the panels that might affect installation.
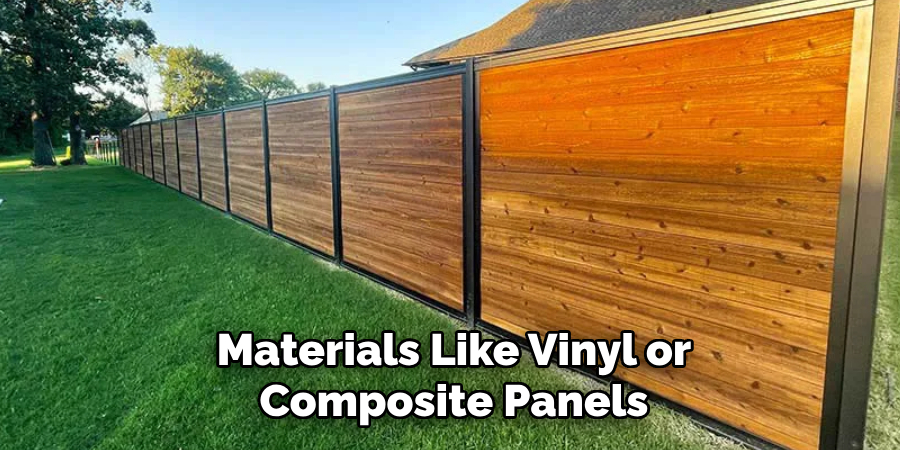
When sourcing materials, opt for quality and durability to ensure the longevity of your fence. For wooden panels, look for treated options resistant to rot, pests, and weather conditions. Contemporary materials like vinyl or composite panels offer low-maintenance and longevity benefits, albeit at varying costs. It’s beneficial to purchase materials from reputable suppliers who can provide guarantees on their products.
Additionally, gather all necessary hardware such as nails, screws, and brackets, ensuring they are suitable for outdoor use to prevent rusting. Preparation in measuring and sourcing the right materials sets the foundation for a successful fence panel replacement, enhancing the overall appearance and resilience of the fence.
Calculating the Quantity of Materials
Once the necessary measurements have been taken and the materials chosen, calculating the exact quantity needed for the project is the next crucial step. This calculation not only ensures that you purchase the correct amount of materials, but also helps in budgeting for the project. Start by converting the combined width of all spaces to be filled with new panels into total linear footage.
Remember to add a contingency of 5-10% to account for any potential mistakes or adjustments required during the installation process. For posts, if any need replacing, count the exact number required and add one extra post as a precaution.
Similarly, calculate the amount of hardware needed (nails, screws, brackets) based on the number of panels and posts, adding a small surplus to cover any potential losses or damages during the work. This careful planning and calculation of materials will streamline the replacement process, helping to avoid delays and ensure that the project stays within budget.
10 Methods How to Replace Fence Panels between Wooden Posts
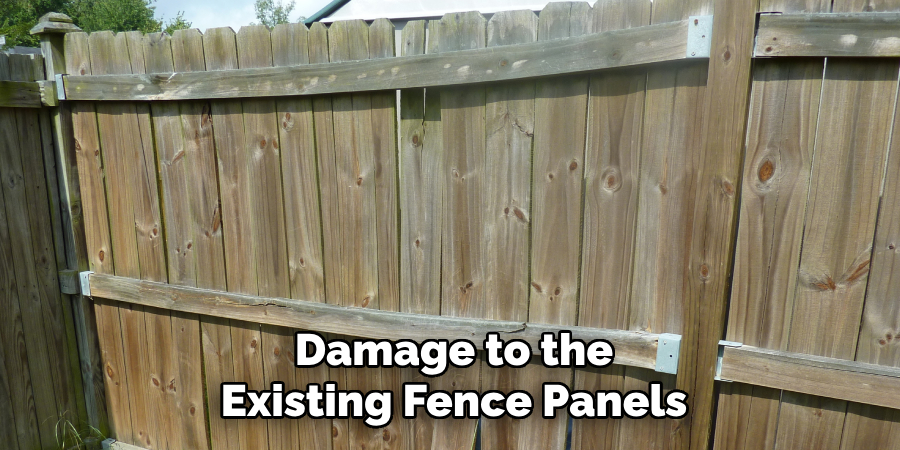
1. Assess the Damage:
Begin by assessing the extent of damage to the existing fence panels. Identify any rot, warping, or broken sections that warrant replacement. A thorough evaluation will help you determine the scope of the project and the materials needed.
Consider the Age and Condition of the Fence:
Before deciding on a course of action, consider the age and overall condition of the fence. Is it worth repairing or is it better to completely replace it? A well-maintained fence may only require minor repairs, whereas an old, deteriorating fence may need to be replaced entirely.
2. Measure and Purchase Replacement Panels:
Accurate measurements are crucial for acquiring replacement panels that fit seamlessly between the wooden posts. Measure the width and height of the existing panels, and purchase replacements that match these dimensions. Consider the type of wood and style for a cohesive look.
To ensure a perfect fit, it is recommended to measure the panels at multiple points and take the average measurement. This will account for any slight variations in size that may occur due to irregularities in the wood or installation.
In addition to measuring the dimensions of the existing panels, it is important to also consider their thickness. This will ensure that the replacement panels are not only the right width and height, but also the same thickness as the ones being replaced.
3. Remove Nails or Screws:
Carefully remove the nails or screws securing the damaged panels to the wooden posts. Use a pry bar or screwdriver to avoid damaging the posts. Take note of the attachment method, as you will replicate it when installing the new panels.
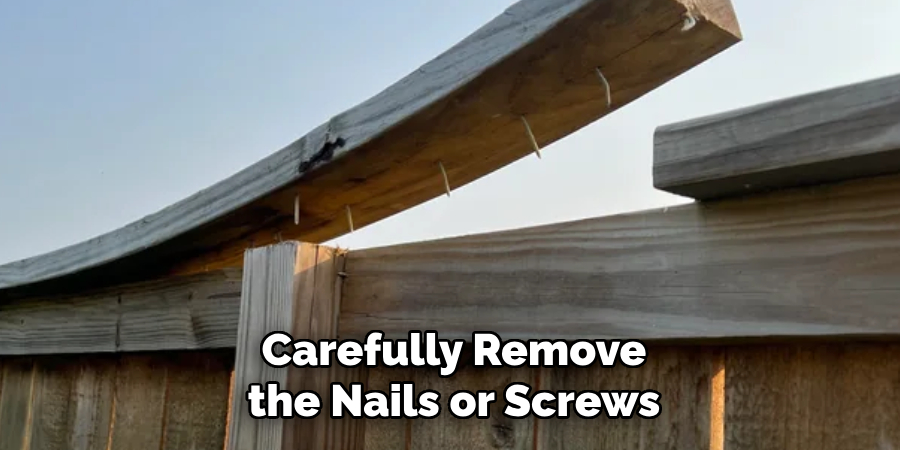
Once you have successfully removed the nails or screws, set them aside in a safe place to use later when installing the new panels. Be sure to keep track of how many were used and their exact location on the posts.
4. Detach Damaged Panels:
Once the fasteners are removed, detach the damaged panels from the posts. If the panels are severely damaged, you may need to cut or break them into smaller pieces for easy removal. Dispose of the old panels responsibly.
It is important to carefully detach the damaged panels to avoid causing further damage to the surrounding areas or injuring yourself. Use tools such as pliers or a crowbar to remove any remaining fasteners or screws. You may also need to use a hammer and chisel to break any stubborn pieces that are still attached.
When disposing of the old panels, make sure to follow proper waste management guidelines. If the panels are made of materials that can be recycled, make sure to recycle them accordingly. Otherwise, contact your local waste management authority for proper disposal methods.
5. Inspect Wooden Posts:
Take this opportunity to inspect the wooden posts for any signs of decay or damage. If the posts are compromised, it’s advisable to address these issues before installing the new panels. Reinforce or replace posts if necessary.
Regularly checking and maintaining wooden posts is crucial for the longevity of your fence. Over time, wooden posts can deteriorate due to exposure to the elements such as rain, snow, and sunlight. This can lead to weakened posts that are unable to support the weight of the fence panels, causing them to lean or even collapse.
To inspect your wooden posts, walk along the fence line and check each post for any signs of rot, cracks, or insect damage. Use a screwdriver to probe the wood for soft spots or areas that sound hollow, as these can indicate decay within the post. Also, look for any leaning or bowing in the posts, which could be a sign of structural weakness.
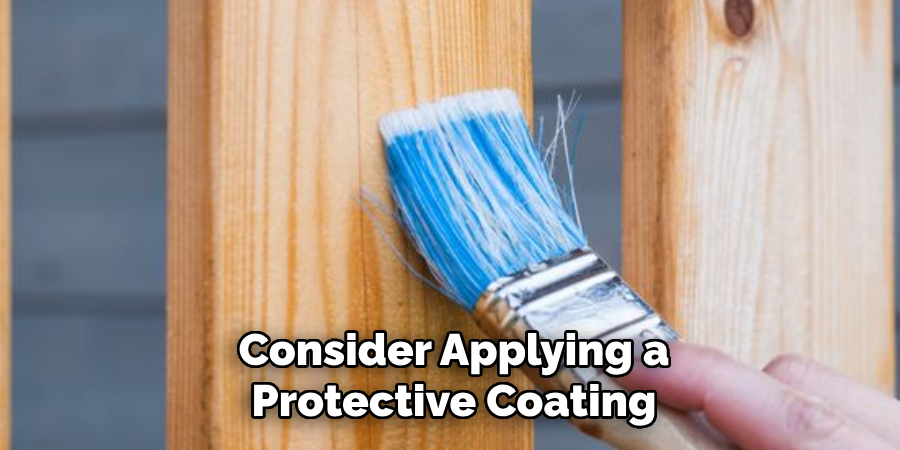
6. Prepare Replacement Panels:
If the replacement panels are not pre-finished, consider applying a protective coating or sealant before installation. This step enhances the panels’ resistance to weathering and prolongs their lifespan. Allow sufficient drying time before installation. However, if the panels are pre-finished, be sure to inspect them for any damages or defects before installation.
Before beginning the installation process, ensure that you have all the necessary tools and materials. This may include a measuring tape, level, drill with various drill bits, screws, and caulking gun. It is also recommended to have another person assist with the installation as some panels may be large and heavy.
7. Align and Attach Replacement Panels:
Align the replacement panels with the existing wooden posts and attach them using the same method as the original panels. Use nails or screws, ensuring a secure and flush fit. Pay attention to spacing between panels for a uniform appearance.
Consider adding additional reinforcements, such as brackets or cross beams, for added support. This can also help prevent the panels from warping or becoming loose over time.
Maintaining a level and straight line is key when aligning the replacement panels. Use a level tool to ensure that all panels are evenly aligned and positioned correctly.
8. Use a Level to Ensure Straightness:
Utilize a level to confirm that the replacement panels are perfectly vertical and aligned with the existing panels. This step ensures a professional finish and maintains the structural integrity of the fence.
To begin, place the level against the existing fence panel and adjust it until it is perfectly vertical. Then, hold the level in place and use a pencil to mark along the edge of the level onto each replacement panel.
Next, using a drill or screwdriver, attach screws or nails into the marked spots on each replacement panel. Make sure to secure them tightly to prevent any movement or shifting.
9. Consider Staining or Painting:
For a cohesive appearance, consider staining or painting the replacement panels to match the existing fence. Choose a finish that complements the surrounding elements and provides additional protection against the elements. When staining, use a wood conditioner first to ensure an even absorption of the stain. If painting, use a primer before applying the desired color.
Additionally, consider using sealant or waterproofing products to further protect the fence and extend its lifespan. These products can also enhance the color and appearance of stained or painted panels, making them more vibrant and long-lasting.
10. Inspect and Secure Connections:
Conduct a final inspection to ensure that all connections are secure and the replacement panels are firmly in place. Address any inconsistencies, and check for uniformity in height and spacing. This meticulous approach guarantees a polished and enduring result.
Secure the connections by tightening screws and bolts, and ensure that all panels are properly aligned. Check for any gaps between panels or around windows and doors. These small openings can allow insects, moisture, and drafts to enter the building. Seal them with caulk or weatherstripping to prevent potential issues in the future.
Conclusion
In conclusion, replacing fence panels between wooden posts is a manageable task that can significantly extend the life and appearance of a fence. By following the outlined steps and taking the time to assess the damage, select appropriate replacement panels, and ensure proper installation, homeowners can restore the functionality and aesthetic appeal of their fencing.
Regular maintenance and timely replacement of damaged panels are essential to prevent further deterioration and maintain the integrity of the fence structure. Hopefully, this article gave you some helpful tips about how to replace fence panels between wooden posts successfully, so now that you have the proper knowledge on how to get the job done, why not give it a try today?
About
Safety Fic is a distinguished figure in the world of Diy design, with a decade of expertise creating innovative and sustainable Diy solutions. His professional focus lies in merging traditional craftsmanship with modern manufacturing techniques, fostering designs that are both practical and environmentally conscious. As the author of diy, Safety Fic delves into the art and science of Safety Fic-making, inspiring artisans and industry professionals alike.
Education RMIT University
(Melbourne, Australia) Associate Degree in Design (Safety Fic) Focus on sustainable design, industry-driven projects, and practical craftsmanship. Gained hands-on experience with traditional and digital manufacturing tools, such as CAD and CNC software.
Nottingham Trent University
(United Kingdom) Bachelor’s in diyfastly.com and Product Design (Honors) Specialized in product design with a focus on blending creativity with production techniques. Participated in industry projects, working with companies like John Lewis and Vitsoe to gain real-world insights.
Publications and Impact
In diy, Safety Fic his insights on indoor design processes, materials, and strategies for efficient production. His writing bridges the gap between artisan knowledge and modern industry needs, making it a must-read for both budding designers and seasoned professionals.