
Are you finding it difficult to start your Honda car? Most likely you need to replace the key battery. Don’t worry. We have got you covered! Follow these simple steps to learn how to replace Honda key battery.

Replacing the battery in your Honda key fob is a simple process that can save you time and money. Over time, the battery in your key fob may lose its charge, causing reduced functionality or even complete failure. By replacing the battery yourself, you can quickly restore the performance of your key fob without needing to visit a dealership. As a bonus, you can also save money by avoiding the cost of purchasing a new key fob or paying for a dealer to replace the battery for you.
This guide will walk you through the steps to safely and efficiently replace the battery in your Honda key fob.
What Are the Benefits of Replacing Your Honda Key Battery?
Replacing the battery in your Honda key has several benefits, including:
- Improved Performance: As mentioned before, a new battery can restore the functionality and performance of your key fob.
- Cost Savings: By replacing the battery, you can save money by avoiding dealership fees or purchasing a new key fob.
- Convenience: You won’t have to wait for an appointment at a dealership or spend time without access to your car while waiting for a replacement key fob.
These benefits make it worth taking the time to learn how to replace your Honda key battery.
What Will You Need?
Before starting the battery replacement process, make sure you have the following items on hand:
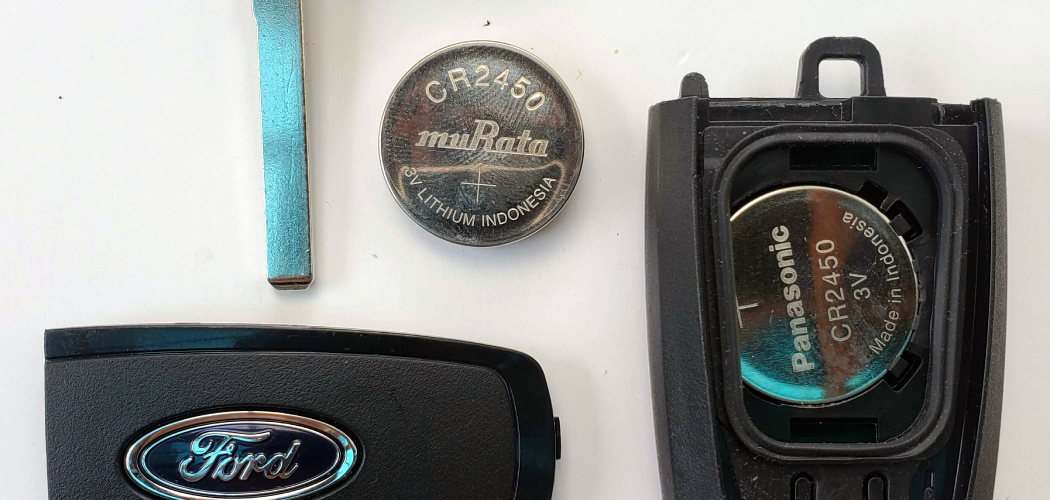
- A new CR2032 3V lithium coin cell battery
- A small flathead screwdriver or a plastic pry tool
- A clean cloth or towel
Once you have all the necessary items, you can replace your Honda key battery.
10 Easy Steps on How to Replace Honda Key Battery
Step 1. Locate the Key Fob Screw or Seam
Examine your Honda key fob closely to identify either a small screw or a noticeable seam running along its edges. Some Honda key fobs are held together with a screw, often located on the back side of the fob. If your key fob has a screw, use a small screwdriver to remove it carefully and place it somewhere safe to avoid losing it. If there is no screw, look for a seam where the two halves of the key fob meet.
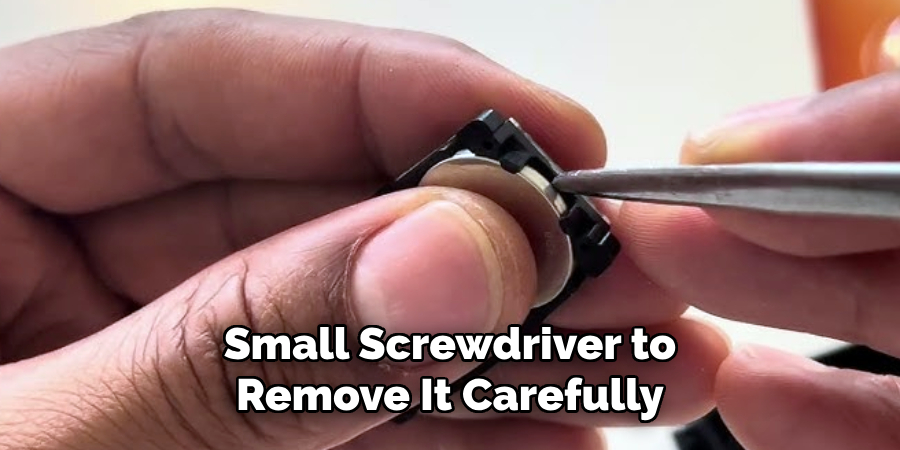
This seam allows you to open the key fob and access the battery inside. Be patient and deliberate during this step to avoid damaging the key fob, as excessive force can crack the plastic casing. Properly locating the screw or seam is crucial for ensuring a smooth and successful battery replacement process.
Step 2. Open the Key Fob Carefully
Once you have located the seam or removed the screw, gently pry the two halves of the key fob apart. Use a small flathead screwdriver or a similar tool to insert into the seam and lightly twist or pry to separate the casing. Be sure to work slowly and evenly around the perimeter of the key fob to prevent cracking or breaking the plastic. Do not force the halves apart, as this could damage the delicate internal components housed within the fob.
Step 3. Remove the Old Battery
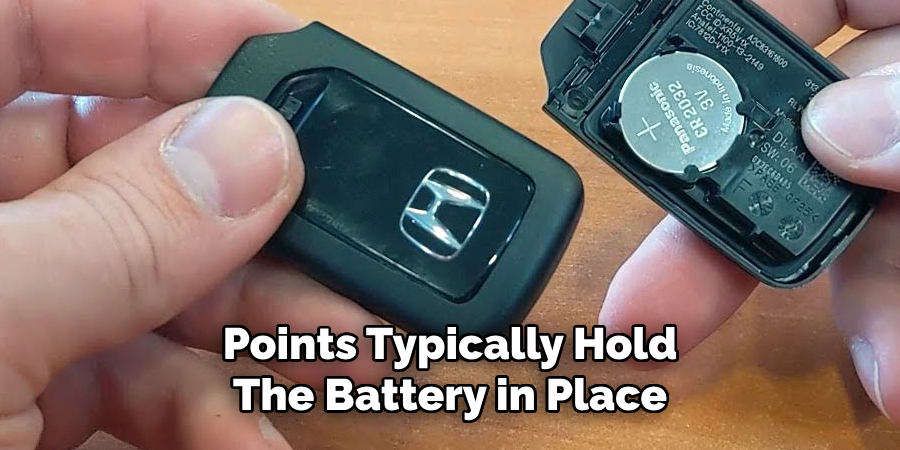
After opening the key fob, carefully examine the internal components to locate the battery. A small clip or contact points typically hold the battery in place. Use your fingers or a non-metallic tool, such as a plastic spudger, to gently lift the battery out of its compartment. Take care not to touch or bend any of the nearby electronic components during this process. Once removed, properly dispose of the old battery according to local regulations to avoid environmental harm.
Step 4. Insert the New Battery
Take the replacement battery and confirm that it matches the specifications of the old one. Align the new battery with the positive (+) and negative (-) sides facing the correct direction as indicated in the key fob’s battery compartment. Carefully press the battery into place, ensuring it fits snugly under the clip or contact points without forcing it. This step ensures the fob will function correctly without the risk of damaging its internal components.
Step 5. Reassemble the Key Fob
Once the new battery is securely in place, align the two halves of the key fob casing. Press them together until you hear a click or feel that they have snapped into place. Be careful not to apply excessive force, which could damage the casing or internal components. Ensure that the fob is fully closed and the buttons are responsive when pressed.
Step 6. Test the Key Fob
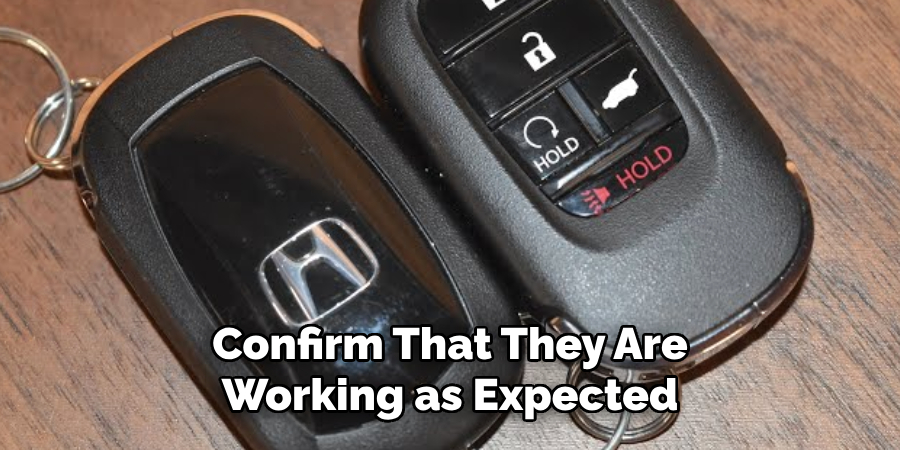
After reassembling the key fob, test its functionality to ensure the battery replacement was successful. Stand near your vehicle and press the buttons to confirm that they are working as expected. Test all functions, such as locking, unlocking, and any additional features the fob supports. If the key fob does not respond, double-check the battery placement and the reassembly of the casing. If issues persist, consult the user manual or contact a professional for assistance.
Step 7. Dispose of the Old Battery Properly
Dispose of the old battery responsibly after successfully replacing and testing your key fob. Batteries contain chemicals that can harm the environment if not discarded correctly. Check your local regulations for battery recycling centers or drop-off locations. Alternatively, many electronics stores and auto shops offer battery disposal services. Taking this step helps protect the environment and promotes sustainable practices.
Step 8. Reprogram the Key Fob (If Necessary)
Some key fobs may require reprogramming after a battery replacement to ensure they sync correctly with your vehicle. Refer to your vehicle’s user manual for specific instructions on reprogramming the key fob. Often, this process involves turning the ignition on and off in a particular sequence or pressing specific buttons on the key fob while inside the car. If you encounter difficulties, visiting your dealership or consulting a professional can help resolve any programming issues efficiently.
Step 9. Test the Key Fob
Once the battery has been replaced and any necessary reprogramming is completed, test the key fob to ensure it functions properly. Check all the buttons to confirm they perform their intended actions, such as locking or unlocking the doors, opening the trunk, or activating the alarm. If the key fob is still not working as expected, double-check the battery placement and confirm that the battery installed is compatible with your key fob model. If issues persist, consider consulting a professional or replacing the key fob entirely.
Step 10. Maintain Your Key Fob
Regular maintenance is essential to ensure your key fob’s longevity and functionality. Keep the key fob clean and free from dirt or debris by wiping it with a soft, dry cloth. Avoid exposing it to extreme temperatures, moisture, or impact, as these can damage the internal components. Additionally, routinely check and replace the battery level as needed to prevent unexpected failures. Taking these precautions will help keep your key fob in optimal condition and avoid inconvenience in the future.
By following these steps, you can confidently replace the battery in your key fob and maintain its functionality for years.
5 Things You Should Avoid
- Using the Wrong Battery Type: Always check your key fob’s manual or battery specifications before purchasing a replacement. Using an incompatible battery could damage the key fob or hinder its functionality.
- Forcing the Key Fob Open: Honda key fobs are designed to open in a specific way. Applying excessive force or using sharp objects can damage the casing or internal components.
- Touching the Circuit Board Directly: Oils and debris from your hands can interfere with the delicate circuitry. Handle the circuit board cautiously or avoid touching it to ensure optimal performance.
- Skipping the Battery Test: After replacing the battery, test the key fob immediately. Failing to do so might leave you stranded if the battery isn’t properly installed or functional.
- Ignoring Battery Polarity: Installing the battery incorrectly, such as reversing the positive and negative sides, could prevent the fob from working and even lead to electrical damage. Always follow the indicated polarity directions.
By avoiding these common mistakes, you can ensure a smooth and successful replacement for your Honda key battery.
When Should You Replace Your Honda Key Fob Battery?
The average lifespan of a key fob battery is typically one to two years, depending on usage. However, extreme temperatures or frequent use of the remote start feature can drain the battery faster. It’s best to replace the battery when you notice decreased responsiveness from your key fob buttons or when it stops working.
Regularly replacing your key fob battery can prevent unexpected failures and save you from potential inconvenience. Following these tips and steps, you can adequately maintain your Honda key fob and ensure its functionality for years. Remember to dispose of old batteries responsibly and consult a professional for any difficulties or questions during the replacement process.
Conclusion
How to replace honda key battery is a straightforward process that can save you time and money.
By following the outlined steps, such as gathering the necessary tools, carefully opening the key fob, and ensuring the correct polarity when inserting the new battery, you can confidently complete the replacement. Regular maintenance of your key fob, including timely battery changes, helps ensure its reliability and prevents unnecessary stress. Always handle the components gently to avoid damage and be mindful of safe disposal practices for old batteries.
With these tips in mind, you’ll keep your Honda key fob in optimal working condition for years to come.